


NVIDIA Studio is the GPU giant's program to optimize both software and hardware for the professional and creative market. In its most basic form, you have laptops coming out like the Razer Blade 15 Studio Edition which can have some whopping specs like RTX Quadro GPUs. But it's partnered by the Studio drivers, which are built to offer the best performance and optimization in a wide range of applications.
Those like Adobe Premiere Pro, Blender, Autodesk Arnold, and a host of other applications, are all working in partnership with NVIDIA to get the most out of your system through the Studio program. Just in the same way, the GeForce gaming drivers are there to ensure the best optimization for the best graphics cards in all the latest games.
But, you don't need a fancy new laptop nor a $2,000 workstation GPU to take advantage of these options. What you already have in your PC might well be supported hardware, and you can flip the switch and get the Studio drivers whenever you want, or the reverse and put GeForce gaming drivers on your Studio-equipped Quadro. Here's how.

Which GPUs are supported by NVIDIA Studio
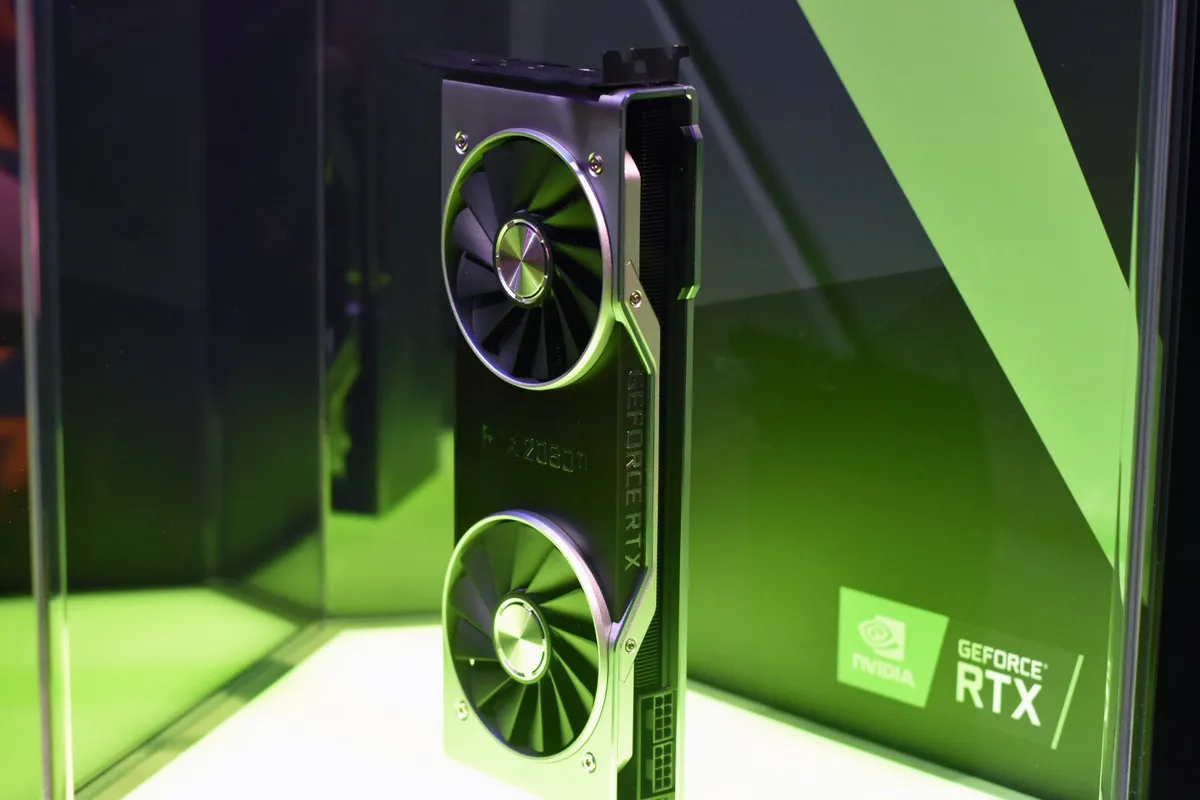
You might think it only applies to the newest, most expensive GPUs or those super-fancy Quadro cards, but you'd be wrong.
From NVIDIA:
"NVIDIA Studio Drivers are compatible with GeForce GTX 10-series, GeForce RTX 20-series, TITAN V, TITAN RTX, and all Quadro products released since 2012."
So, eight-year-old Quadro workstation GPUs are supported, as are more budget-oriented gaming cards like the GTX 1060, right up to the likes of the RTX 2080 Ti, Titans, and the new RTX Quadro series.
Assuming your GPU fits the above criteria, it's pretty straight forward to switch between the Studio and gaming drivers.
How to switch between NVIDIA Studio and gaming drivers
The easiest thing to do is make sure you have NVIDIA GeForce Experience installed on your PC. Make sure you're logged in, open it up, and follow these steps. This run-through assumes you're installing Studio drivers in place of your existing gaming drivers.
- Click on the drivers tab.

- Click on the three dots to the right of the check for updates button.

- Select Studio Driver.
- Click the green download button.

- Choose express installation (unless you know what you're doing with a custom installation) and let the software run its course.
When it's done, you'll now have NVIDIA's Studio drivers installed on your previously gaming-tailored GPU. If you're using a Studio system already and want to put the GeForce gaming drivers on your system, or you want to revert back, simply follow the steps above but select Game Ready Driver instead.
That's all there is to it. If you'd rather not use GeForce Experience, you can get the drivers directly from NVIDIA's support page but you'll have to go here every time you want to switch and go through the process. GeForce Experience is a handy way to keep tabs on drivers, whichever you choose, and making sure you've got the latest release.

Go Studio on your gaming graphics card
You don't need a fancy Quadro to get the benefits from NVIDIA's Studio program; your regular gaming graphics card can get the drivers and get you on the right track.

