


Canonical has released the latest update to Ubuntu, the 20.10 release known as "Groovy Gorilla." As this isn't an LTS release it won't be released into the Microsoft Store for folks to install that way and use with the Windows Subsystem for Linux (WSL).
Nevertheless, getting 20.10 installed on your machine isn't too difficult and there are a few different ways to get there. I'll start with the method I used, followed up with some handy tips from one of Canonical's Ubuntu on WSL engineers that might be more suited to your own situation.
Before you begin
This guide assumes you already have WSL enabled on your Windows 10 system and that you already have Ubuntu installed.

If you don't, we have a full guide on getting started which you should check out first, then grab Ubuntu from the Microsoft Store and run through the initial setup process.

How to install Ubuntu 20.10 Groovy Gorilla on WSL
Officially, the Ubuntu package you download from the Microsoft Store won't update to 20.10 as it's not an LTS (Long Term Support) release. A new LTS version only comes every two years, with interim releases that aren't supported for as long in between, currently scheduled for every six months. You can read more about it on the Ubuntu wiki.
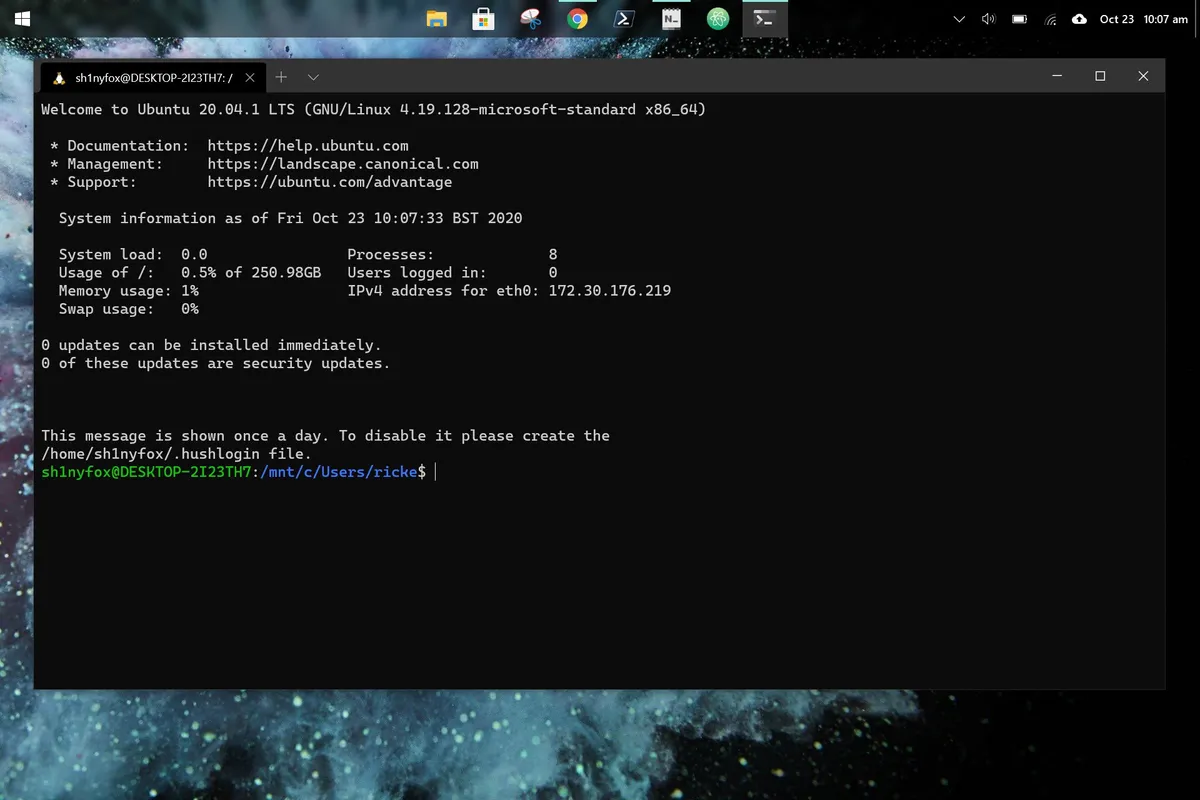
So, to get your Groovy Gorilla on you'll need to manually make the update. You can use either the standalone Ubuntu shell for this or open one up in Windows Terminal.
- In the terminal, first enter
sudo suto get root access. - Next, enter
nano /etc/update-manager/release-upgrades

- Use the cursor keys to navigate to the bottom where you'll see prompt=lts.
- Change lts to normal.

- Exit nano with ctrl + x and select y to save the file.
- Back in the terminal, enter
do-release-upgrade -d.

- After a short time you'll be prompted to accept the upgrade. Type y and press enter.

- This part will take some time but eventually you'll be prompted to remove obsolete packages. Again, type y and press enter.

- The next prompt will be to restart Ubuntu to finish. Hit y, press enter and wait.

- When you see the regular shell return the upgrade is complete.
One thing to note is that Windows will still recognise it as Ubuntu 20.04, both within WSL and in places like Windows Terminal. It's not a big deal but you will need to remember that if you're ever referring to Ubuntu in PowerShell, for example, you'll still have to refer to it as
ubuntu-20.04.

You can quickly verify that the upgrade was successful using a tool like Neofetch, or if you don't have that use the command
lsb_release -aand you'll see something like the image above.
Other methods
Canonical has actually put together its own guide on upgrading to Ubuntu 20.10 which goes down a different path to this one, including side-loading images. There's a ton of detail in there and if for any reason you're having issues upgrading through the method detailed above, definitely follow along with it and try things that way.
Whichever road you go down the upgrade process doesn't take that long and you'll have a bleeding edge Ubuntu system running in WSL afterwards.

