Shadow of the Tomb Raider: Ancient Aqueduct Challenge Tomb guide
Don't let the Ancient Aqueduct get the best of you.
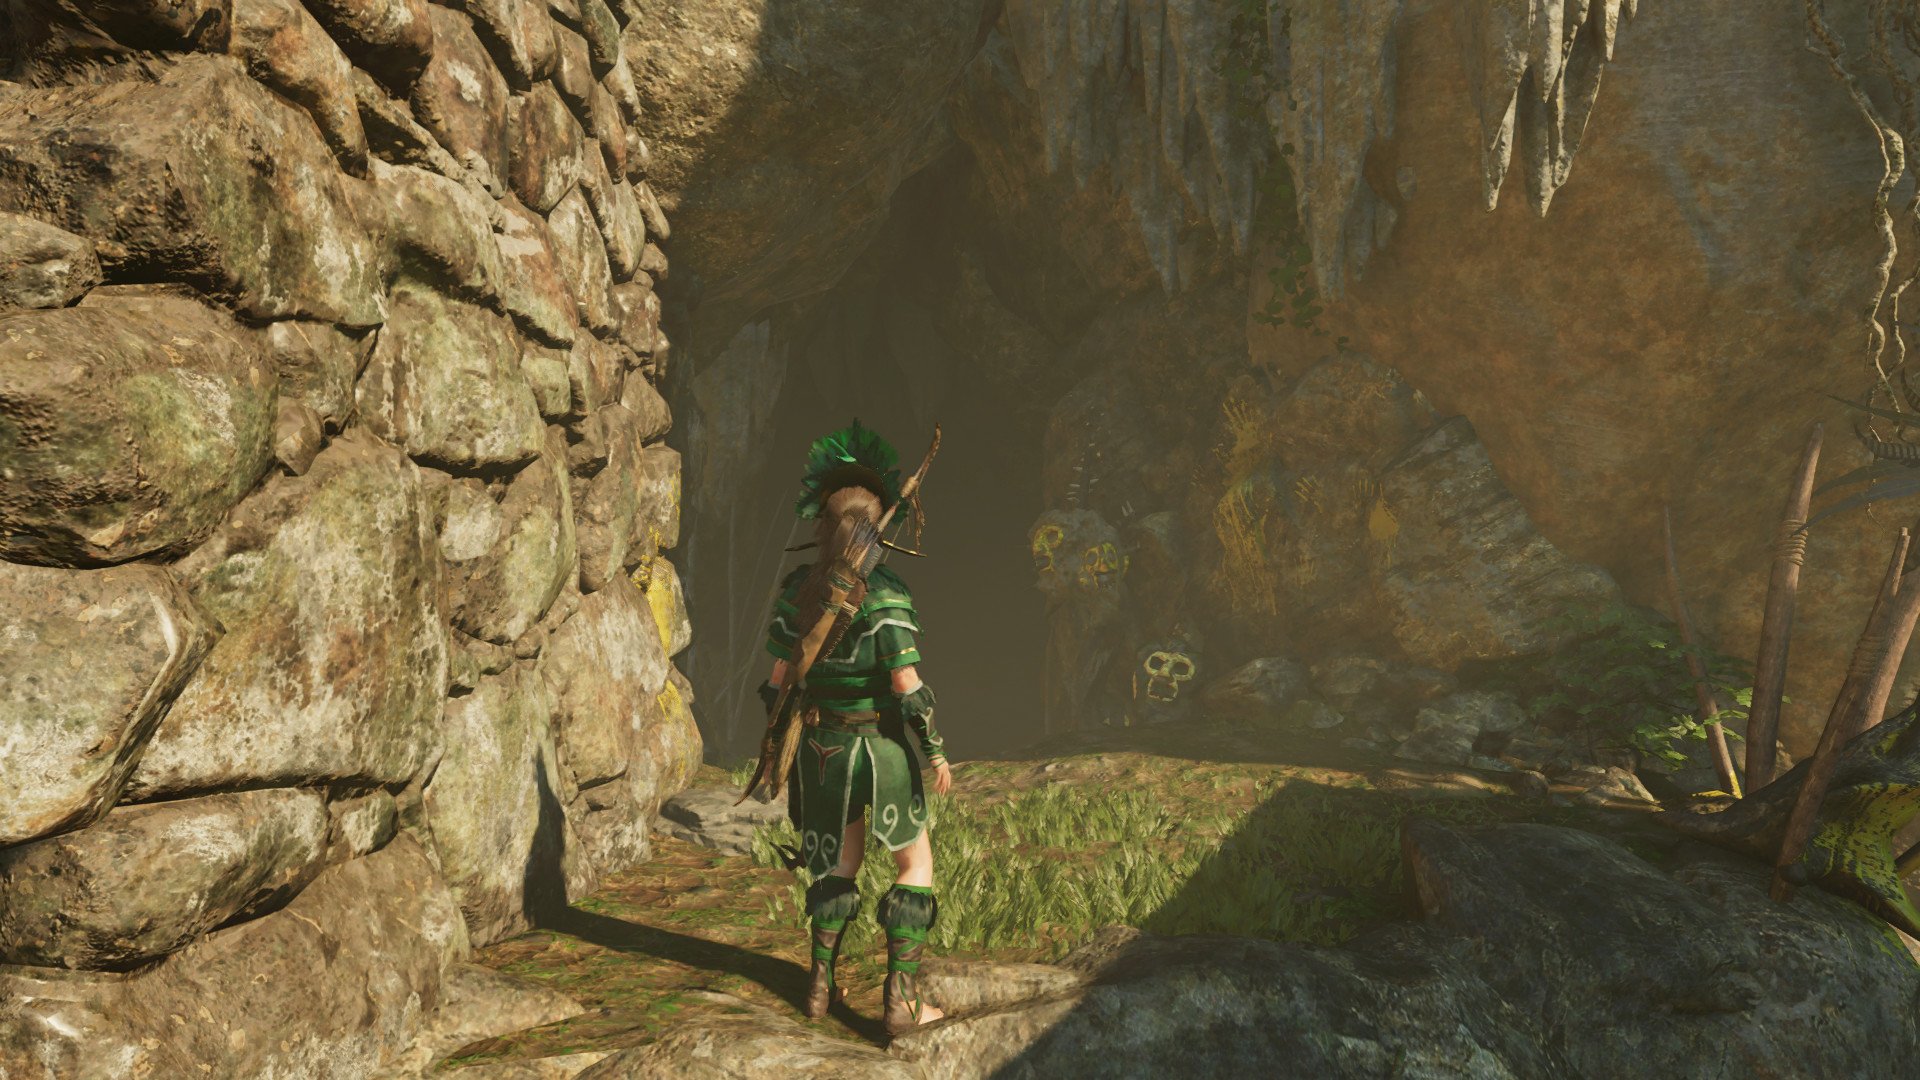
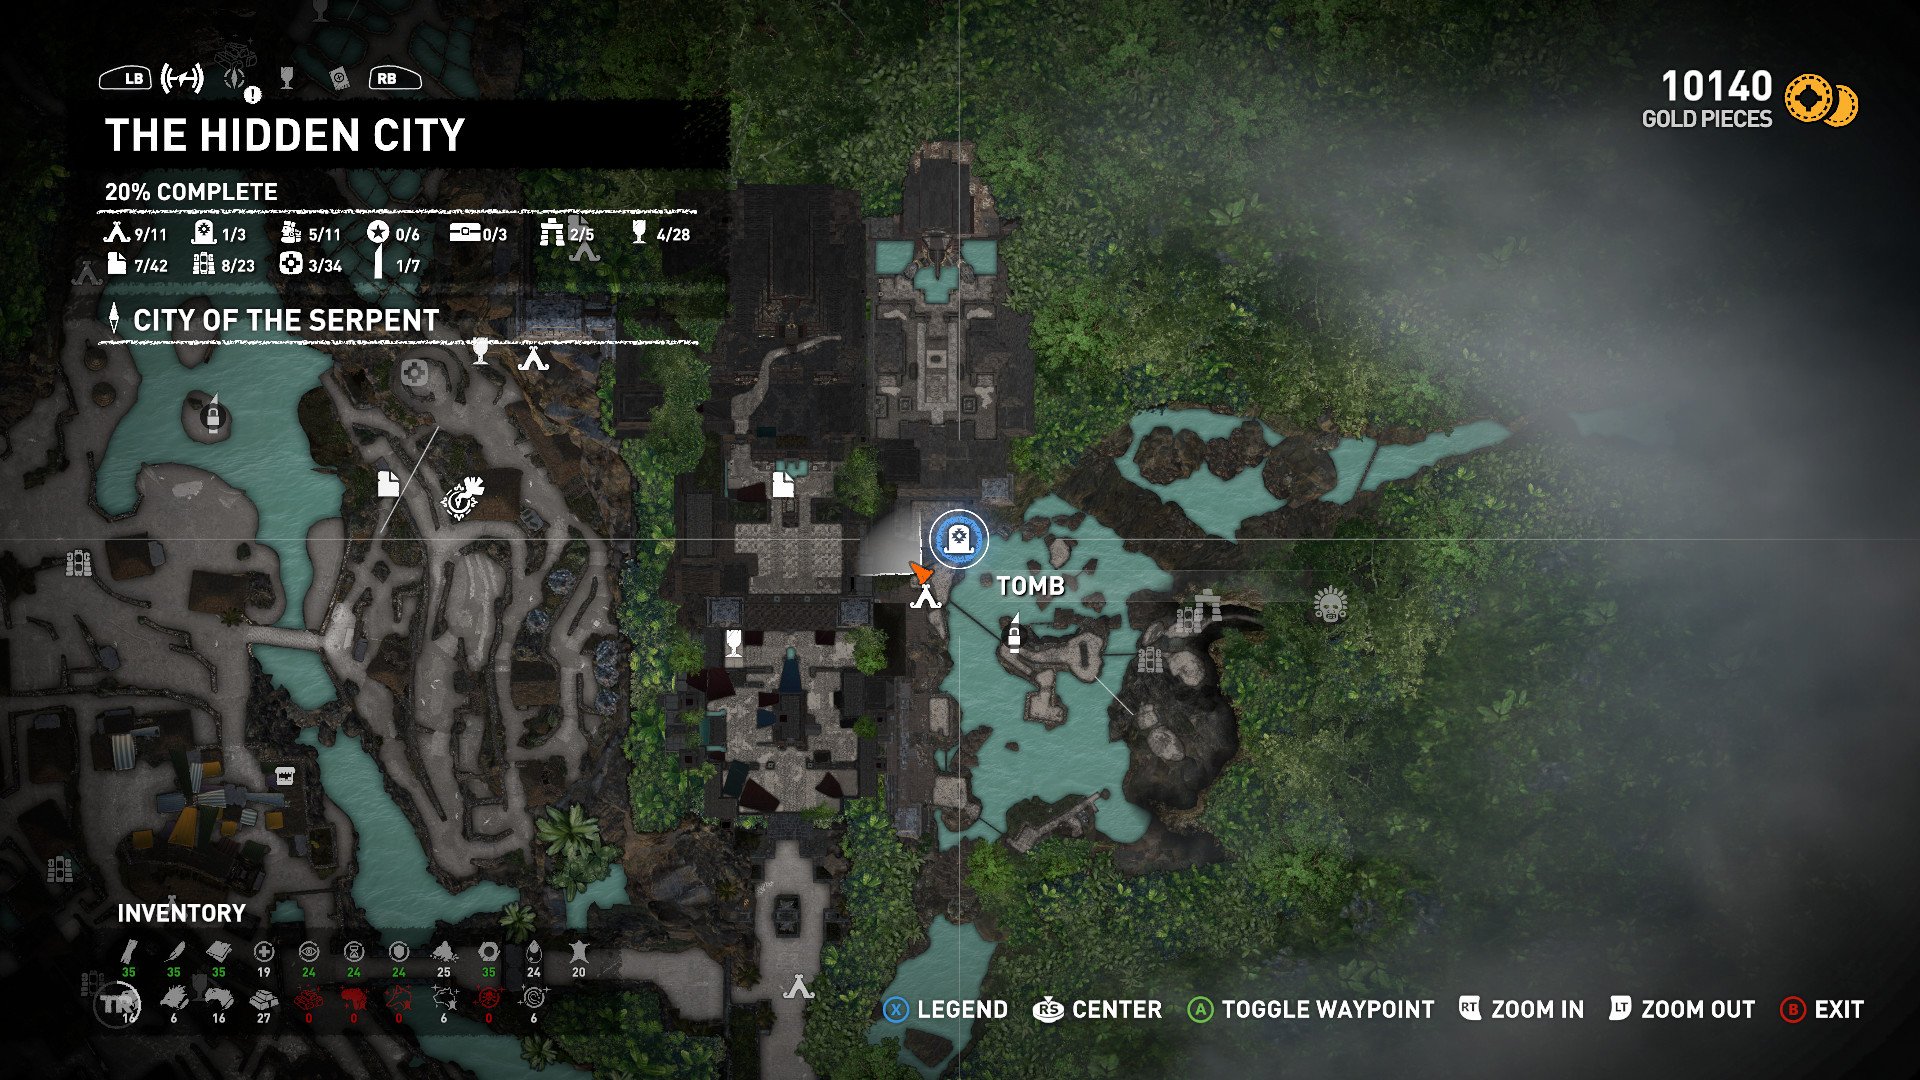
This tomb is one of three located in The Hidden City of Paititi. It is near the Temple of Kukulkan base camp.
Our complete list of guides on how to solve every tomb in Shadow of the Tomb Raider
How to complete the Ancient Aqueduct Challenge Tomb
The following steps will guide you through the aforementioned Challenge Tomb in Shadow of the Tomb Raider.
Article continues below- You'll notice a bridge leading to the prison. Ignore this and jump to the rock wall on your left.
- Rappel down to find the tomb entrance.
- Swim through the underwater passageway until you reach the next side. The tunnel is linear so you will not get lost.
- Continue following the path up a rock wall and jump into the water below.
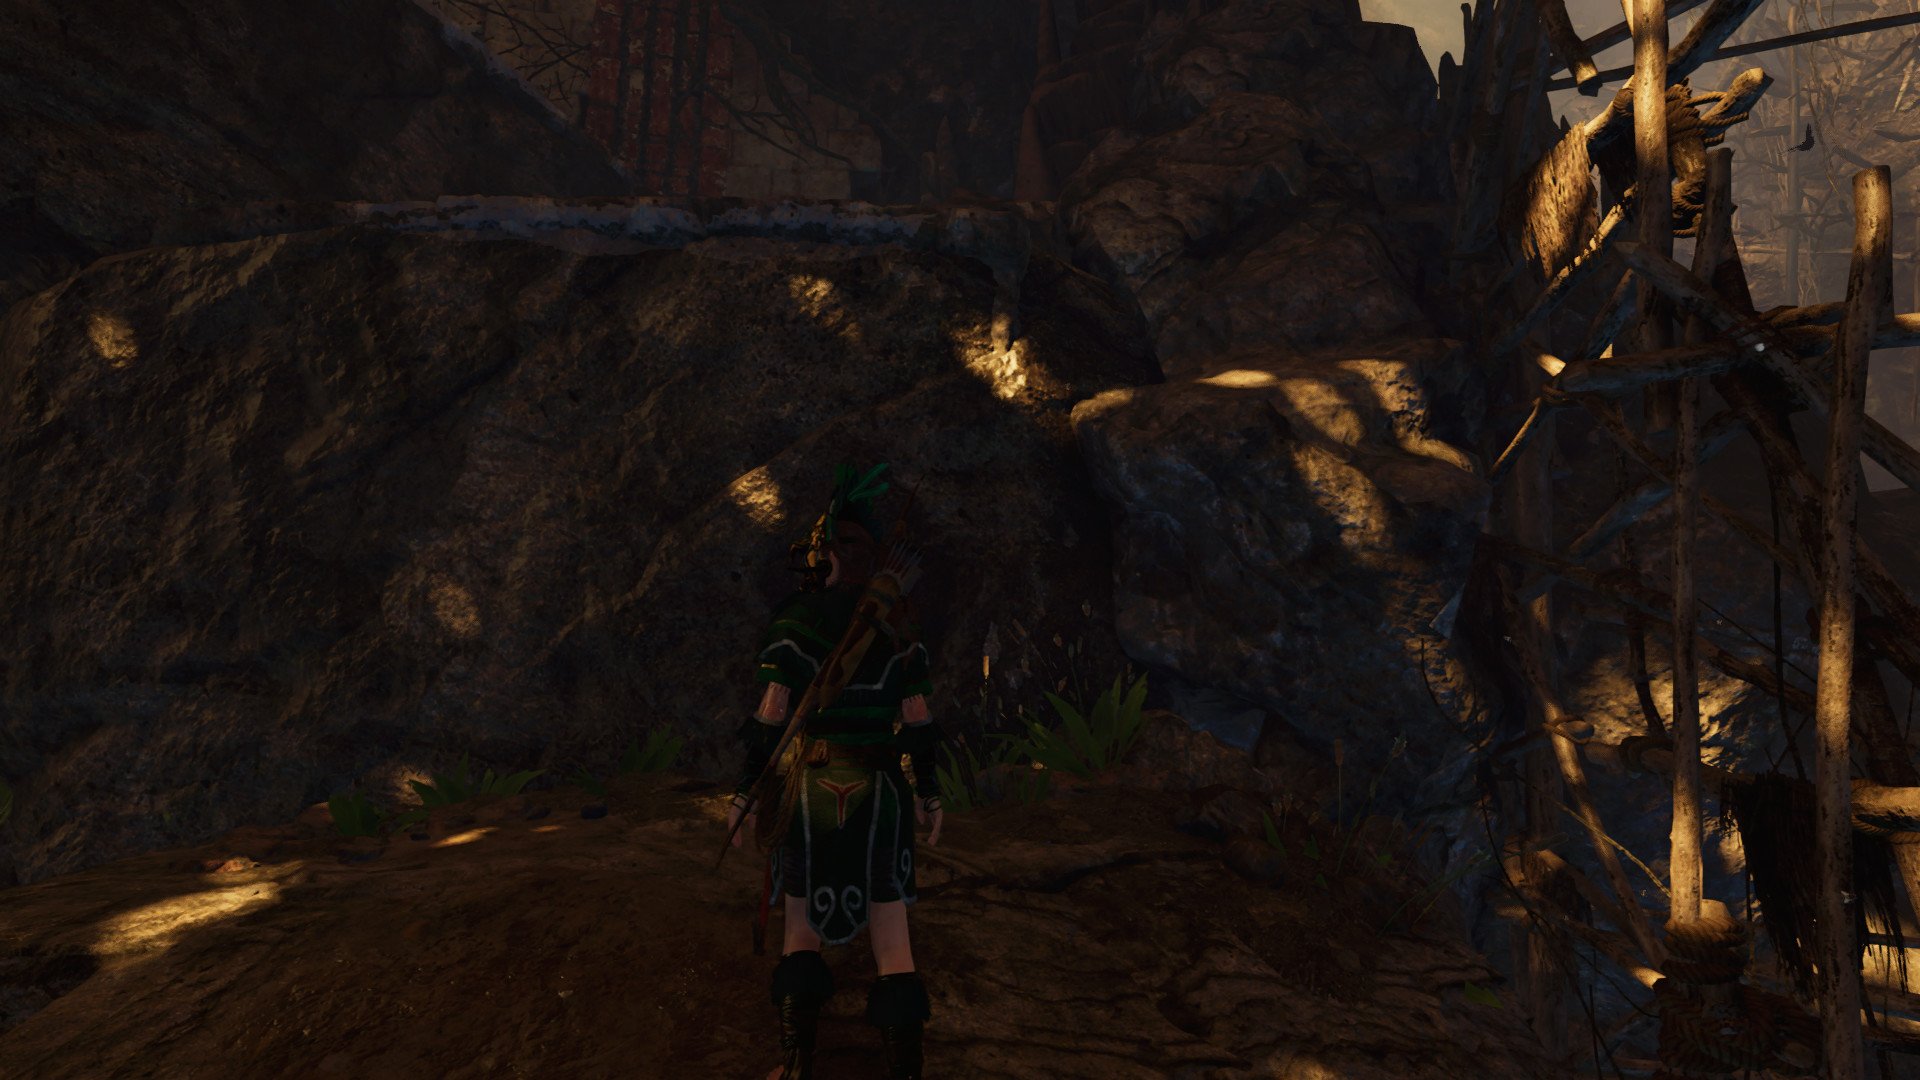
- Climb up onto the ground next to the wooden barrier blocking your path.
- Then jump up to the ledges above and continue following the path.
- Jump down into a pool of water and progress forward until you reach the main puzzle chamber.
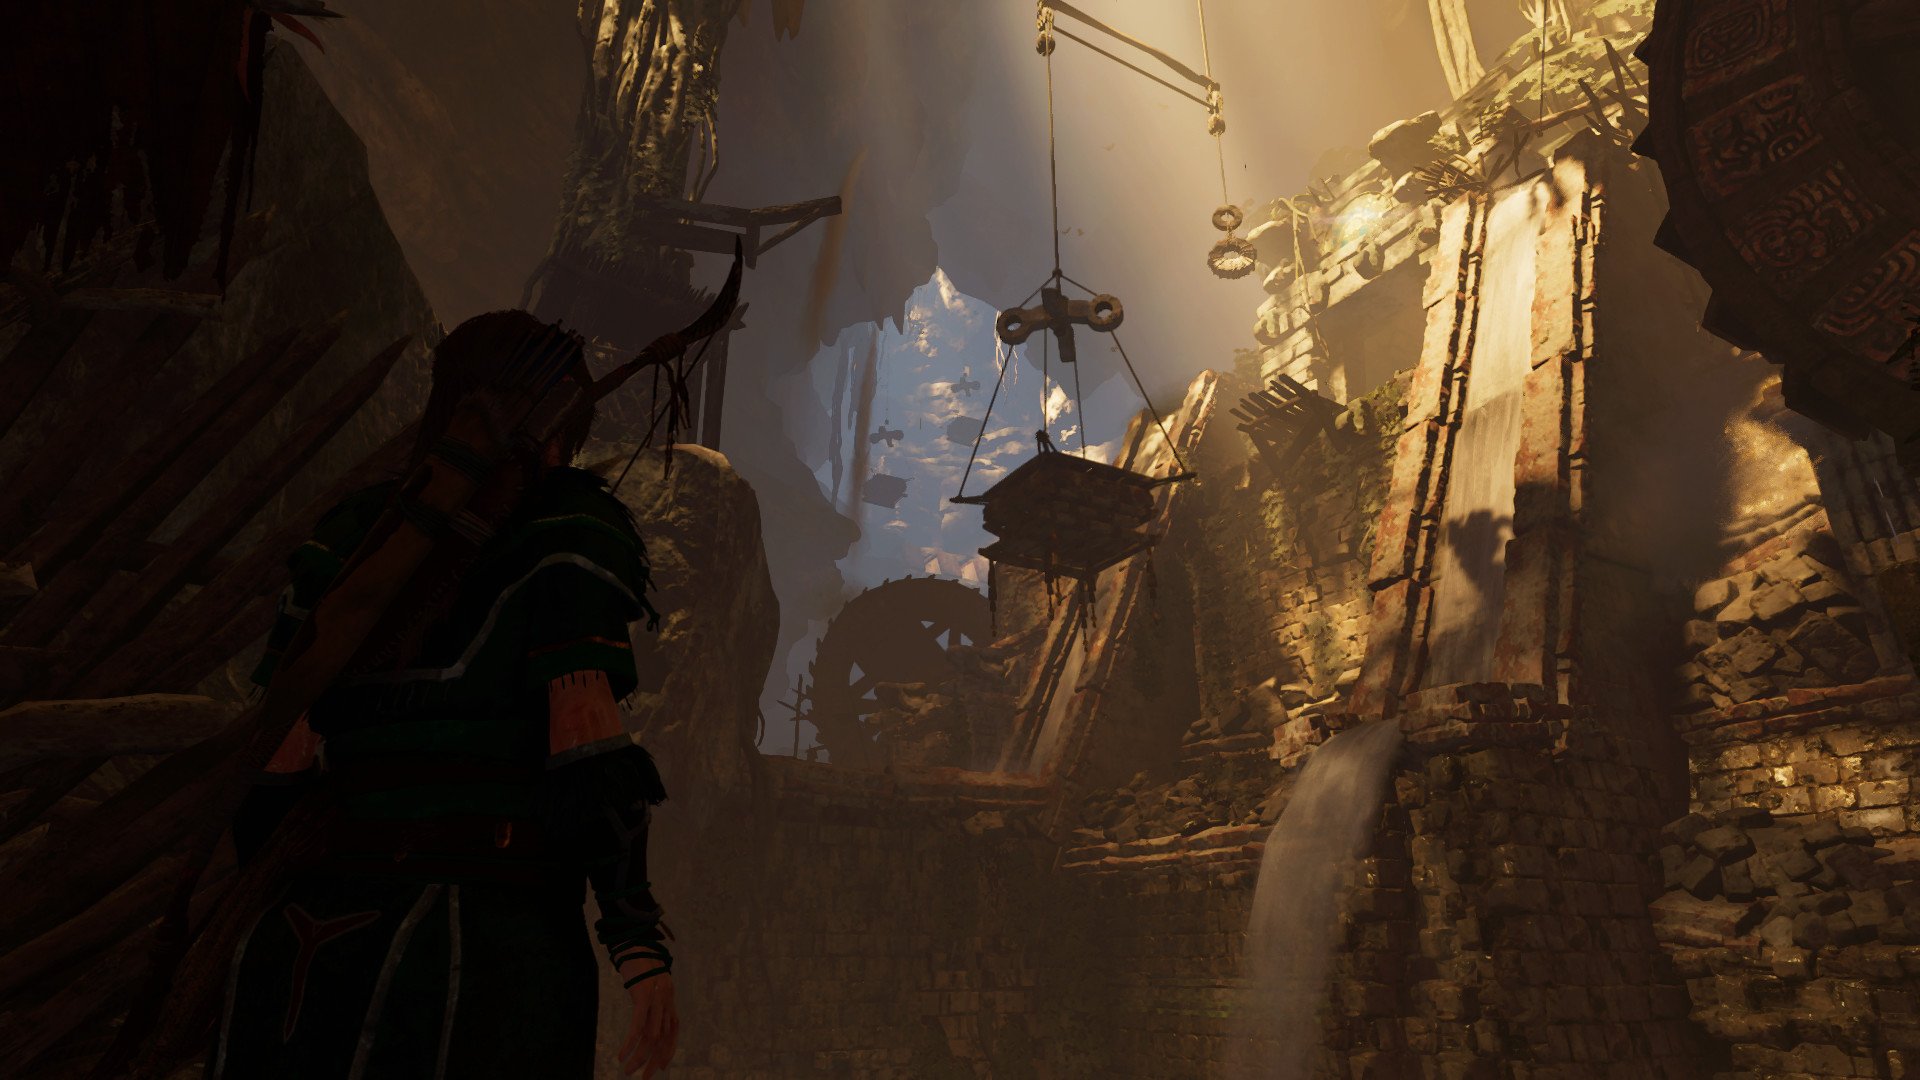
- Hop into the large basin where the aqueduct is draining.
- kick the wooden raft toward the wooden barrier on the bottom left.
- Use your bow to attach the raft and barrier with a rope.
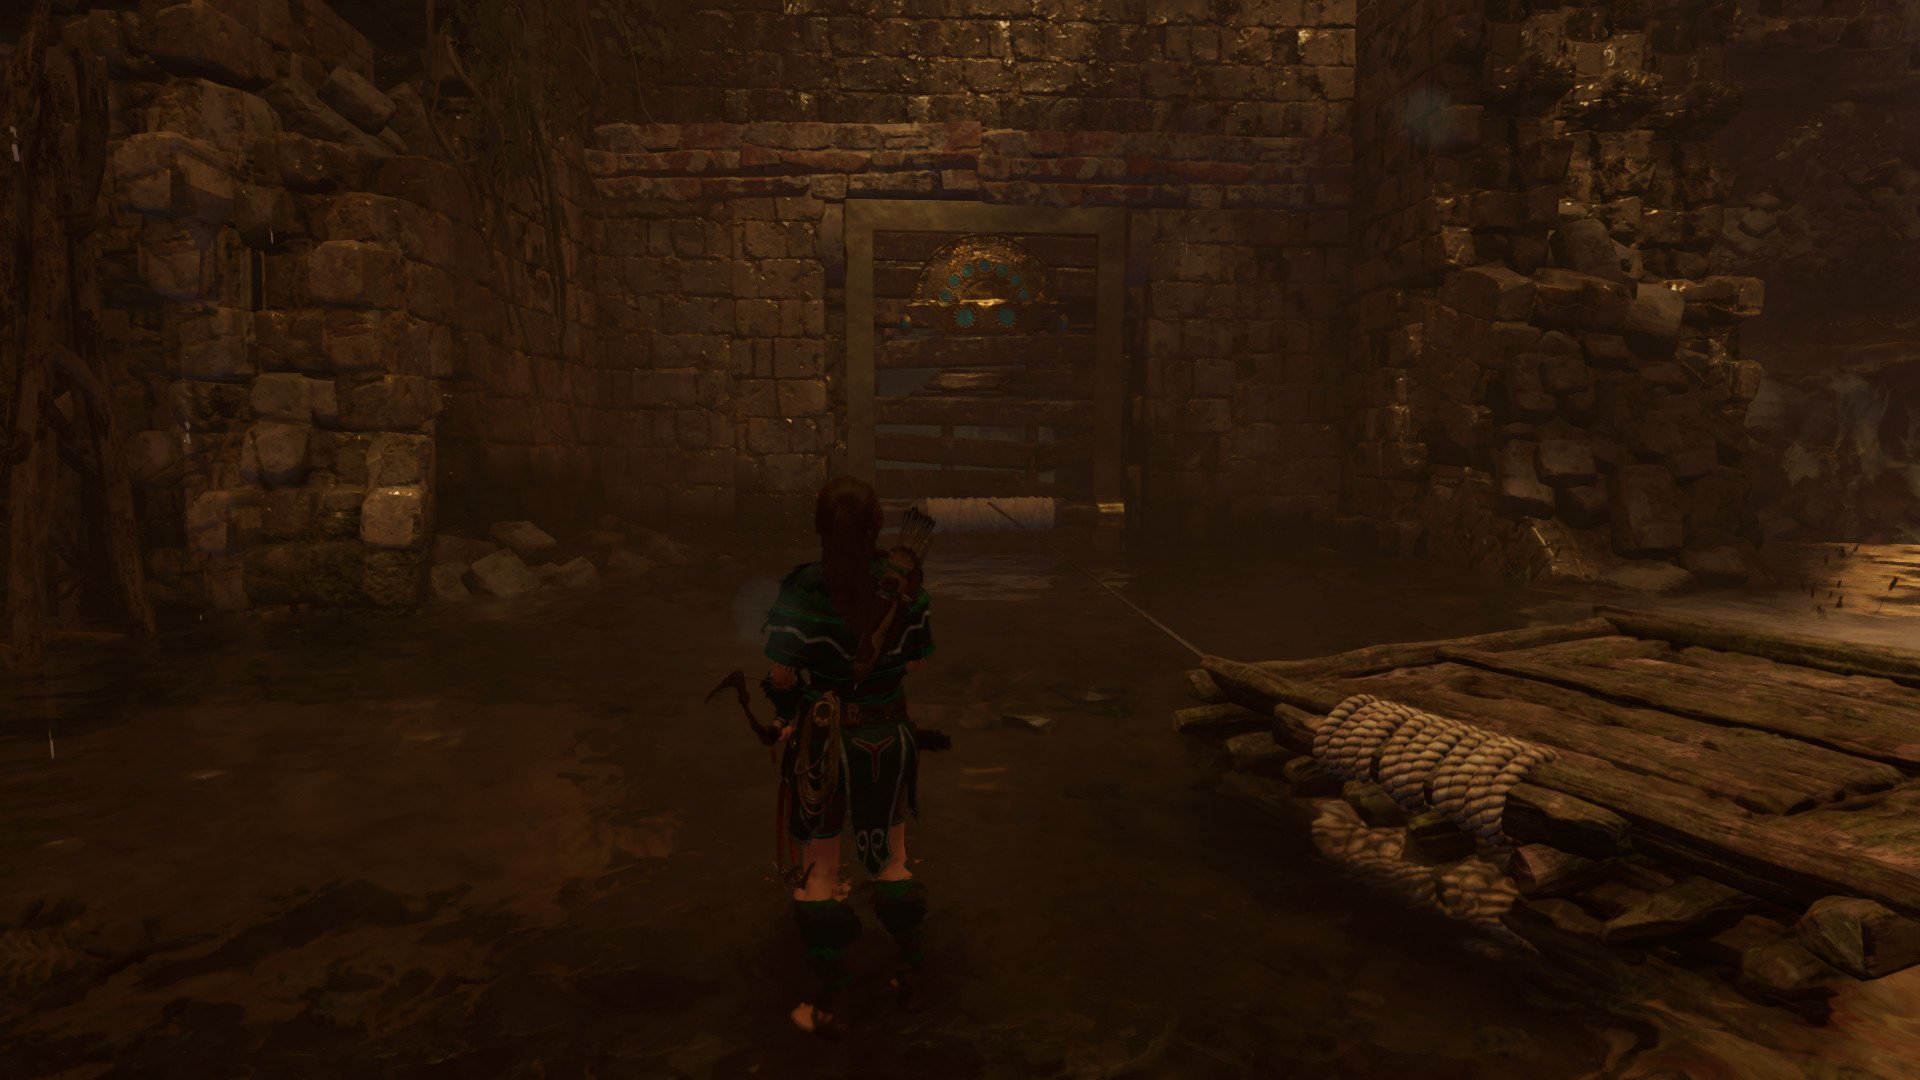
- Jump back up the walls and pull the wooden mechanism in front of you when you entered the chamber and let it retract back, causing the water to rise.
- With the rope attached between both objects, the raft will lift the wooden barrier, allowing you to swim under and past it.
- Follow the underwater path until you reach a wall you'll need to pry through with your pickaxe.
- Use your survival instinct to locate the lever on the left side of the room on the farthest wall.
- With your pickaxe, pry it forward so that the gate opens up and drains the water.
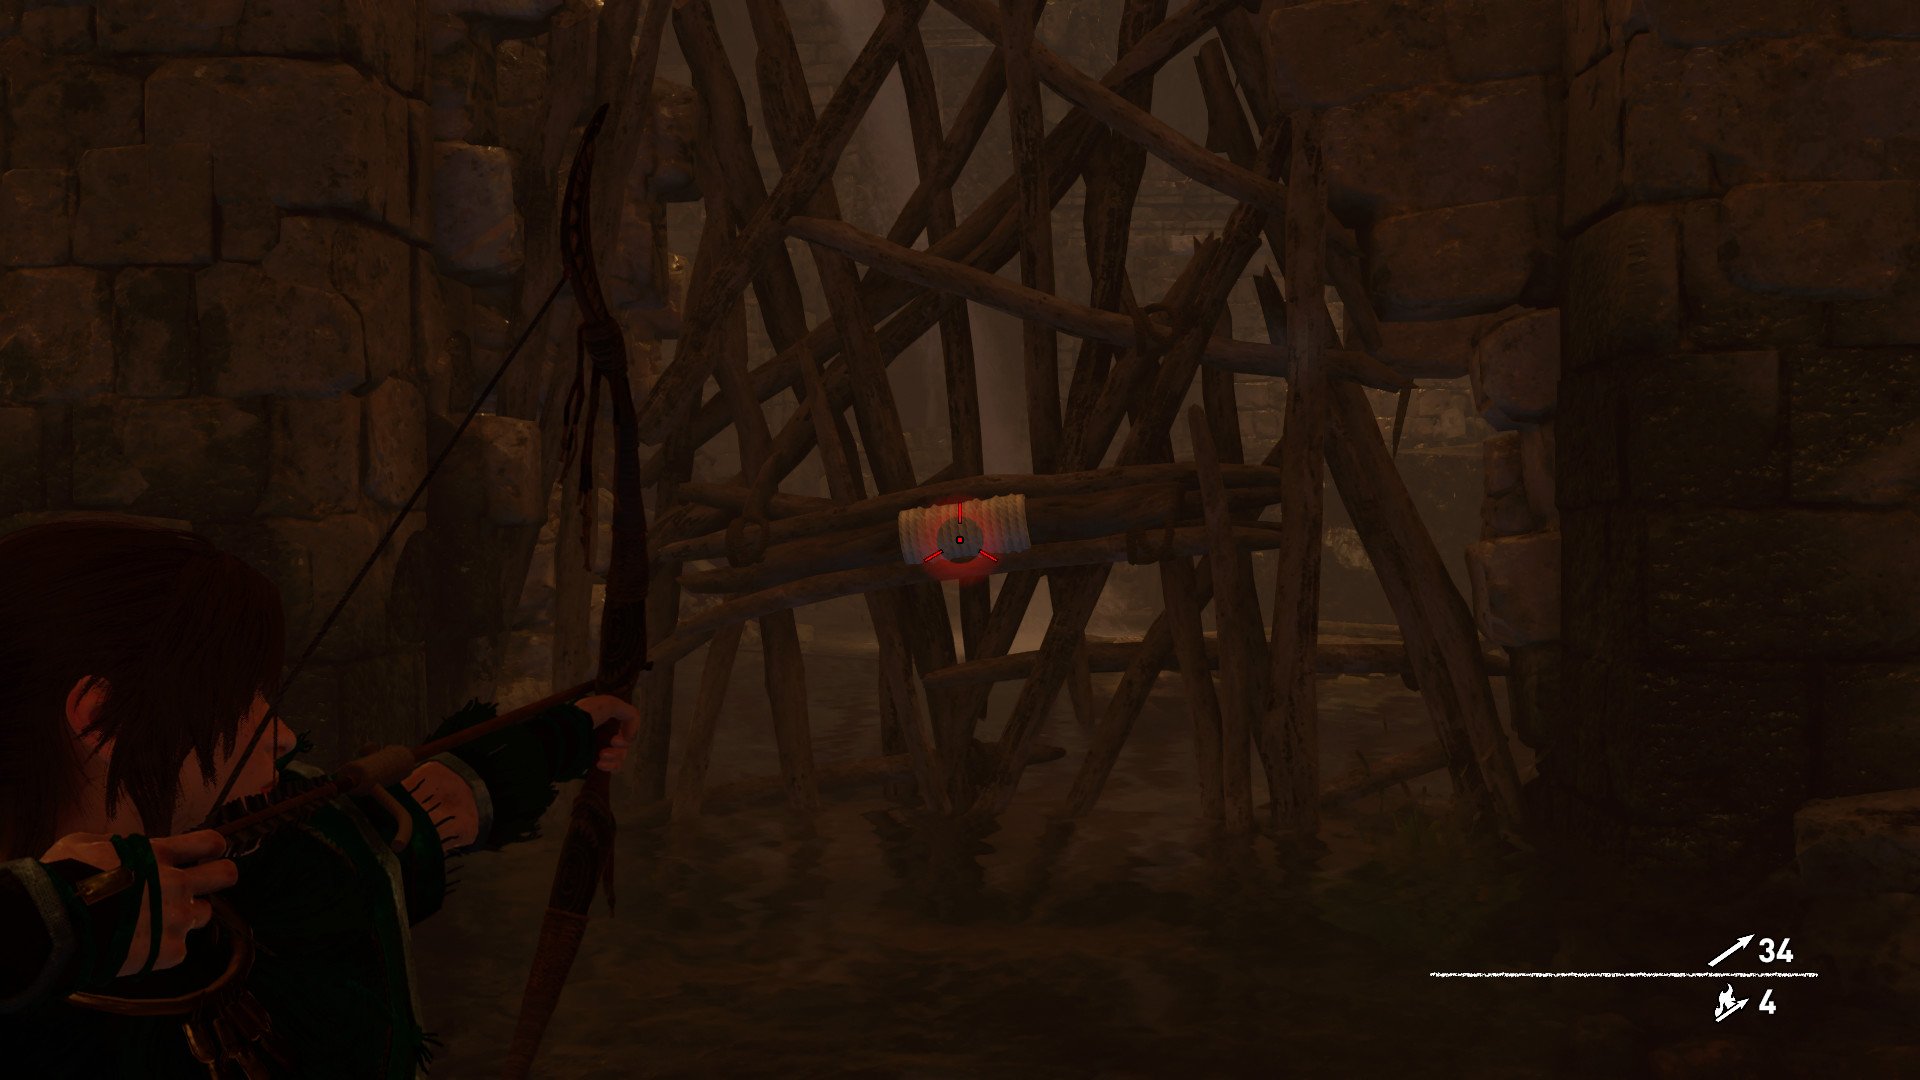
- Pull the other wooden barrier apart with your bow and rope so that you can enter the first section you were in with the raft.
- At this point, you'll need to fend off a few Yaaxil enemies.
- Cut the rope on the raft.
- Kick the raft into the next section through the open hole in the wall, lining it up with the ledge on the far wall.
- Run back to the first section and pull the wooden mechanism to raise the water again.
- Swim back to where the raft is and use it to climb into the next section where you'll need to fight more Yaaxil.
- Pull the next wooden mechanism you see upon following the path.
- After the water rises, jump onto the raft and use a rope to connect it to the rotating water wheel.
- Then jump onto the wall once the water wheel pulls you close enough and before the rope snaps away.
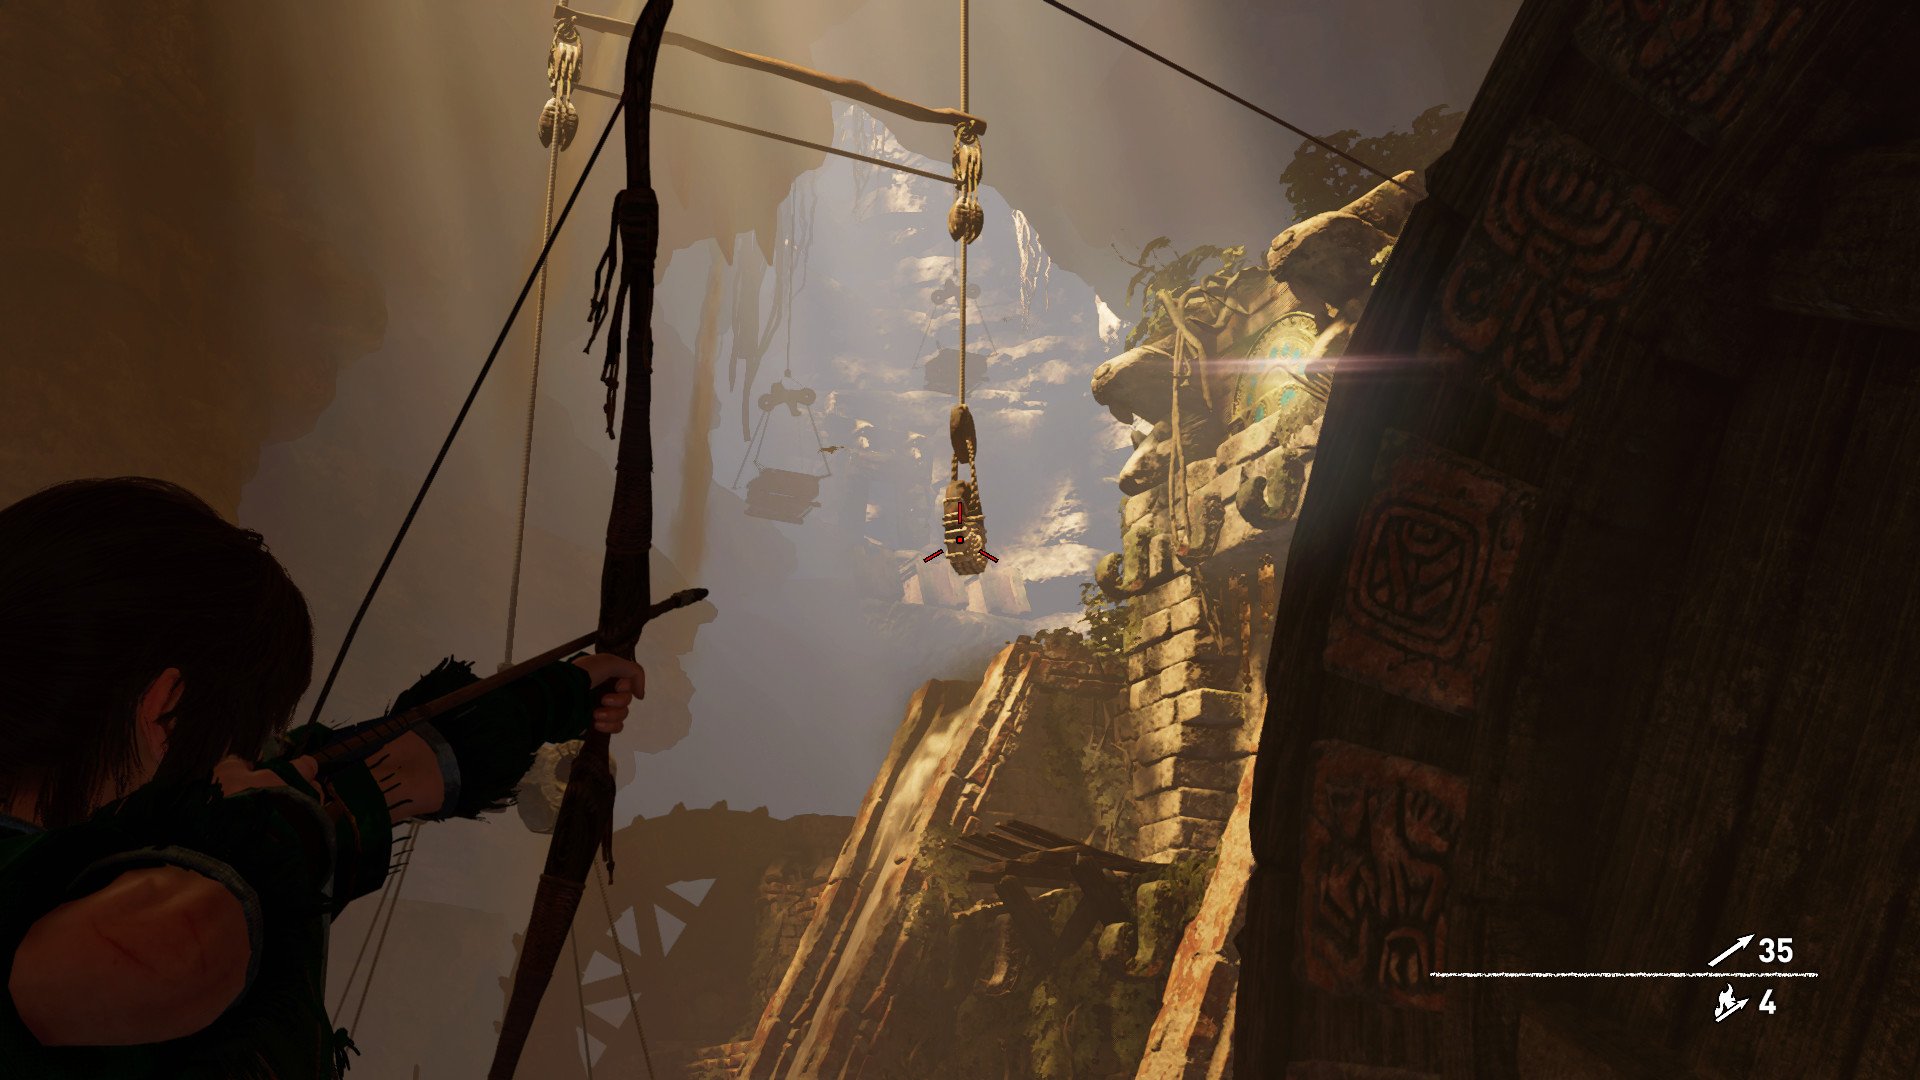
- Look up toward the aqueduct and shoot the hanging crane hook with your bow to attach a rope between it and the water wheel. More Yaaxil will show up that you'll need to defeat.
- Timing it just right, pull the raft toward you once again with a rope and the water wheel.
- When it's close enough, shoot an arrow at the hook hanging near the aqueduct to attach it to the water wheel.
- Quickly jump onto the raft before it floats away.
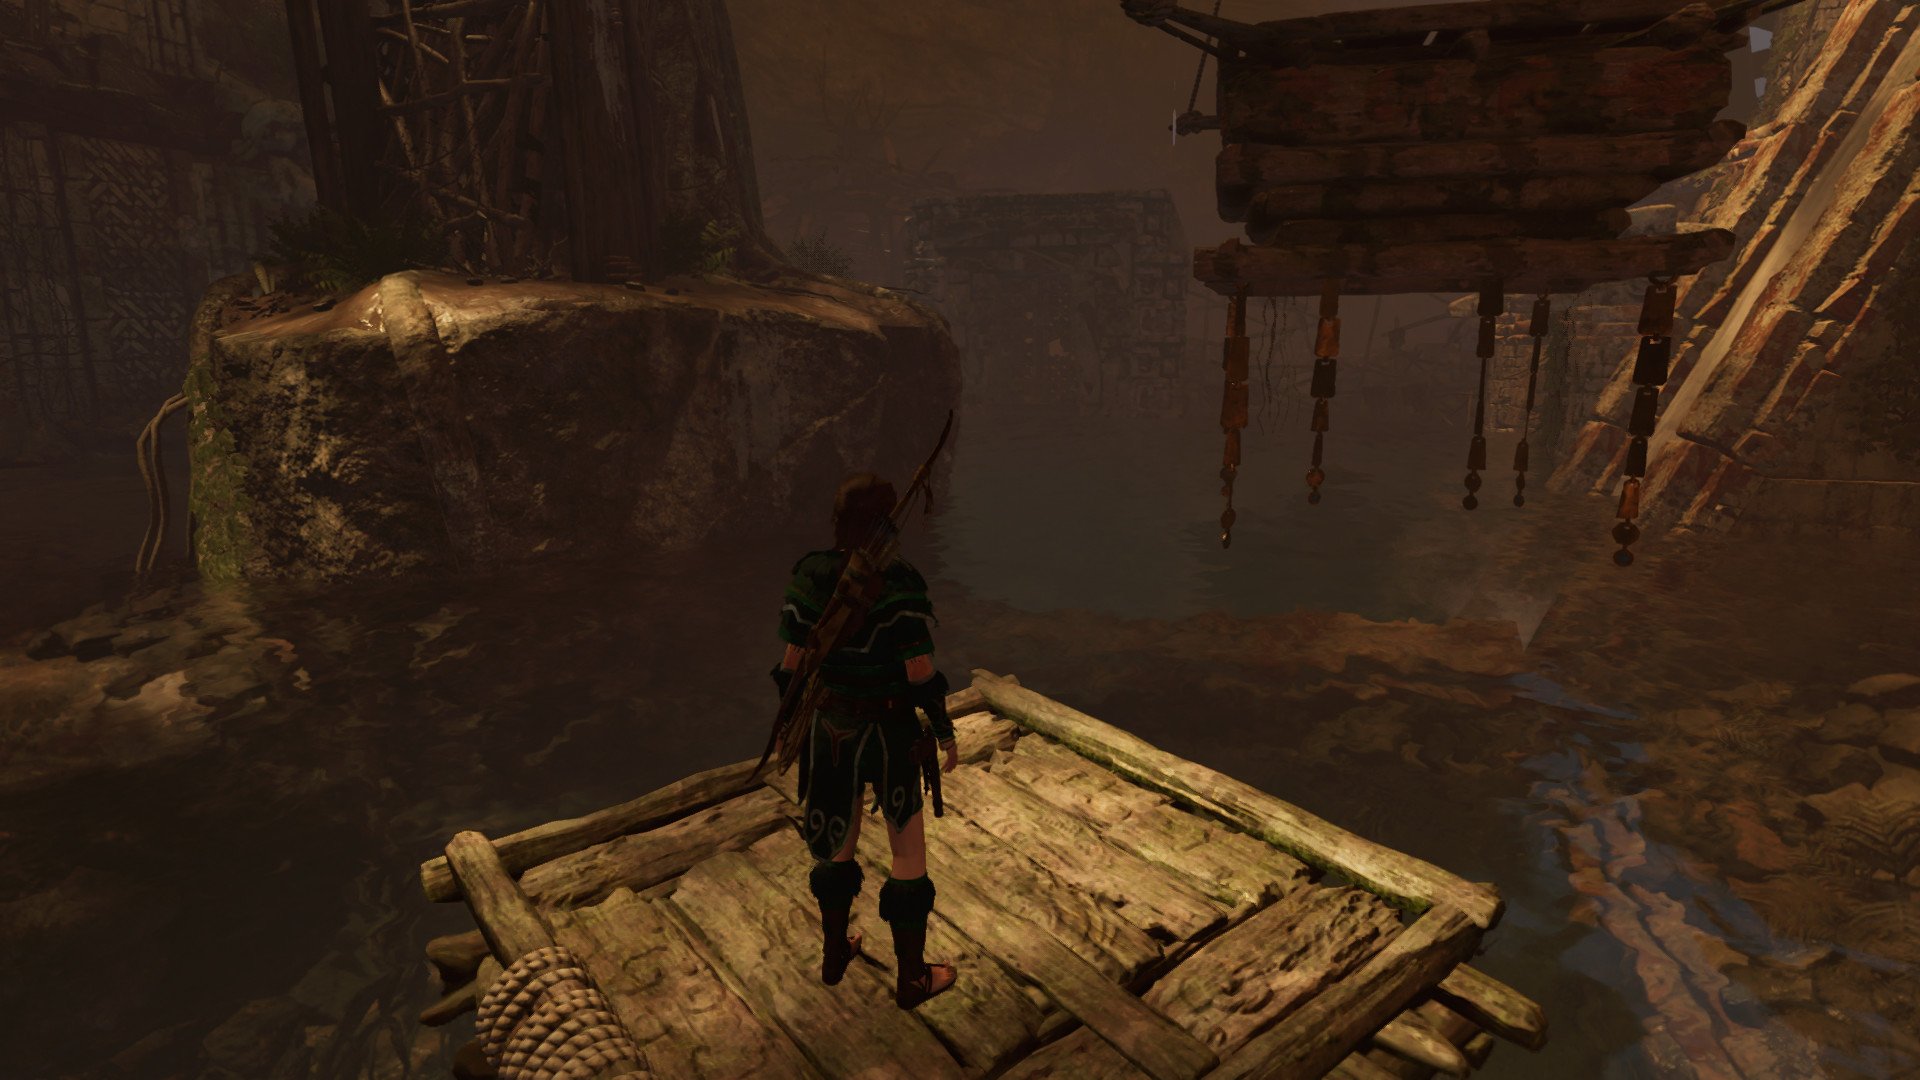
- While the raft is floating by the center area, jump up the walls and across the platform that was raised with the hook.
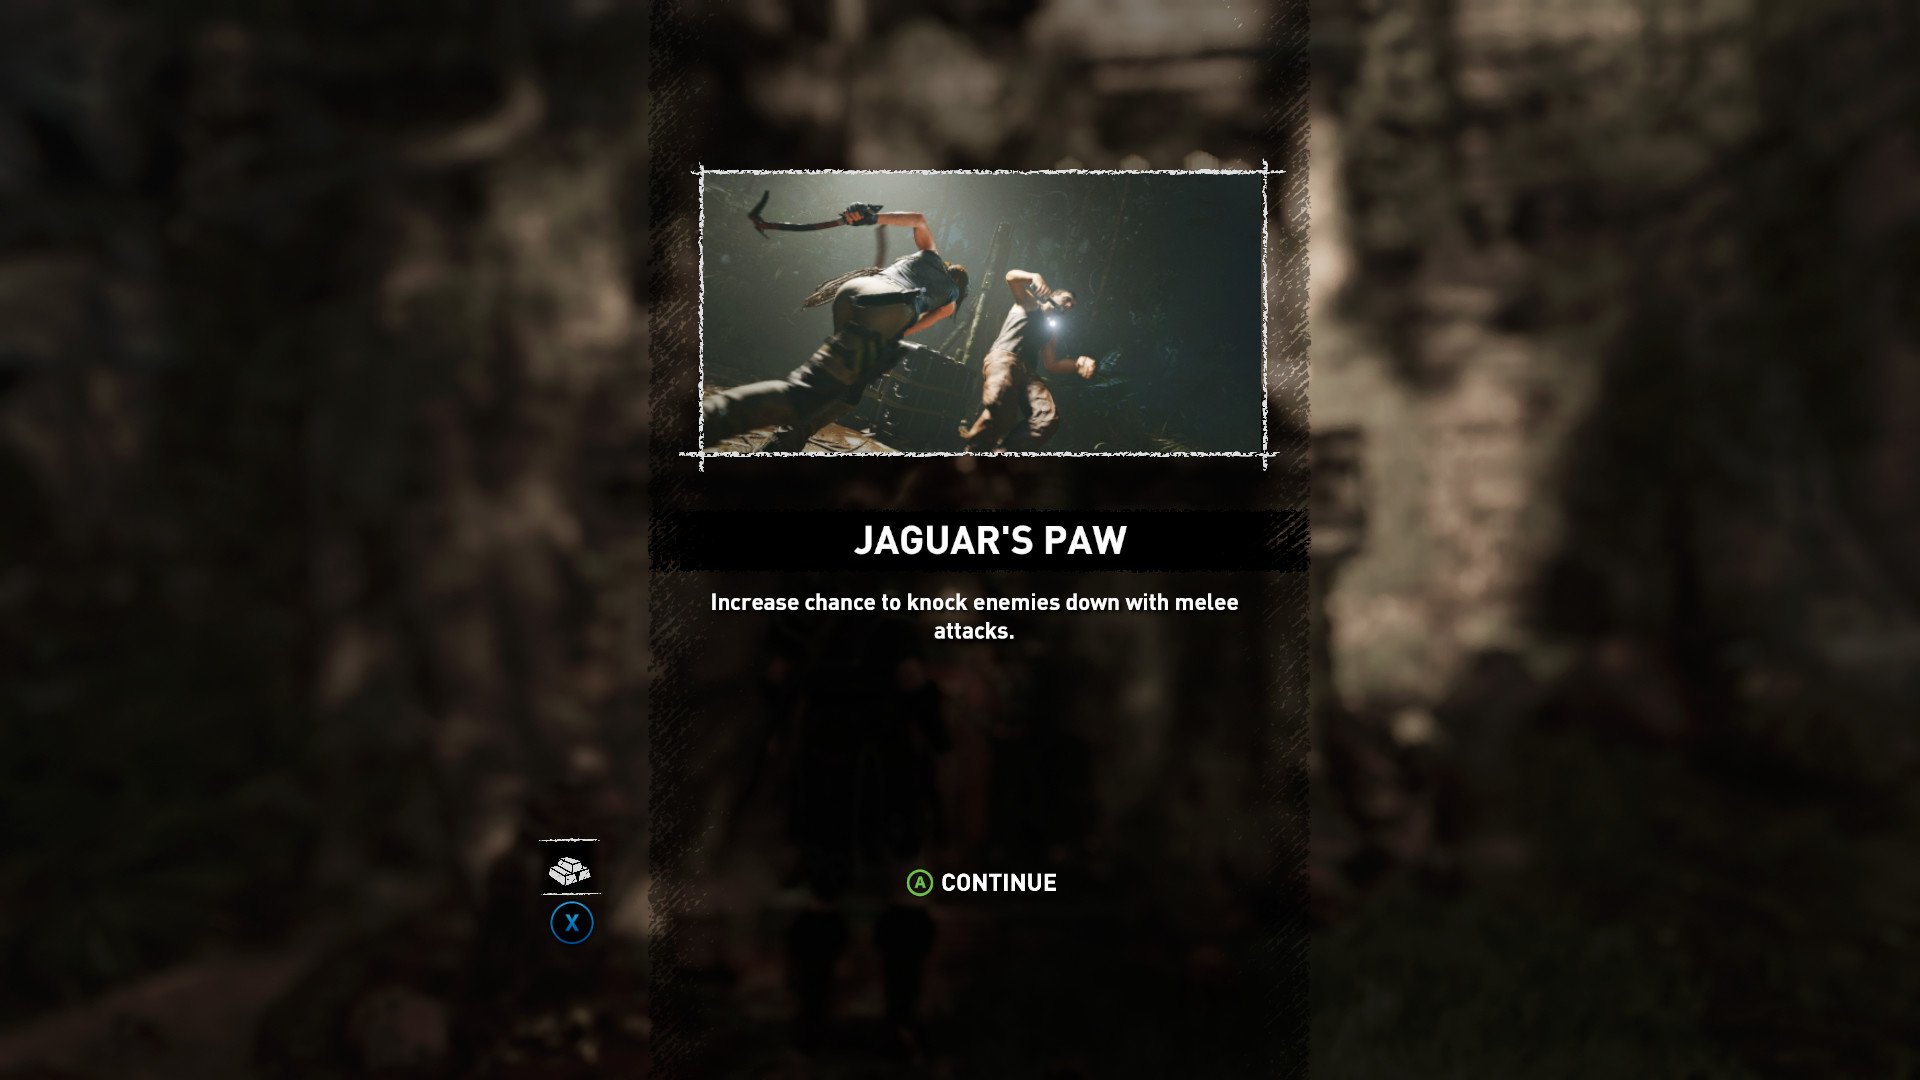
Leaping into the next room, the tomb will now be complete. You'll unlock the Jaguar's Paw skill, which increases the chance to known down enemies with melee attacks.
Remember to check out our thoughts of the game in our review (spoiler free, of course) and why we consider it to be "Lara Croft's best adventure yet."
All the latest news, reviews, and guides for Windows and Xbox diehards.

Jennifer Locke is a Former Contributor for Windows Central, having played video games nearly her entire life, and is very happy Xbox is growing a stronger first-party portfolio. You can find her obsessing over Star Wars and other geeky things on Twitter @JenLocke95.

 Windows Central Insider


