How to install and use Ollama to run AI LLMs locally on your Windows 11 PC
There are various different ways to run LLMs locally on your Windows machine, and Ollama is one of the simplest.
All the latest news, reviews, and guides for Windows and Xbox diehards.
You are now subscribed
Your newsletter sign-up was successful
The most common interactions most of us will have with AI right now is through a cloud-based tool such as ChatGPT or Copilot. Those tools require a connection to the internet to use, but the trade-off there is that they're usable on basically any device.
But not everyone wants to rely on the cloud for their AI use, especially developers. For that, you want the LLM to be running locally on your machine. Which is where Ollama comes in.
Ollama is an inferencing tool that allows you to run a wide range of LLMs natively on your PC. It's not the only way you can achieve this, but it is one of the simplest.
Once up and running, there's a lot you can do with Ollama and the LLMs you're using through it, but the first stage is getting set up. So let's walk you through it.
What you need to run Ollama
Running Ollama itself isn't much of a drag and can be done on a wide range of hardware. It's compatible with Windows 11, macOS, and Linux, and you can even use it through your Linux distros inside Windows 11 via WSL.
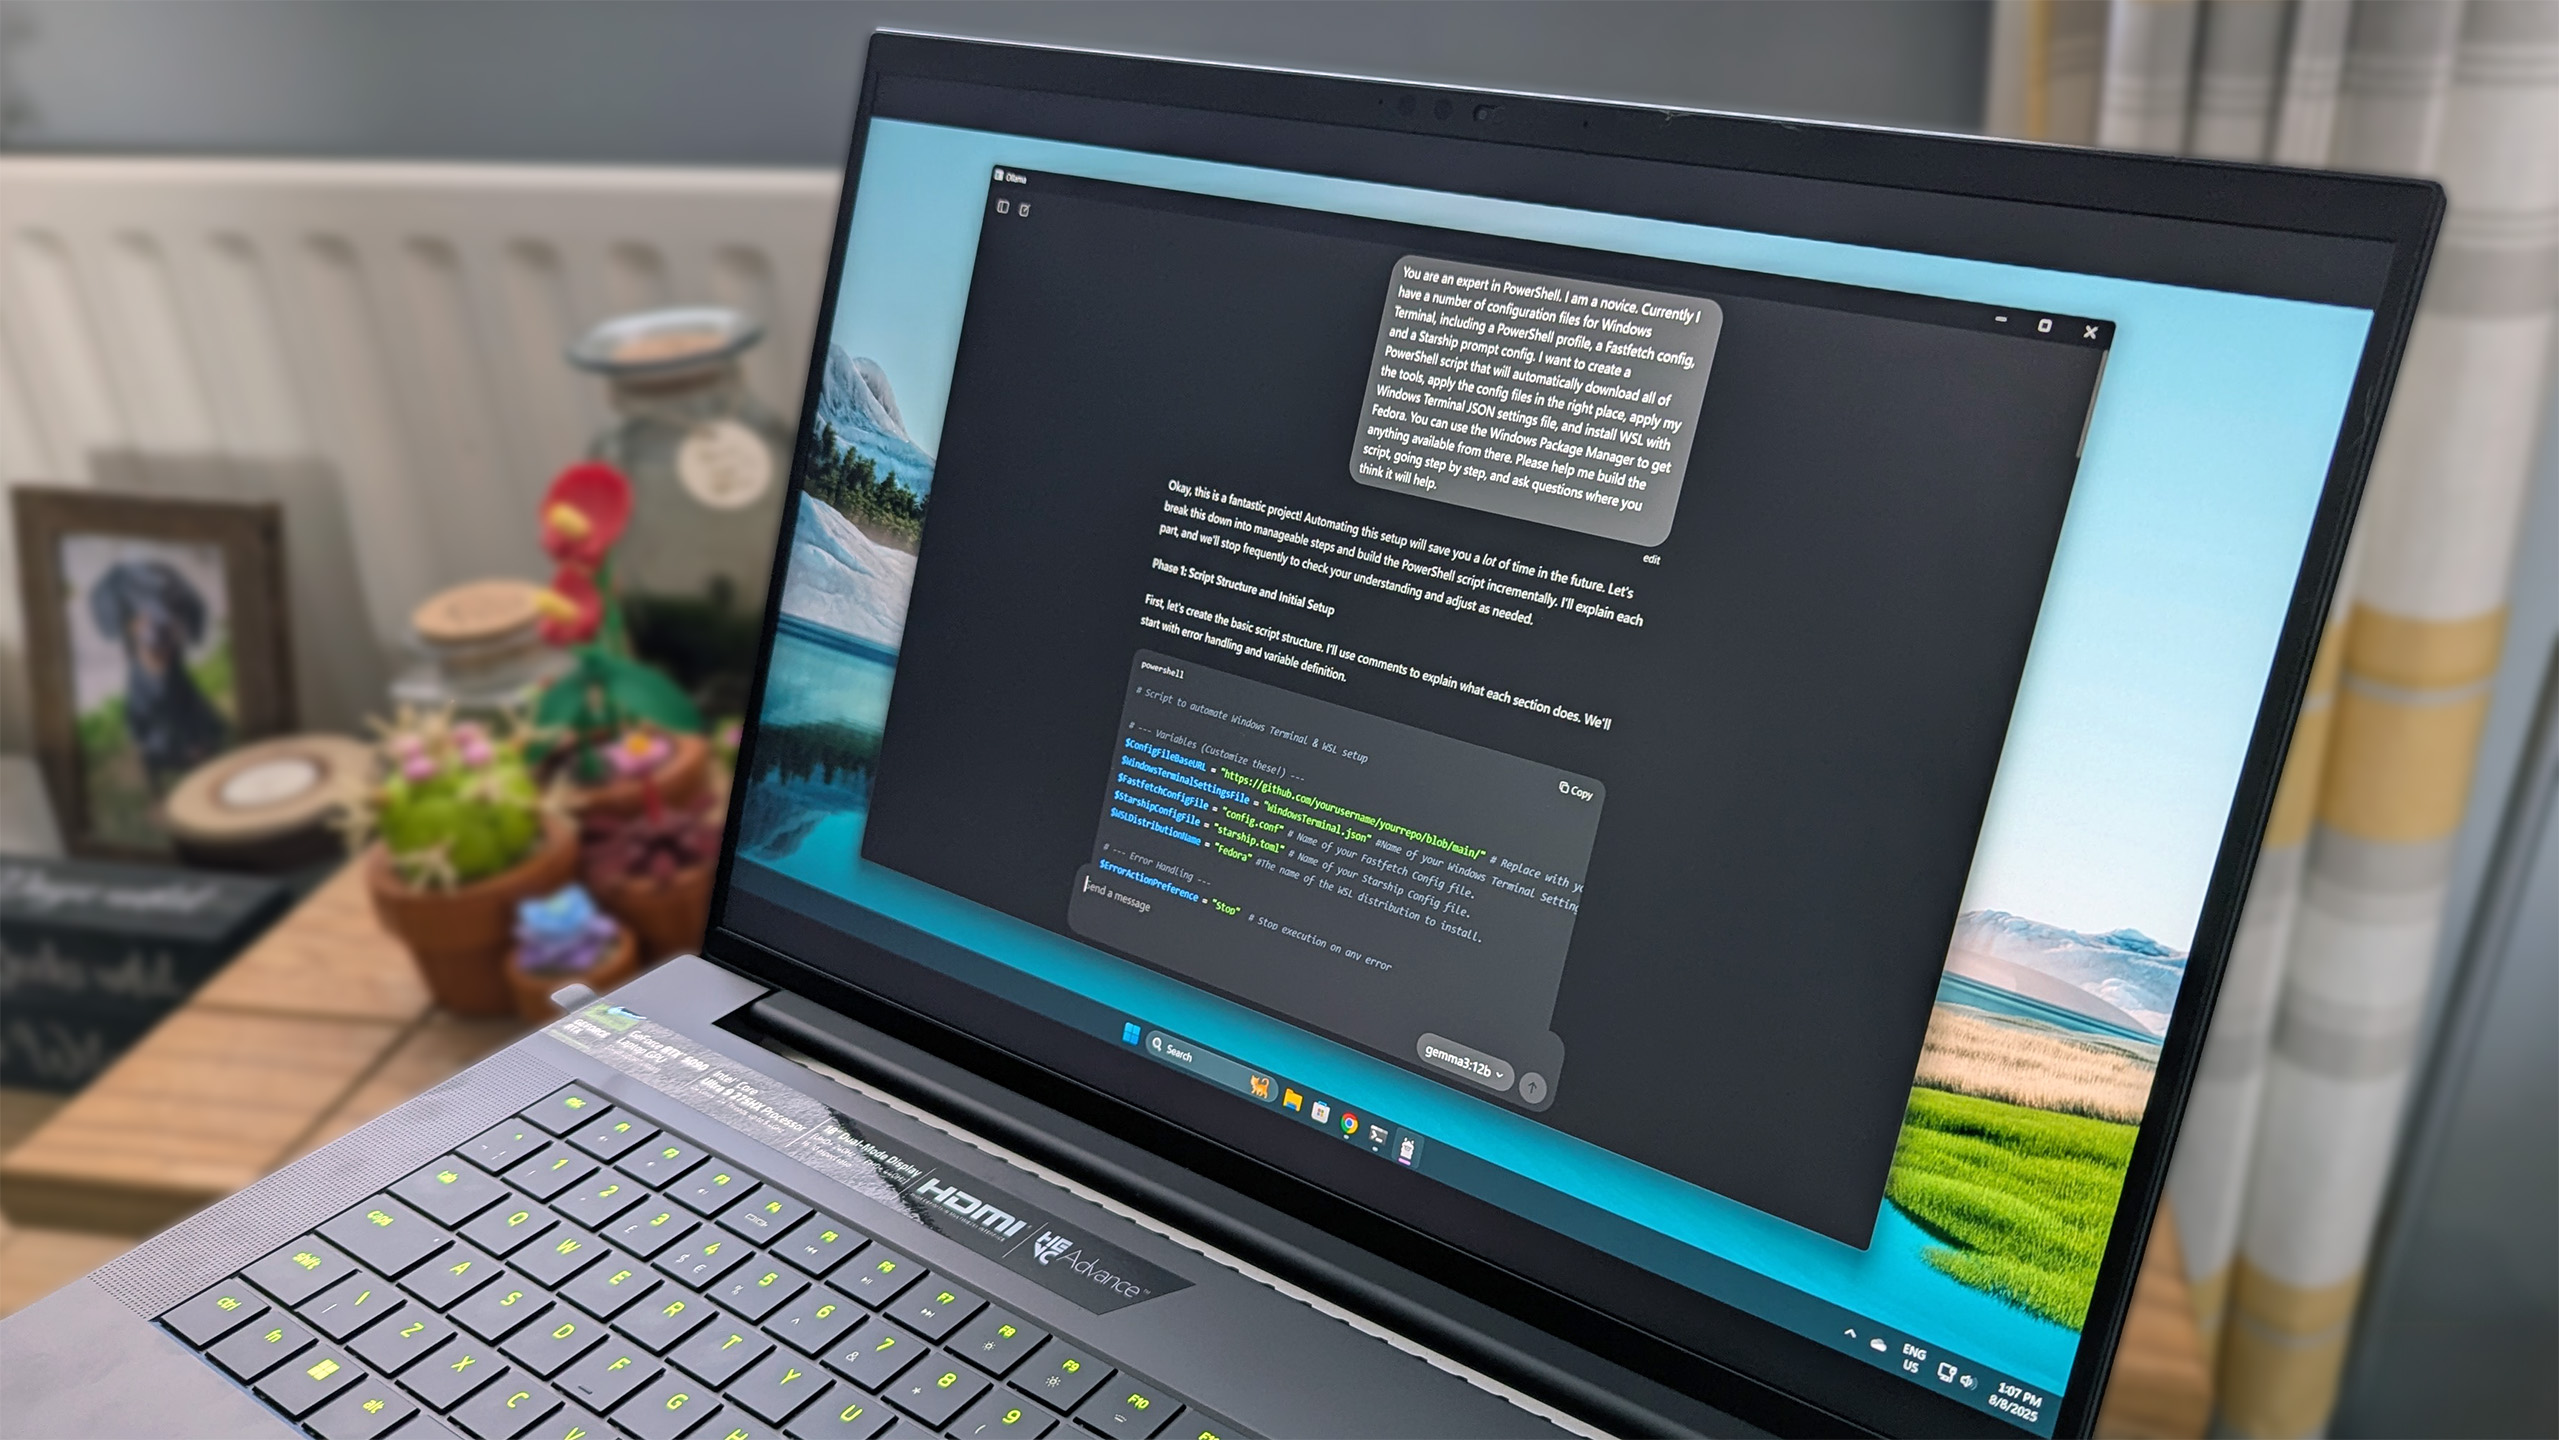
Where you'll need some beefier hardware is actually running the LLMs. The bigger the model, the more horsepower you need. The models will need a GPU to run, right now, it hasn't been optimized to run on an NPU in a new Copilot+ PC.
Essentially, if you have a fairly modern PC with at least 8GB of RAM and a dedicated GPU, you should be able to get some mileage using Ollama.
All the latest news, reviews, and guides for Windows and Xbox diehards.
If you don't have a dedicated GPU then Ollama can still be used, but it will leverage your CPU and RAM, instead. This means you don't get the same performance as on a dedicated GPU, but it can still work.
The same rules apply. Memory is king when using a local LLM. If you have lots of it you can run larger models. But even on a laptop CPU you can use 1b, 3b and 4b models with success.
How to install Ollama on Windows 11
Installing Ollama on Windows 11 is as simple as downloading the installer from the website (or GitHub repo) and installing it.
That's literally all there is to it.
Once installed and subsequently opened, you won't see anything on your desktop. It runs entirely in the background, but you'll see its icon in your taskbar.
You can also check it's running properly by navigating to localhost:11434 in your web browser.
Installing and running your first LLM on Ollama
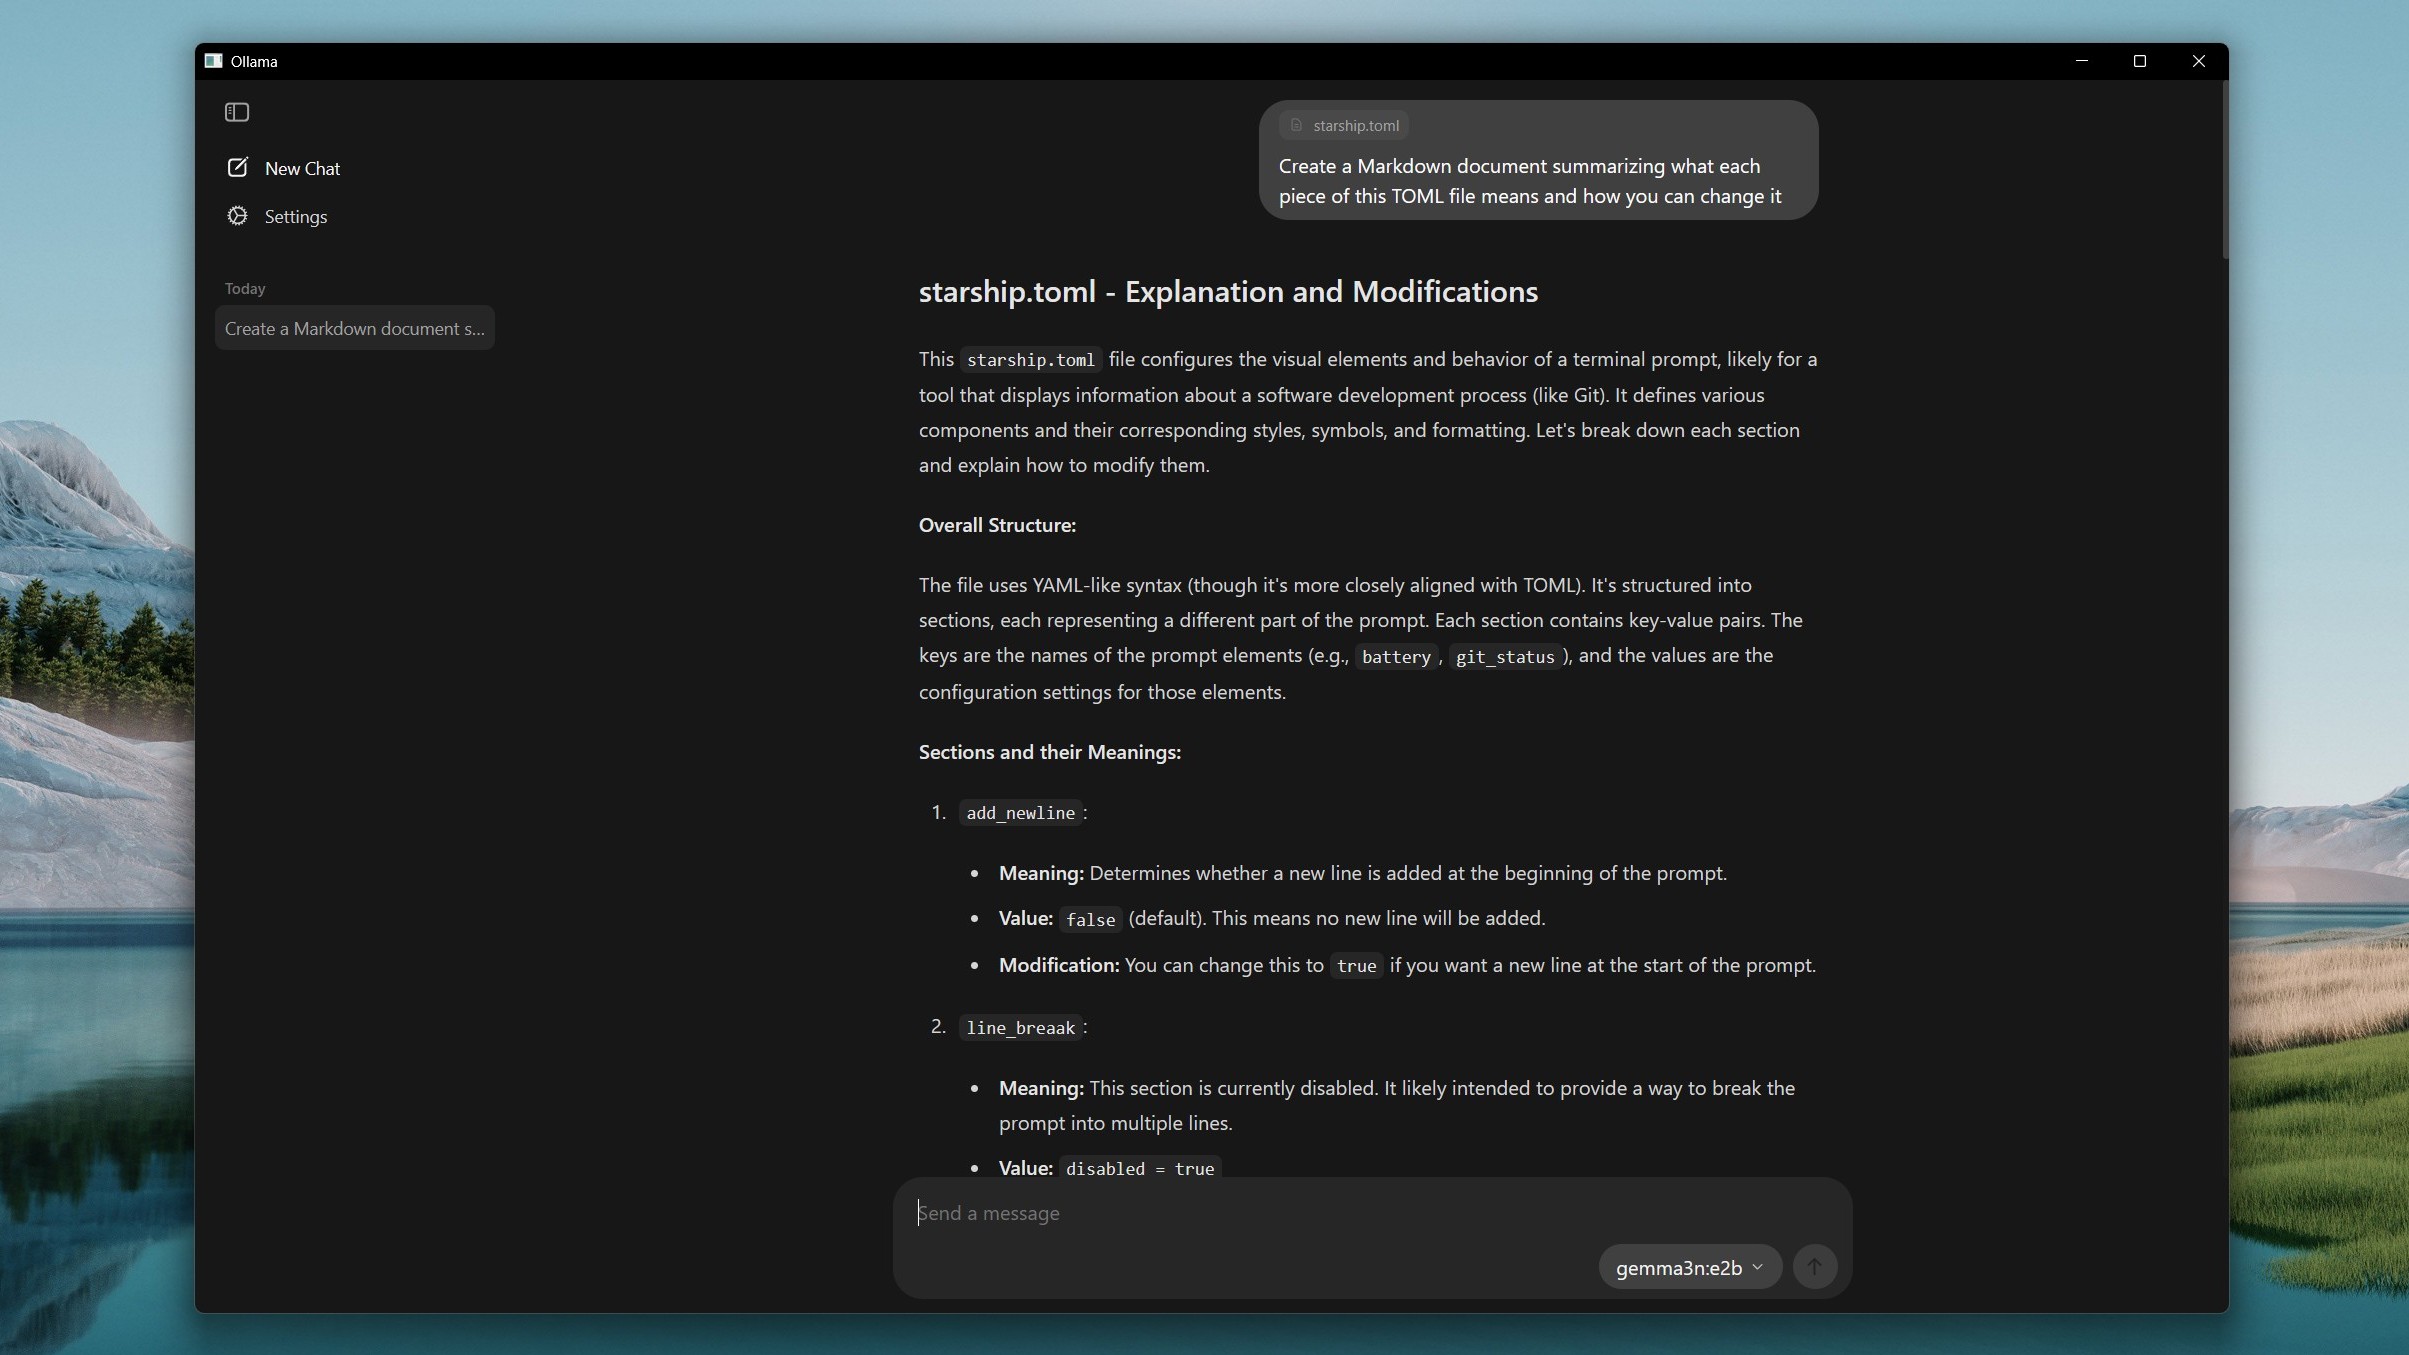
Ollama now has both a CLI (command line interface) and GUI interface. But it's still handy to be comfortable in either PowerShell or WSL to get the most from it, as the GUI app is still very basic.
There are more advanced third-party options you can use, too. The easiest is the Page Assist browser extension, which launches a full web app to use with Ollama. A more popular, but also slightly harder to install option, is OpenWebUI.
Two main commands in the terminal you need to know are as follows:
ollama pull <llm name>

ollama run <llm name>
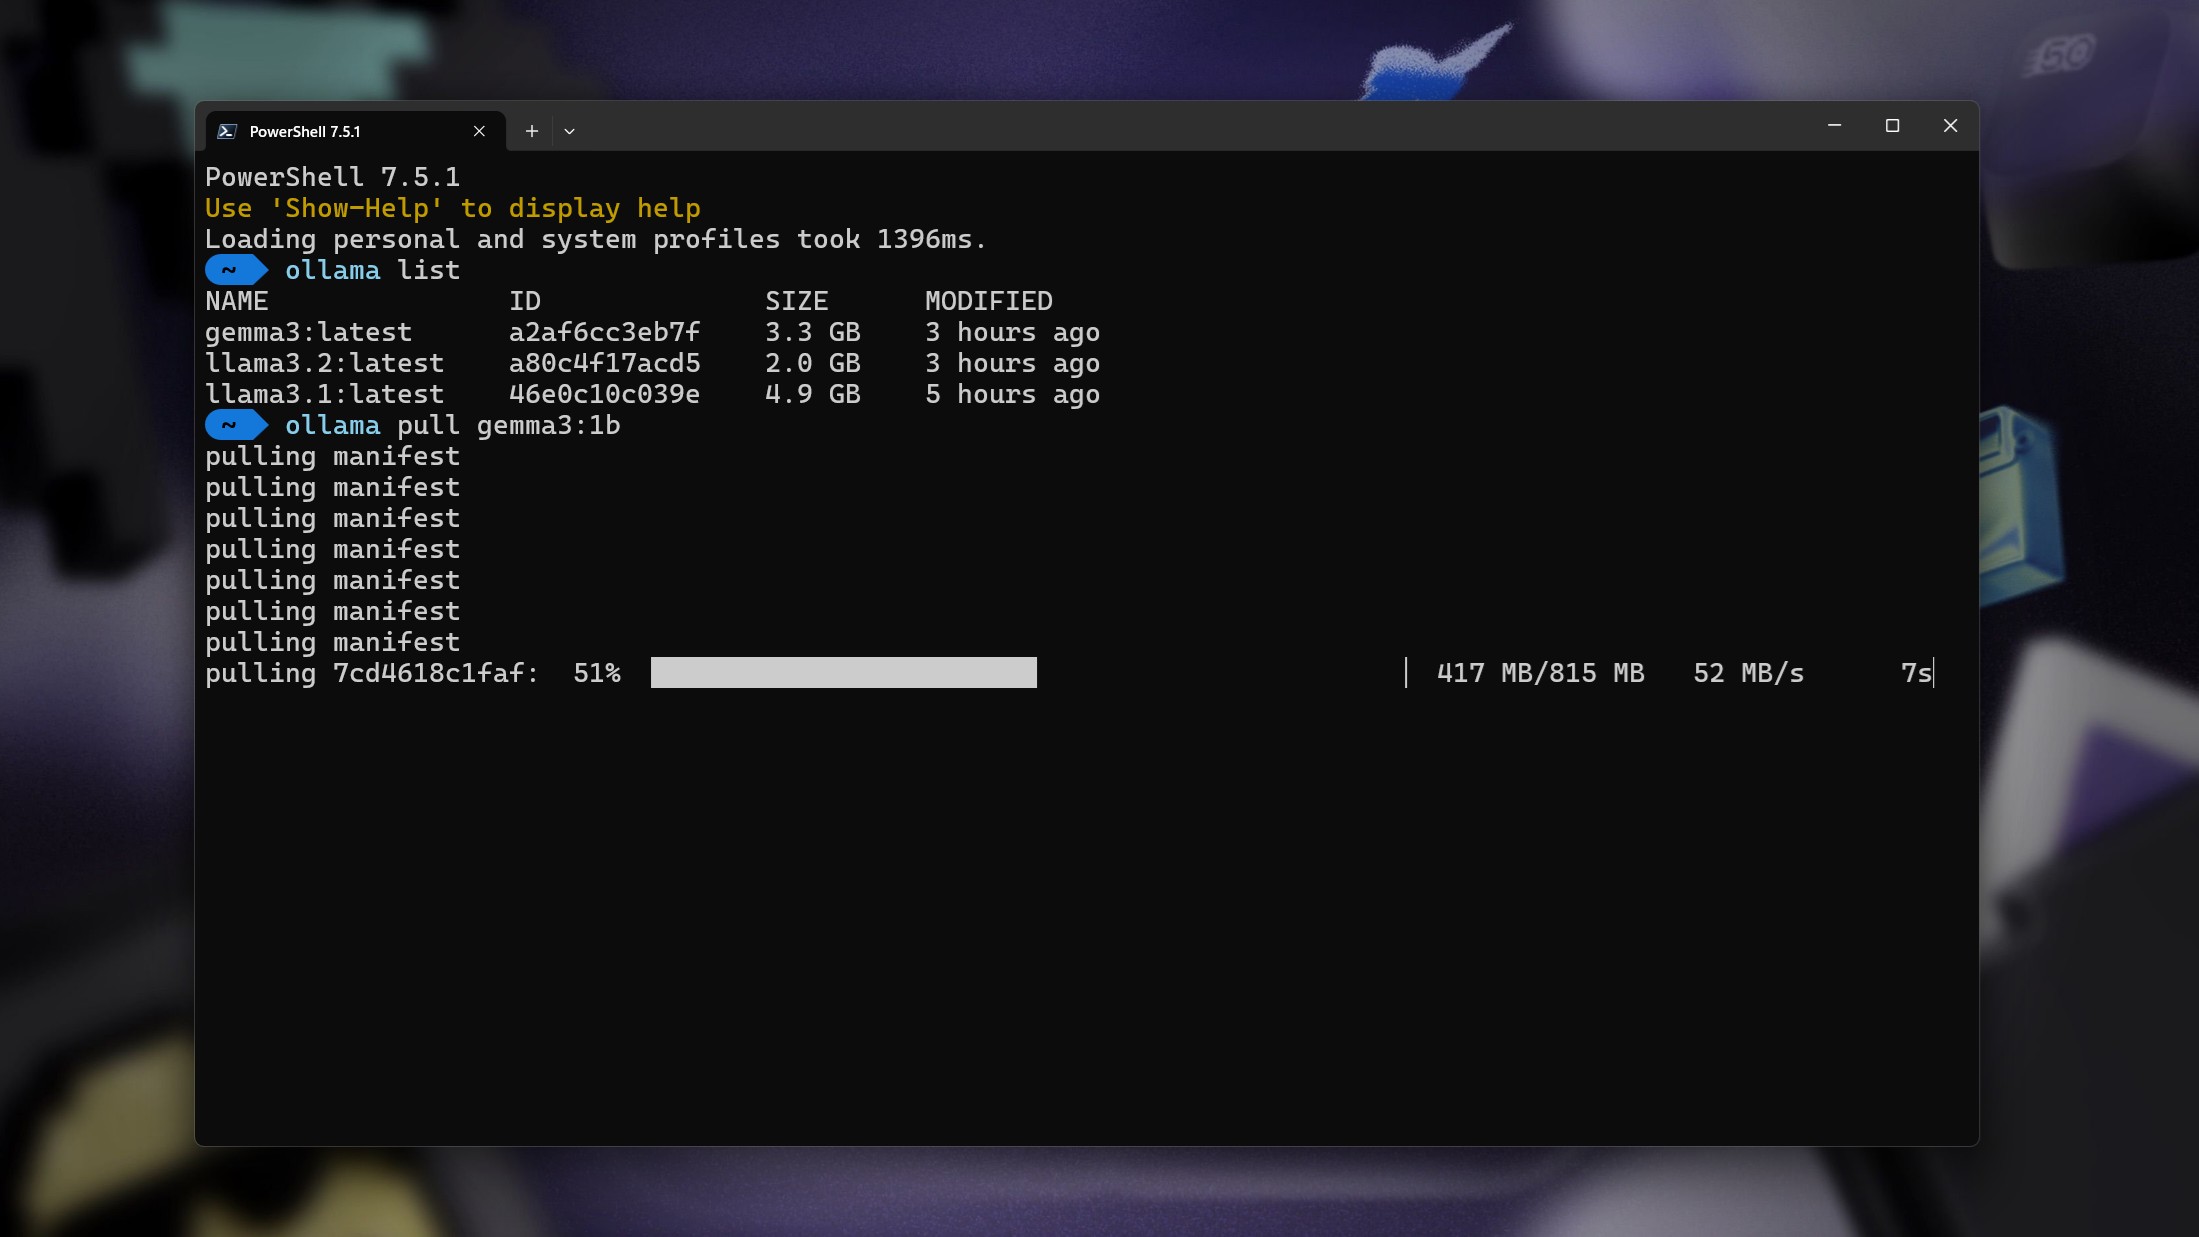
If you ask Ollama to run an LLM you don't currently have installed, it's smart enough to go and grab it first, then run. All you need to know is the correct name for the LLM you want to install, and those are readily available on the Ollama website.
For example, if you wanted to install the 1 billion parameter Google Gemma 3 LLM, you would enter the following:
ollama pull gemma3:1b By adding :1b after the name, you're specifying that you want the 1 billion parameter model. If you wanted the 4 billion parameter model, you would change it to :4b.
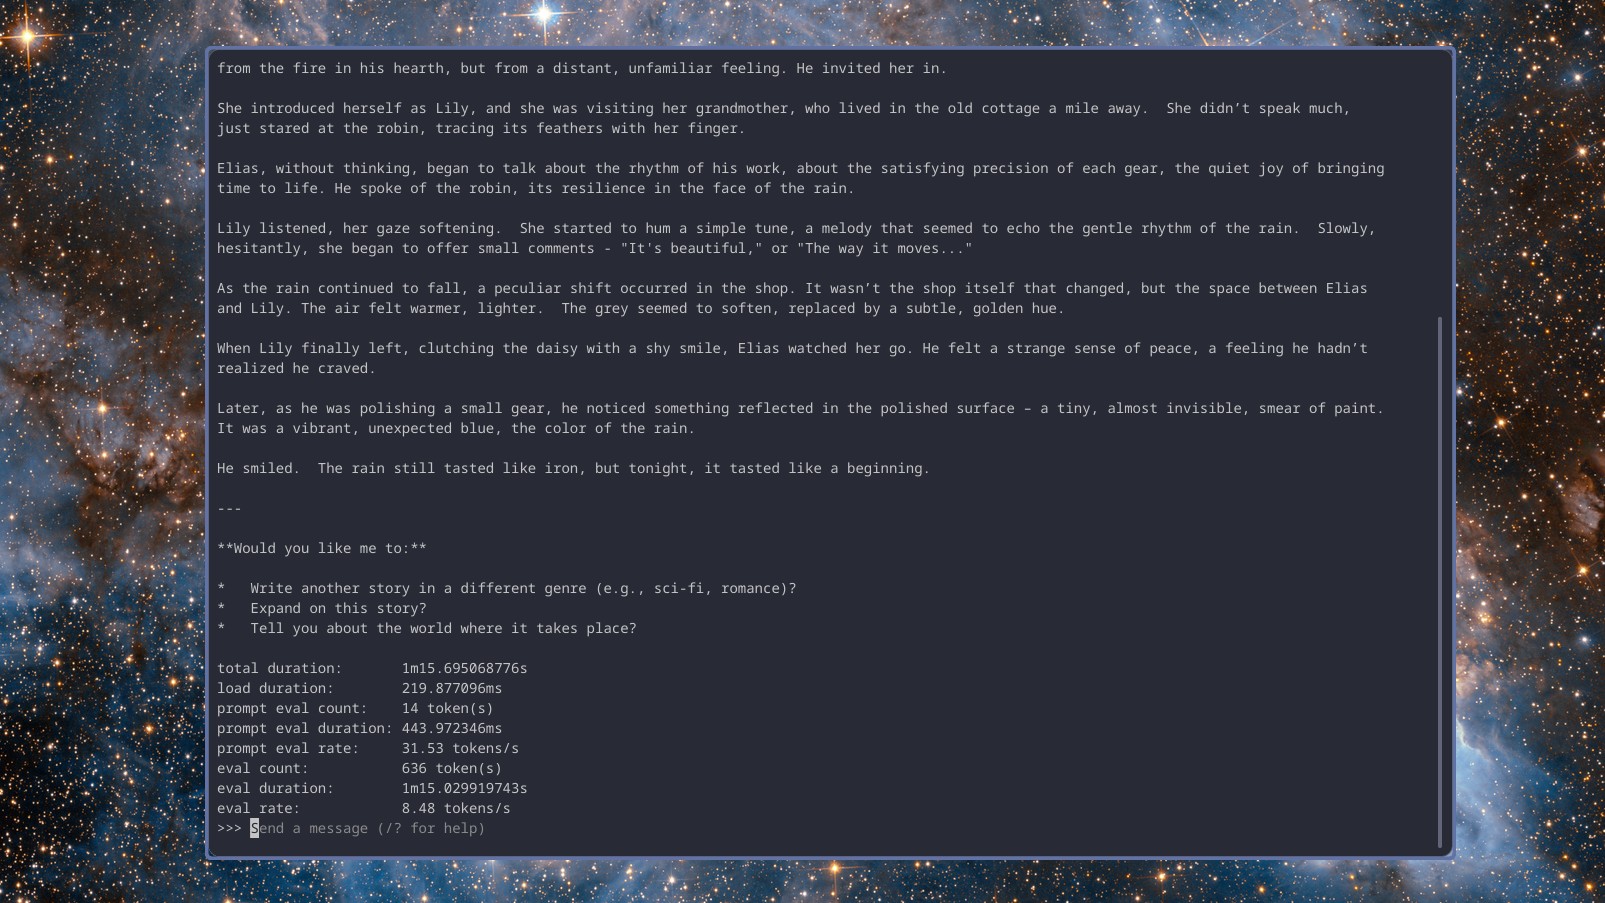
By running the models in your terminal it'll open up a familiar feeling chatbot experience allowing you to type in your prompts and get your responses. All running locally on your machine. If you want to see how fast it's performing, add the --verbose tag when you launch it.
To leave the model and go back to PowerShell, you simply need to type /bye and it'll exit.
Alternatively, you can launch the Ollama GUI and just get going. You can still pull a new model here by searching for it in the dropdown box, typing a simple message such as "hi" and it will pull the model for you.
Page Assist and OpenWebUI have more advanced model management tools, allowing you to search for, pull, and remove models with ease.
That covers the absolute basics of getting Ollama set up on your PC to use the host of LLMs available for it. The core experience is extremely simple and user-friendly, and requires almost no technical knowledge to set up. If I can do it, you can too!

Richard Devine is the Managing Editor at Windows Central with over a decade of experience. A former Project Manager and long-term tech addict, he joined Mobile Nations in 2011 and has been found in the past on Android Central as well as Windows Central. Currently, you'll find him steering the site's coverage of all manner of PC hardware and reviews. Find him on Mastodon at mstdn.social/@richdevine
You must confirm your public display name before commenting
Please logout and then login again, you will then be prompted to enter your display name.
