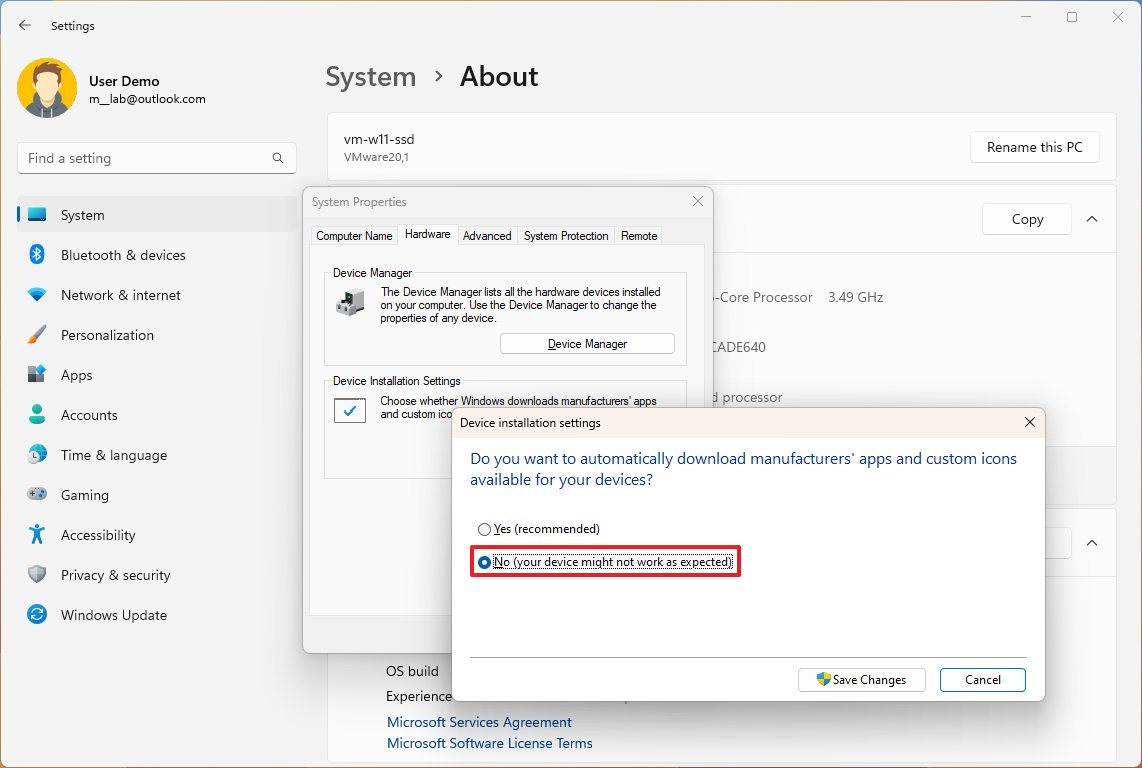
How to prevent drivers from installing automatically on Windows 11
If you don't want Windows Update detecting and installing drivers automatically, you can disable the feature with these instructions.
All the latest news, reviews, and guides for Windows and Xbox diehards.
You are now subscribed
Your newsletter sign-up was successful
On Windows 11, the system uses an automatic mechanism to download and install security and maintenance updates, Microsoft products, and drivers for hardware components and peripherals.
Although it's a convenient way to detect and install virtually any kind of hardware, the updates available through Windows Update are not always the latest, and sometimes they may also include buggy drivers.
If your device is experiencing issues with a driver update or you prefer to install drivers manually, Windows 11 includes at least a couple of ways to disable automatic driver updates through the Settings app and Group Policy.
This how-to guide will teach you the different ways to stop the system from using Windows Update to install device drivers automatically on Windows 11.
How to stop drivers installation from Group Policy
To disable updates for drivers automatically on Windows 11 through the Group Policy Editor, use these steps:
- Open Start.
- Search for gpedit and click the top result to open the app.
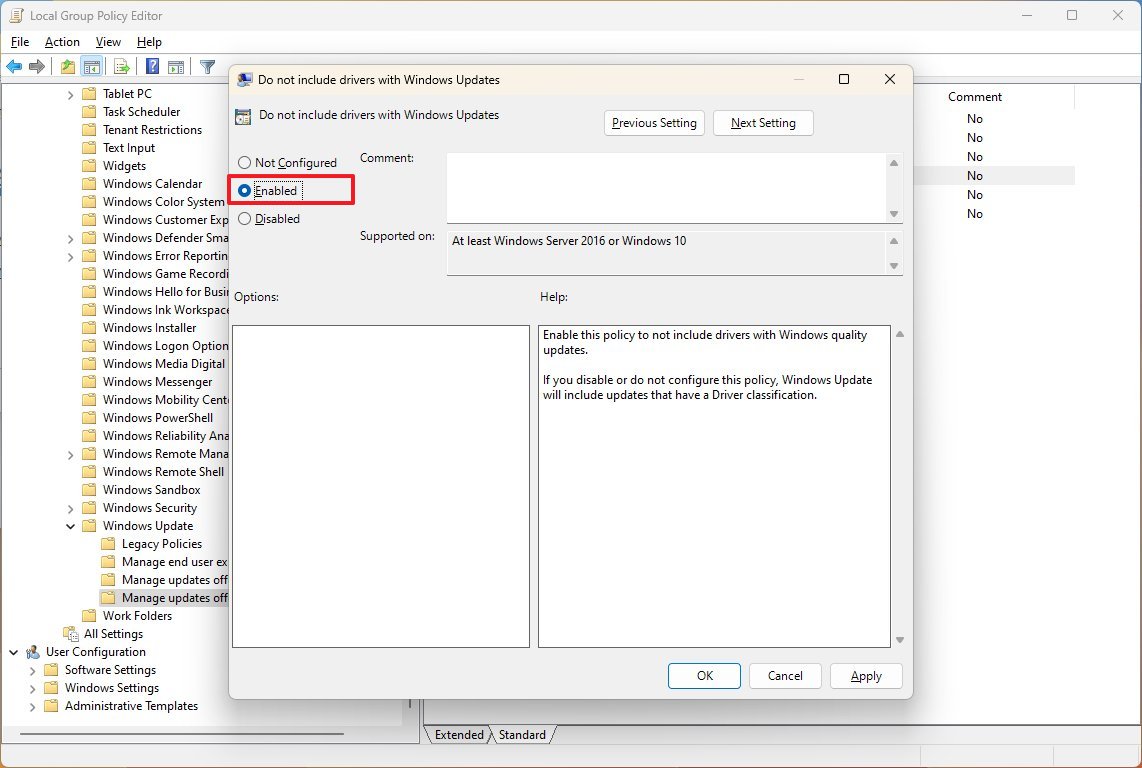
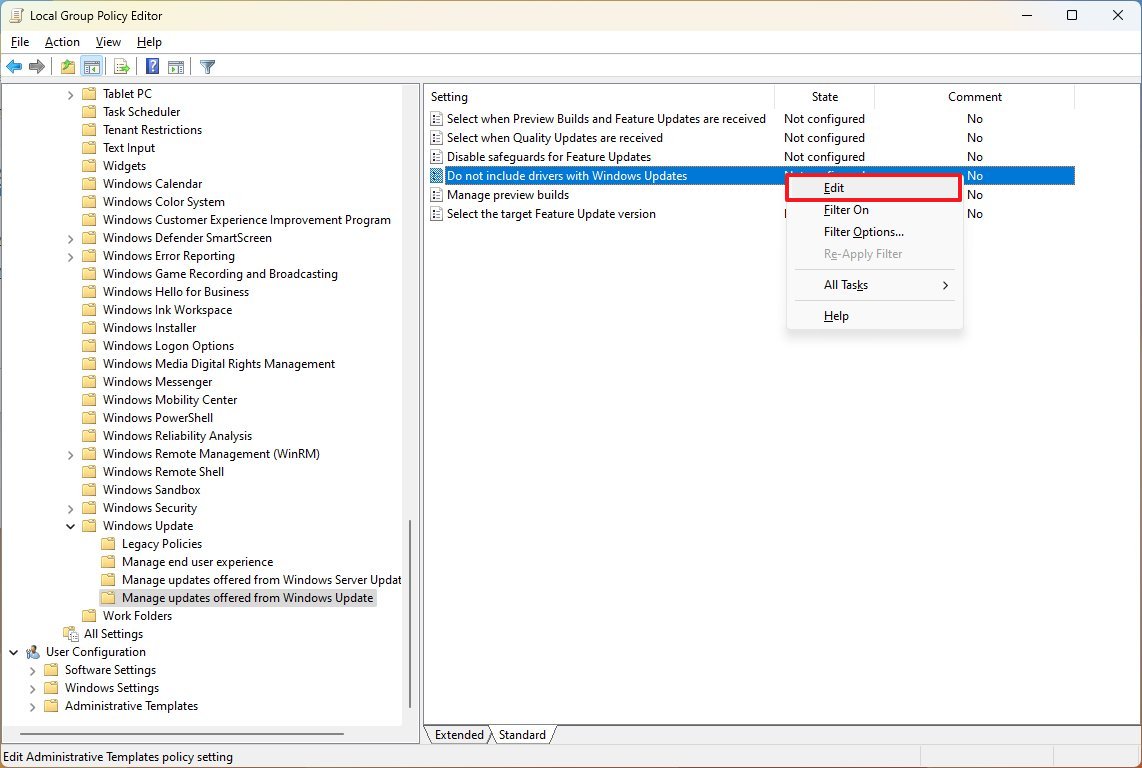
- Open to this path: Computer Configuration > Administrative Templates > Windows Components > Windows Update > Manage updates offered from Windows Update
- Right-click the "Do not include driver with Windows Update" policy from the right side and choose the Edit option.
- Select the Enabled option to disable the feature.
- Click the Apply button.
- Click the OK button.
Once you complete the steps, Windows Update will no longer try to download updates for device drivers.
If you change your mind, you can always undo the changes using the same instructions, but on step 5, make sure to choose the "Not configured" option.
All the latest news, reviews, and guides for Windows and Xbox diehards.
How to stop drivers installation from Settings
To prevent Windows 11 from downloading updates for drivers automatically, use these steps:
- Open Settings.
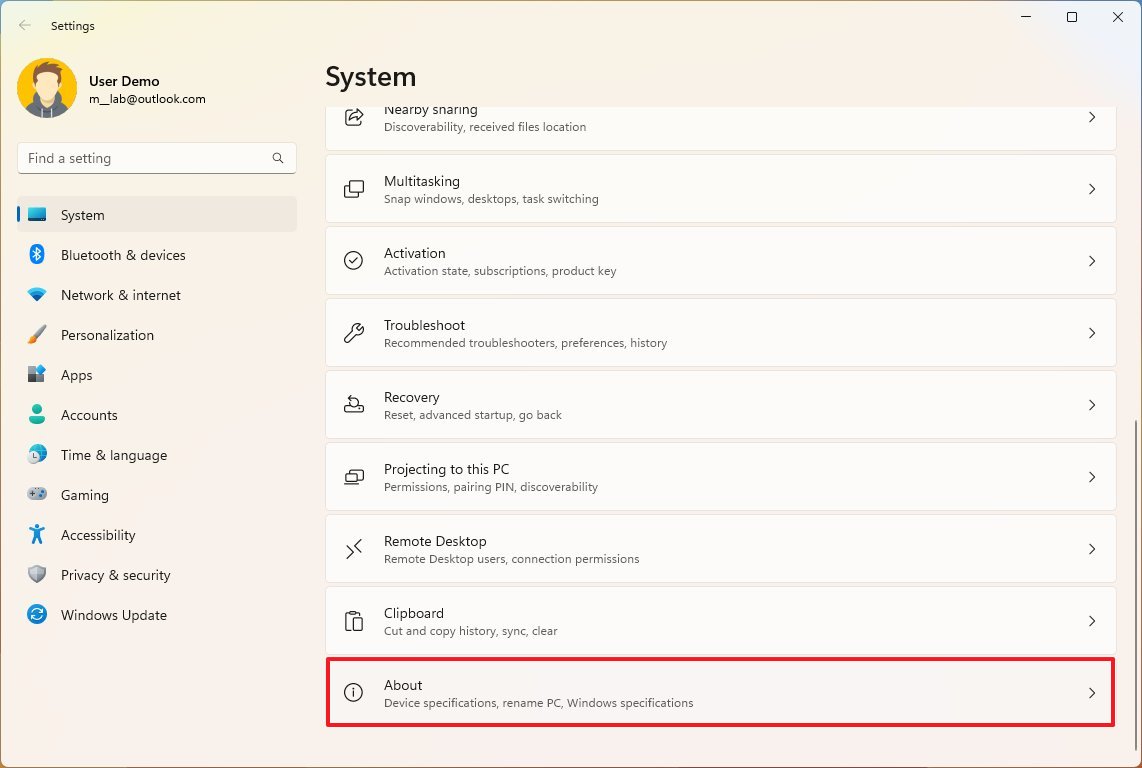
- Click on System.
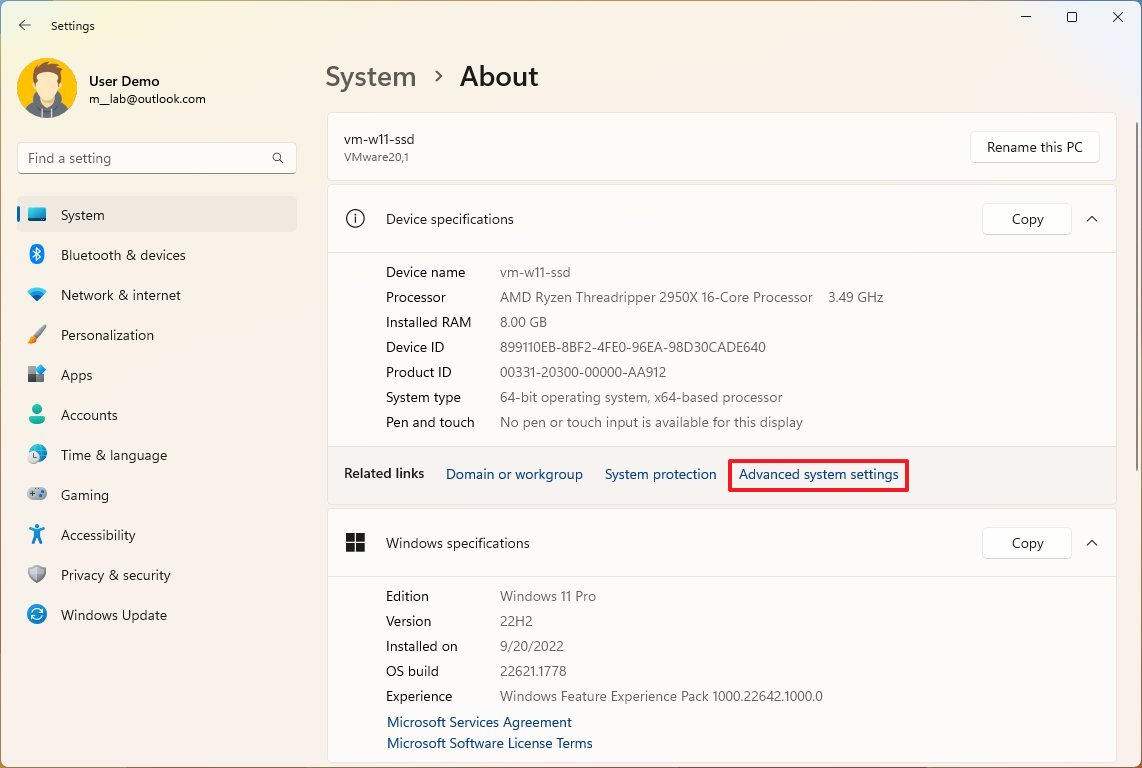
- Click the About page on the right side.
- Click the "Advanced system settings" option.
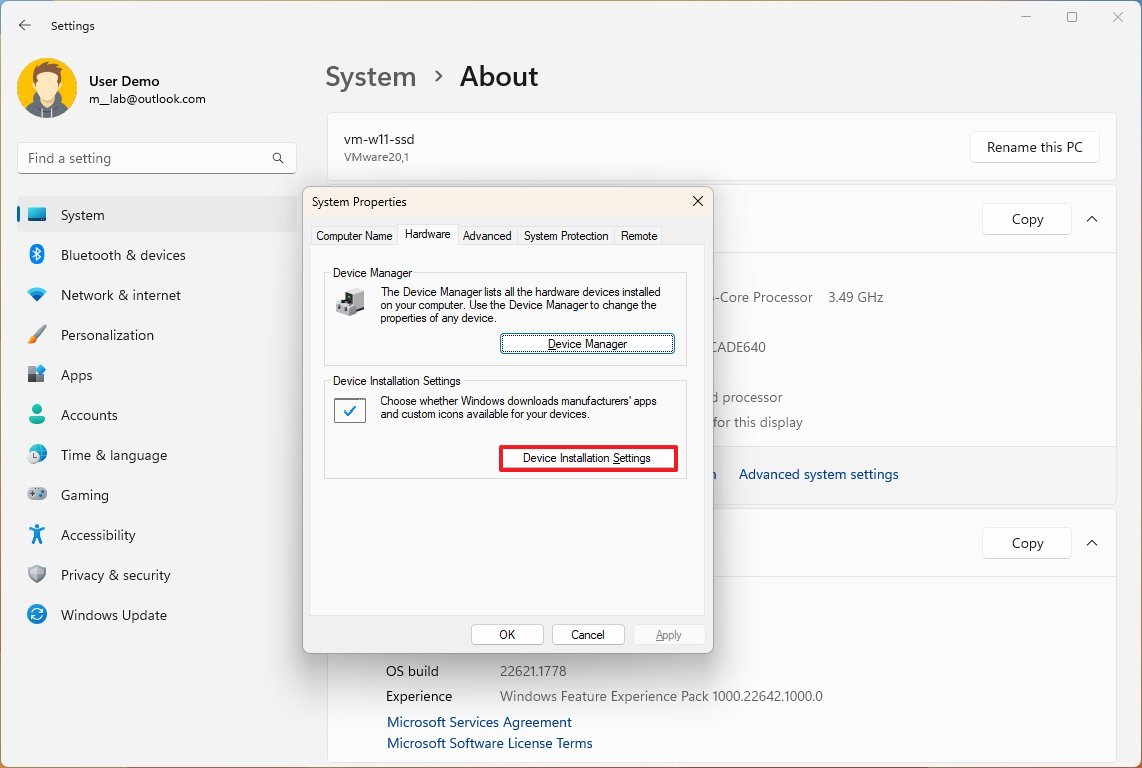
- Click the Hardware tab.
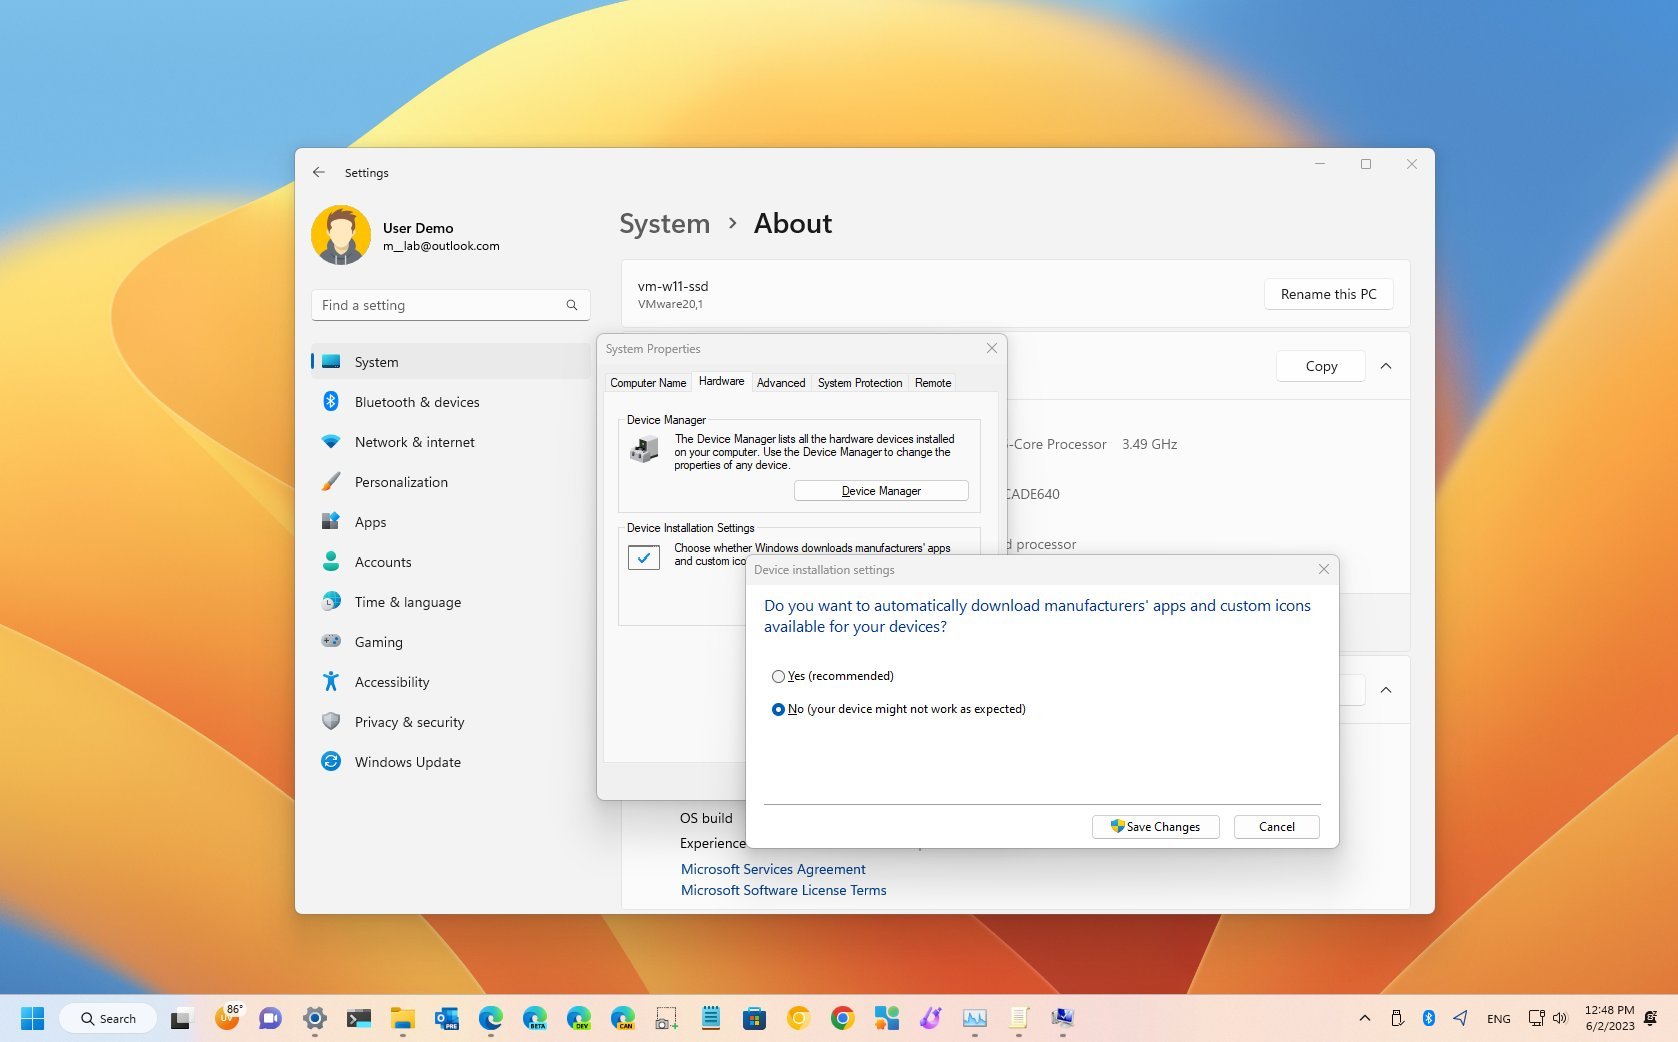
- Click the "Device Installation Settings" button.
- Choose the "No (your device might not work as expected)" option.
- Click the Save Changes button.
- Click the OK button.
After you complete the steps, the system will stop installing driver updates on your computer.
If an update is required for a component or peripheral, you will have to install it manually. Or you can undo the changes using the same instructions mentioned above, but on step 7, choose the "Yes" option.
When using this approach, you will only disable the hardware installation with drivers from Windows Update. The system will continue to be able to detect specific generic drivers from the local driver library.
More resources
For more helpful articles, coverage, and answers to common questions about Windows 10 and Windows 11, visit the following resources:
- Windows 11 on Windows Central — All you need to know
- Windows 10 on Windows Central — All you need to know

Mauro Huculak has been a Windows How-To Expert contributor for WindowsCentral.com for nearly a decade and has over 22 years of combined experience in IT and technical writing. He holds various professional certifications from Microsoft, Cisco, VMware, and CompTIA and has been recognized as a Microsoft MVP for many years.
