


I've been water-cooling PCs for around seven years now. I've gone through the troubles of learning the craft, perfecting it, and creating some truly beautiful machines. While it does involve a considerable cost upfront and the need to traverse a steep learning curve, the end result truly is something to behold as you see your craftsmanship in action.
Water-cooled PCs are not only a joy to gaze at, but they also bring some notable benefits over traditional air-cooled systems with nothing but heatsinks and fans. Firstly is noise. Instead of having more than 8 fans throwing air around in different directions within your chassis, a water-cooling loop requires but a few blowers, especially when attaching both the CPU and GPU to the loop.
This lowers the overall noise generated from within the PC case. Water-cooling also allows for more heat to be transferred to the loop and if you have a beefy radiator, it's possible to cram high-end (and power-hungry) hardware inside a smaller case. Fear not if you cannot afford to include a water block for both your CPU and GPU since water-cooling loops are modular, allowing you to add it at a later date.

In order to put together a custom water-cooling loop for your PC, you're going to require a few parts. Namely, we're going to need a radiator, fans, tubing, water block(s), pump, fittings, and reservoir. That's the basics of any water-cooling loop. Other essential tools include a heat gun (if using hard tubing), cutter, coolant, and funnel.
Heat extraction
Water blocks
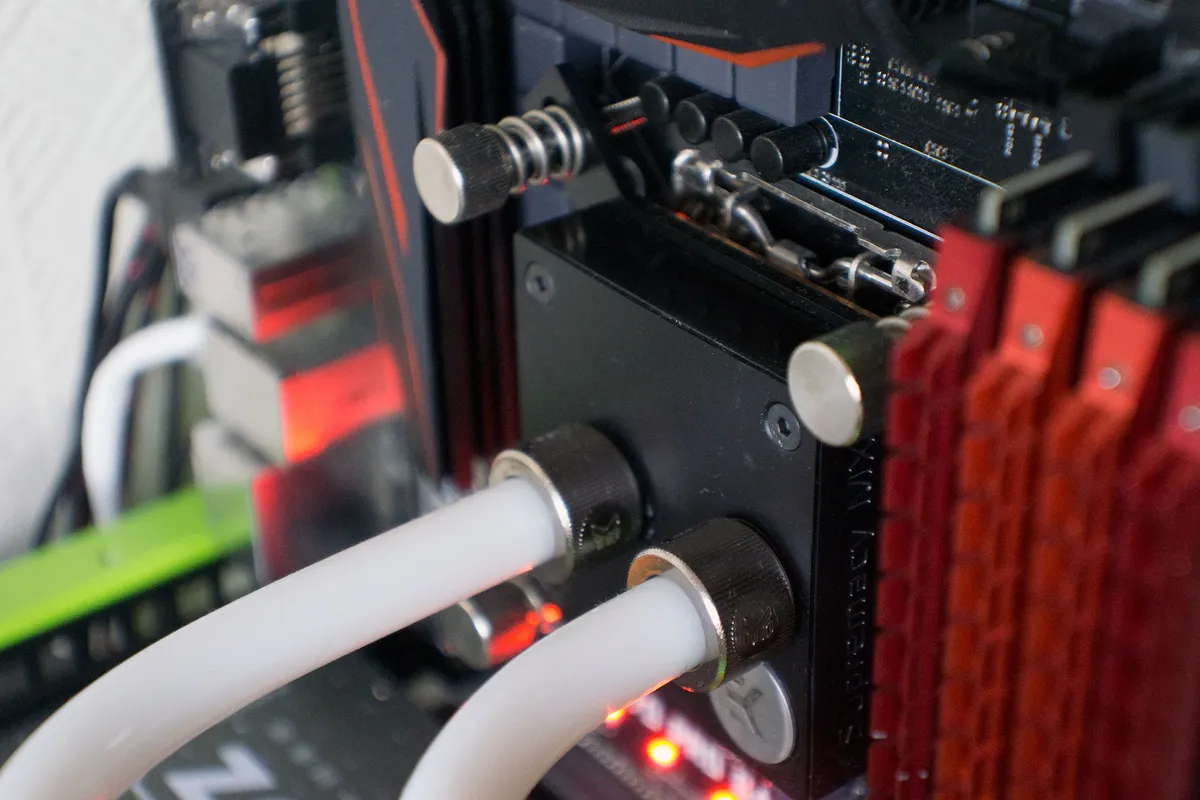
The water block is one of the most important parts of the loop. It's what attaches to your GPU or CPU and handles the transferring of heat from the component to the liquid. It acts pretty much identical to an air cooler, except we're using liquid rather than direct-to-air. There are various vendors of water blocks, and although I prefer to use EKWB, you can use any you like the look of.
Like a CPU cooler, it's important to select a water block that's compatible with your motherboard CPU socket and GPU. A water block designed for an RTX 3080 GPU may not be compatible with a GTX 1080 Ti for instance. Also, aftermarket GPUs come with their own custom-designed PCBs, which can cause issues when trying to attach a water block, so be sure to double-check with the manufacturer.
EKWB is pretty good at making sure it's clear exactly what products its water blocks are compatible with. The company even has a configurator that helps you pick the right water block for your PC. We also rounded up the best CPU blocks for PC water-cooling. When selecting metal, choose either copper or aluminum for all parts, or you'll risk galvanic corrosion.
Heat dissipation
Radiators

The radiator is what's tasked with taking all that heat generated by your CPU and GPU from the liquid and transfer it into the air with the use of fans. Just like how the radiator and fan work with air conditioning and your internal combustion engine (ICE) vehicle. The larger the radiator, the more surface area that can handle heat dissipation and the more thermal headroom your water-cooling loop has.
To be on the safe side, I always recommend at least 240mm per component cooled with the loop. For a CPU, a single 240mm radiator would suffice. If you want to add a GPU to the loop, I'd either add a secondary 240mm radiator or replace the existing one with a 480mm radiator.
Choosing one of the best PC cases for water-cooling is important since you'll need a chassis that can accommodate the required radiator dimensions. Simply match up the available fan mounts to your radiator. Three 120mm front fan mounts will be able to hold a 360mm radiator in most cases. The same goes for two 120mm fan mounts up top, which will support up to a 240mm radiator.
As well as length, radiators can also vary in thickness. The thicker the radiator, the higher the thermal performance will be. Note that cases may not support super-thick radiators, especially up top between the top of the case and motherboard tray. For the type of metal, again try not to mix copper and aluminum.
Liquid movement
Pump & reservoir
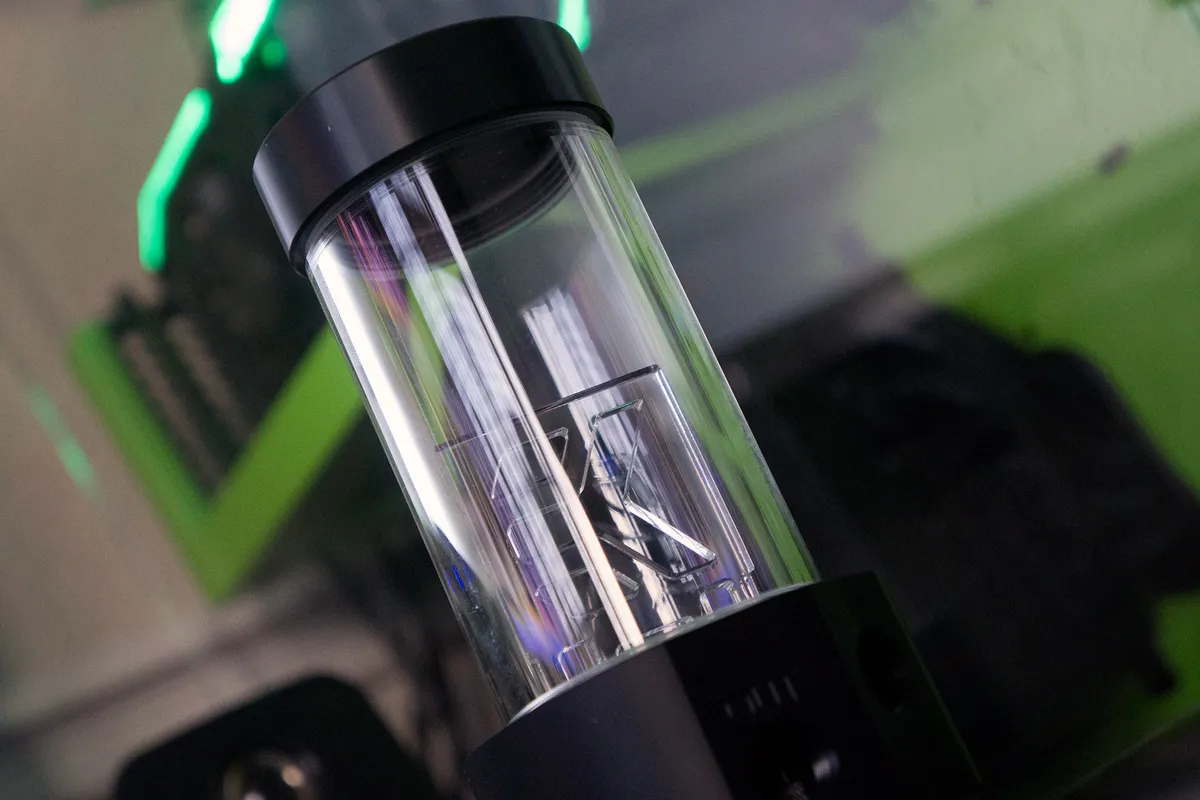
The pump is responsible for pushing the liquid through the loop. This is what will be allowing the flow of liquid to take heat from the CPU and GPU to the radiator(s). Without it, the water-cooling loop wouldn't be effective at all, so it's important you pick one that's rated to push enough fluid through your setup.
It's easier, especially when starting out with water-cooling, to go with a reservoir and pump combo unit. Pictured above, these devices are great since you have not only a solid, reliable pump but also a tower reservoir that's ready and primed to take fluid and pass it through the pump using nothing but gravity.
A reservoir and pump combo unit also usually only requires a single 120mm fan mount, which can help you save on space if you're planning a build inside a more compact chassis. Just be sure to have the intake near the top of the loop and another valve near the bottom to bleed the loop when changing liquids.
If you need a little help choosing the right one for your next build, we rounded up the best pumps and reservoirs for PC water-cooling to get you started.
Hold everything together
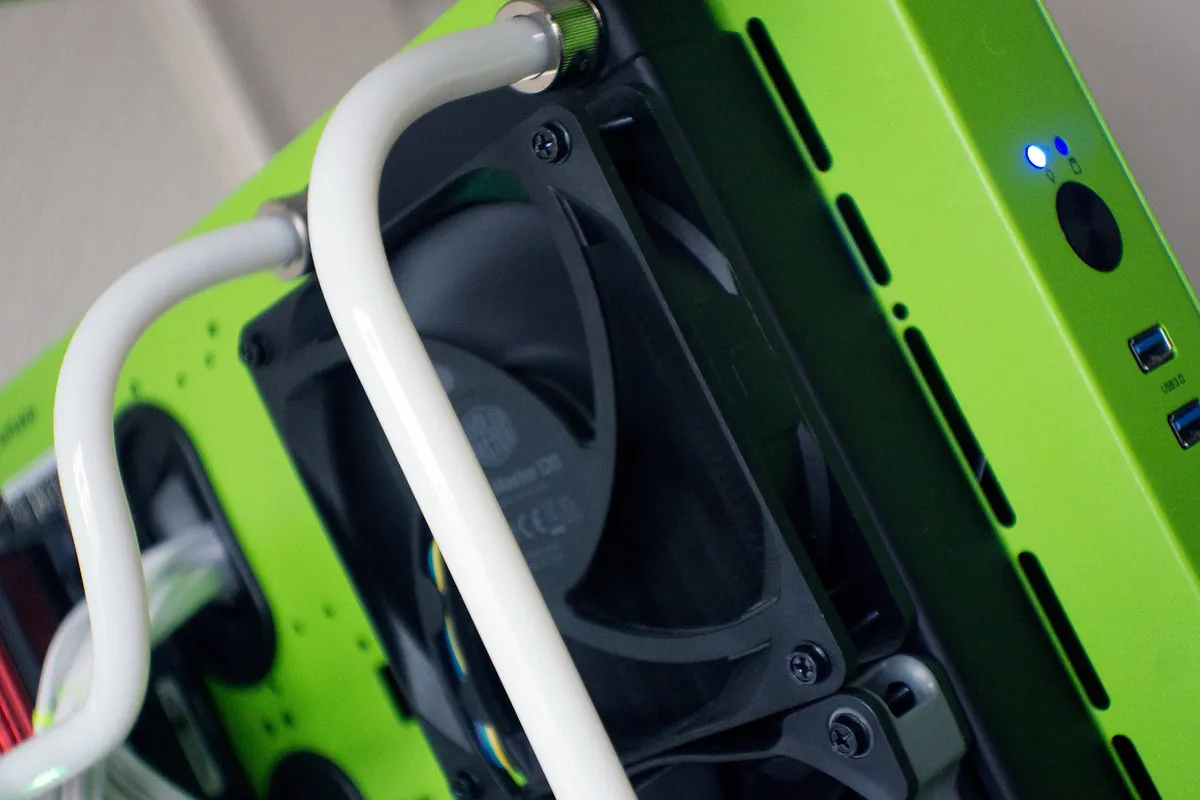
Tubing
Tubing is where the fun truly begins. It wouldn't be much of a water-cooling loop if you weren't able to transfer fluid from one component to another, which is where plastic pipes come into play. There are various types and differences between soft and hard tubes for PC water-cooling, which I shall run you through.
Soft
Soft tubing is usually made from rubber, silicone, PVC, neoprene, or some other compounds and is usually bendy, making it easier to work with for tighter water-cooling loops. They also don't require nearly as much effort to install compared to hard tubing, so if you'd prefer an easier route, soft tubing is certainly a good way to go.
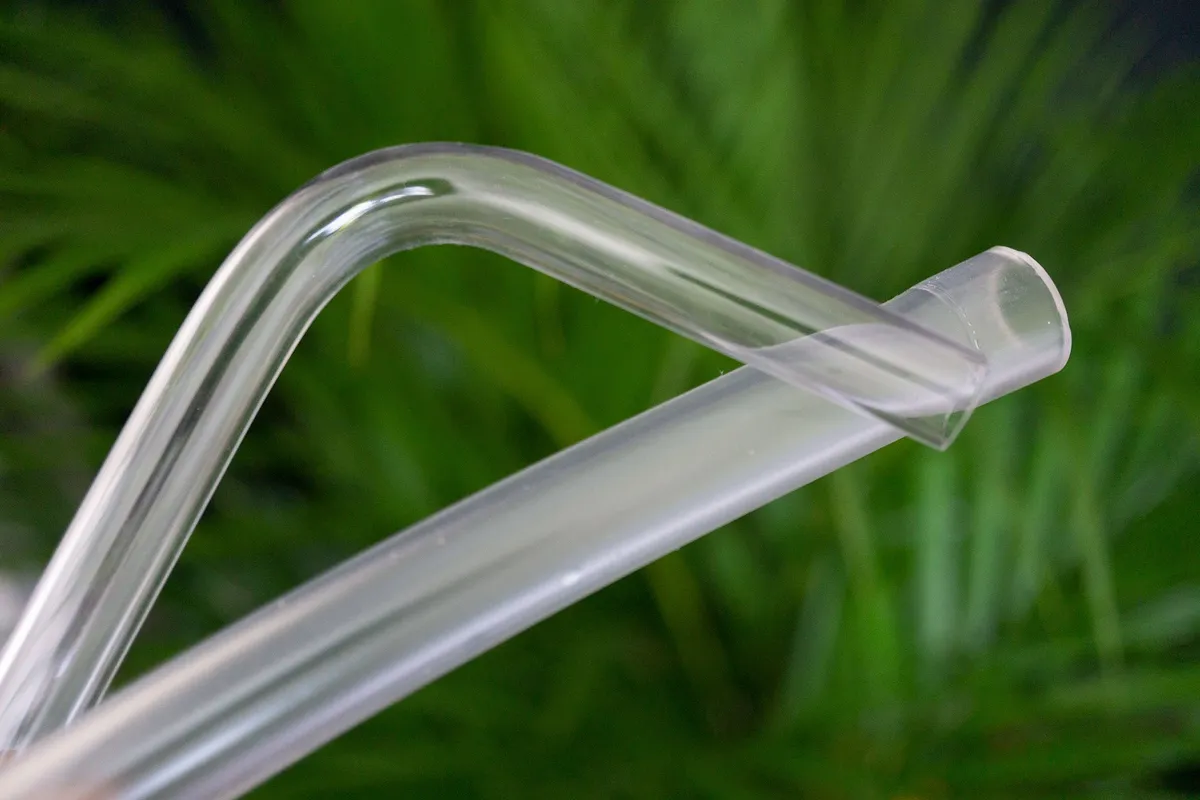
Hard
Harder and more rigid tubing like acrylic, glass, carbon, and PETG are able to be worked with to create some truly incredible PC builds. Unlike softer tubing, these tubes are not flexible. You need to use a heat gun and specific cutting tools to not only cut to length but bend the tubing. On the flip side, you're not going to have to deal with kinks and can work with a cleaner design.
Liquid-tight seals
Fittings
The size of tubing represents what type of fittings it'll support. There's no right or wrong choice here, it simply denotes how thick the tubing will be. You'll just need to match the tubing to your fitting thread size and tubing type.
| Inner diameter | Outer diameter |
|---|---|
| 3/8-inch 10 mm | 1/2 inch 13 mm |
| 3/8-inch 10 mm | 5/8 inch 16 mm |
| 7/16-inch 12 mm | 5/8 inch 16 mm |
| 1/2-inch 13 mm | 3/4 inch 19 mm |
Beginner's guide to PC water-cooling fittings
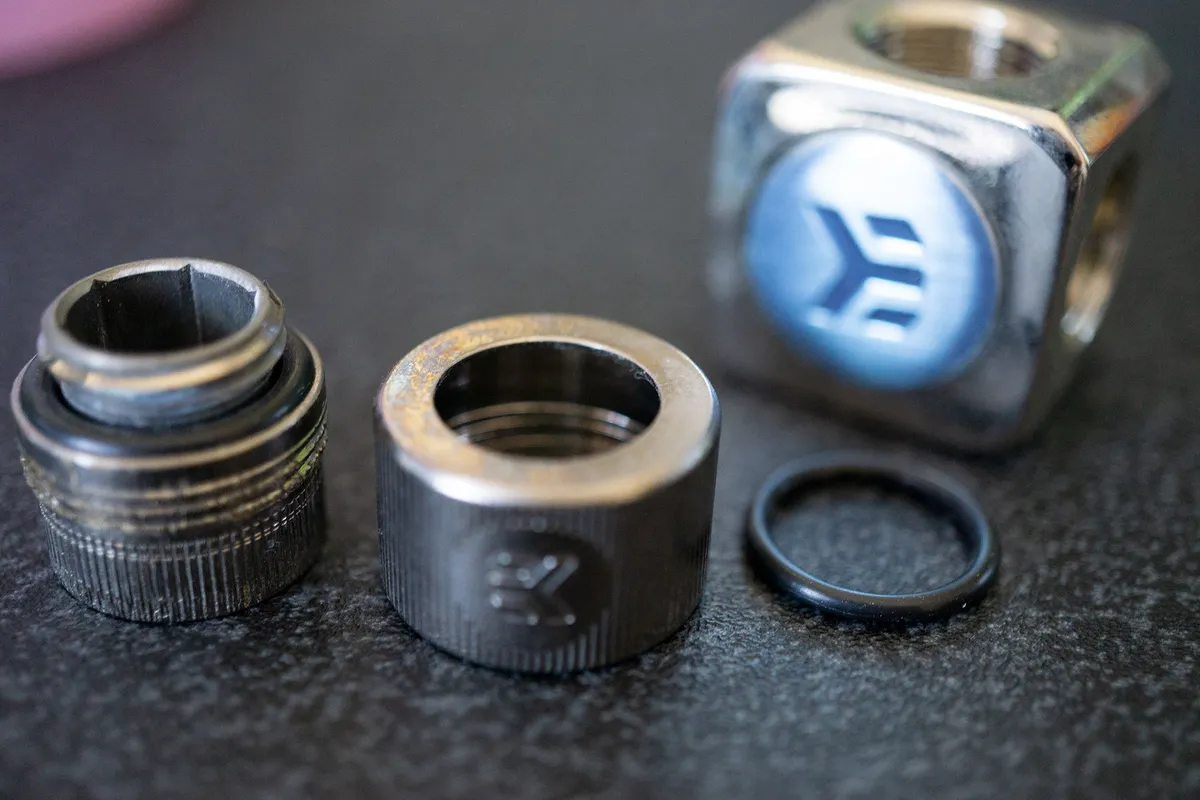
Match the fitting size with the tubing and blocks, and you're good to go. For the type of fitting, it depends on your tubing. For soft tubes, you'll need either a barb, which simply allows the tubing to wrap around a point and create a seal, or a compression barb, which is similar but has a locking ring.
If you don't want to mess around with clamps, a compression barb fitting is a better match. This ring keeps the tube secured around the barb. Barb fittings can be plugged in without much effort, while compression barbs need to have the collar placed over the tube prior to inserting the bar, which can then be screwed onto the fitting to secure it.
It's not possible to use barb fittings with acrylic and glass tubing, which is where push-in or HD compression fittings come into play. Usually, you'll find them made of silver or nickel, but you should be fine with copper components, too. Push-in fittings are different than barbs because they use two o-rings to create an air-tight seal once the tube has been pushed into the fitting.
Hard tube fittings are usually listed with only the OD, which needs to match the OD for hard tubing. The most common sizes are 1/2 inch (13 mm) and 5/8 inch (16 mm).
High performance
Coolant
All you need to run a water-cooling loop is distilled water (not tap water) and some biocide to help shield your components against corrosion and also prevent bacterial growth. This route will also result in a clear finish, providing the base that allows you to add some colored dye should you wish to do so.
Distilled water and biocide (with or without dye) should be good for between 6-12 months, depending on how often you have your PC running. This can be considered the best liquid for PC water-cooling, especially if you're on a tighter budget.
If you want to take water-cooling to the next level, you'll want to buy a premixed solution from companies like PromoChill and Mayhems. These solutions usually come ready-to-use and can be added without any additional biocide. Just note that some of these coolants won't last as long and may cause blockage of water block fins and/or discoloration of tubing.
It's important you keep an eye on your loop every now and then to see if any issues arise.

