Here is Xbox Kinect on Windows 10 with Windows Hello

All the latest news, reviews, and guides for Windows and Xbox diehards.
You are now subscribed
Your newsletter sign-up was successful
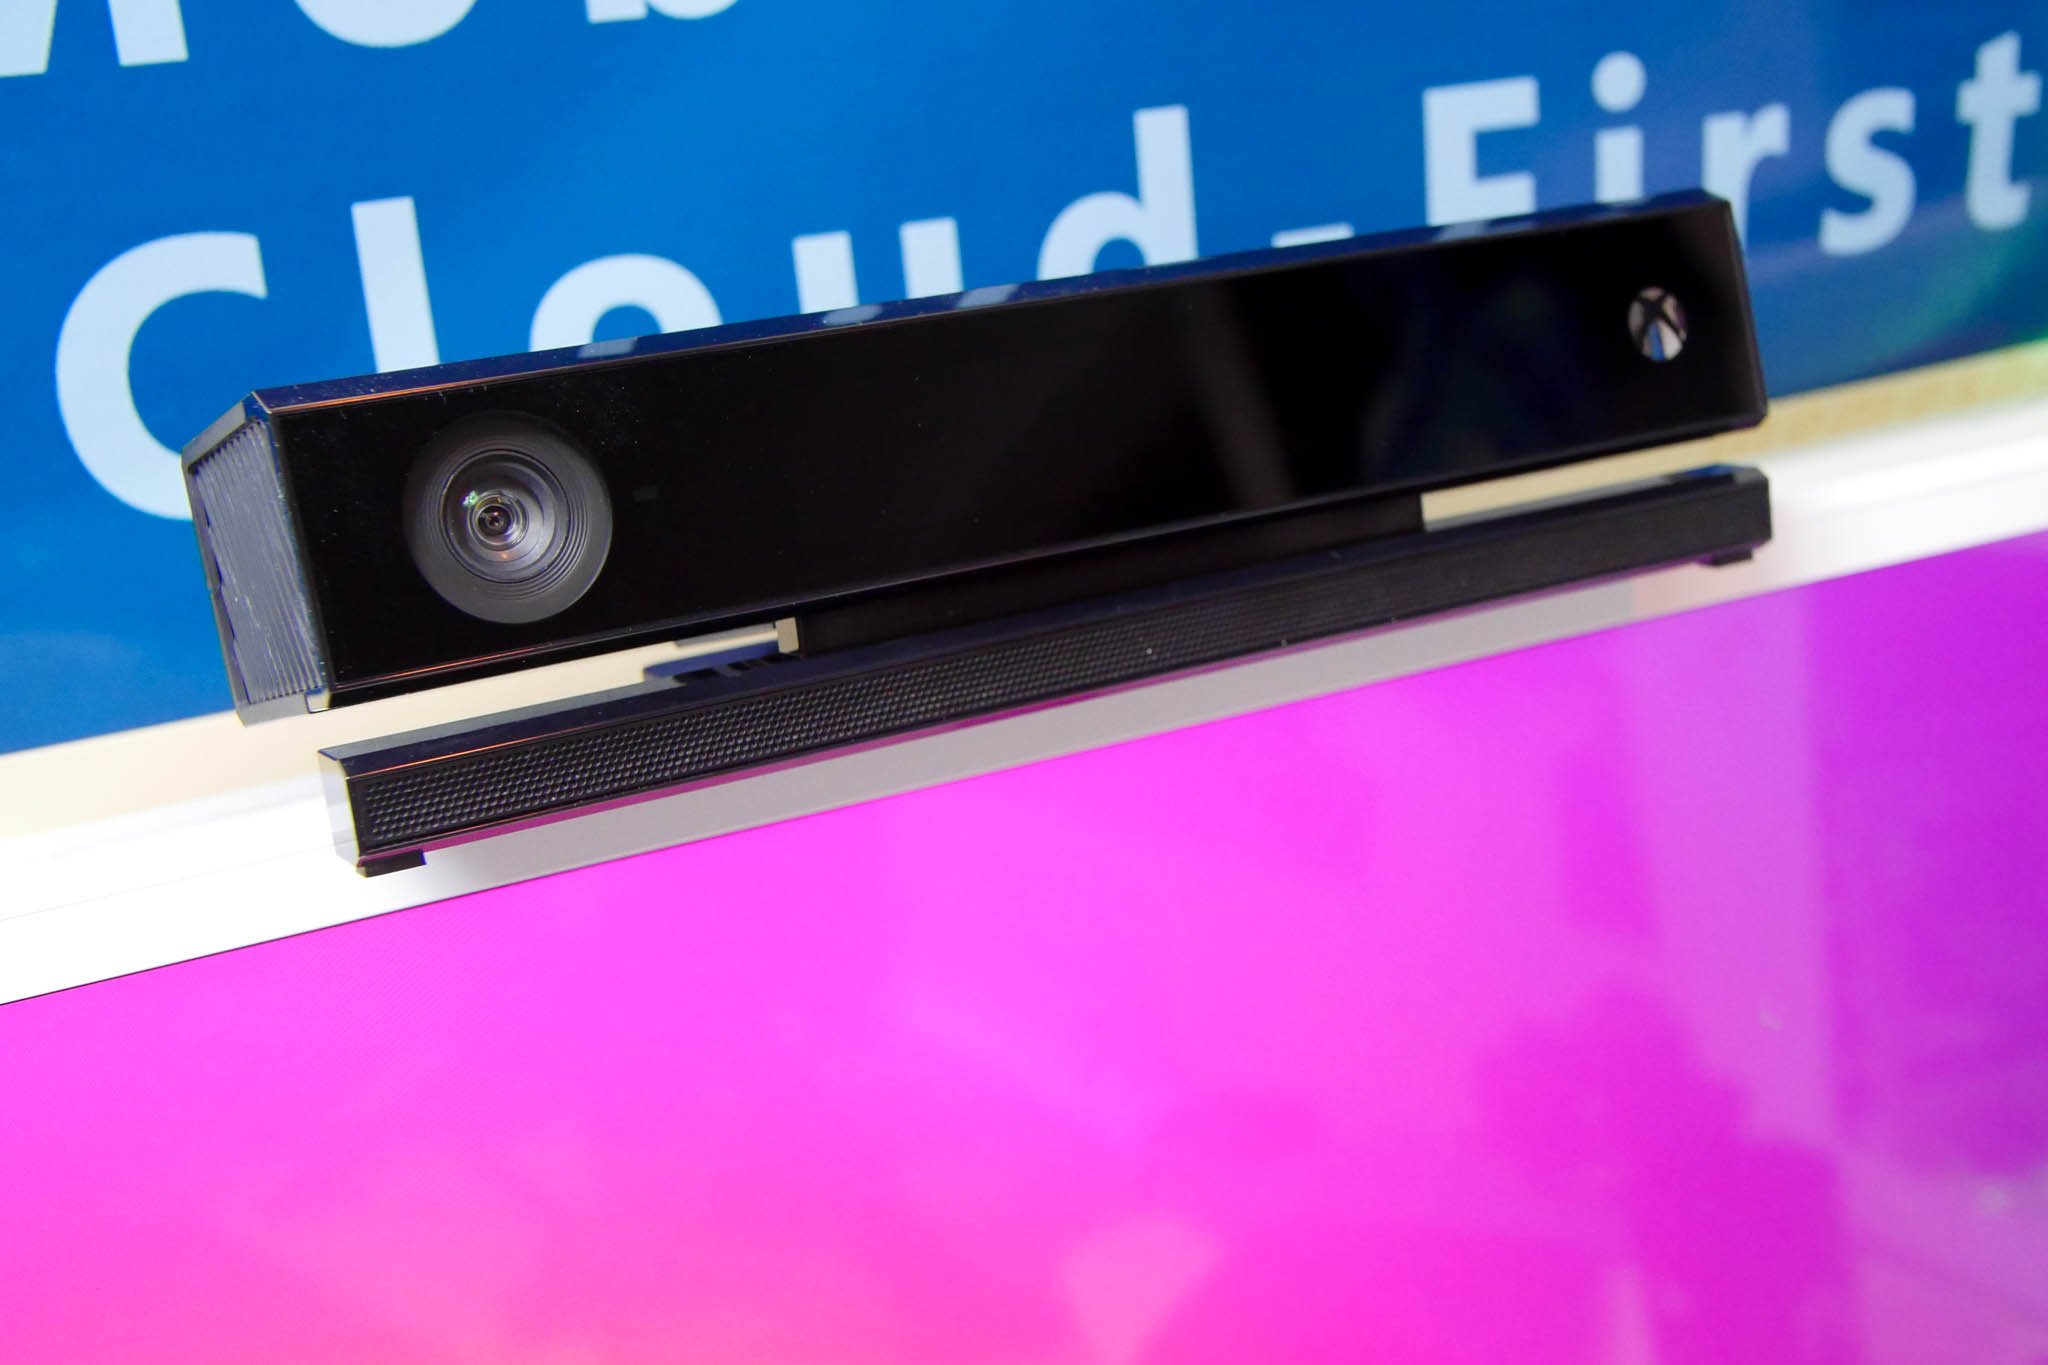
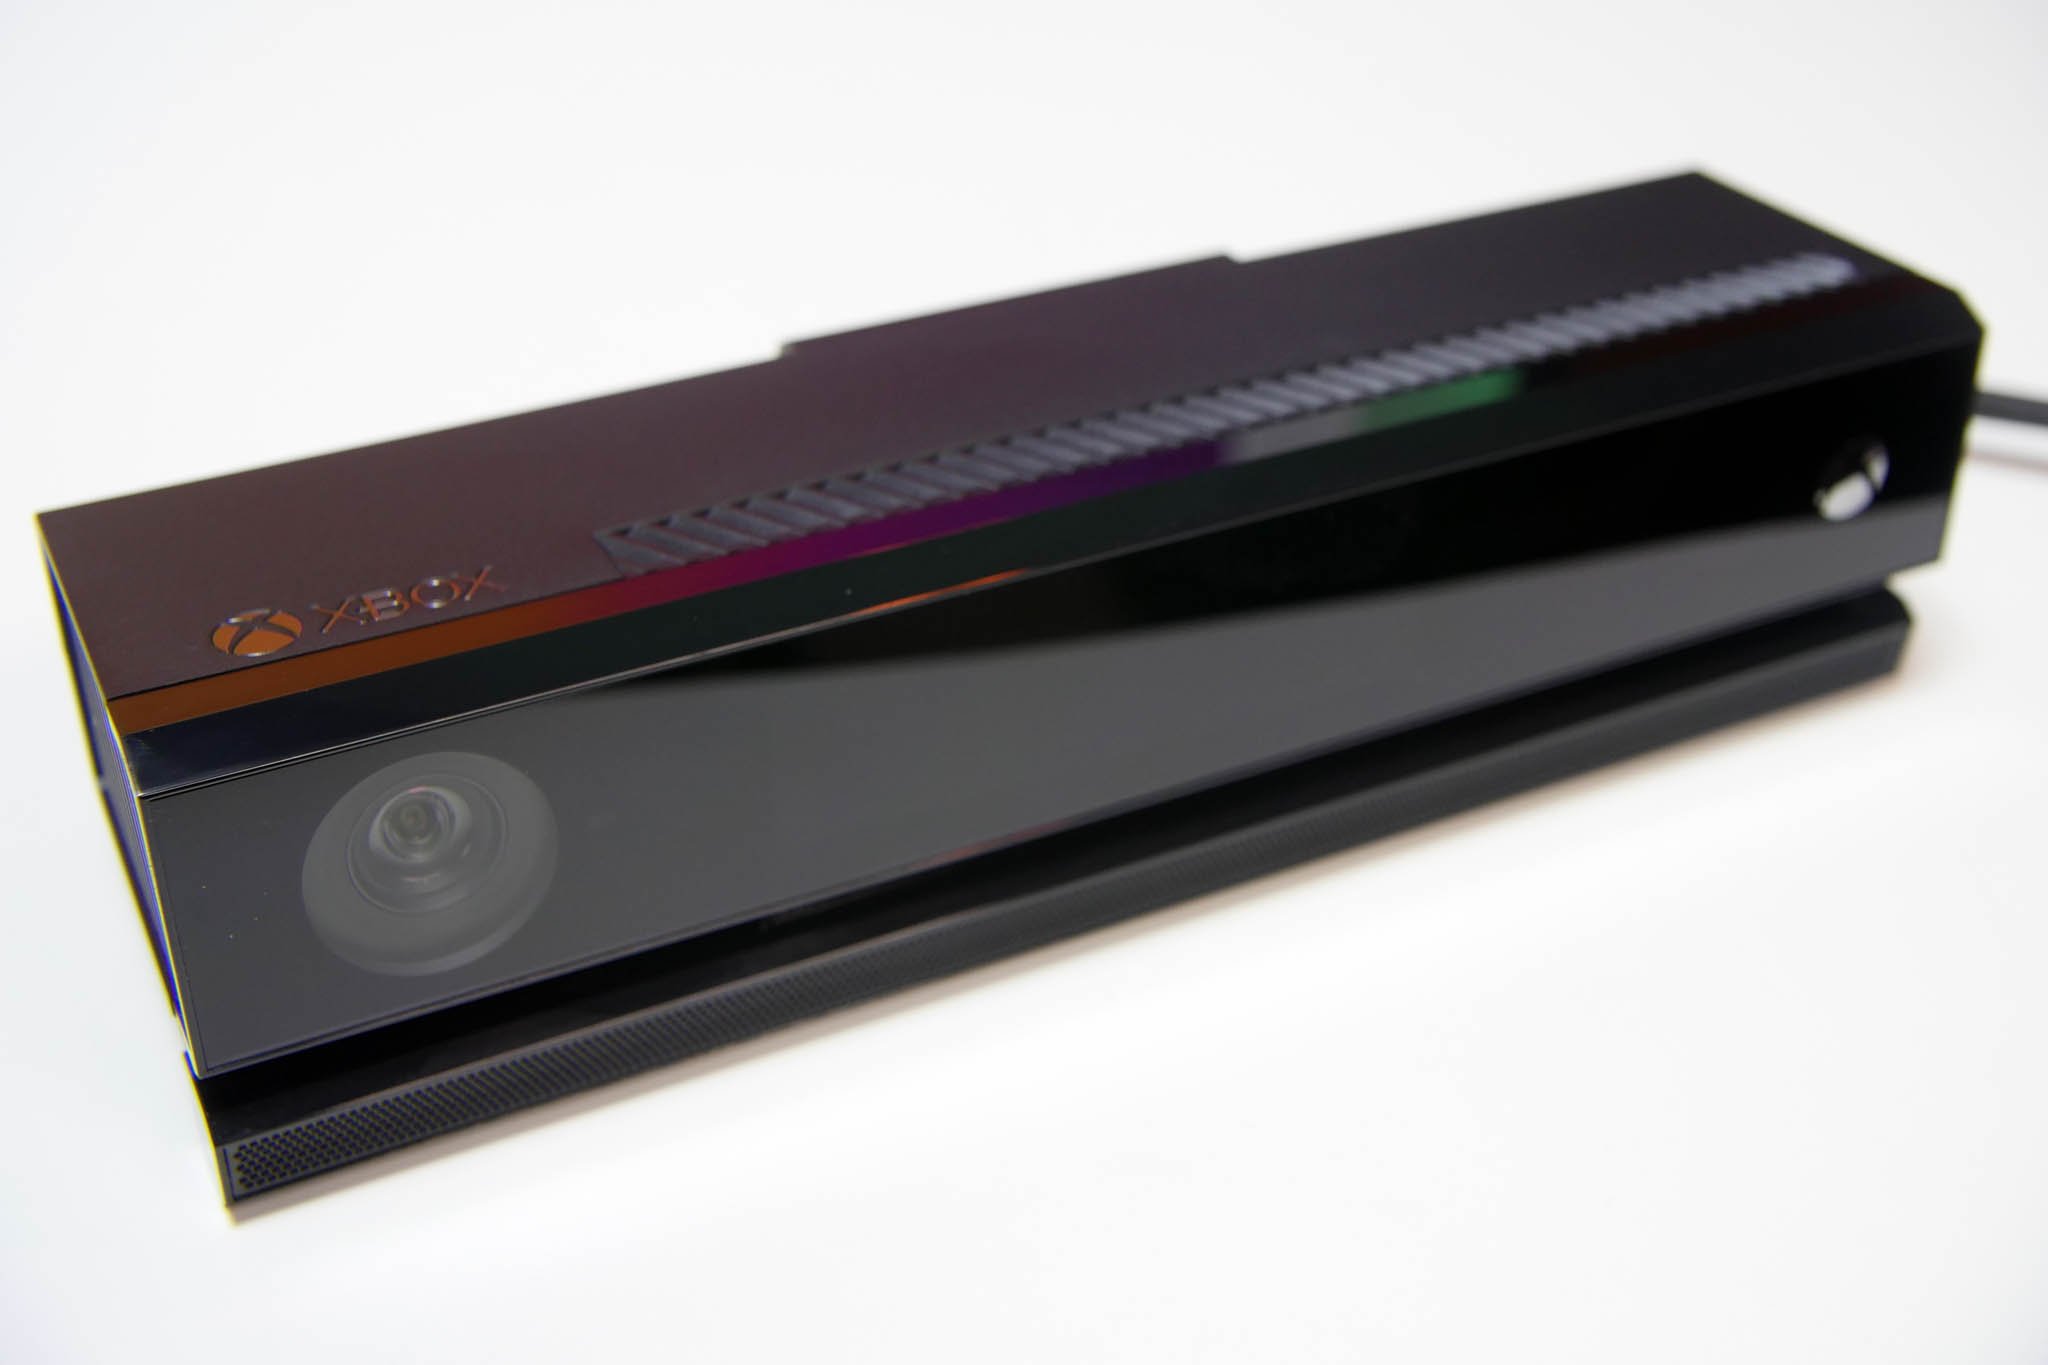
Late last week Microsoft released some early drivers for the Xbox One's Kinect to work on Windows 10. Kinect within Windows, for now, is mostly for developers to code and write things for the multi-usage sensor, but for consumers there is one thing you can do right now: Windows Hello for facial recognition with system logins.
We picked up the $50 conversion kit that Microsoft sells through their store and gave it a spin. Here are our quick thoughts and a hands-on video.
Here is what you need to know:
- Windows Hello works very well
- You cannot yet use Kinect as a web camera for Skype or any other Windows app
- You will need a tripod or shelf to mount the Kinect if using it for your PC
- You need a USB 3.0 port and some extra power in your PC
- The Kinect still needs to plug into an AC outlet too
- The wires are all very cumbersome
The bottom line is if you are not a developer Kinect for Windows 10 is still very much a novelty. Sure, you can use it for Windows Hello, and it works great, but you will have to spend some time hiding wires and finding someplace to stick the rather bulky accessory.
Seeing as Kinect on Windows 10 is still very new and only in an early release we hope to see it become more useful on Windows 10 going forward. However, it'll probably be some time before we see this being utilized in any standard sense. For developers, however, this is all very good news and should be exciting.
How to setup

You will need the following to make this work if you are still interested:
- Kinect sensor from Xbox One or Kinect for Windows Developer Bundle ($199)
- Kinect Adapter for Windows ($50) (Not need if buying the Developer Bundle)
- Simple registry edits to enable the Kinect drivers to be downloaded
- Buy Kinect adapter for Windows from http://Amazon.com?tag=hawk-future-20&ascsubtag=UUwpUdUnU36250 for $50
- But Kinect for Windows kit for $199 from Microsoft
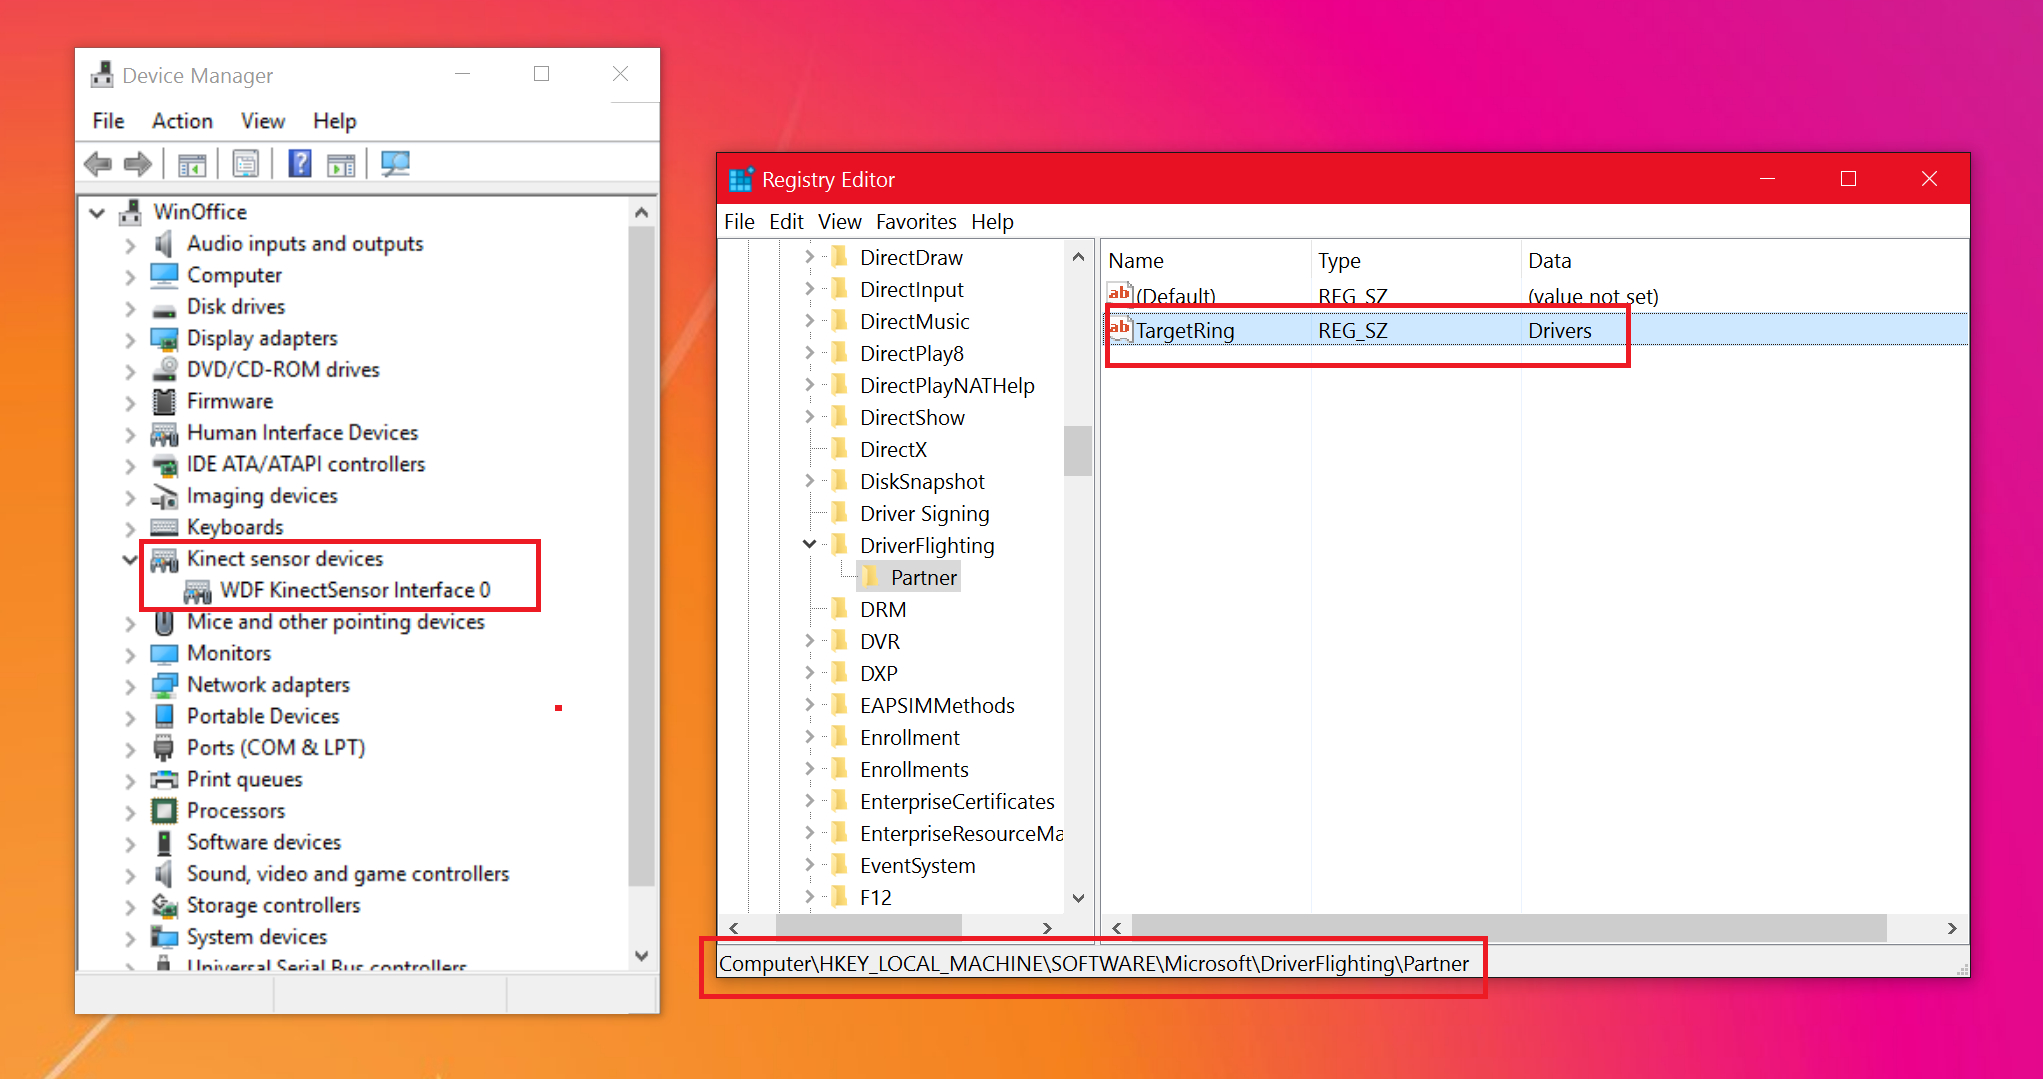
To modify the system registry, you need to add just a few subkeys as directed by Microsoft. No restart is needed. As always, heed caution when making changes in your system registry:
All the latest news, reviews, and guides for Windows and Xbox diehards.
- Open the Windows Registry Editor (regedit.exe).
- Go to HKLM\Software\Microsoft\
- Create subkeys \DriverFlighting\Partner\
- Under \Partner subkey, create a string named "TargetRing" and key-in "Drivers" as the value.
- Exit from the Windows Registry Editor. You do not need to restart the computer after this change.
- Run the Windows Update application and check for updates, or in the Device Manager, right-click the target device and select Update Device Software.
- Verify your test driver is offered as expected.
Once complete, you can then head to Settings to being using Windows Hello. Just read our simple guide on how to use Windows Hello.
How to set up Windows Hello facial recognition in Windows 10
The overall setup process is very easy, but as mentioned above usage scenarios for non-developers is limited at this time.
Any developers here using Kinect for Windows? Let us know what you are working on in comments!

Daniel Rubino is the Editor-in-Chief of Windows Central. He is also the head reviewer, podcast co-host, and lead analyst. He has been covering Microsoft since 2007, when this site was called WMExperts (and later Windows Phone Central). His interests include Windows, laptops, next-gen computing, and wearable tech. He has reviewed laptops for over 10 years and is particularly fond of Qualcomm processors, new form factors, and thin-and-light PCs. Before all this tech stuff, he worked on a Ph.D. in linguistics studying brain and syntax, performed polysomnographs in NYC, and was a motion-picture operator for 17 years.

