


Dragon's Dogma 2 has launched to glowing reviews, including our own Jez Corden. However, marred in controversy as a result of the game containing microtransactions at its launch, Dragon's Dogma 2's community finds itself a little split. Regardless, many are finding their way forward to the Dragon on a dangerous quest to take their heart back.
What makes Dragon's Dogma 2 special is that it frequently touts its refusal to hold your hand. Players must find their way through the world created by the mind behind Devil May Cry's director, Hideaki Itsuno. As such, we're here to help lend that hand you may be looking for; today, we present a guide on unlocking the ultimate skill for the Mystic Spearhand Vocation, Wild Furie!
Where do you first meet Maister Siguard?

The first time you meet Sigurd, the Mystic Spearhand maister, he's in Melve. A dragon is attacking the town, and you must help defend against it. Speak with him after the fight to earn the Mystic Spearhand vocation. If you missed this interaction, he can also be found in Harve Village, located on the eastern coastal hut on the hill.
Where to find the Maister and Dragonsbreath Tower

The Mystic Spearhand Maister awaits southwest of Bakbattahl at the imposing Dragonsbreath Tower. I recommend at least a level of 20, if not level 30. To reach this challenging destination, players must embark on a grueling journey, battling through a horde of around fifty enemies. This treacherous path winds its way up, introducing you to wolves, bandits, Beastren, goblins, harpies, and more. It's a daunting hike, but with our guidance, you'll be well-prepared to face the challenge of obtaining knowledge from the Mystic Spearhand Maister.


Starting in Bakbattahl, exit the western gate. Take the southern route and head down the path. Continue southwest; you'll know you've headed in the right direction if you can see the conveyor system above you.
As you embark on this journey, remember that the key to success lies in minimizing damage. This route is teeming with enemies, including multiple boss creatures. A careless loss of health could make your travels all the more difficult, as there is no campsite until you reach the tower. So, heed this warning and tread carefully.

As you progress, you'll encounter the first significant enemy, a challenging wolf creature. While it may not have a boss health bar, it feels like one! Like many enemies on this trail, the wolf is weak to fire. If you have a well-equipped mage or sorcerer in your party, you can make quick work of it.
Early on there will be a cave; skip this. Inside is a beast you took on at the beginning of the game, and if you decide to take her on again, you'll have to find a campsite before heading up the mountain pass. If you haven't figured it out, it's Medusa. Skip for now; come back later.


Continue while being careful of your surroundings. As harpies, goblins, and bandits attack, do not head further up the path, causing more to aggro onto you and your party. Take each group on methodically, one at a time.
At some point, you'll see a troll or two. I suggest skipping these, especially if they're far enough off the path that they don't see you.
The dragon fight

Once you've arrived, camp. You'll need it. There's a small campsite at the foot of the tower. Once rested, head toward the gate, where a red dragon will appear from the tower. At that moment, Sigurd will join in and ask to best the dragon with the Arisen.


• DD2 FAQ and guide list
• DD2 vocation guide and skills list
• DD2 Sphinx guide
• The Nameless Village quest
• DD2 on gaming handhelds
• Greatsword and Archistaff quest
Charge ahead and climb the multiple tower levels. On your way, more enemies will get in your crosshairs. Eliminate them quickly while staying on your guard; you'll need all the health you can get for the fight ahead.
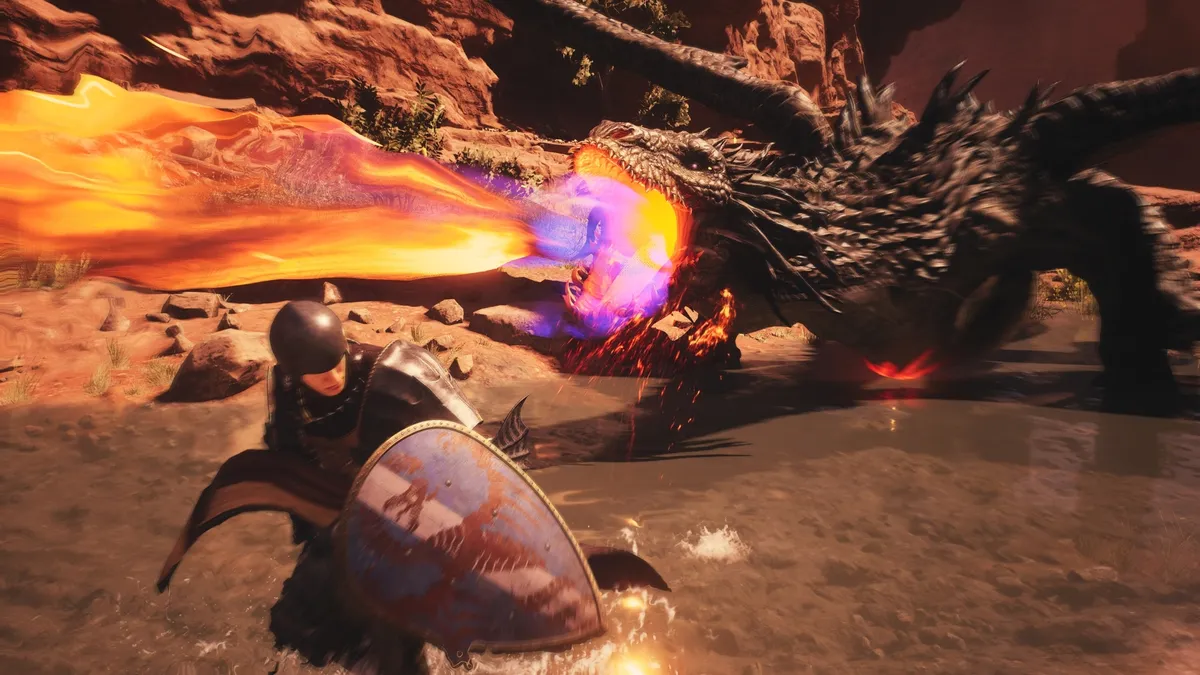
Once you've reached the top, the battle with the dragon begins. Mind you, this is the same dragon you faced off against in Melve when you first met Sigurd. Don't take the enemy head-on; instead, use your shield ability to protect the party. Target the pustules protruding from the side; these are weak points. Don't give up on them until they pop.
The dragon may drop a level or two during the fight and may also take off into the sky. It won't retreat for long and will eventually come back down. However, you need to be careful. If your stamina is low while holding onto the dragon and he takes off, you'll be insta-dead from this height.


The loot

Best the dragon, collect the loot, which includes one of the best Duospears, the Dead Ringer. Talk with Sigurd to receive Paladin's Enigmata tome. Read it to learn Wild Furie, the ultimate skill for the Mystic Spearhand Vocation.


