How I destroyed my Steam Deck in the name of aesthetics — a truly horrifying tale
Witness my descent into madness this Friday 13th of Spooktober
All the latest news, reviews, and guides for Windows and Xbox diehards.
You are now subscribed
Your newsletter sign-up was successful
Happy Friday the 13th, dear readers. As this eerie day falls in October this year, it's especially ominous. My haunting tale didn't happen during Halloween, but it's so terrifying that I've only now mustered the courage to share it outside of the confines of Twitter.
This is the story of how I broke my Steam Deck, delved into its innards like Dr. Frankenstein, and ultimately failed, all in the name of aesthetics. I'll take you on a harrowing journey through my quest to transform my beloved Steam Deck into something even more beautiful, something... Atomic Purple.
JSAUX already make some of the best Steam Deck accessories on the market. JSAUX had just released a range of enticing colored shells and transparent front plates, and they were generous enough to send me some after I convinced them that I had the skills for this endeavor.
Disclaimer: This tale of woe was made possible thanks to a review unit provided by JSAUX. Many people have successfully swapped their Steam Deck shells with zero issues, and I accept full responsibility for my insane attempt when I'm barely capable of fitting a lightbulb unaided.
The quest for beauty
The chilling tale begins on a cold July morning, though it wasn't actually cold. But for a story of this nature, a bit of chill in the air seems fitting. I sat at my desk, the Steam Deck and JSAUX's kit spread out before me, ready to undertake the transformation. How hard could it be? There was a YouTube video guide to follow, and with unwavering confidence, I believed I couldn't fail.
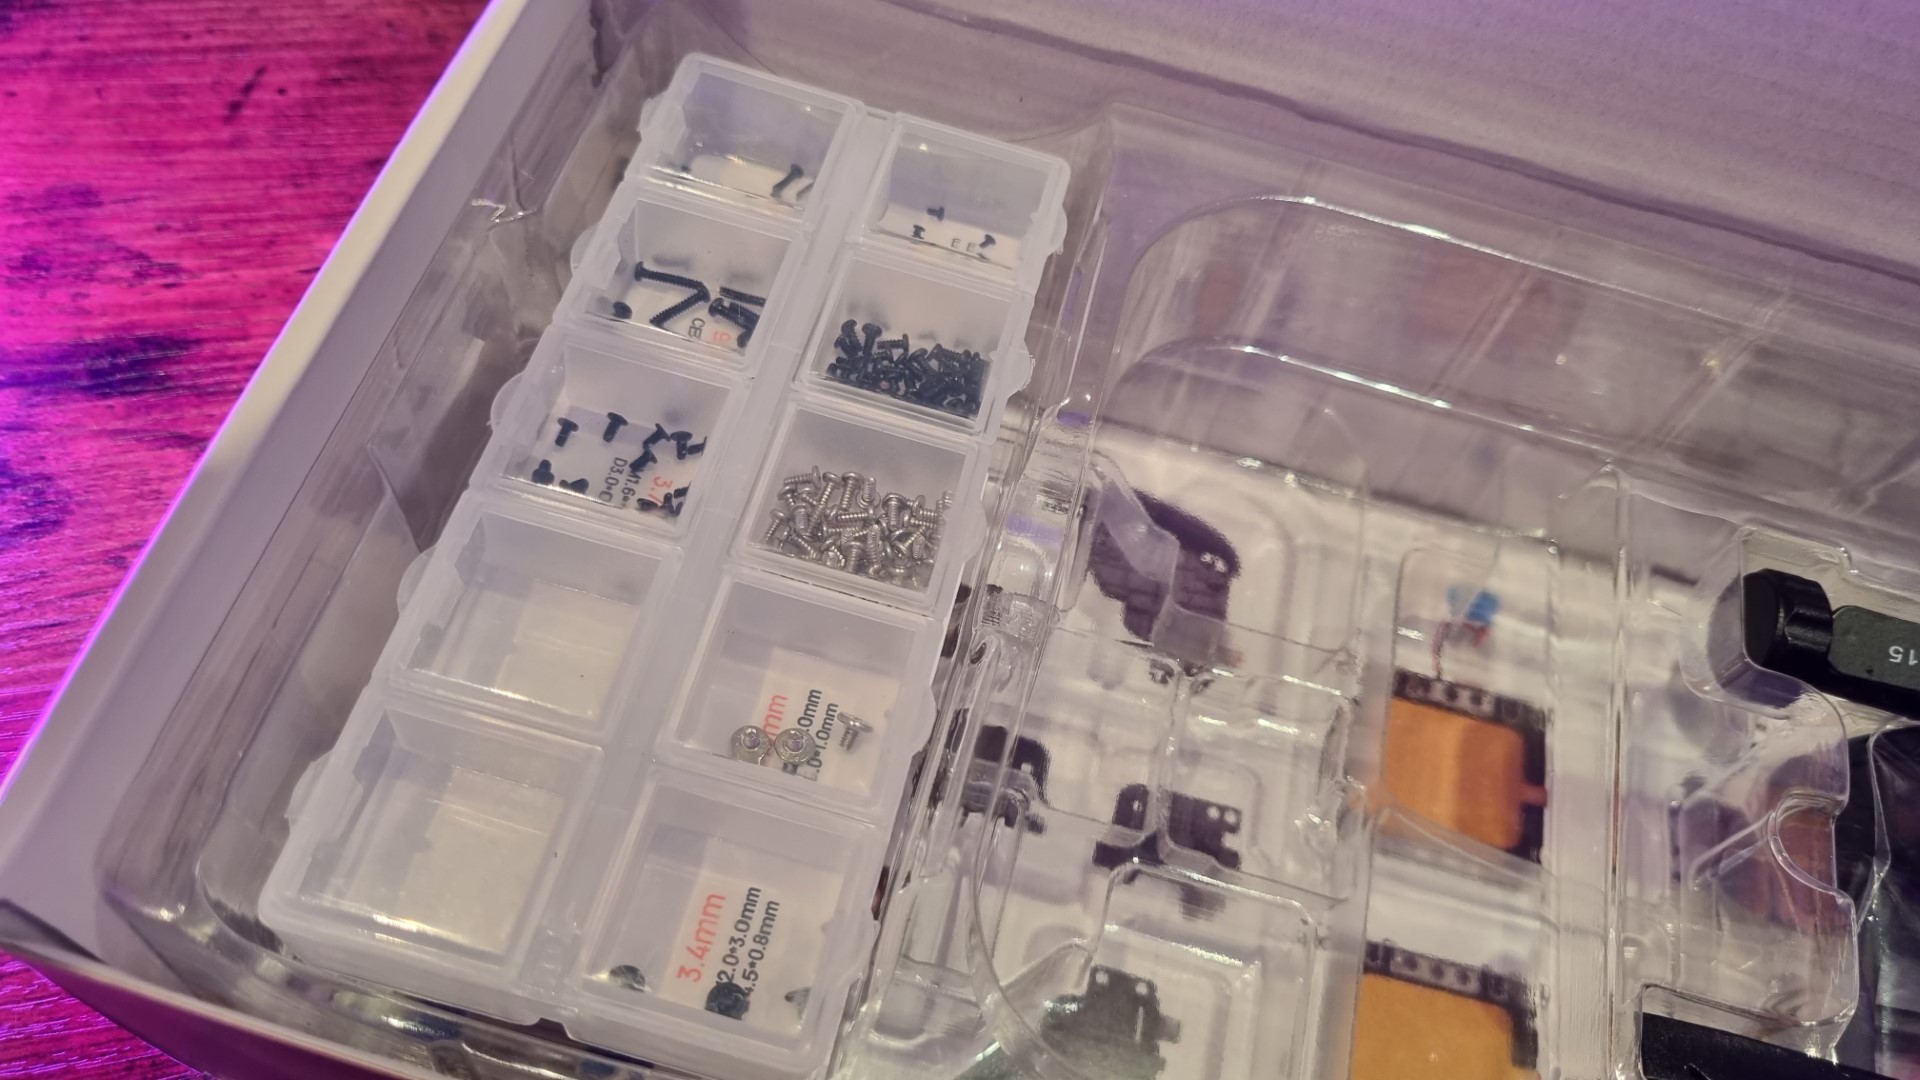
The JSAUX Transparent Shell kit provides everything you need from screws to tools
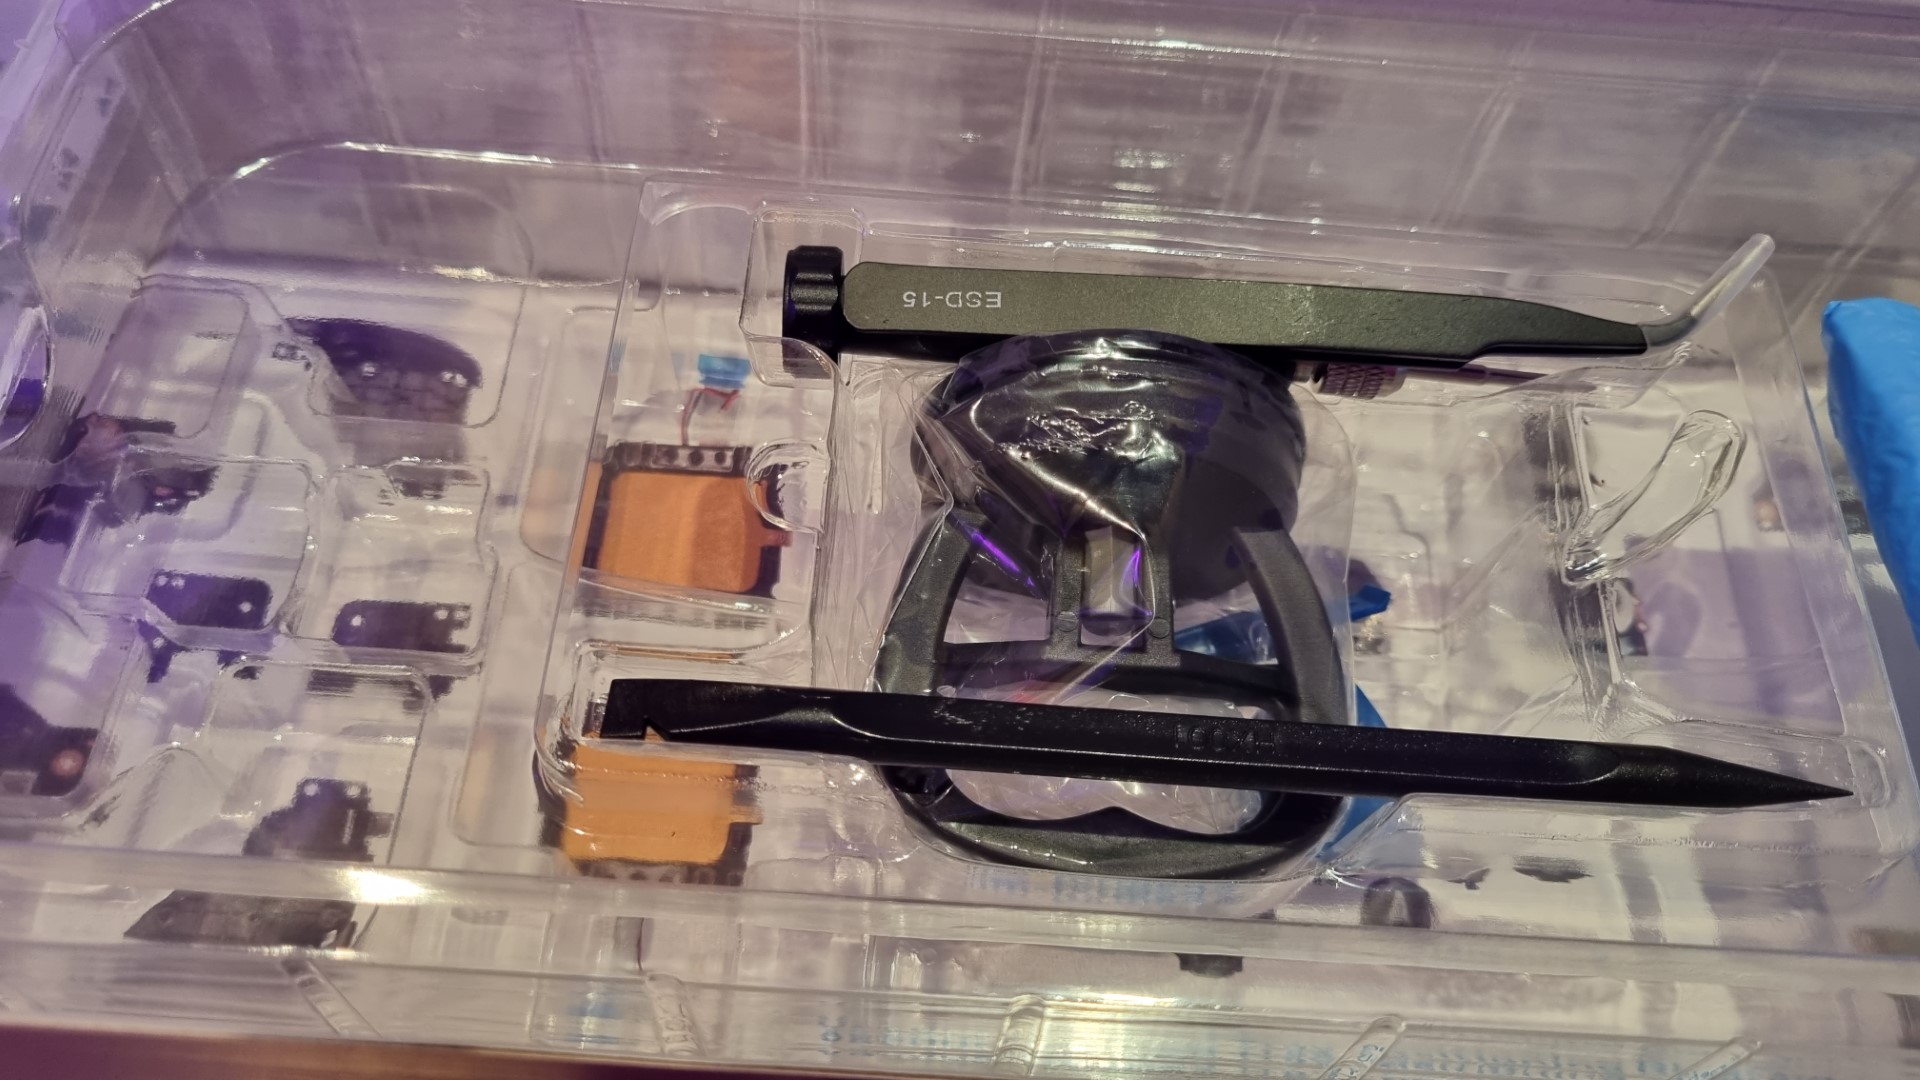
The tools of torture were laid out before me in perfect packaging
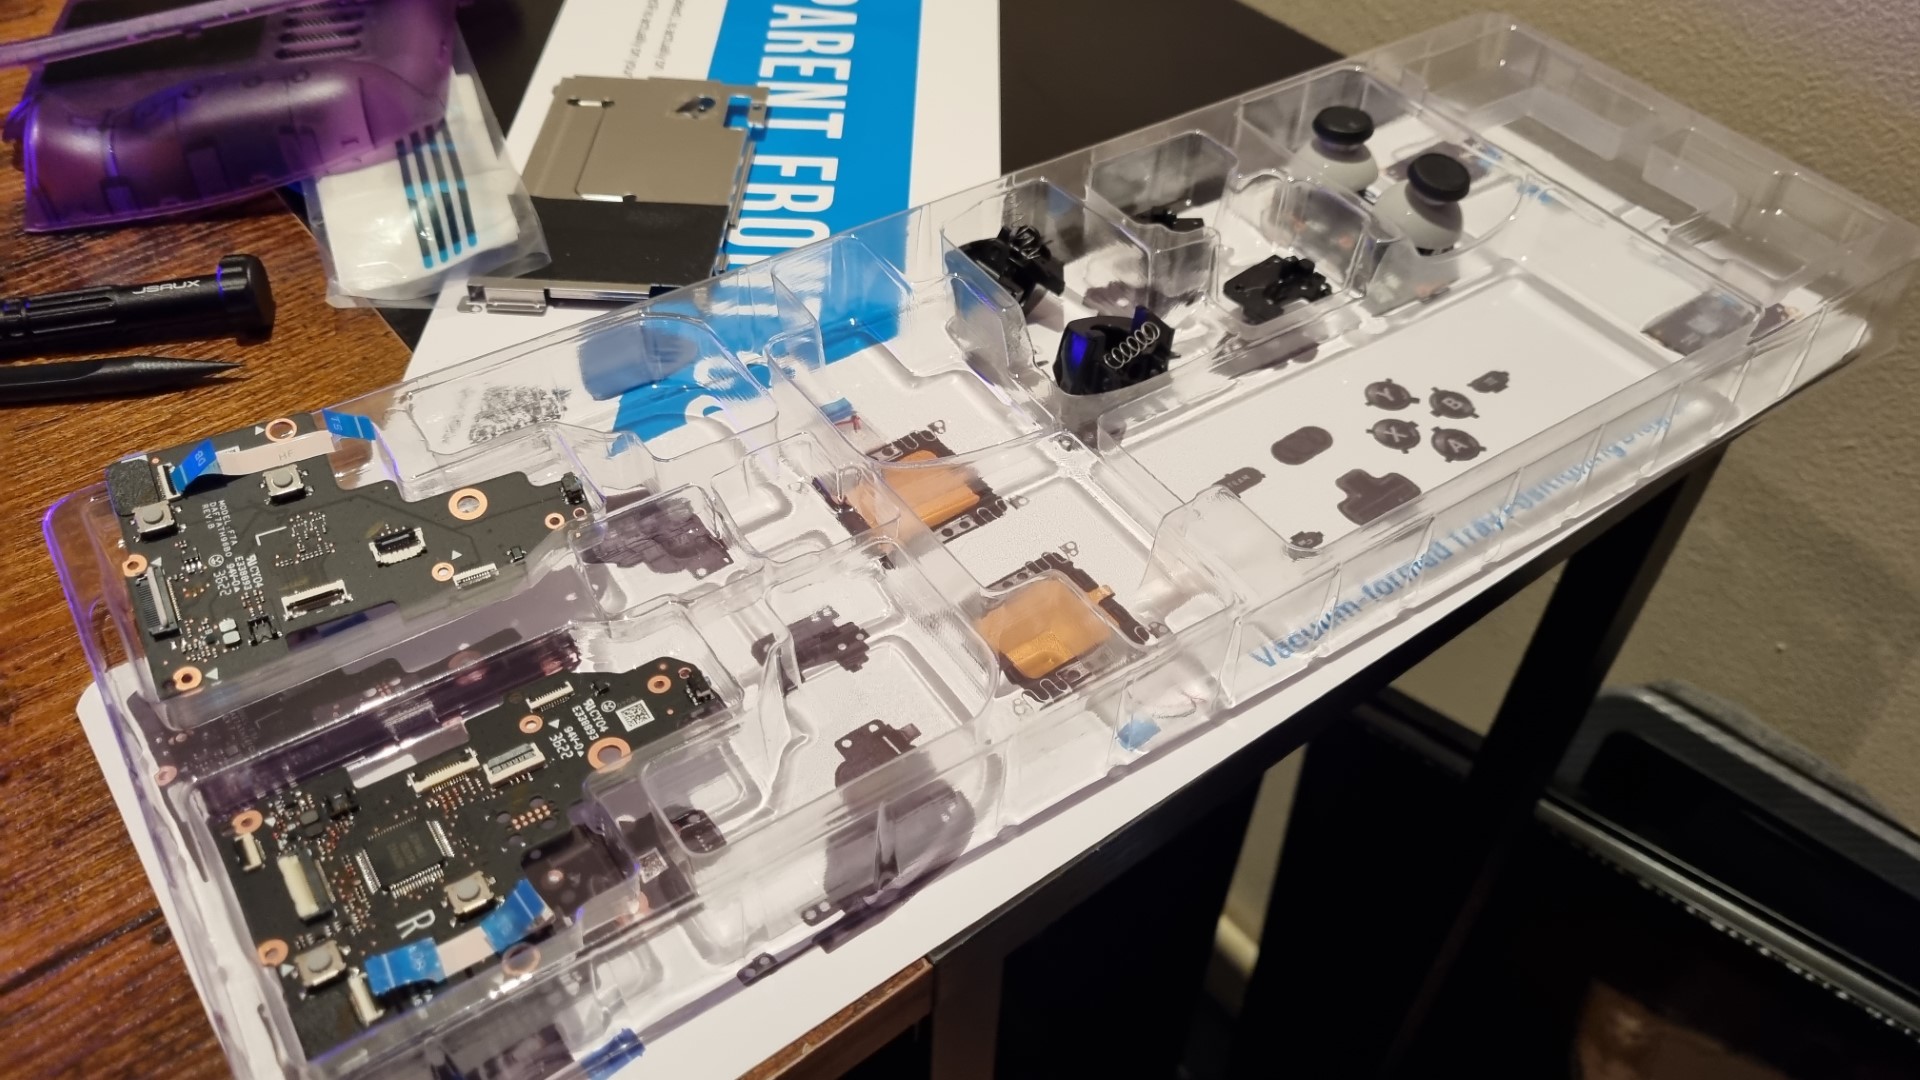
The package comes with a helpful visual guide of where all the bits and bobs have come from, so you don't get confused between left and right.
JSAUX's kit promised to provide everything I needed - the tools to disassemble my Steam Deck and a transparent tray with an annotated diagram, ensuring I wouldn't mix up the components. The video guide appeared straightforward, specifying the size of screws to loosen and tighten at each step. I was feeling pretty confident. However, there was a crucial detail in the instructions I overlooked: "Replacing the cover is a difficult and time-consuming job, estimated to take 3 to 5 hours. We strongly recommend that you seek the help of a professional repairer." But that warning surely didn't apply to me.
A stubborn screw, a desperate decision
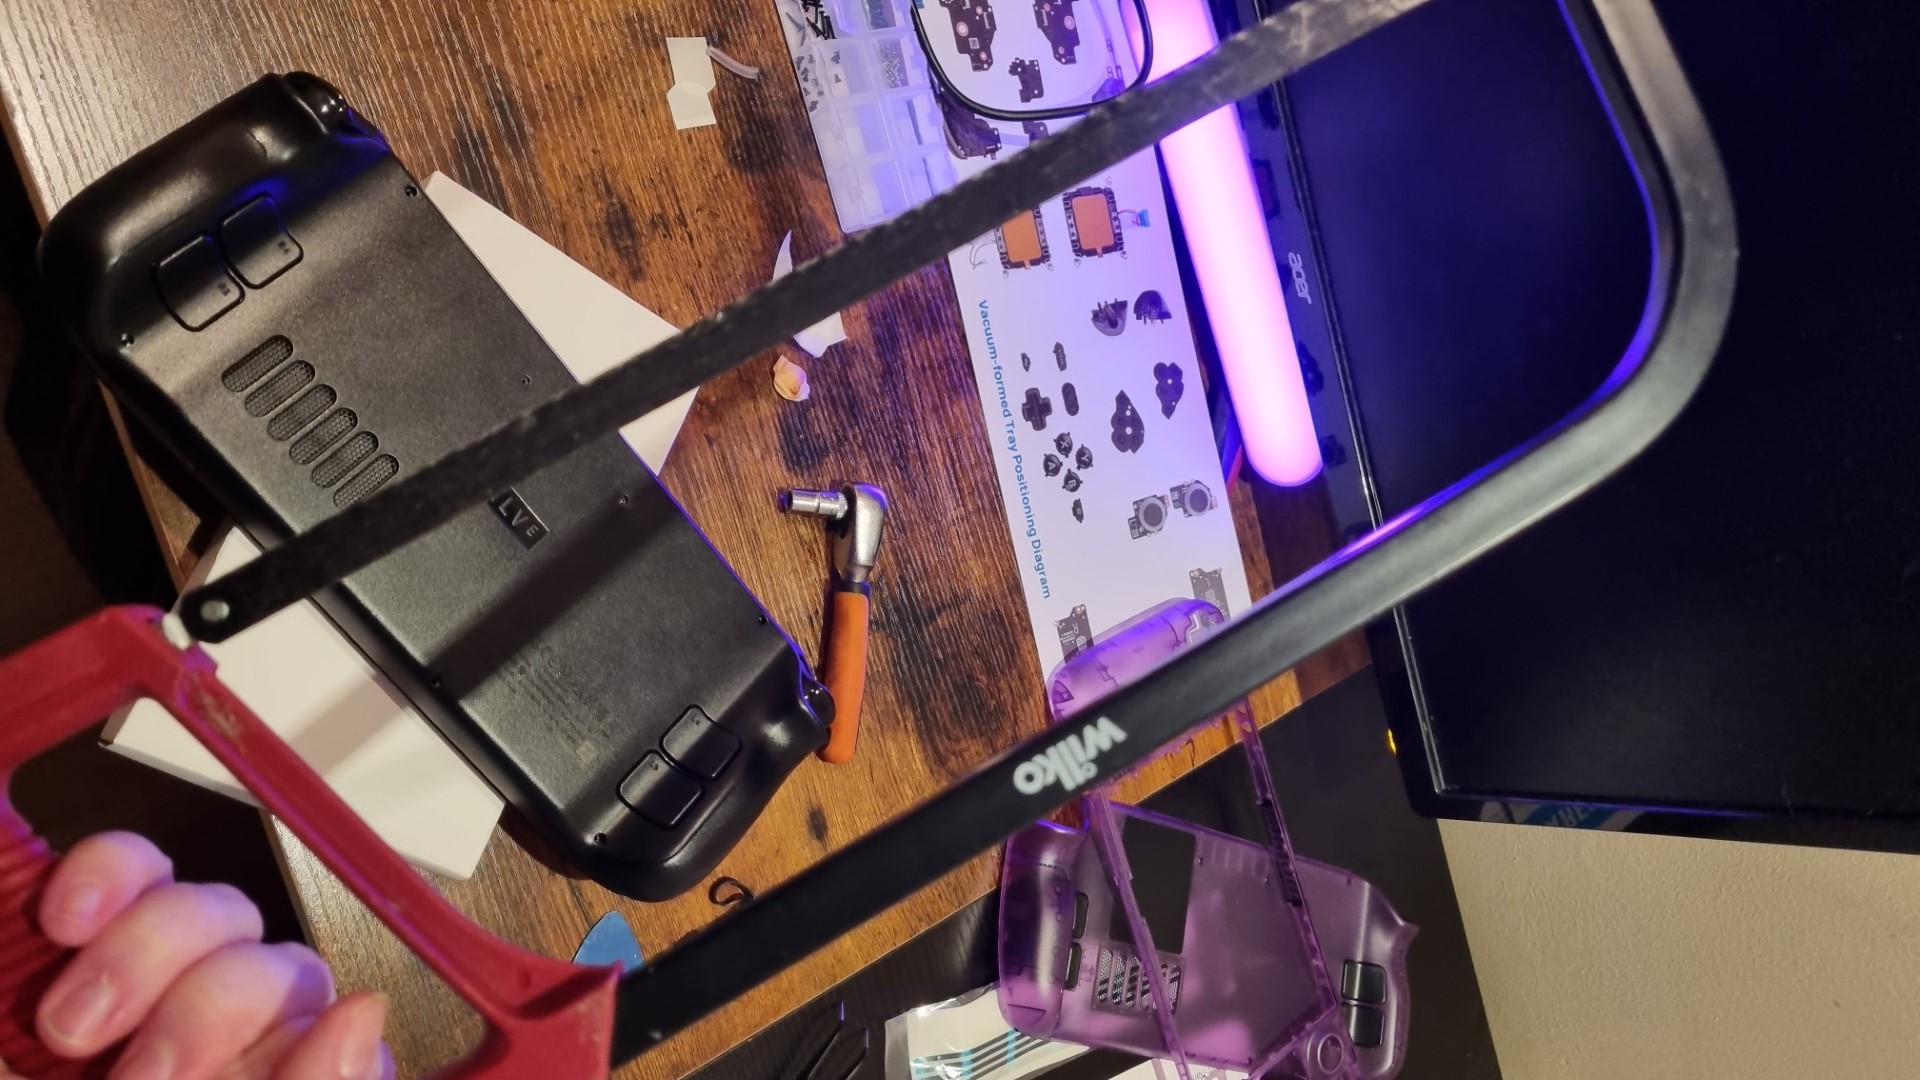
My quest took a dark turn early on as I tried to remove the back of the Steam Deck, only to strip one of the screw heads. Despite all my efforts with different screwdriver sizes and elastic band related tricks, that darn screw refused to budge. It felt like only one screw stood between me and greatness. Desperation led me to a drastic decision — I needed to hacksaw my way through it. After all, I was replacing the rear with an Atomic Purple shell; what harm could it do?
With hacksaw in hand, I was poised to carve into the rear of my Steam Deck when my boyfriend walked into the room precisely before the madness completely took me over.
Anything I accomplished from this point onward would be tainted by the fact that I had to accept help from a man
"WHAT THE HELL ARE YOU DOING?" he exclaimed. I, cool as a cucumber, replied, "I can't get this screw out, so I'm going to saw the back in half to get it off."
"Why didn't you ask me for help?" he asked.
All the latest news, reviews, and guides for Windows and Xbox diehards.
"I'm an independent woman."
"For f**k sake" he sighed. This exchange ended with him talking me down from the edge like an expert crisis negotiator, taking the hacksaw from me and expertly removing the troublesome screw in mere seconds. With a screwdriver that I hadn't tried yet.
I was relieved, however, a simmering frustration was now bubbling inside me. Anything I accomplished from this point onward would be tainted by the fact that I had to accept help from a man. It was a bitter pill to swallow, but if I could successfully complete the shell swap, my secret would go with me to the grave.
Dissecting the Steam Deck
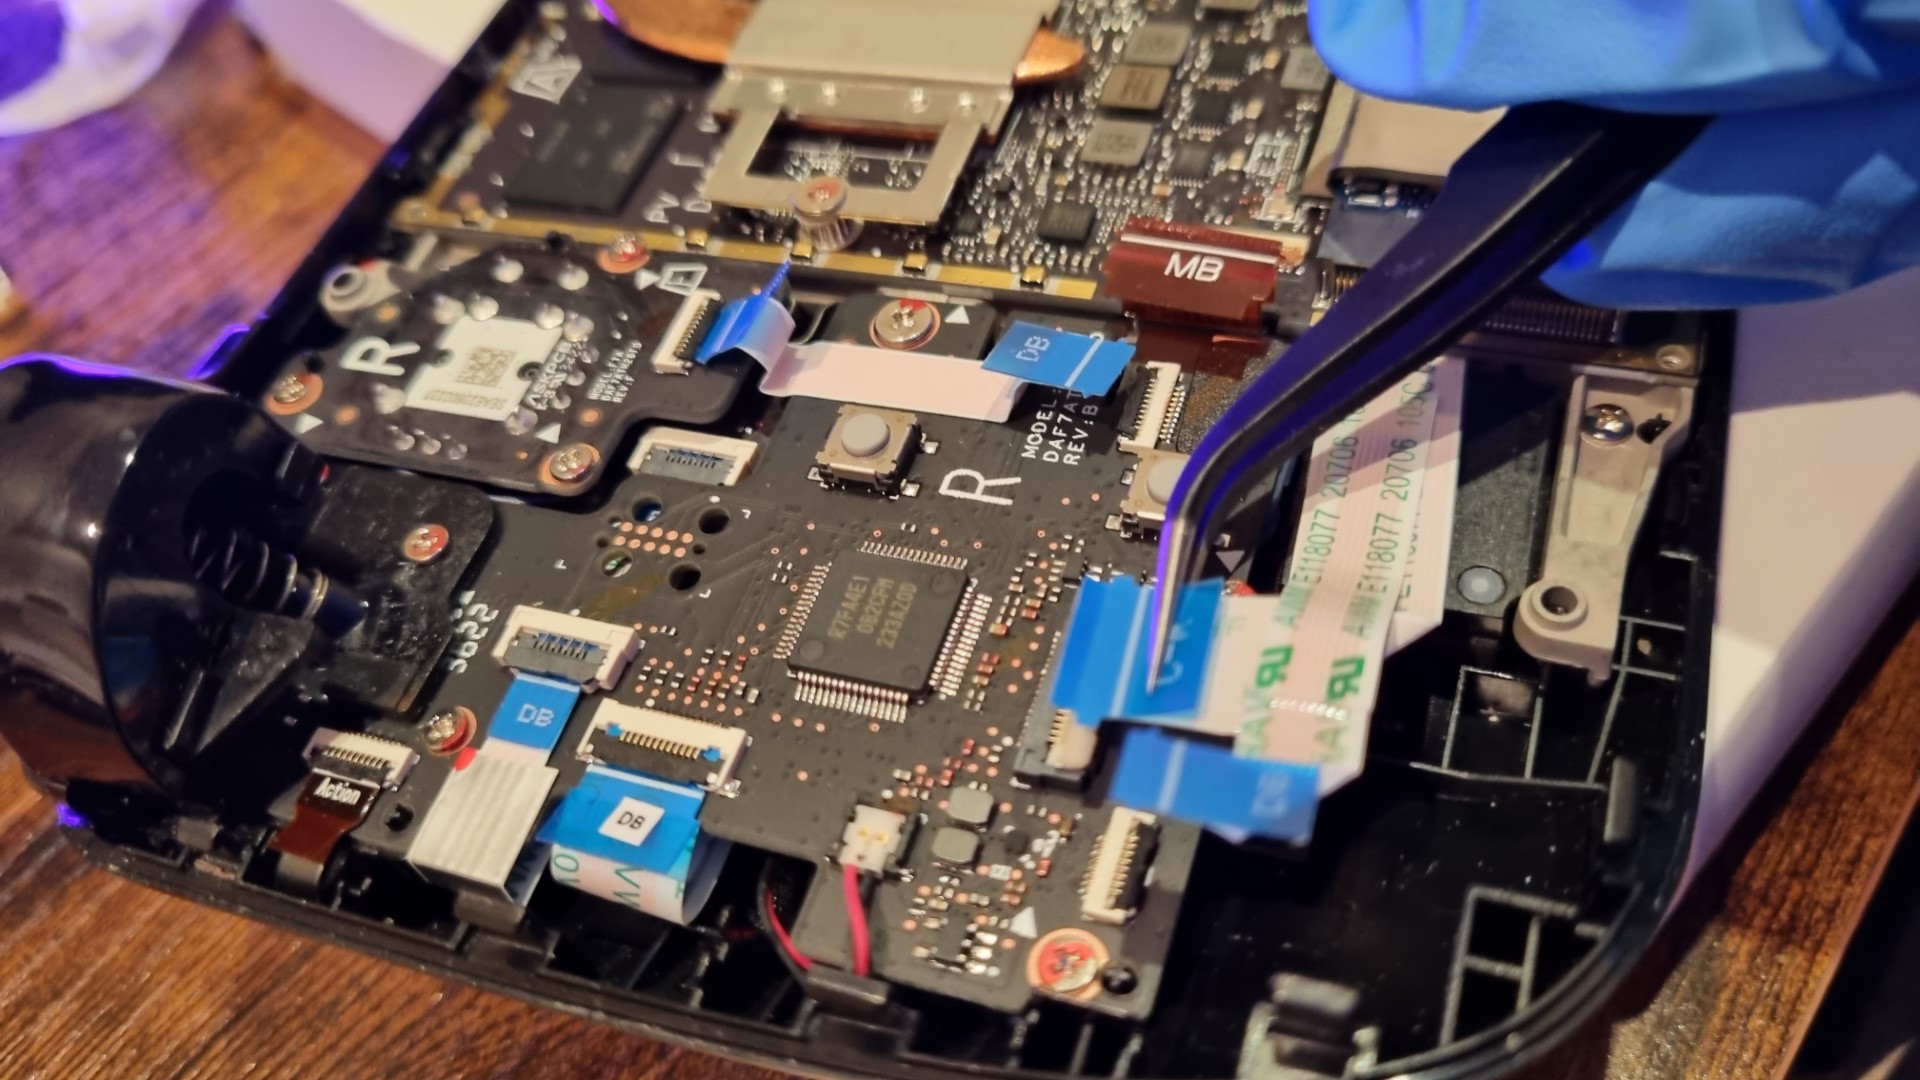
So many screws to unwind, so many wires to unpick.
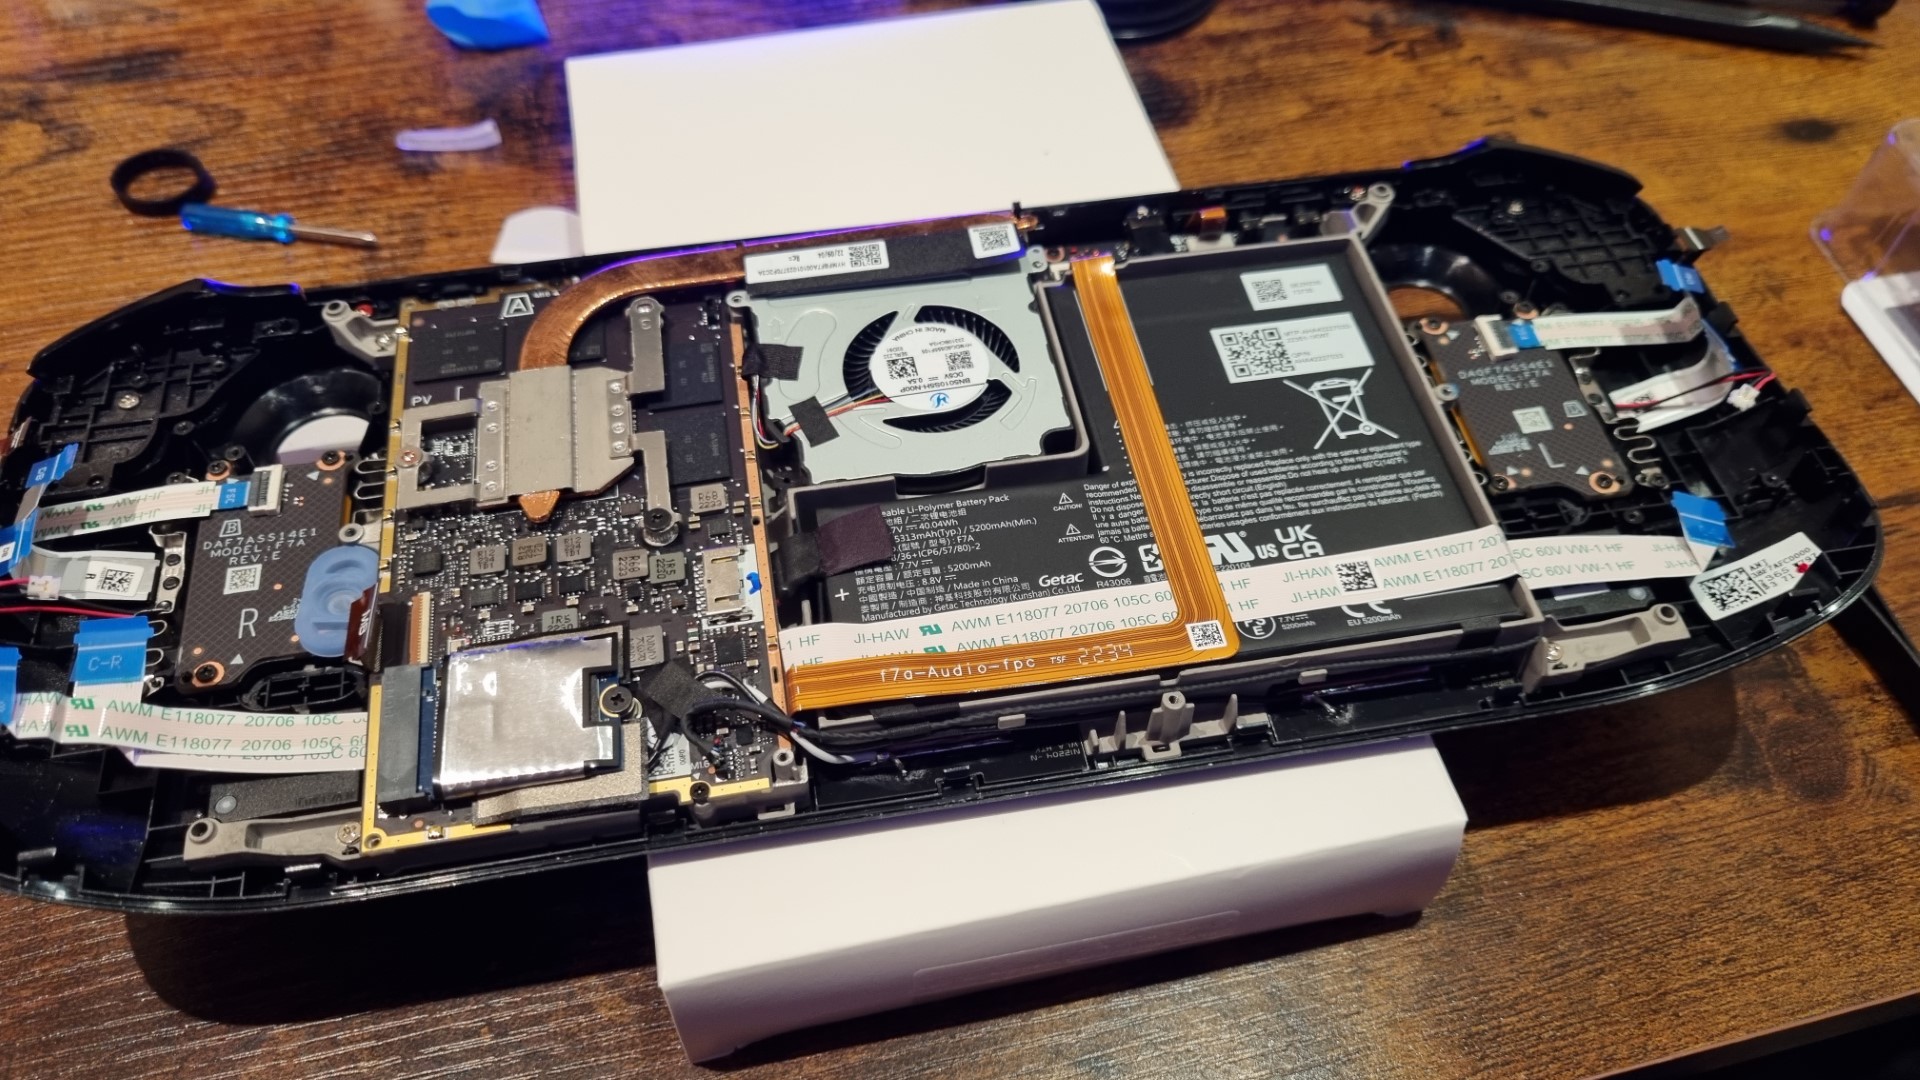
I wasn't sure how this was all going to go back together, but I trusted the JSAUX tutorial would see me through.
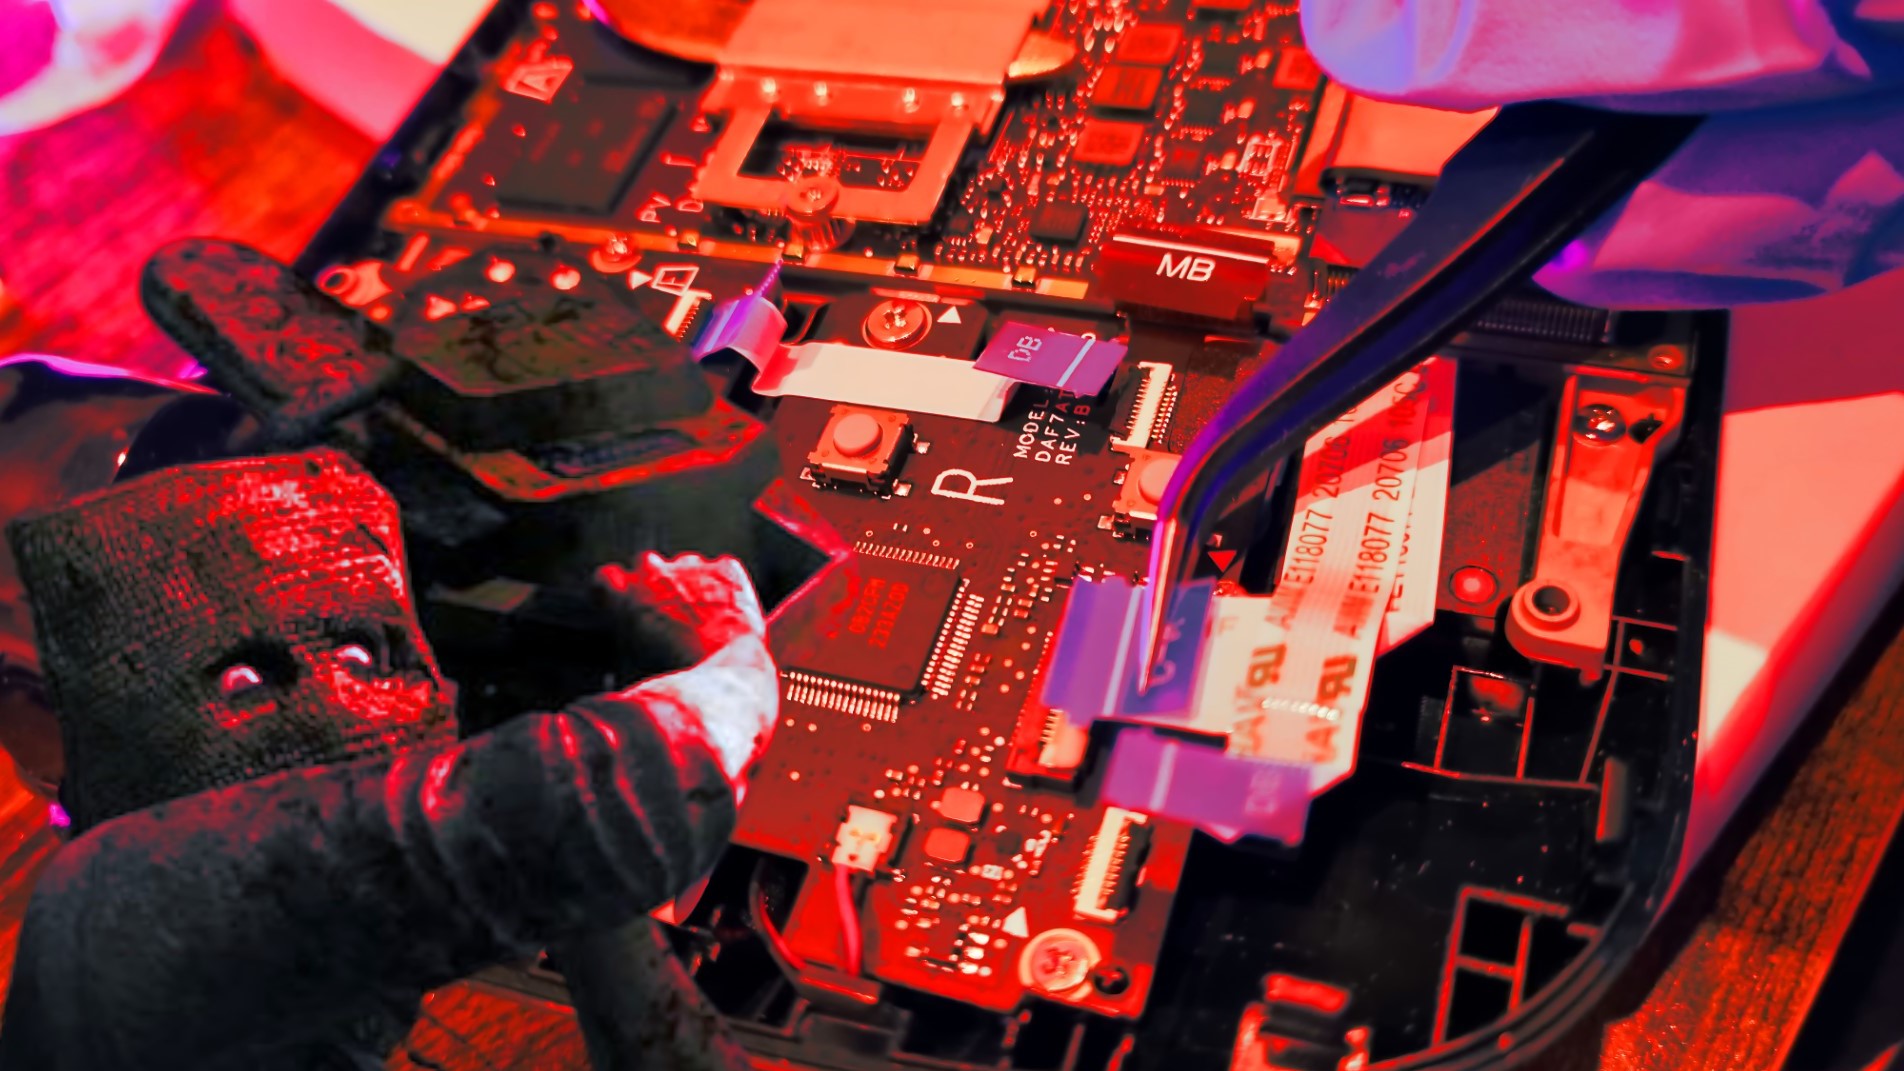
I continued with my task, but the promised 3 to 5 hours now felt like a gross underestimation. The Steam Deck seemed to house what felt like hundreds upon thousands of screws, and the video instructed me to disassemble all the power, MCB, display, and fan cables, among other components. These connections were stubborn, almost as if I wasn't supposed to be doing this.
Disassembling the triggers and joysticks, on the other hand, was fascinating. I had never witnessed the inner workings of a device in such detail before, and I felt like a god as I carefully removed and placed each part in its designated spot. Despite the initial hiccup with the back screw, it seemed smooth sailing.
An unexpected twist, the scream of the screen
The hard part, I thought, was behind me. Until the tutorial sprang a jump scare I hadn't anticipated. It started giving me instructions on how to remove the screen. Cutting adhesive? Prying the screen away? My heart raced; I hadn't been prepared for this level of gore.
If only I had done some research or actually watched the video before beginning this harrowing process, I might have thought twice about it. But I was already deep in my madness, and with onlookers waiting both at home and on Twitter, I couldn't back down. It was also now late in the day, well past the initial 5 hours the tutorial had promised. I was 8 hours deep.
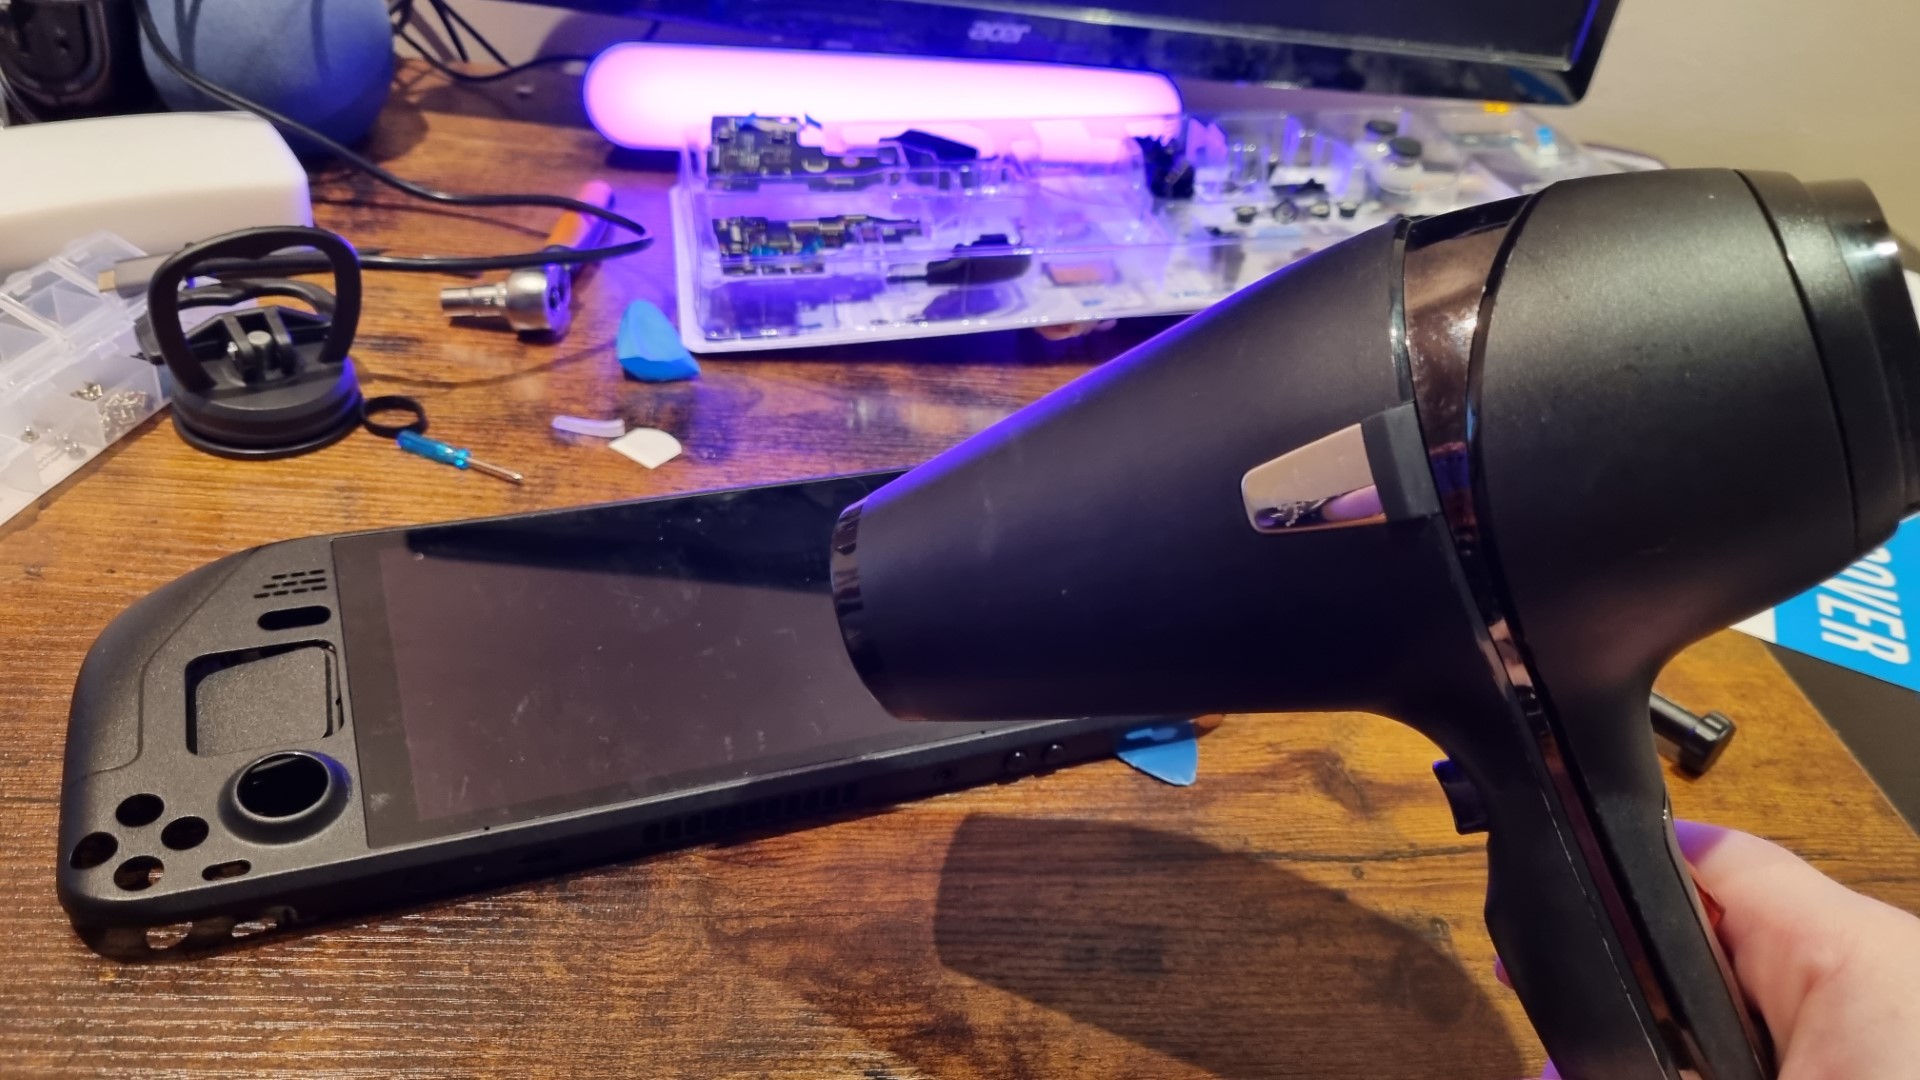
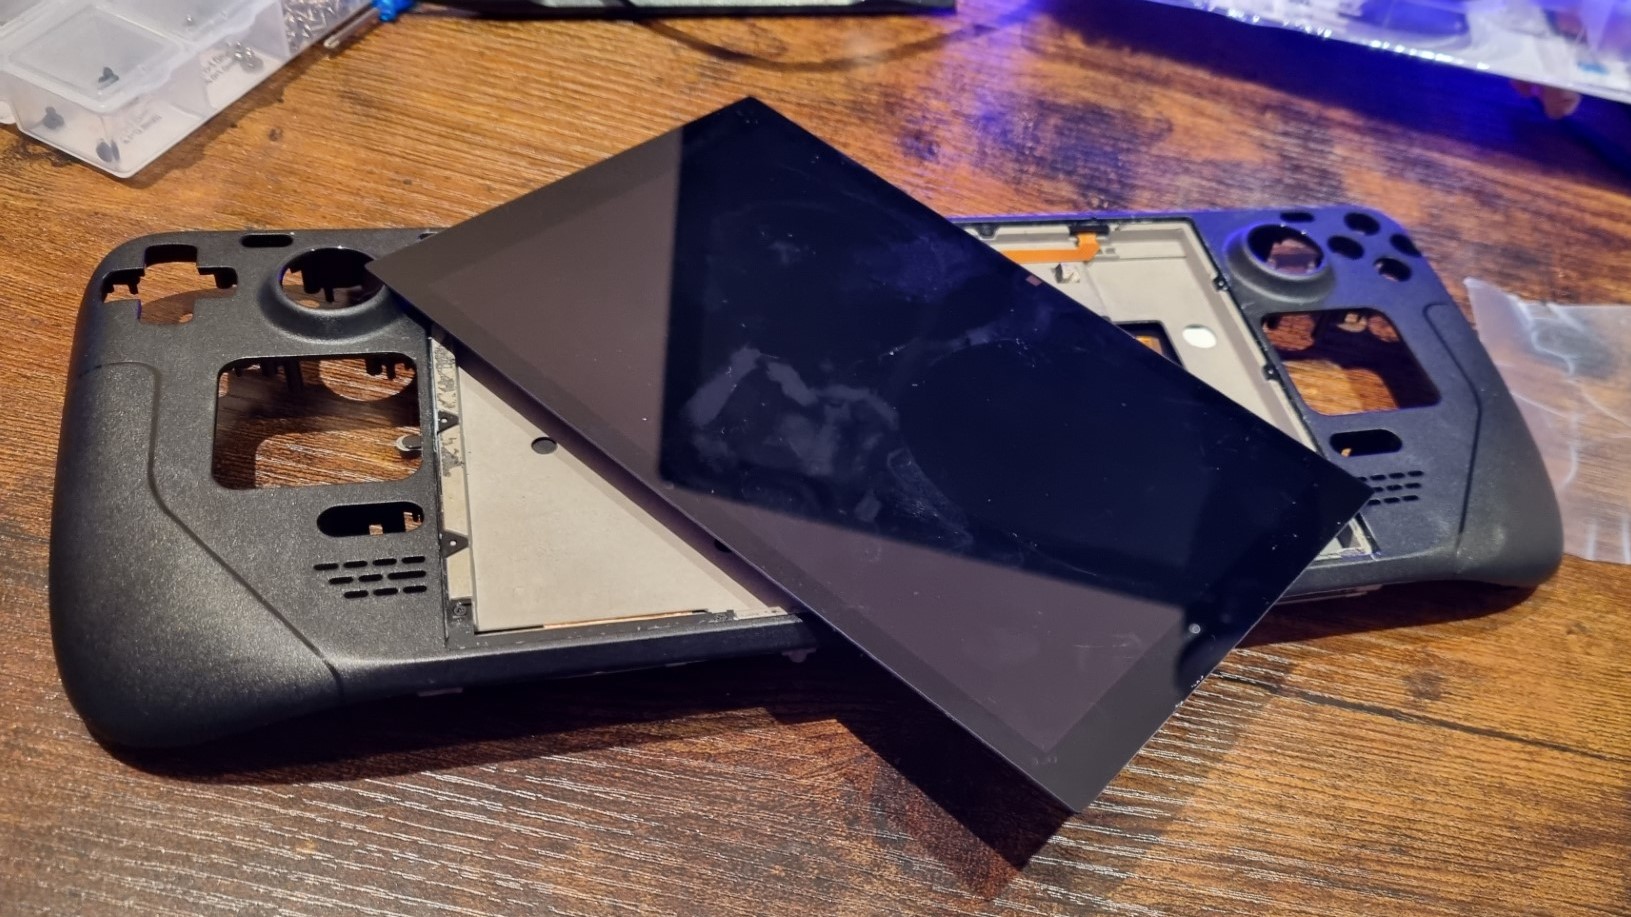
Armed with a hairdryer to loosen the glue and my cutting tool in hand, I began the painstaking process of detaching the Steam Deck's screen. I could almost hear it screaming in agony as I lifted it away from its skeleton, but I did it. I waved the screen triumphantly at my friends, "I'VE DONE IT."
The eerie reality, an unresponsive screen
But the ordeal wasn't over. I removed the Atomic Purple Shell from its packaging, started placing the Steam Deck's components inside, glued the screen back in place, and meticulously reconnected every ribbon and cable. Reattaching the display cable was rumored to be the most challenging part, requiring multiple attempts to get it just right. Beads of sweat rolled down my face; this was a make-or-break moment.
Before sealing the device, the tutorial advised me to turn on the Steam Deck to ensure it worked. With trepidation, I pressed the power button. Nothing happened. The Steam Deck lay there, silent and lifeless. Eight hours into this ordeal, it was now Saturday evening, and I hadn't even had a drop of wine, fearing it might impede my progress. But at this point, I desperately needed a glass. I had to step away and take a break.
A costly lesson, the beautiful coffin
An hour later, I returned with fresh determination and my tools at the ready. I disassembled the Steam Deck once more, hoping to rectify the issue. I reassembled it carefully, making sure I didn't miss a single detail. It was only after I had taken it apart a second time that I realized my error — I hadn't connected the battery cable. You know, the thing that powers the device in the first place. I had disassembled it again for no reason.
The Steam Deck beeped, signifying it was alive. ALIVE I TELL YOU.
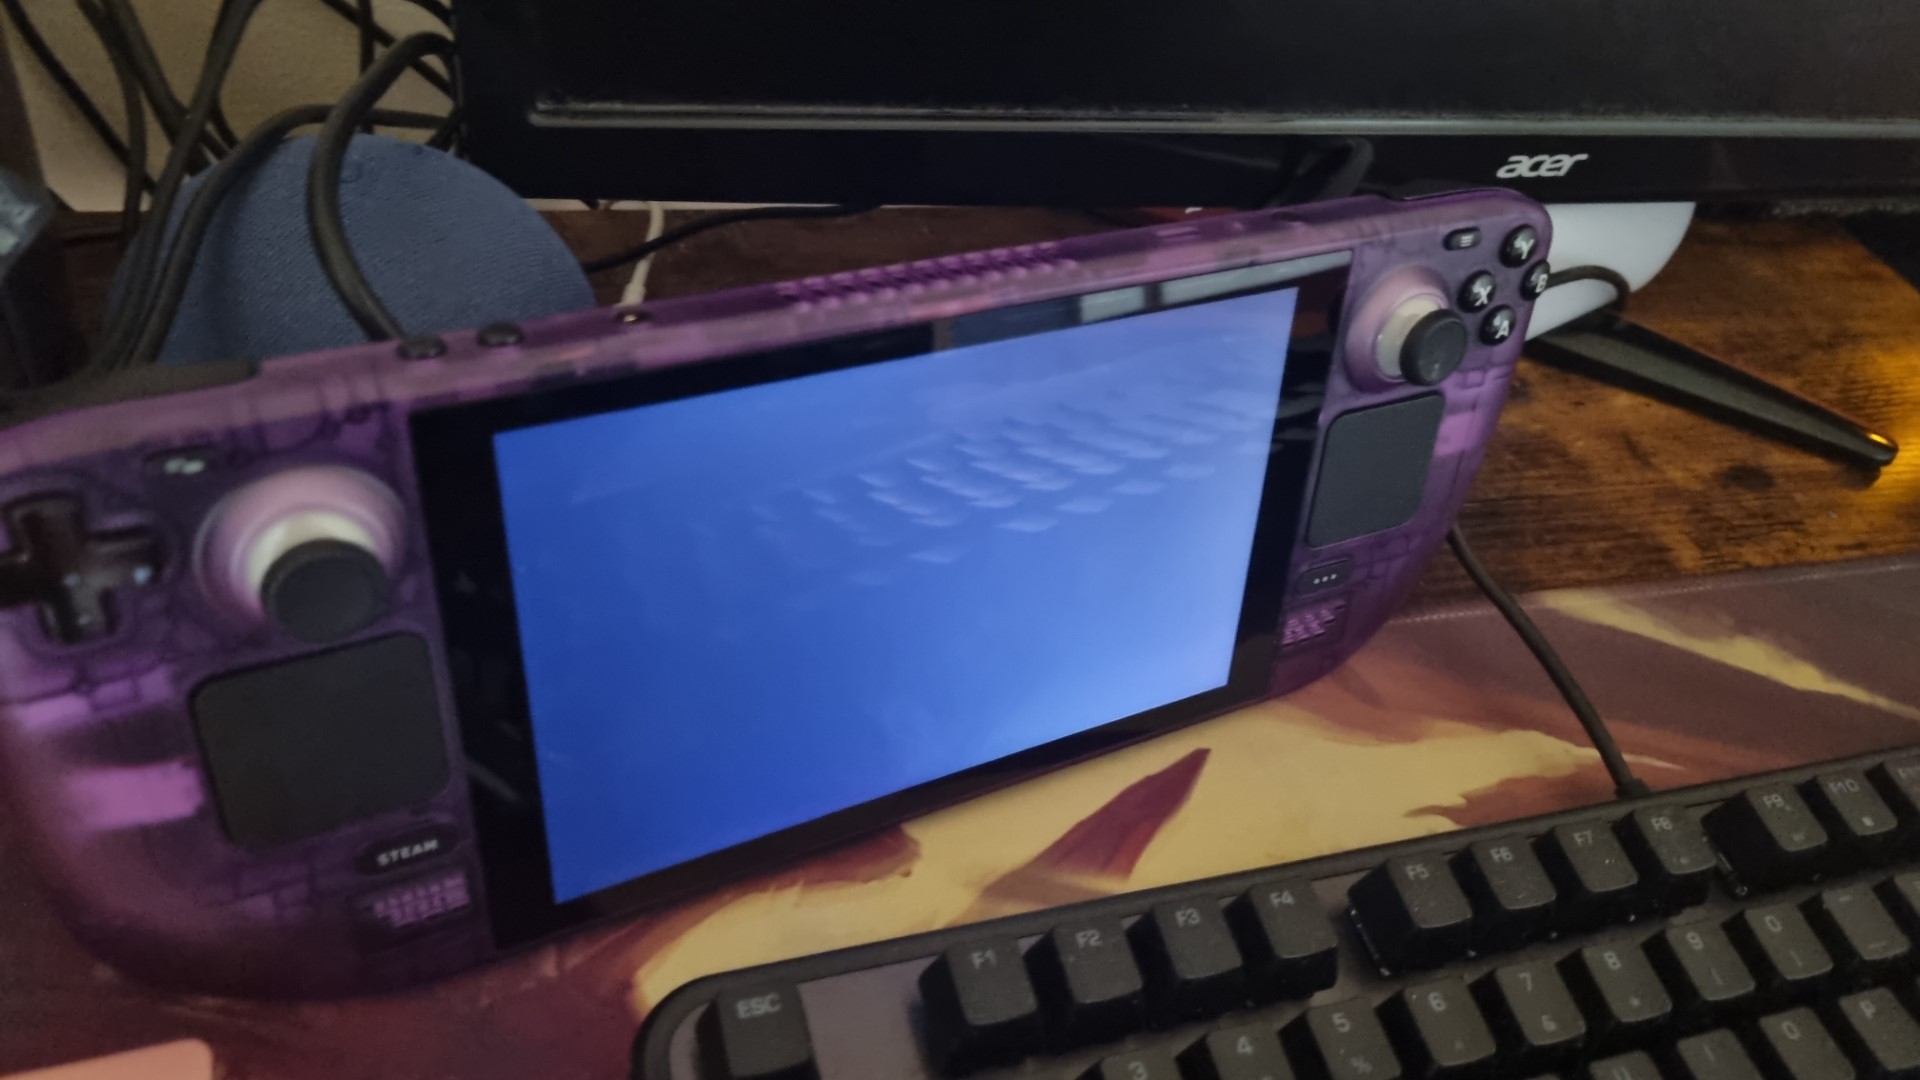
Confident that I had finally solved the problem, albeit through a longwinded process, I pressed the power button once more. The Steam Deck beeped, signifying it was alive. ALIVE I TELL YOU. But, to my dismay, the screen remained lifeless, a dark void that had swallowed my hopes and dreams. It was an unresponsive, a black hole. The light was on but nobody was home. Insert other analogies of hopelessness here.
I connected the Steam Deck to my NewQ USB Dock, and while the game library sprang to life on my external monitor, the onboard screen remained a ghost of its former self. I had broken it. I had destroyed my Steam Deck in my quest to make it beautiful.
Perhaps I should have heeded JSAUX's warning that this task should be left to a professional, or perhaps I should have watched the video and read the instructions before plunging into this endeavor. It was an expensive lesson learned. My Steam Deck now lay in its beautiful Atomic Purple coffin.
A costly mistake
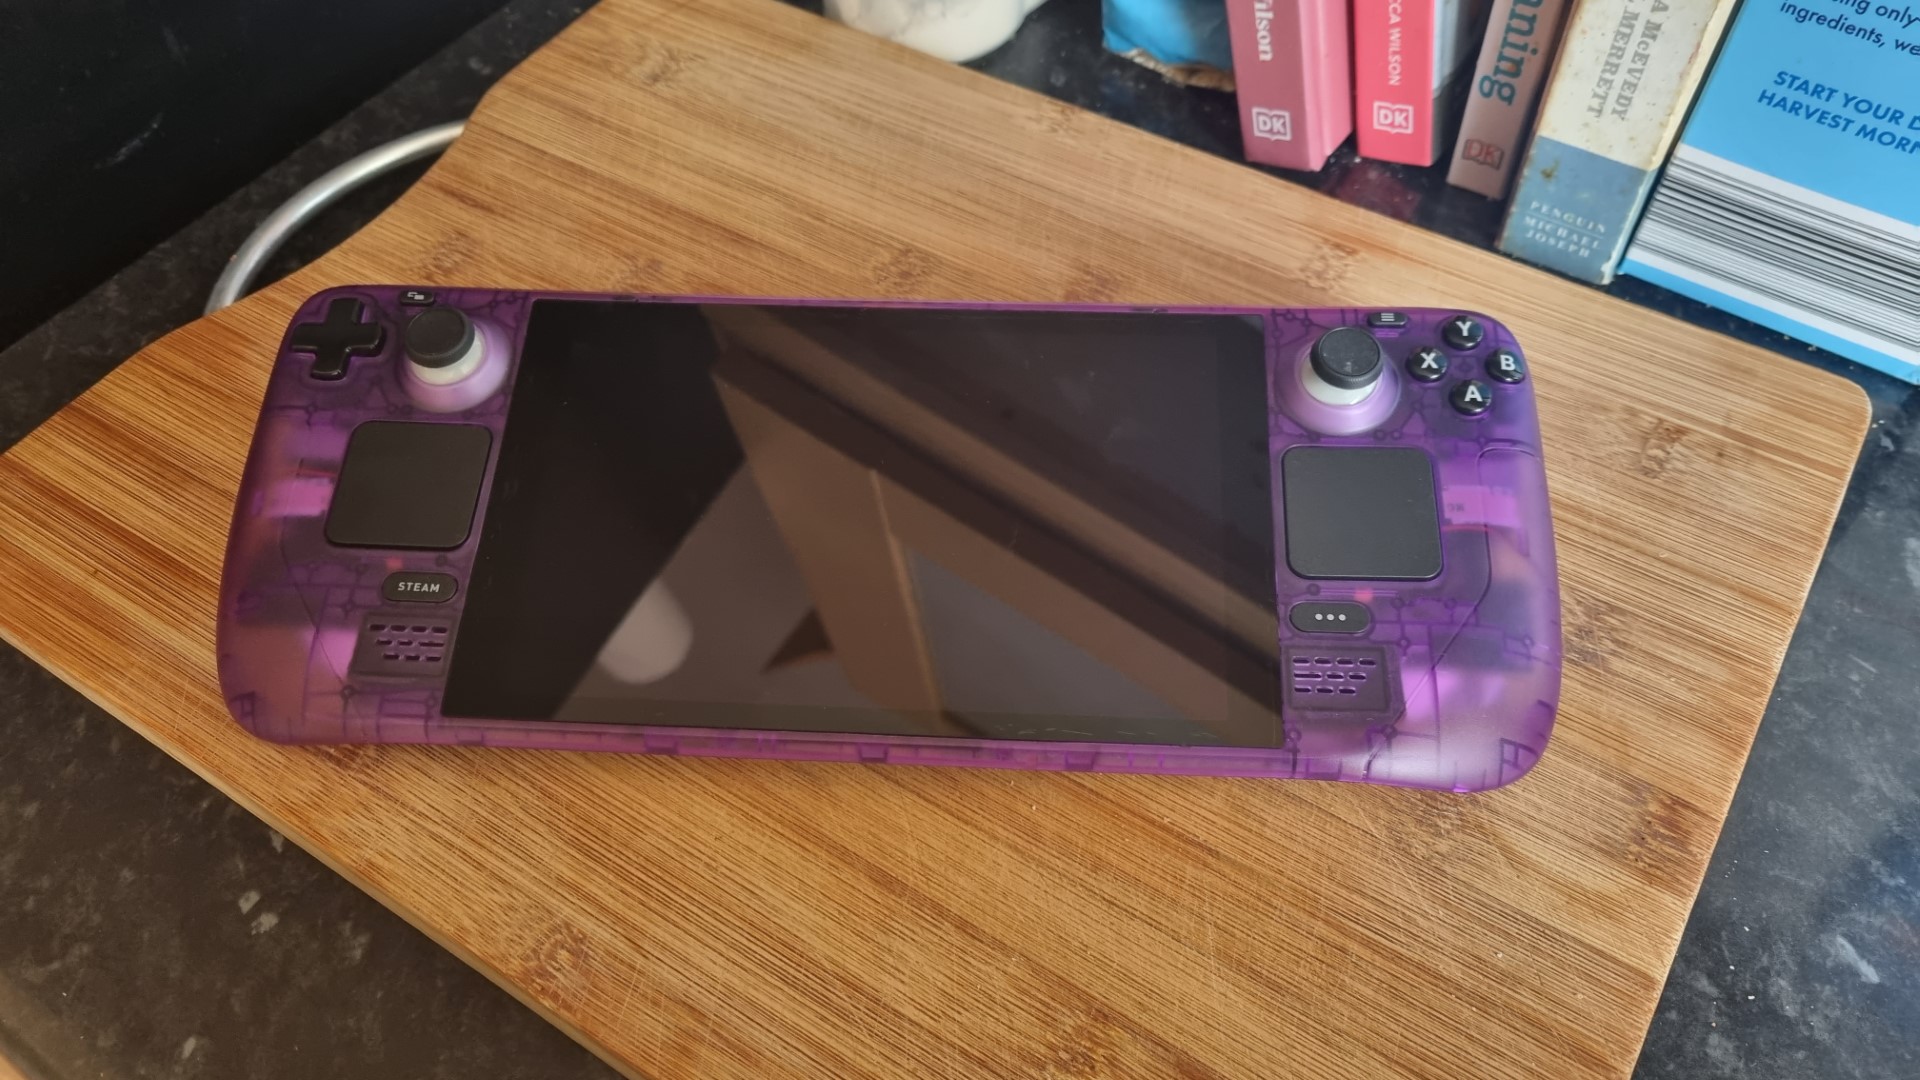
I've somewhat redeemed myself since this incident, taking on a much less expensive project to rehouse an Xbox controller. But it's safe to say my days of tampering with Steam Decks are behind me. It can be done, though, and many people on Reddit have completed shell swaps with stunning results. If you believe you have the skills, JSAUX offers a great range on Amazon in various colors. But take my warning seriously; it's not an adventure for the faint of heart. That being said, the RGB range does look tempting and only requires a backplate removal which hacksaw aside, isn't that difficult.
It's also worth mentioning that JSAUX's instructions explicitly state "As an extra precaution, Valve recommends entering the BIOS to put the Steam Deck in battery storage mode before starting internal repairs." and "make sure the Steam Deck battery has dropped below 25%". I did neither of these things, because again, I can't read.
The chilling tale of my ill-fated Steam Deck transformation serves as a cautionary tale, a stark reminder that even the most well-intentioned quests can take a dark and terrifying turn. So, my fellow readers, beware of the allure of aesthetics and experimentation, for the path to beauty can be perilous. The Steam Deck was already beautiful on the inside.

Jen is a News Writer for Windows Central, focused on all things gaming and Microsoft. Anything slaying monsters with magical weapons will get a thumbs up such as Dark Souls, Dragon Age, Diablo, and Monster Hunter. When not playing games, she'll be watching a horror or trash reality TV show, she hasn't decided which of those categories the Kardashians fit into. You can follow Jen on Twitter @Jenbox360 for more Diablo fangirling and general moaning about British weather.
