


Windows 10 Home users no longer has the option to create a local account during the out-of-box experience (OOBE) setup, but there's a workaround if you don't want to use a Microsoft account. Although you have been able to choose between a Microsoft account or traditional local account during the setup process, the experience has always been intended to lure users into selecting the Microsoft account option.
The reasoning behind this approach is that Microsoft wants you to use the cloud-based account system to take advantage of additional benefits, such as access to many of the company's online services, the ability to sync settings and files across devices, as well as manage various aspects of your devices, including updating personal information, easily reset the account password, and find your comptuer if it's lost or stolen.
However, there are still people who prefer the security, privacy, and simplicity of a local account, which was one of the reasons the option was available during the setup process. But since version 1903 (May 2019 Update), the choice has disappeared entirely from the Windows 10 Home setup.

If you're among those who use the Home version of Windows 10 and prefer the offline account type, the next time that you reset or set up a new device, or perform a clean installation, you will have to use a workaround if you want to create a local account.
In this Windows 10 guide, we'll walk you through two ways in which you can create a local account now that Microsoft no longer includes the option for Home users.
- How to create local account during installation of Windows 10
- How to create local account after installation of Windows 10
How to create local account during installation of Windows 10
To create a local account within the out-of-box experience for Windows 10 Home, while in the account setup stage, use these steps:
Quick note: If you're stuck creating a Windows 10 account, we assume you already went through the steps to perform a clean install of Windows 10, or you're setting up a new device.
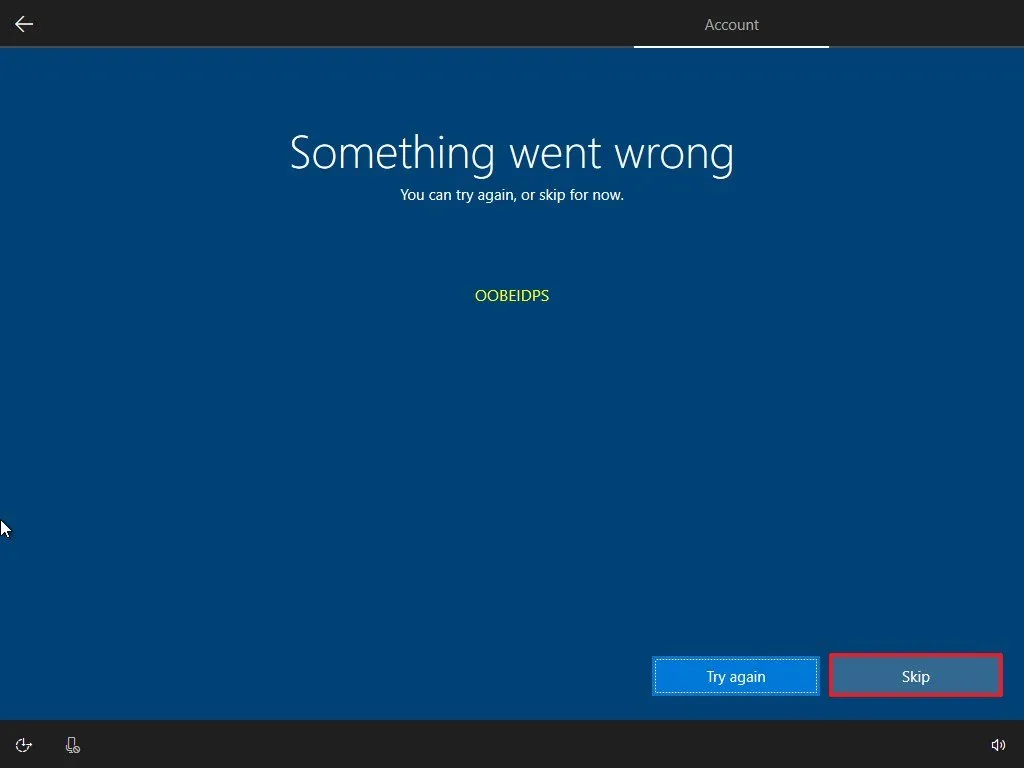
- Disconnect the computer from the network.Quick tip: If you're using an Ethernet connection, disconnect the cable from the back of your computer. If you're using a wireless connection, turn off the adapter using the shortcut on your laptop. (In the case that there's no way to disable the Wi-Fi adapter, then restart your computer, and skip the network connection step.)
- In the "Sign in with Microsoft" section, click the Next button without specifying an account name.
- Click the Create account option.

- Click the Skip button.
- Specify a name for your local account.
- Click the Next button.

- Create a password for the local account.

- Click the Next button.
- Confirm the password.
- Click the Next button.
- Select your first security question using the drop-down menu.
- Confirm your first answer.

- Click the Next button.
- Repeat step No. 11, 12, and 13 two more times to complete setting up the local account security.
- Continue with the on-screen directions.
Once you complete the steps, and you're back on the desktop, reconnect the device to the network, and continue using Windows 10 with a local account.
How to create local account after installation of Windows 10
If you completed the Windows 10 Home setup using a Microsoft account, you could still use a local account. You can do this by removing the Microsoft account link from the Windows 10 account, or you can create a local account and move your content to the new account.
To convert a Microsoft account to a local account, use these steps:
- Open Settings.
- Click on Accounts.
- Click on Your Info.
- Click the Sign in with a local account instead option.

- Click the Next button.
- Specify your account information, such as username, password, and password hint.

- Click the Next button.
- Click the Sign out and finish button.

After you complete the steps, sign back into the account to continue your Windows 10 experience using local account.

