Halo Infinite equipment guide: Full equipment list and tips and tricks to use them
If used skillfully, equipment can change the entire course of a Halo Infinite match.
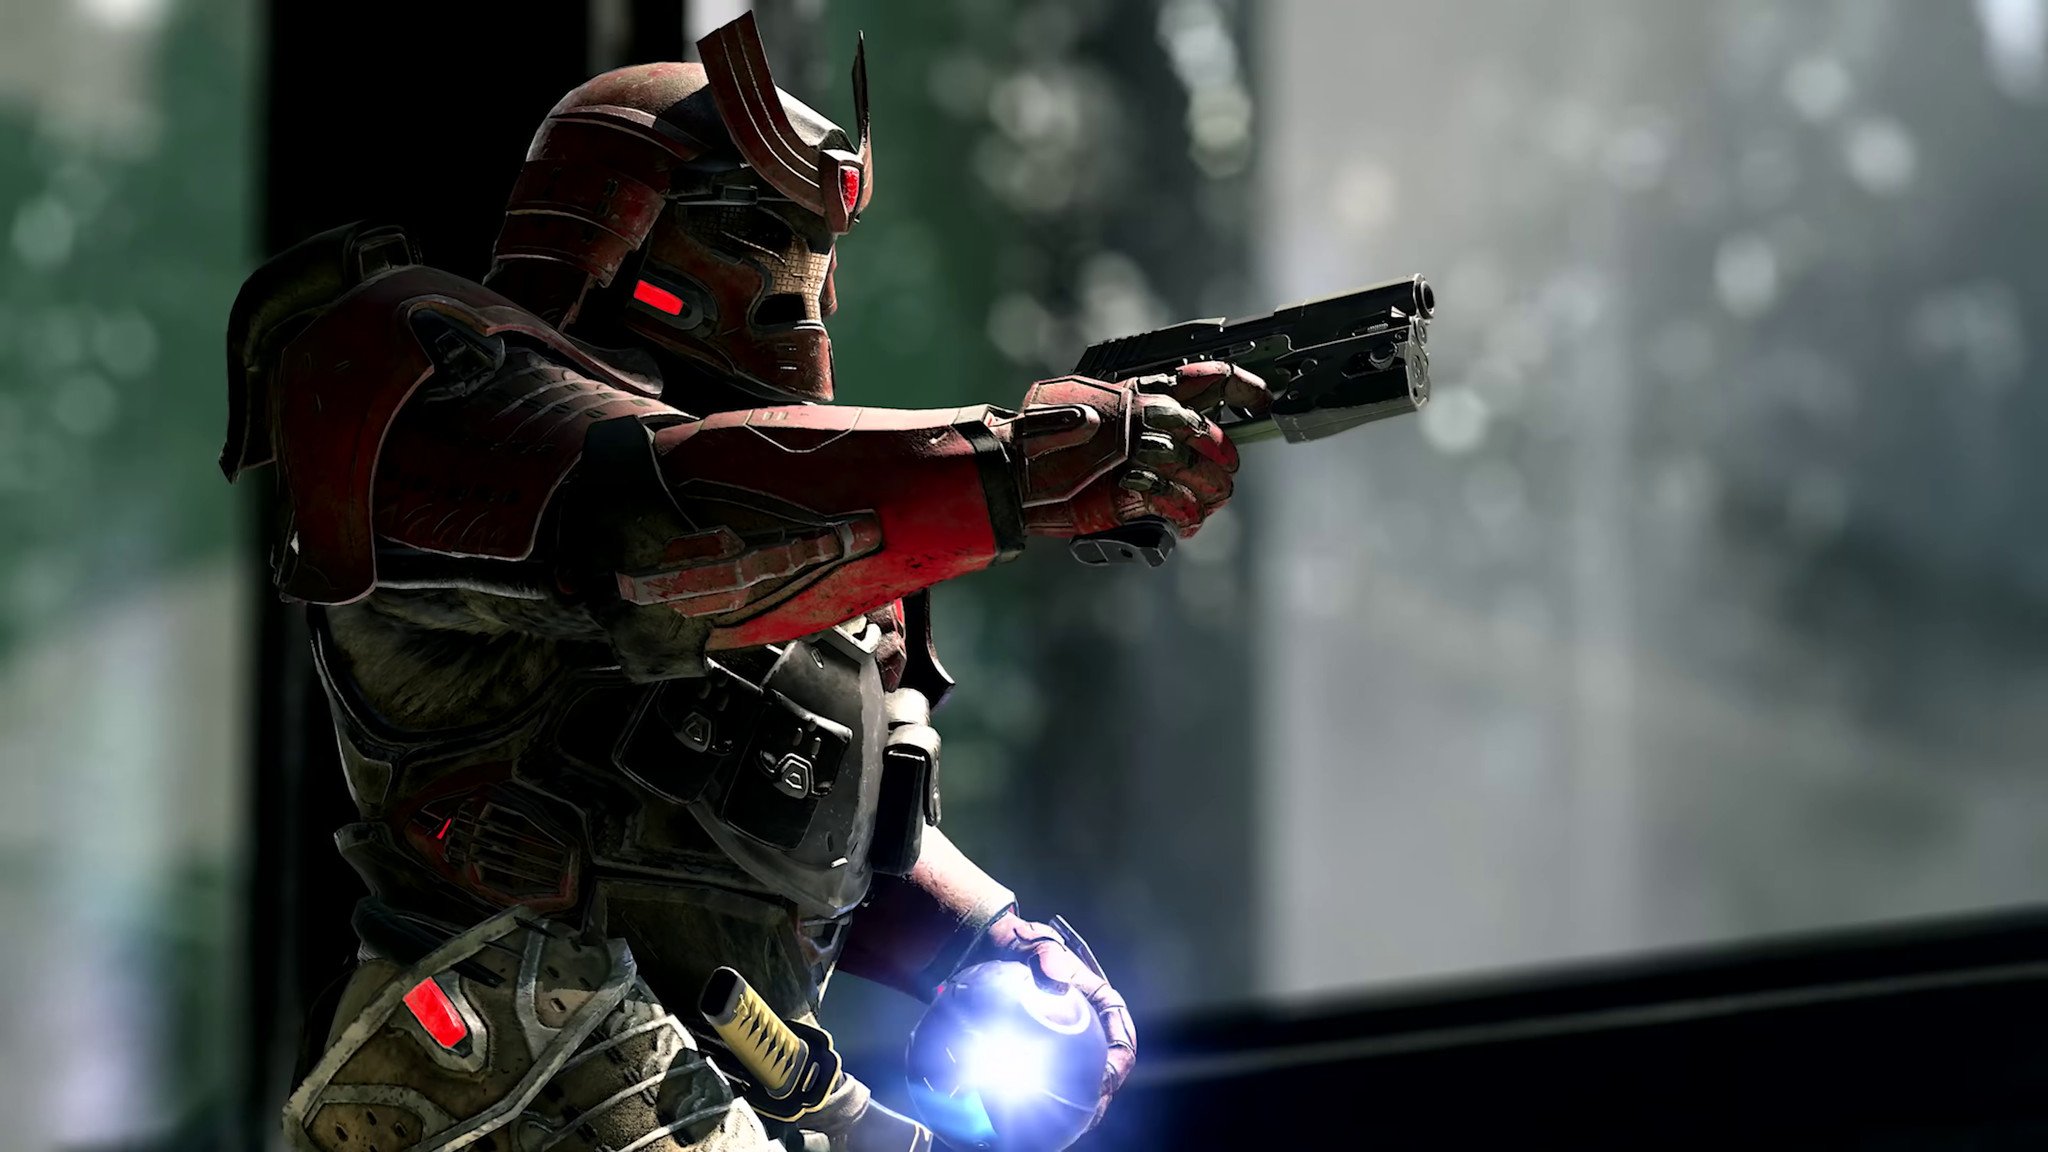
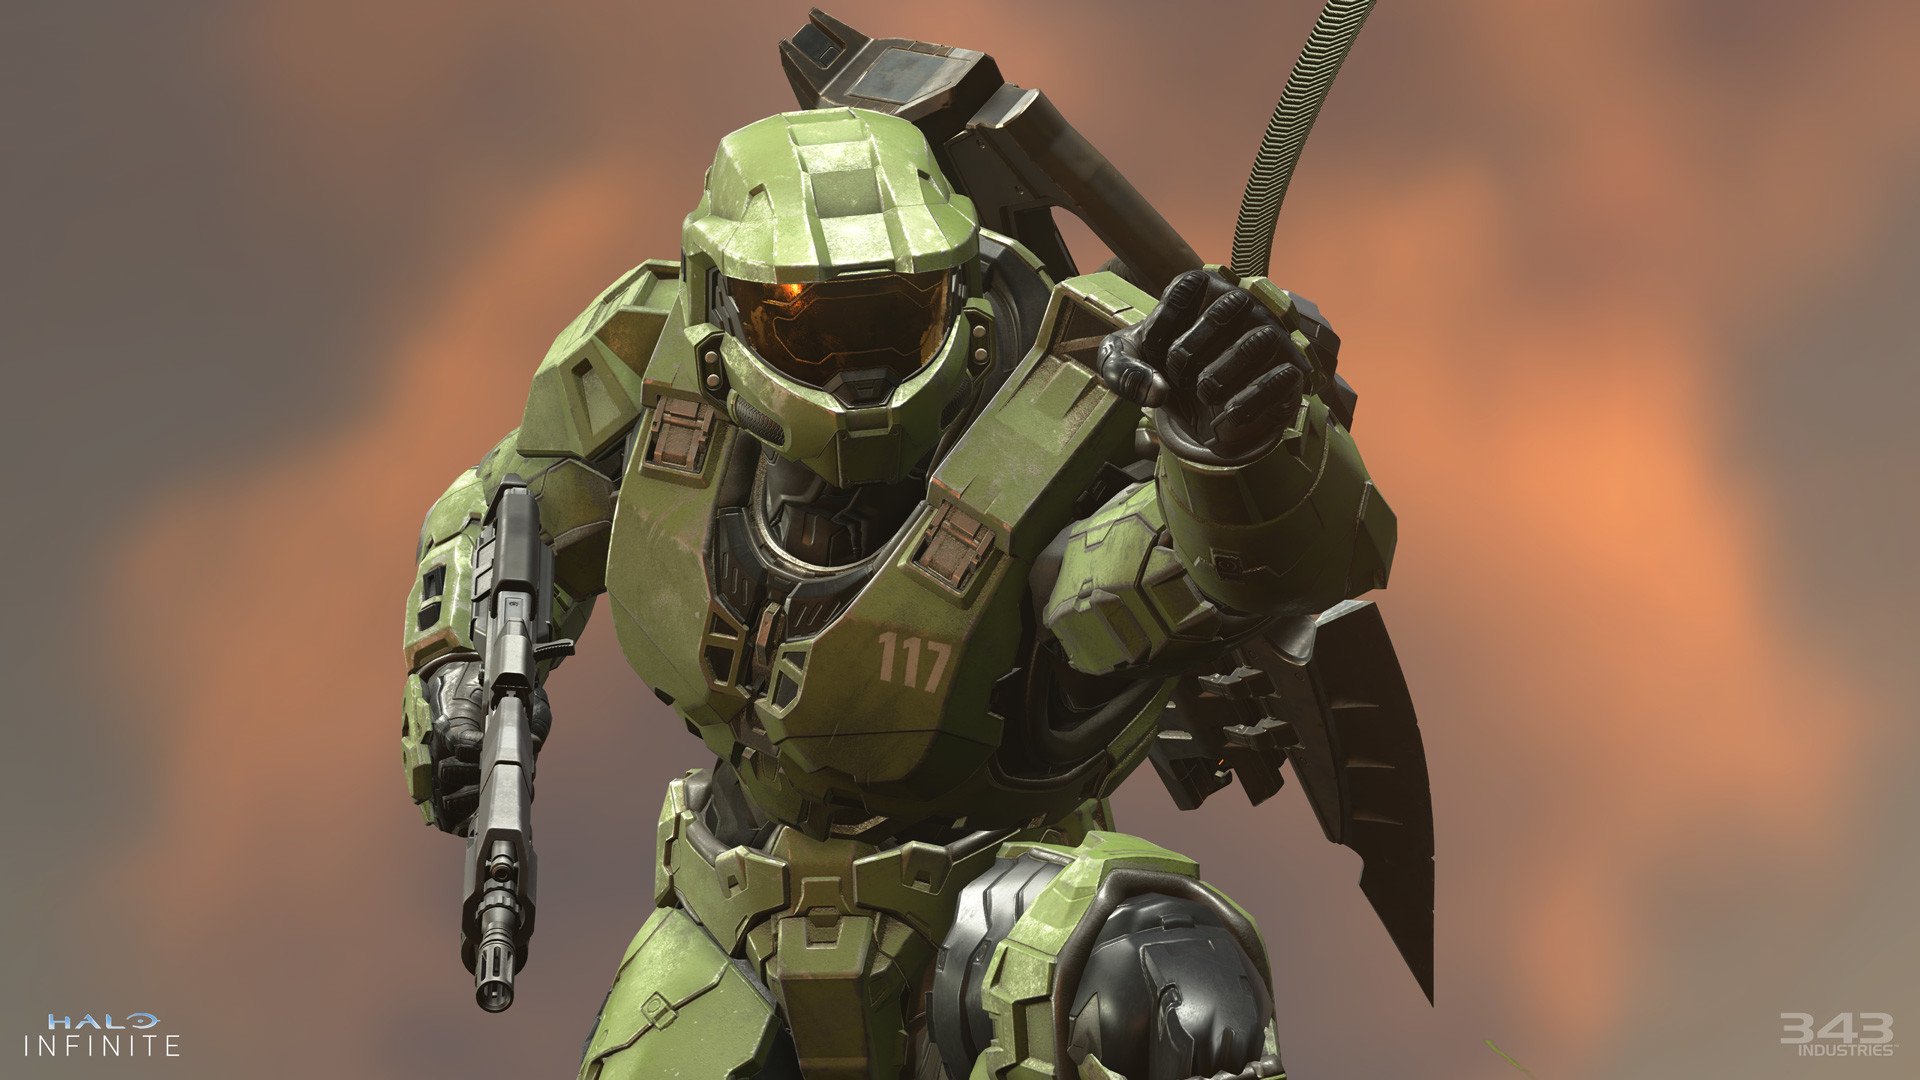
Pieces of equipment have been absent in the Halo sandbox ever since Halo 3, but they're back in Halo Infinite. Now that the Halo Infinite campaign and the Halo Infinite multiplayer are here, players have gotten an opportunity to try out several of these equipment pieces firsthand. After using them ourselves, we can confirm that these equipment pieces can have a significant impact on the outcome of a match or campaign mission — provided you use them skillfully.
To give you an edge on the battlefield, we've compiled a list of all the different pieces of equipment in Halo Infinite, and we've also come up with some simple tips, tricks, and general advice that you can use to maximize the effectiveness of equipment.
List of equipment in Halo Infinite
There are seven pieces of equipment available throughout Halo Infinite's campaign and multiplayer, and each one has a unique impact on gameplay. Here's a detailed overview of each equipment piece:
Article continues belowGrappleshot
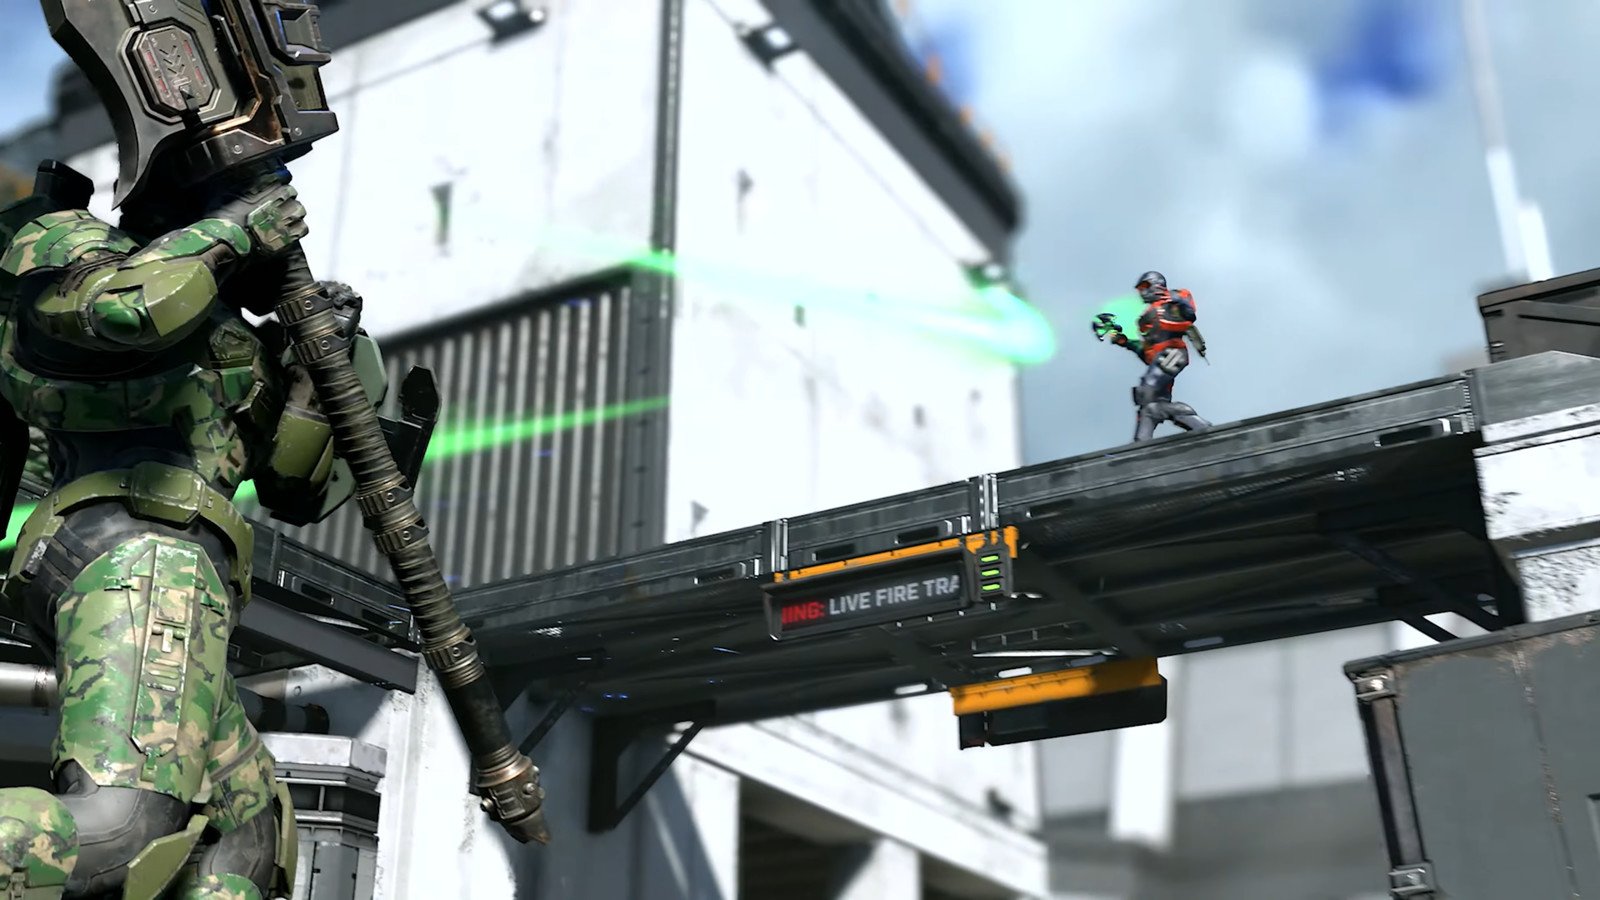
The Grappleshot is arguably the most striking and powerful of all of the Halo Infinite equipment pieces, as players can use it to quickly grapple across the map and swing to a new location. The grapple can also be used to grab weapons and other pieces of equipment, too, giving it incredible utility. You can even grapple onto Banished troops or enemy players and pull yourself to them, which is a great way to finish off a fleeing opponent with a melee or close the distance with close-range weapons. You're also able to cancel your grapple if need be. When upgraded in the campaign, the Grappleshot's cooldown is reduced, allowing you to climb upwards infinitely with it.
Overall, the Grappleshot is incredibly powerful, but if players are expecting you to use it, they can gun you down quickly as you zip across the map. Therefore, try to be creative and strategic with your grapples so that you're never predictable.
Drop Wall
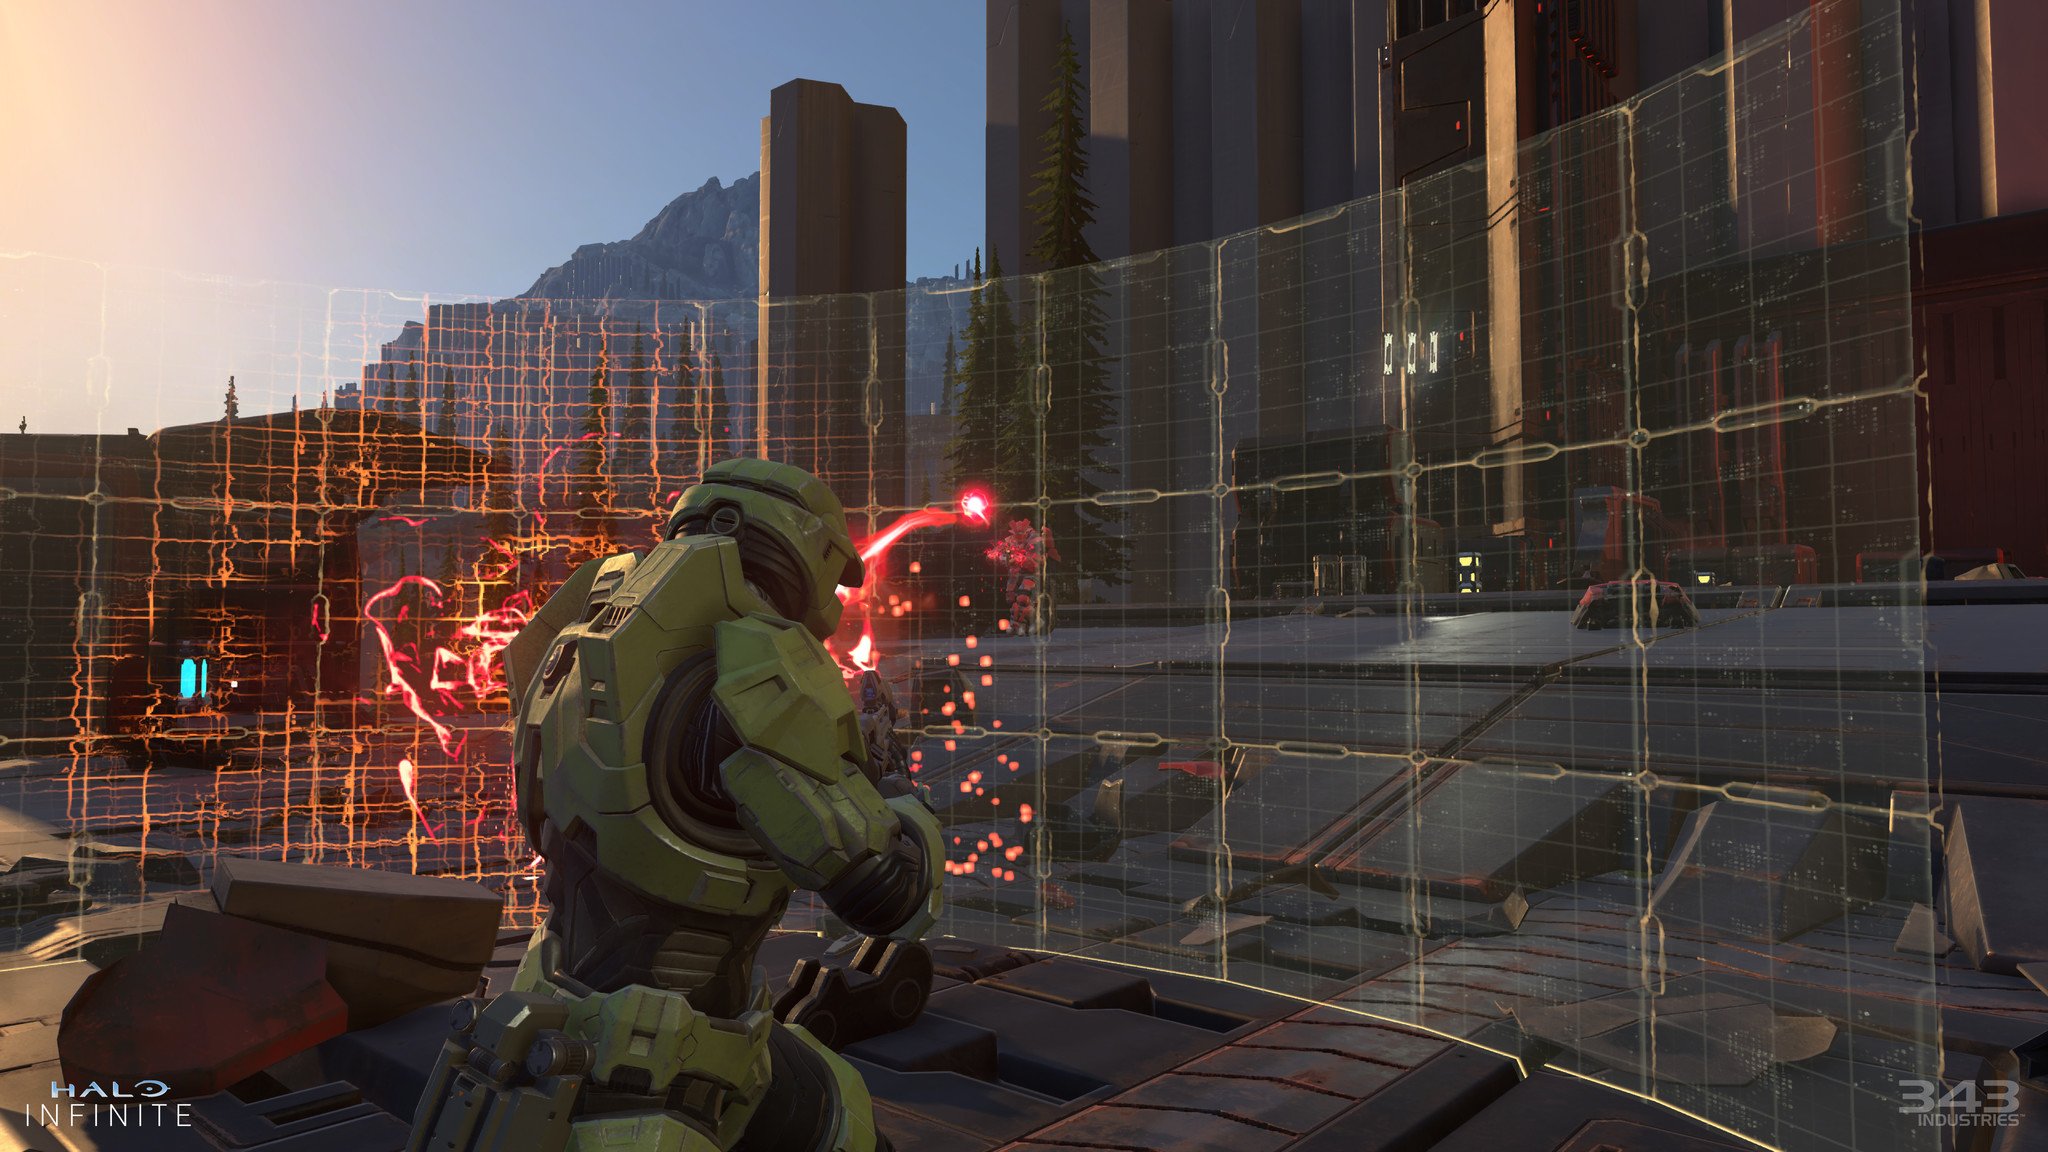
If you want to lock down an area and give yourself additional cover to use, try to find a Drop Wall. This pickup creates a physical shield that you can use to fortify chokepoints and other highly contested areas on maps, but enemies can destroy sections of the shield fairly quickly with focused gunfire. Therefore, it's best to strafe in and out of the shield's protection instead of turtling behind it. Note that you can shoot through the back of the shield without damaging it.
When upgraded in the campaign, the Drop Wall's health and size will be increased considerably. This makes it more effective as a turtling tool when fighting the Banished, though focus fire will still destroy sections of the shield fairly quickly.
All the latest news, reviews, and guides for Windows and Xbox diehards.
Threat Sensor
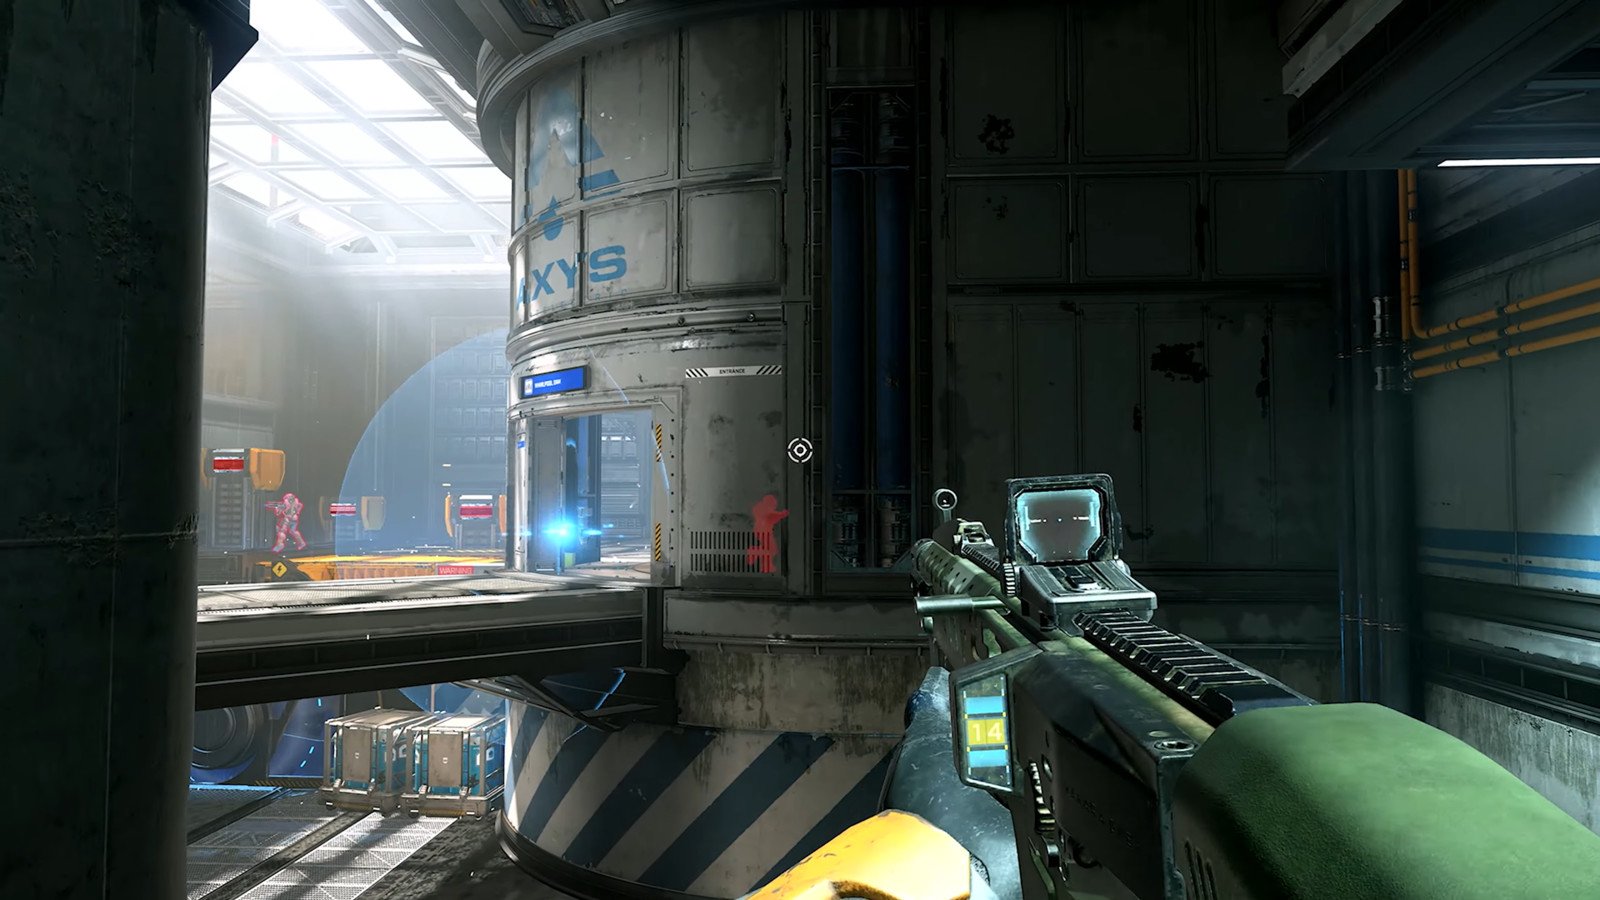
The Threat Sensor is a tool that allows you to see enemy locations through walls in a small area, giving you valuable information about where threats are coming. It's a great way to ensure you and your teammates can see enemy assaults coming and prepare accordingly, which is very valuable in objective game modes. In the campaign, it's also helpful for seeing Elites that use active camo.
The best way to use the Threat Sensor is to place it on a wall out of the enemy's direct line of sight, because if your opponents see where you place it, they'll avoid going on that path. Note that you can also attach it directly to enemy vehicles and even enemies themselves.
Repulsor
The Repulsor is one of the most interesting pieces of equipment in Halo Infinite, as it has three uses. The first is to deflect explosives and projectiles back at Banished troops or enemy players, which can help you turn the tables in many scenarios. For example, you can use the Repulsor to reflect a charged Plasma Pistol bolt back at the person who shot it, instantly knocking out their shields.
The second use for the Repulsor is fairly niche, but it can be powerful in certain scenarios. When combined with a jump, the Repulsor will give you a small burst of upward momentum that can help you make jumps you would otherwise fail to complete. This can be used to escape enemies, pursue them from an unexpected angle, or reach high ground for a better firing position.
Thirdly, you can use the Repulsor to knock enemy players back, which is very valuable when you're fighting opponents that have close-range weapons. You can also use this mechanic to knock enemies into map hazards like chasms for easy kills.
Thruster
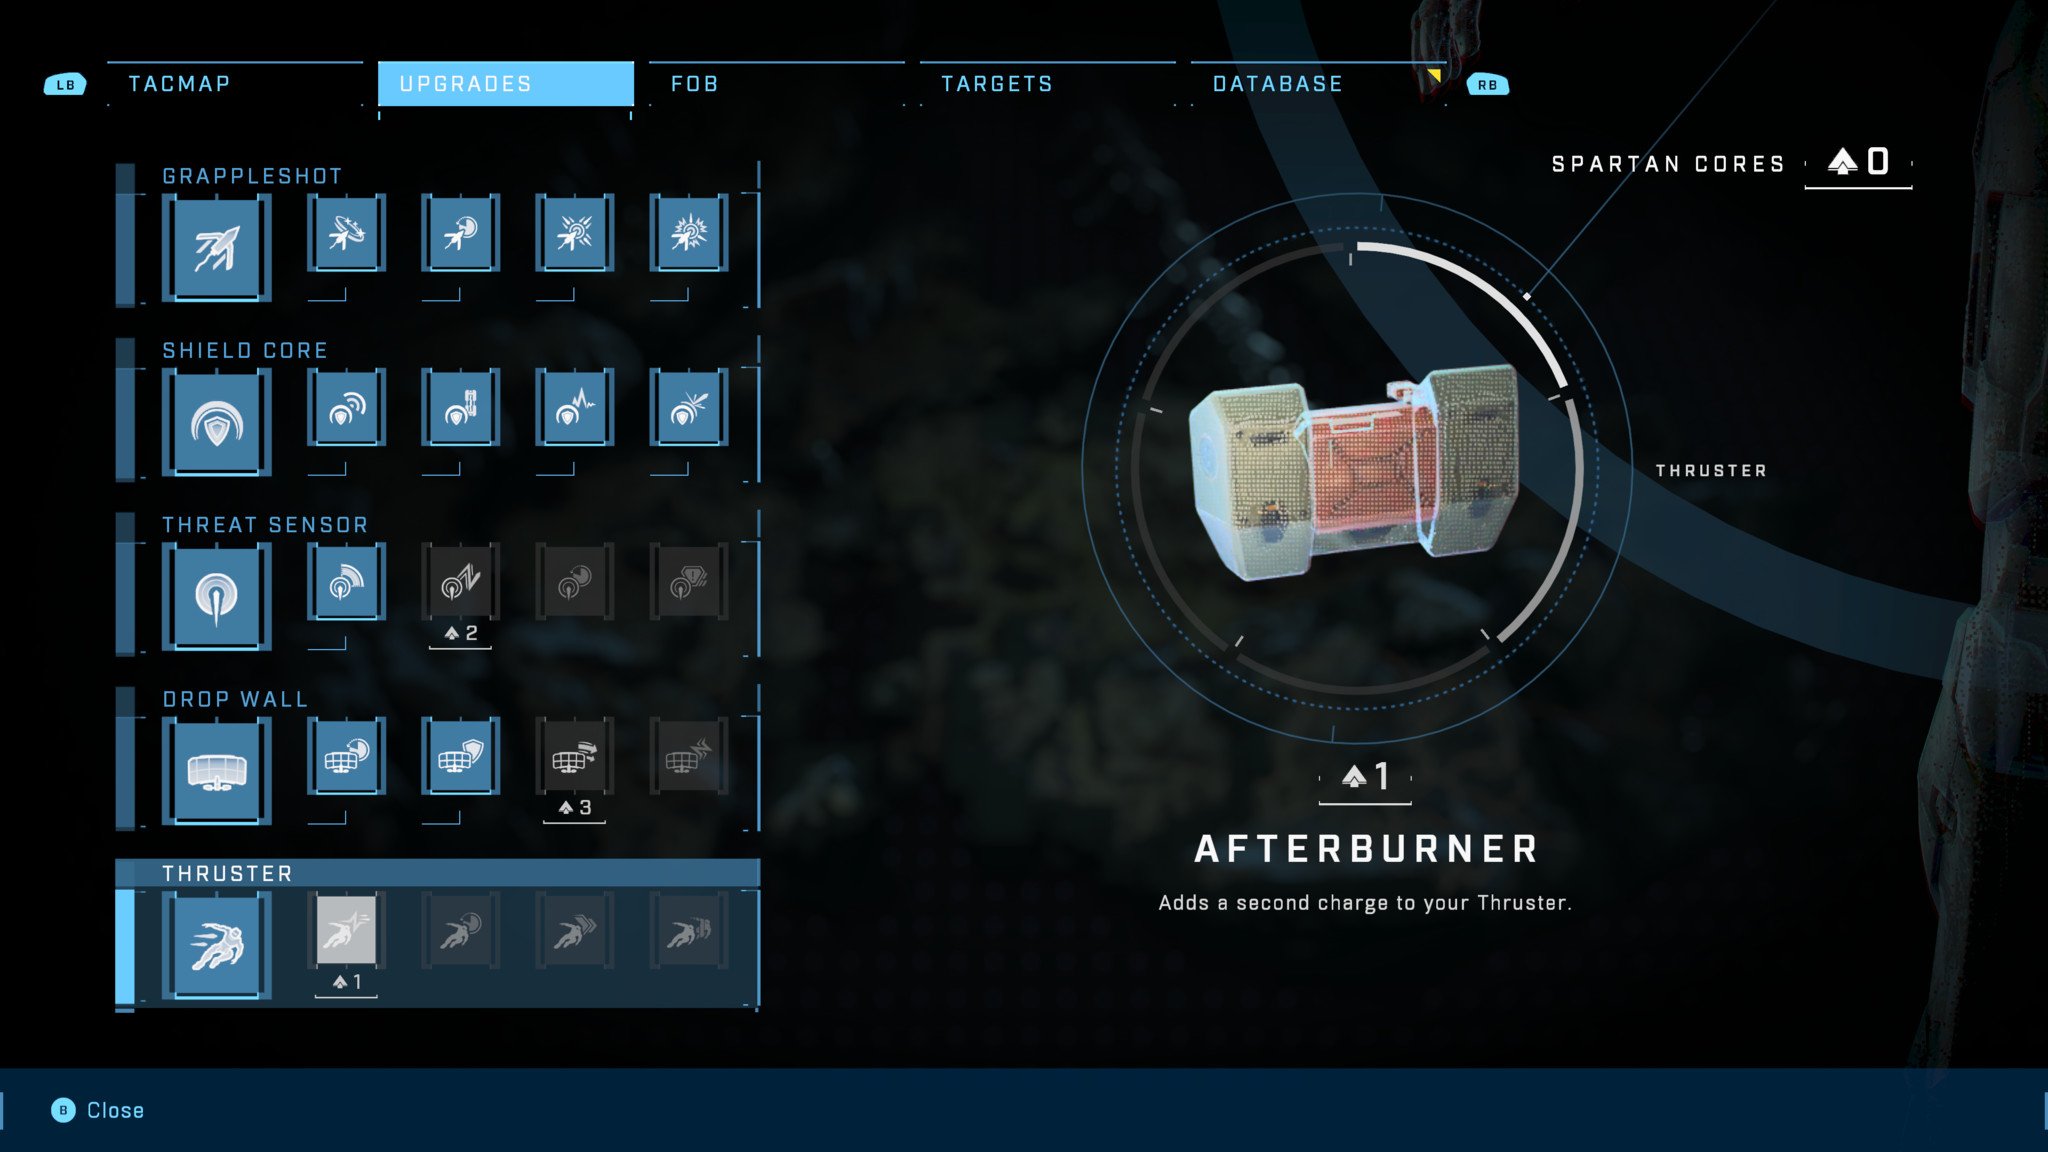
The Thruster allows you to get a short burst of directional movement on-demand, which is incredibly useful in a variety of scenarios. The best use of the Thruster is to avoid deadly incoming fire from weapons like the SPNKr rocket launcher or the Skewer. You can also use it to perform a sharp strafe in combat, making it more difficult for Banished troops or other players to track your movement.
Another useful use for the Thruster is to use its movement boost to complete tricky jumps you may not be able to make otherwise, which comes in handy during multiplayer matches if you're trying to catch opponents off-guard. Additionally, you can also use the Thruster to boost towards enemies aggressively if you have a close-range weapon.
Overshield
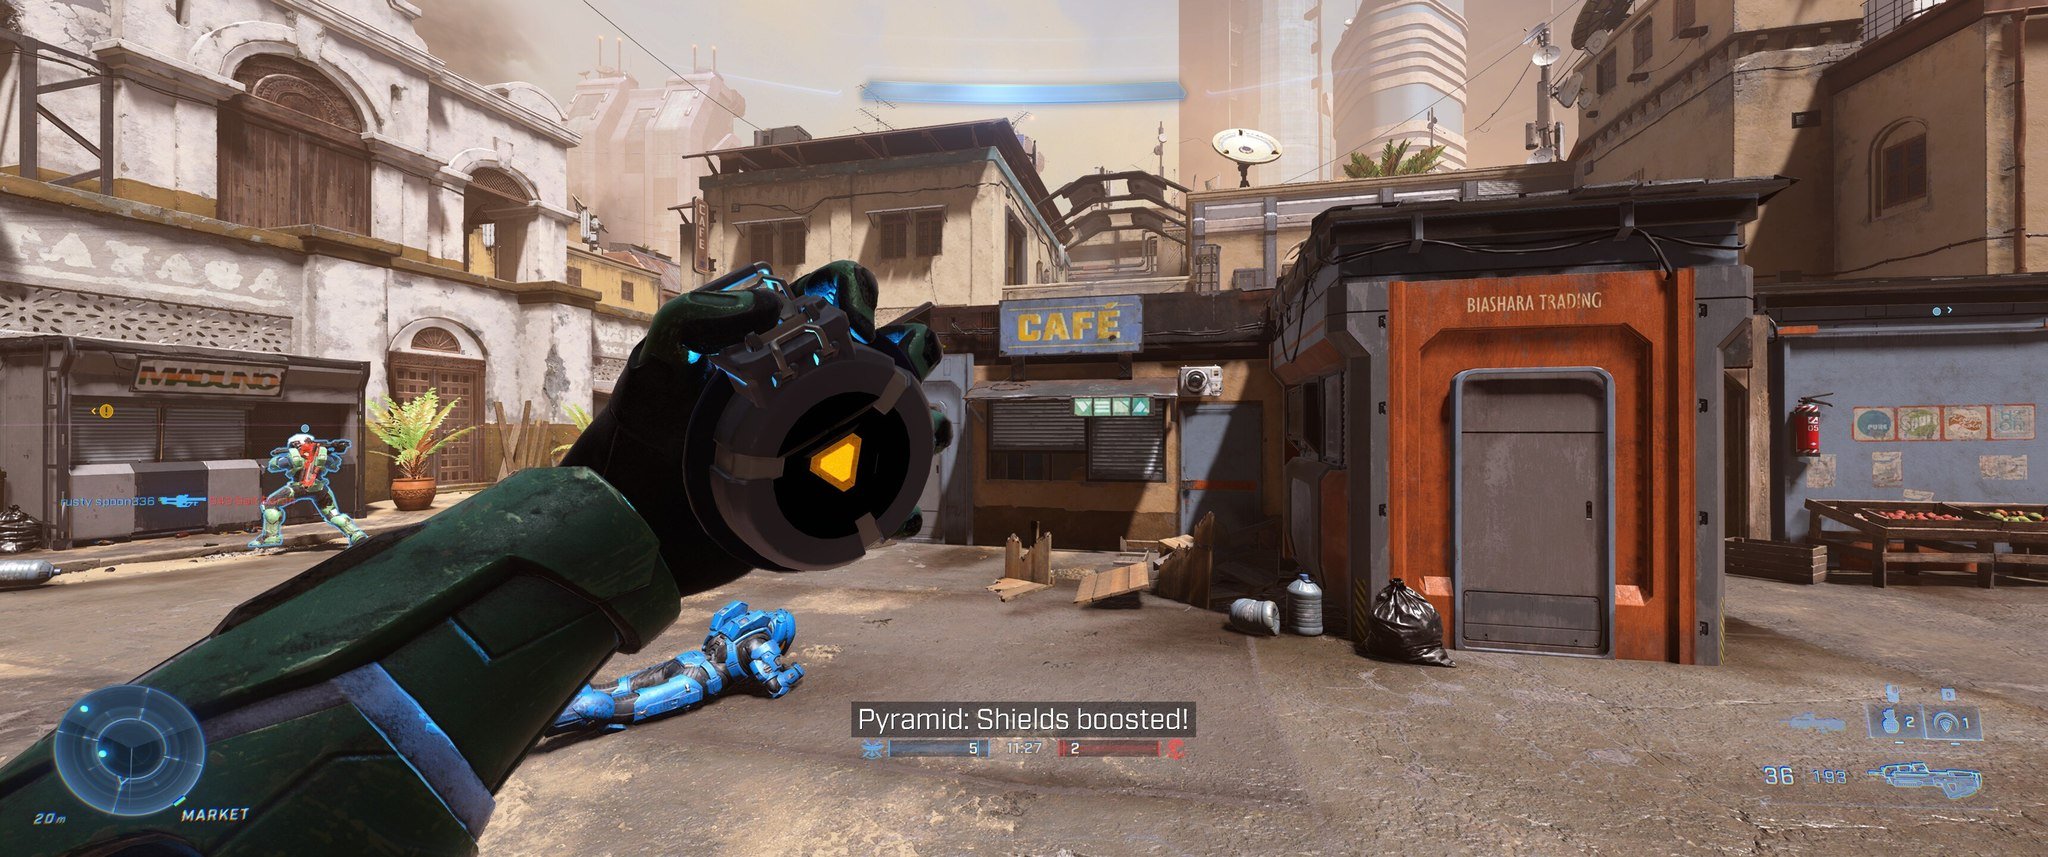
The Overshield is a classic Halo pickup, and it's back in Halo Infinite as an equipment piece. Like previous iterations of the item, the Overshield gives you double shields when used. This can help you come out on top in 2v1 or even 3v1 scenarios, and you can also use it aggressively when pushing into enemy territory.
One situation where using an Overshield isn't a good idea is when you notice an enemy is using a Plasma Pistol, as an overcharged plasma bolt will knock out your Overshield completely. Try to save it for players equipped with ballistic weapons that deal standard damage against shields.
Active Camo
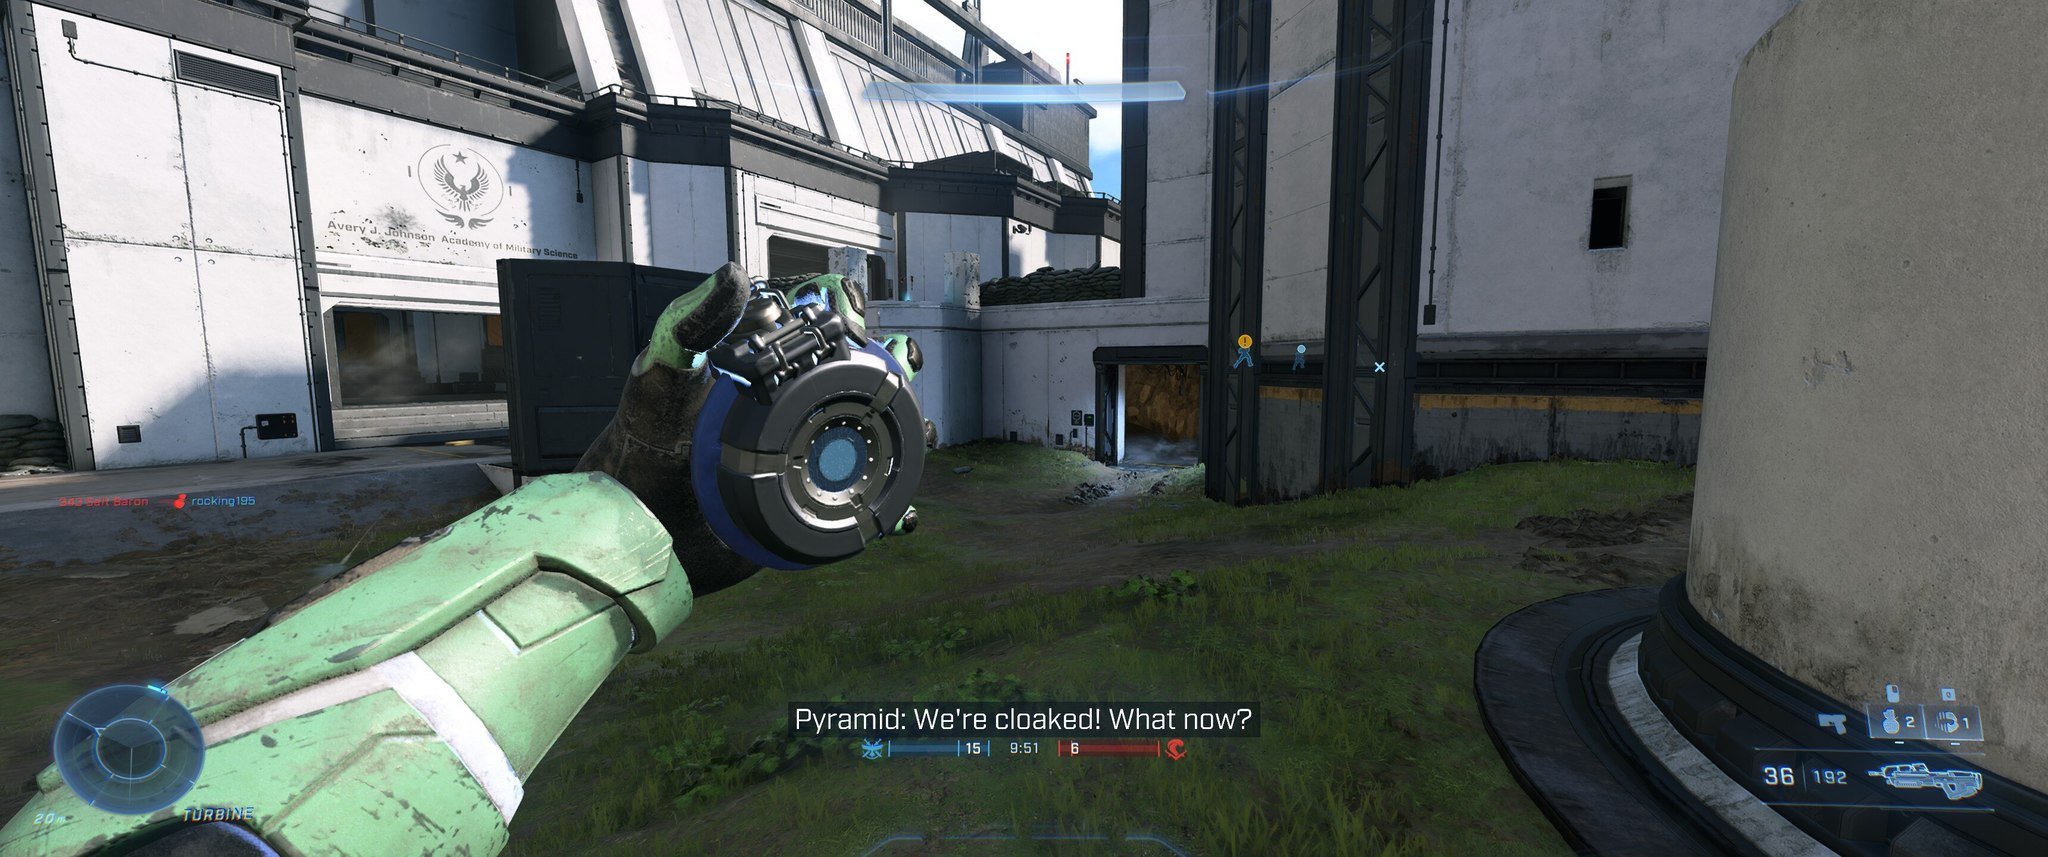
Active Camo is another returning pickup that allows the user to go invisible to the naked eye. Players who have a sharp eye may be able to spot the tell-tale shimmering effect that Active Camo gives off, but as long as you stick to the shadows and don't walk into common sightlines, you'll be able to stay hidden easily.
Pairing Active Camo with weapons that can kill quickly at close or medium range, such as the Needler, Heatwave, and Bulldog shotgun, is ideal. Check out our Halo Infinite complete weapons list for more details on which weapons are strong at these ranges.
Your thoughts
What do you think of the return of equipment in Halo Infinite? Have you enjoyed using it during multiplayer matches and the Halo Infinite campaign? Let us know. For more on Halo Infinite, don't miss our list of the Halo Infinite known bugs and launch issues. If you haven't played the game yet, you should, as it's one of the best Xbox games in recent memory.

Brendan Lowry is a Windows Central writer and Oakland University graduate with a burning passion for video games, of which he's been an avid fan since childhood. He's been writing for Team WC since the summer of 2017, and you'll find him doing news, editorials, reviews, and general coverage on everything gaming, Xbox, and Windows PC. His favorite game of all time is probably NieR: Automata, though Elden Ring, Fallout: New Vegas, and Team Fortress 2 are in the running, too. When he's not writing or gaming, there's a good chance he's either watching an interesting new movie or TV show or actually going outside for once. Follow him on X (Twitter).

 Windows Central Insider


