


When purchasing a new Synology NAS enclosure (we've rounded up the best NAS if you need help choosing), you don't have to start fresh with clean hard drives. It's possible to migrate between enclosures using a few methods. This guide will run you through steps to take to move between Synology NAS without losing data.
It's always important to back up your data, especially before moving between server enclosures. Please back up all your data before carrying out these steps.
Hard drive migration
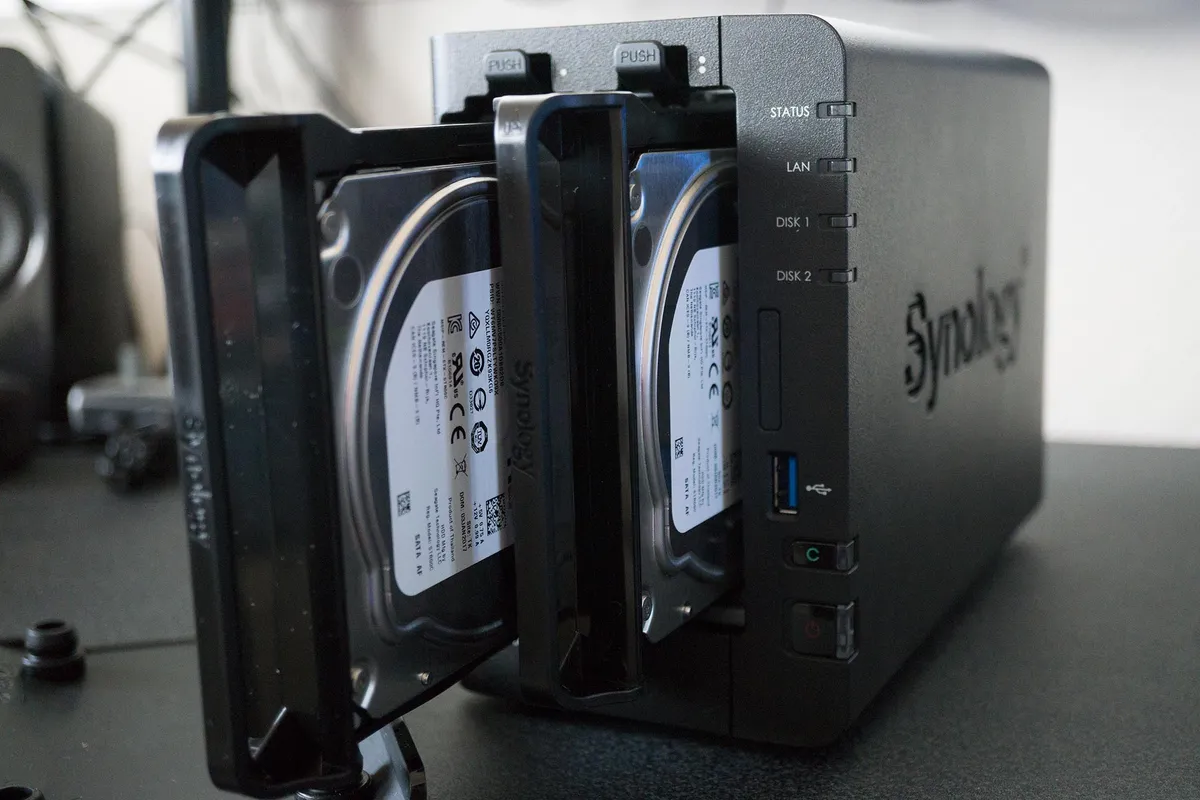
The easiest way to migrate from one Synology NAS to another is by swapping the hard drives. It's possible to remove the drives from one NAS and simply insert them into another. The DSM OS (see our DSM 7 review) will be able to detect the migration process and commence the switch.

Requirements
There are a few caveats, however:
- Not all Synology NAS can migrate between one another.
- The DSM version running on the destination NAS must be the same as or newer.
- The destination NAS must support the same file system.
- The destination NAS must have enough drive slots to accommodate all the source drives for the RAID volume.
- Single-bay NAS cannot migrate to multi-bay NAS.
- SAS drives cannot be installed inside a NAS that only supports SATA.
- Most NAS in the J and Value series do not support volumes greater than 16TB.
Please see below for Synology NAS enclosures that cannot be used as the source for HDD migration:
- DS420j
- DS220j
- RS819
- DS418
- DS418j
- DS218
- DS218play
- DS118
- DS1817
- DS1517
- DS416
- DS416play
- DS2015xs
- DS1515
- DS715
- DS415play
- DS215+
- DS214
- DS214play
- DS413
- DS213+
- DS212+
- DS112+
- DS211+
- DS410
- DS210+
- DS110+
So long as your current NAS is not listed above, you will be able to migrate to a new Synology enclosure. See the table below for what NAS you'll be able to move to.
| Source | J | Value | Plus | XS/XS+ | SA | FS | DVA |
|---|---|---|---|---|---|---|---|
| J | ✓ | ✓ | - | - | - | - | - |
| Value | ✓ | ✓ | - | - | - | - | - |
| Plus | - | - | ✓ | ✓ | ✓ | - | ✓ |
| XS/XS+ | - | - | ✓ | ✓ | ✓ | - | ✓ |
| SA | - | - | - | ✓ | ✓ | ✓ | - |
| FS | - | - | - | - | - | ✓ | - |
| DVA | - | - | ✓ | ✓ | ✓ | - | ✓ |
Please note that if your SSD cache will need to be removed before migrating the drives if:
- It was built on DSM 7.0+ and the destination NAS is DSM 6.2 or earlier.
- It was built on an earlier version than DSM 5.2 and the destination NAS has an Alpine CPU.
- The destination NAS does not support SSD cache.
- The destination NAS does not support the type of SSD used.
How to migrate hard drives (same NAS models)
- Sign into the old Synology NAS.
- Go to Control Panel > Update & Restore.
- Check for and install any available updates.
- Install an empty temporary SATA drive in the new Synology NAS.
- Boot up the new Synology NAS.
- Open a browser and load the IP address to log in.
- Click Next.
- Download the latest DSM OS from Synology.
- Click Install Now.
- Create an admin account.
- Click Next.
- Shut down both Synology NAS units once the installation is complete.
- Remove the temporary SATA drive from the new Synology NAS.
- Remove the hard drives from the source NAS, taking note of the order in which they were installed. (This step is incredibly important!)
- Install the hard drives into the new NAS in the same order as the previous enclosure.
- Boot up the new Synology NAS.
- Open a browser and load the IP address to log in.
The migration transfer process is now complete.
How to migrate hard drives (different NAS models)
- Sign into the old Synology NAS.
- Go to Control Panel > Update & Restore.
- Check for and install any available updates.
- Click on the Configuration Backup
- Select Back up configuration to create a .dss config file.
- Go to Hyper Backup.
- Follow the on-screen wizard and back up your NAS data.
- Shut down the Synology NAS completely.
- Remove the hard drives from the source NAS, taking note of the order in which they were installed. (This step is incredibly important!)
- Install the hard drives into the new NAS in the same order as the previous enclosure.
- Boot up the new Synology NAS.
- Open a browser and load the IP address to log in.
- You should be greeted by the migration wizard. Click Install to continue. (If you see a warning message similar to "Note: All data on the hard drive(s) will be deleted" turn off the NAS and check the drive order.)
- Choose Migration.
- Choose Download and install the newest version of DSM.
- Enter a new password for the admin account.
- Click Install Now.
- Once the NAS is ready, go to Control Panel > Update & Restore.
- Select Configuration Backup tab.
- Select Restore configuration.
- Upload the .dss config file.
- Choose All System Configurations
- Click OK.
- Click Yes.
That's the migration process for different models complete. You're now good to go!
Migration Assistant
- Sign into the new Synology NAS.
- Open Package Manager.
- Install Migration Assistant.
- Open Migration Assistant.
- Read through the information on the welcome page and then click Next.
- Enter your old Synology NAS IP address, admin account, and password.
- Click Next.
- The app will check for any potential issues before making the transfer. (It will alert you to anything that needs to be changed.)
- Confirm the settings once everything is good to go by clicking Apply.
- Click Continue.
- Enter the admin password for the new Synology NAS.
- Click Submit.
- The migration process will now commence.
- After the system phase has completed, the wizard will ask you how to handle services on the old Synology NAS. You can keep all services running for manual transfer later or disable them all for immediate transfer.
Once complete, the new Synology NAS will need some configuration to take over the services from the old enclosure.

Seagate has a substantial collection of drives that are specifically designed for use inside NAS. The higher-capacity drives even have faster motors.

This range of official SSDs from Synology is perfect for the company's NAS enclosures. If you want lower power draw, less noise, and better reliability than hard drives, look no further than the Synology SAT5200.

