Minecraft Guide to Worlds: Creating, managing, converting and more
Master of your worlds.
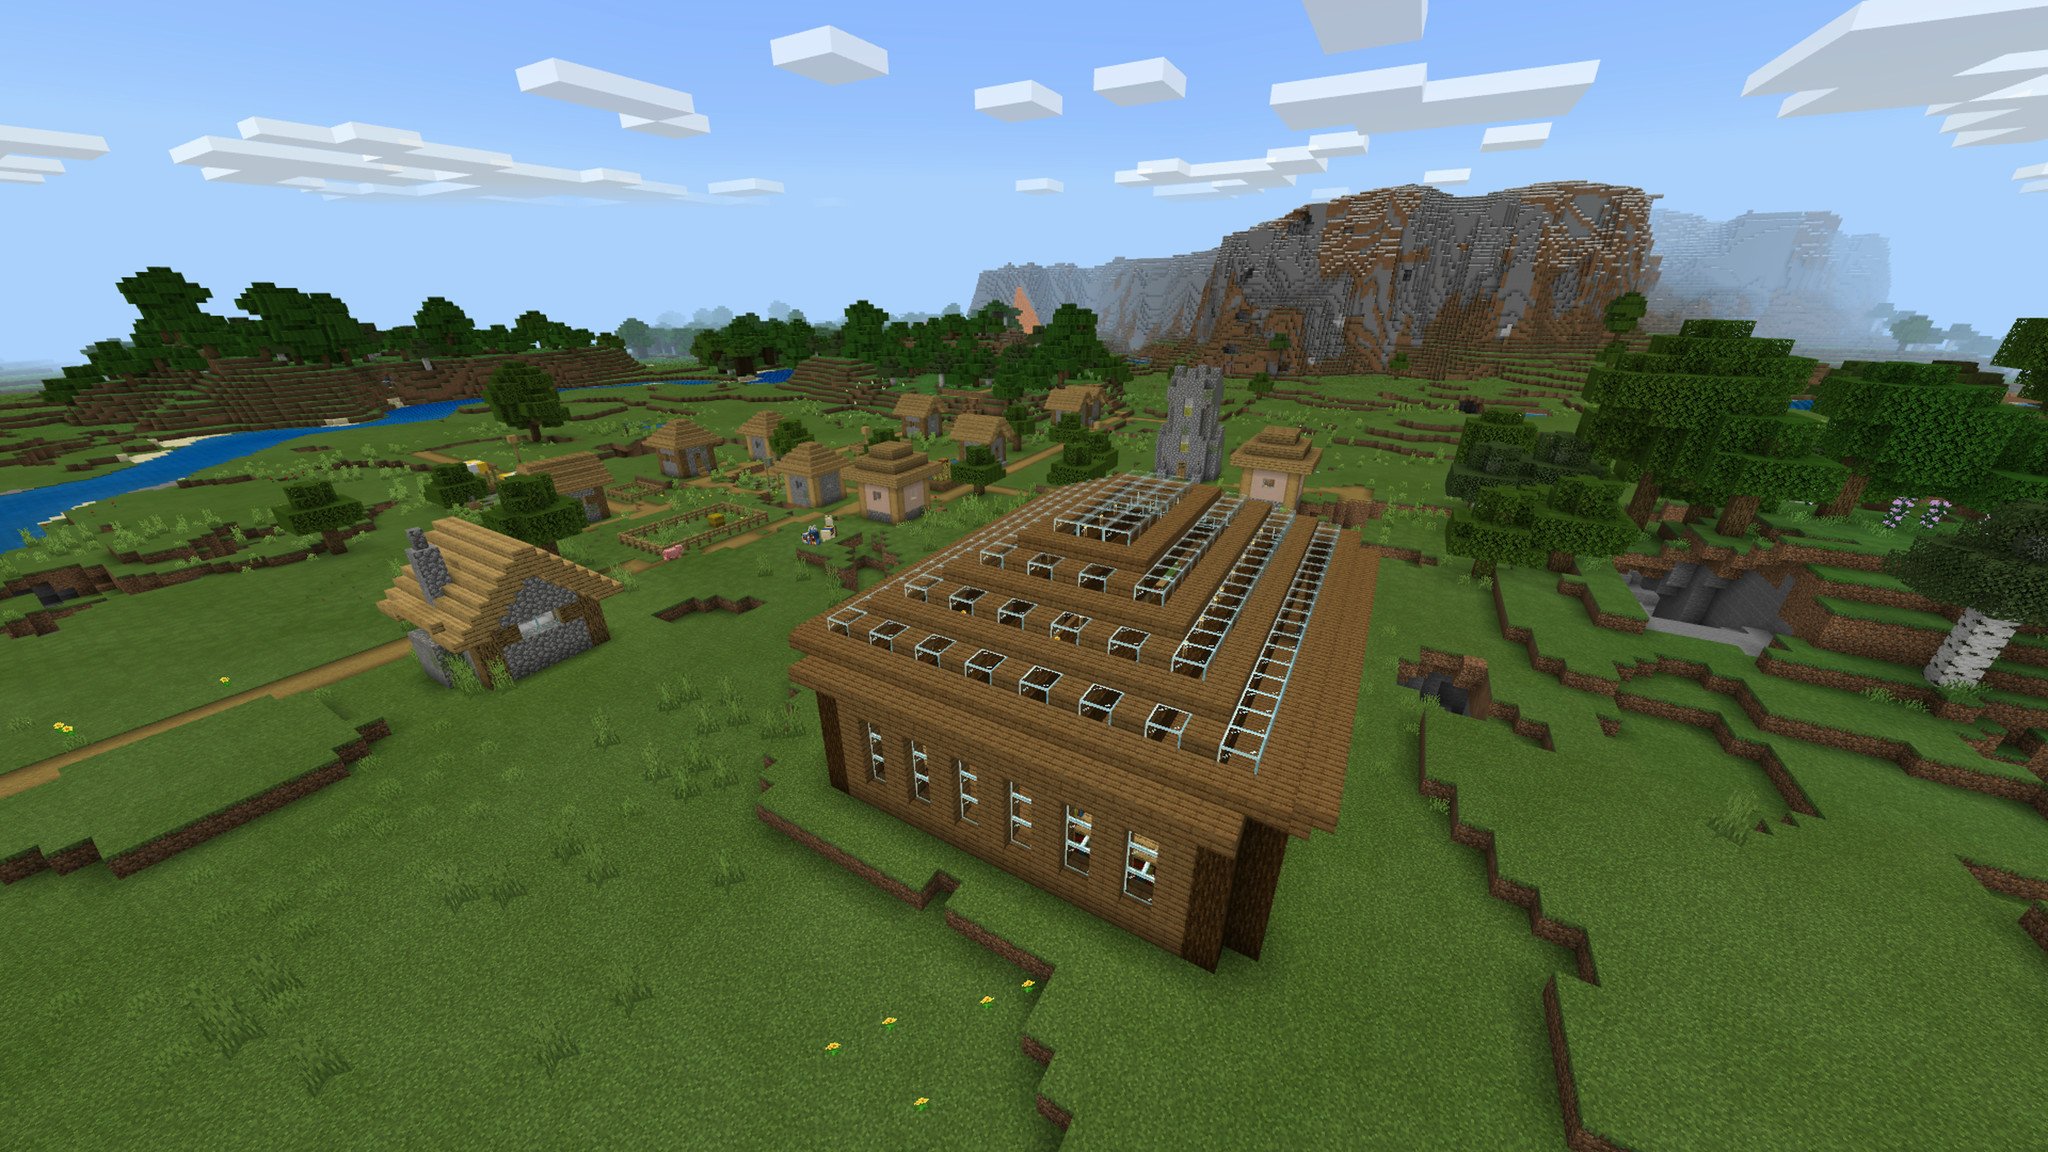
Minecraft doesn't just allow players to create and play as many worlds as they want, it actively encourages it. Want a world that tests your skills and cultivates a feeling of achievement? Play survival. Want to unleash your creativity and spend countless hours on a building project? Play creative. Want to take it easy and explore the world? Play on peaceful. Have ten of each. It can be harrowing to manage all these worlds and know what all the options are, though, so we've broken it all down in this guide.
- How do you set-up new worlds?
- How do you manage existing worlds?
- What are all of the options and settings when managing worlds?
- How do you delete worlds?
- How do you convert old worlds?
How do you set-up new worlds in Minecraft?
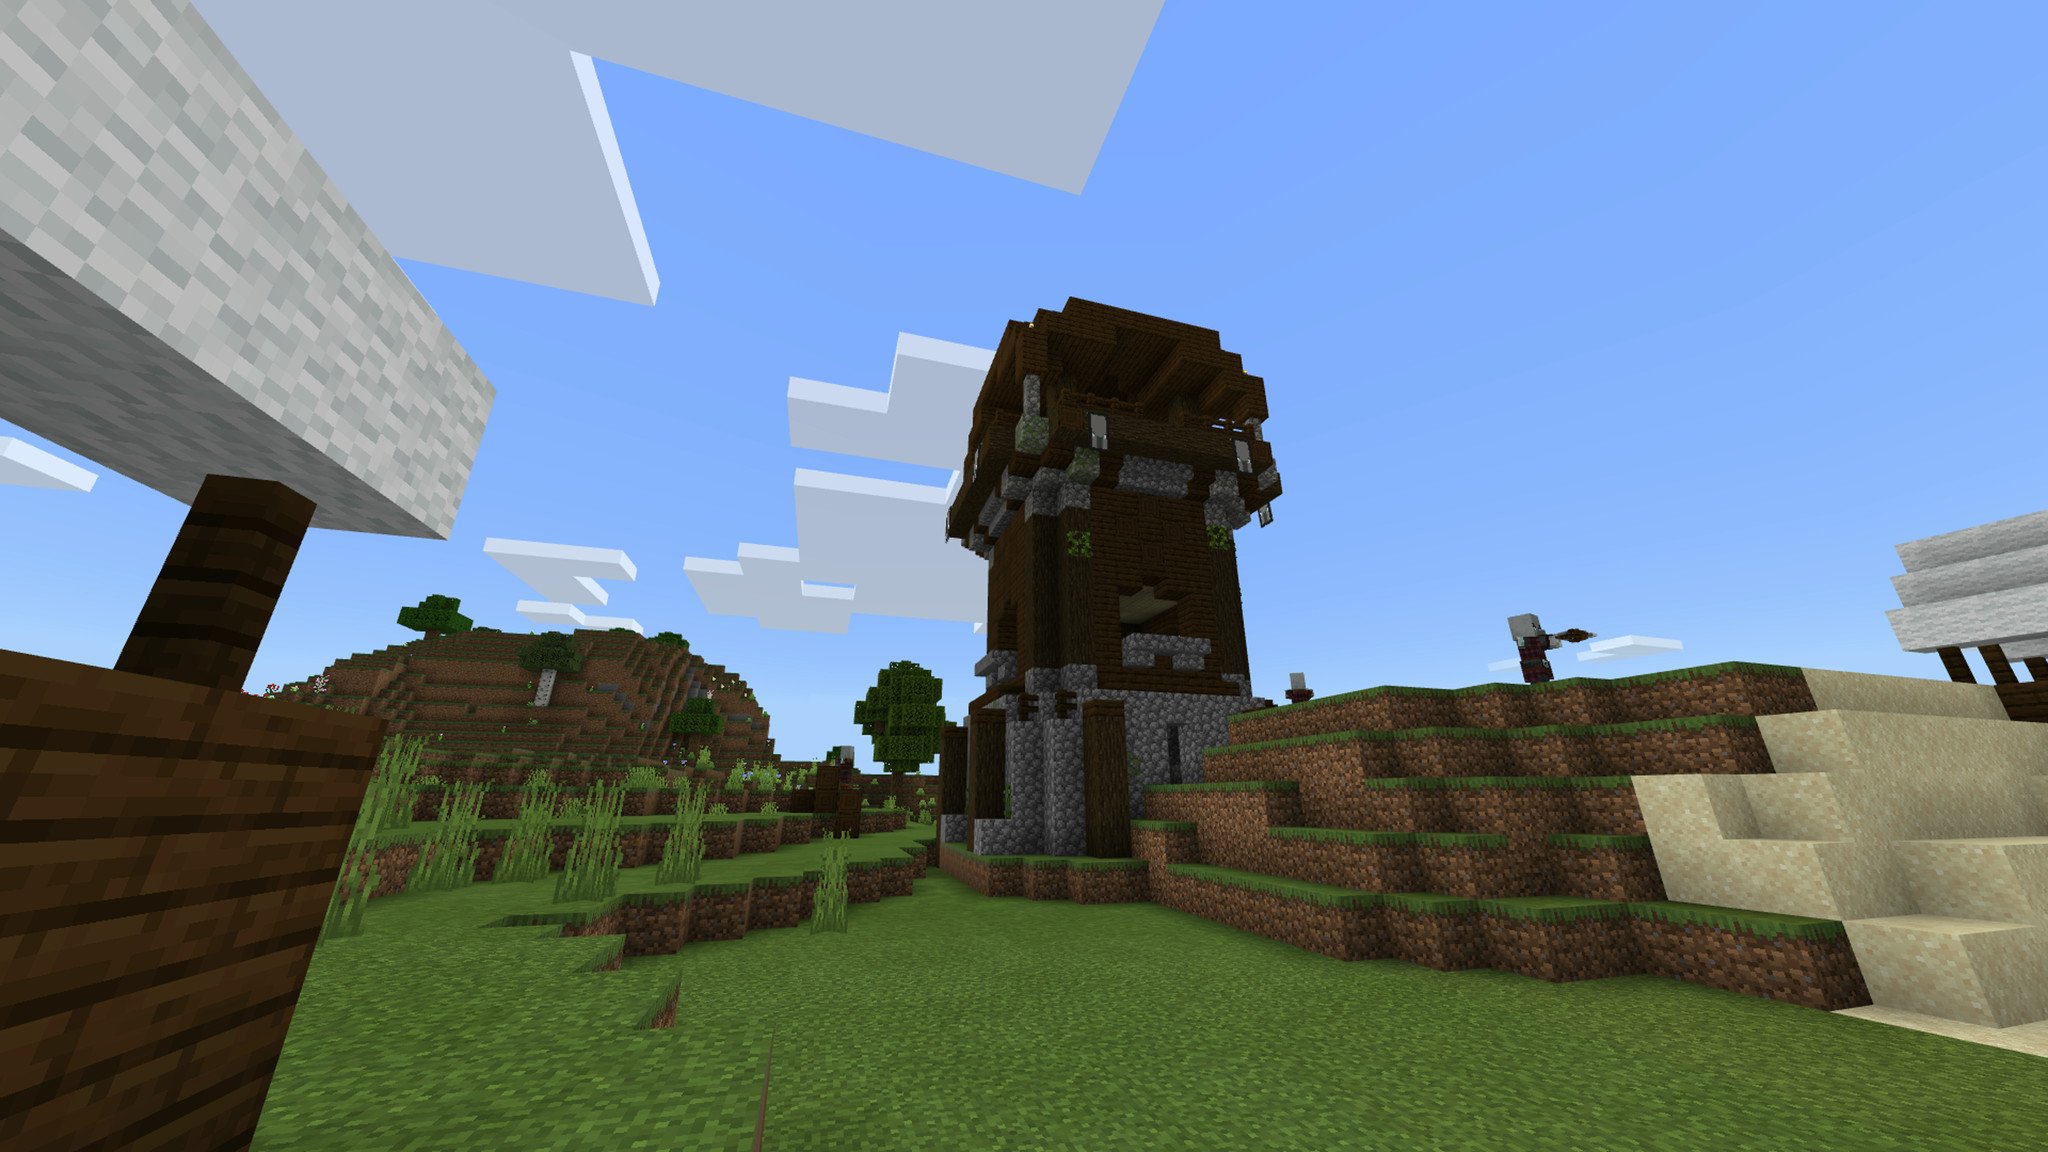
Setting up a world is the essential first step to playing Minecraft. There's a ton of options that can overwhelm new players who don't understand what everything refers to, but it's easy to grasp with a little bit of direction.
To set-up a new world in Minecraft, follow these steps:
- Open Minecraft on your device or console. If you're playing on Xbox, Playstation, Windows 10, Android, iOS, or Switch, it all starts with opening Minecraft.
- Tap or click on the "Play" button directly below the Minecraft logo on the main menu.
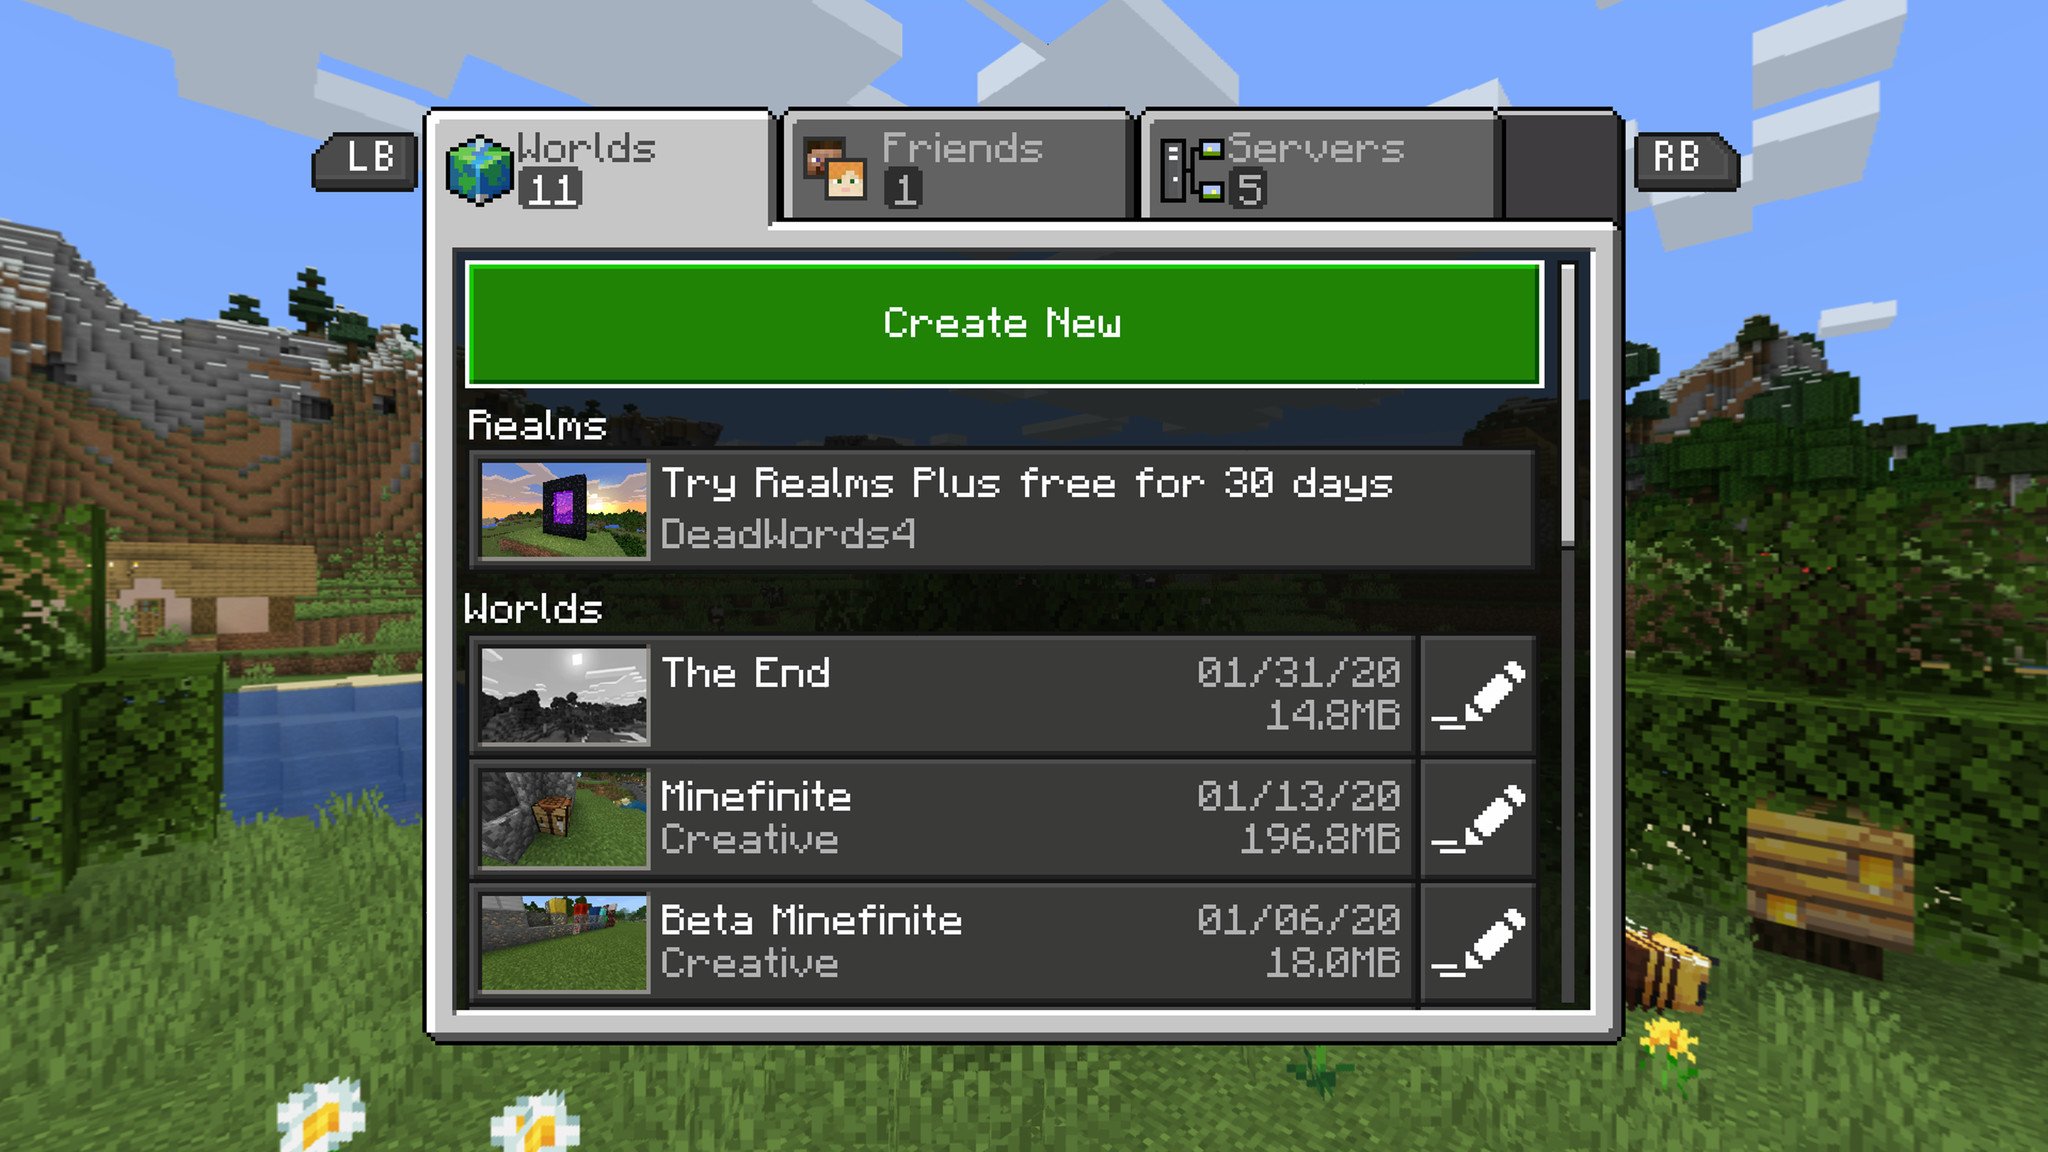
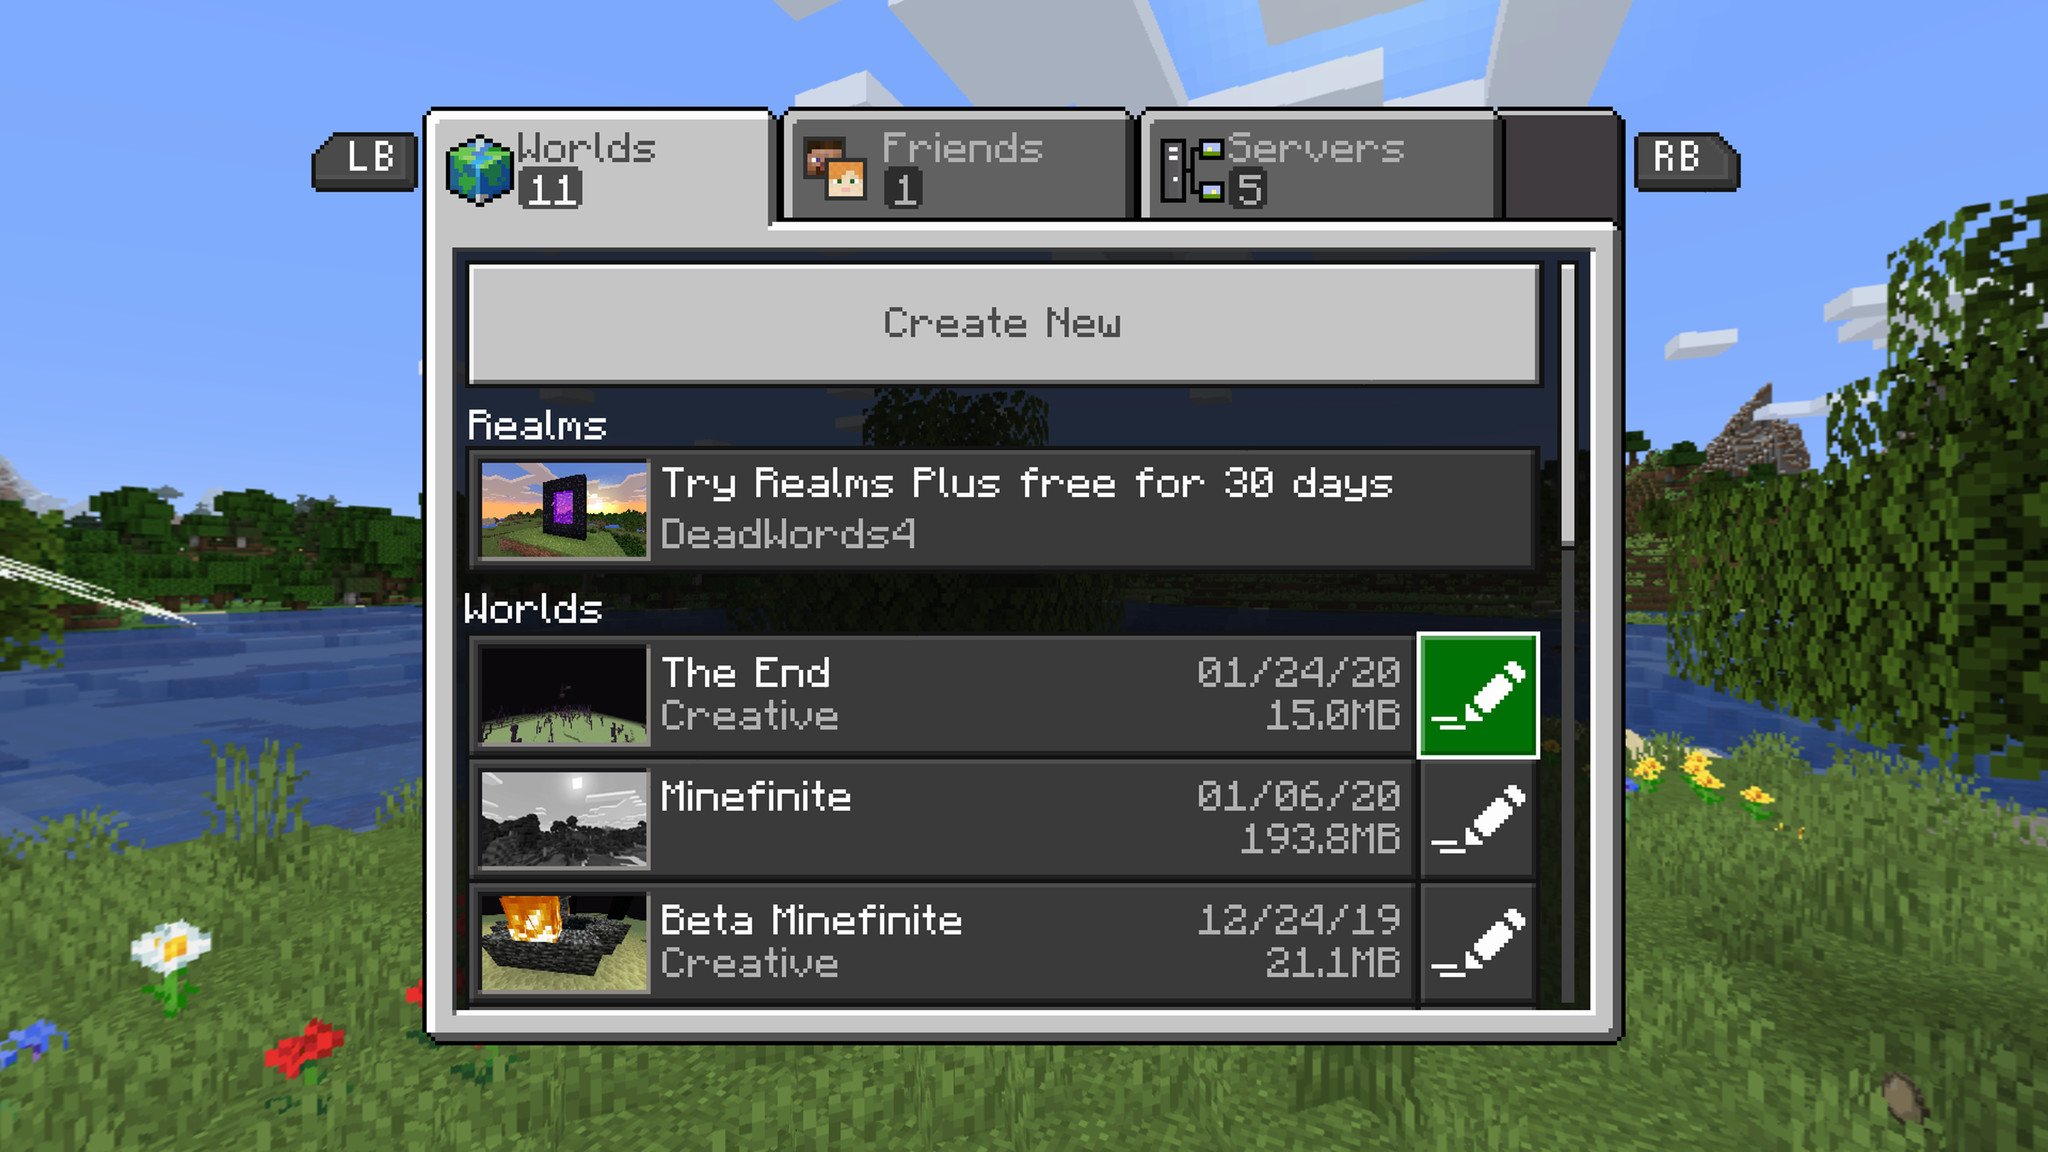
- This will bring up a new screen with three tabs. Tap or click on the "Create New" button below the "World" tab.
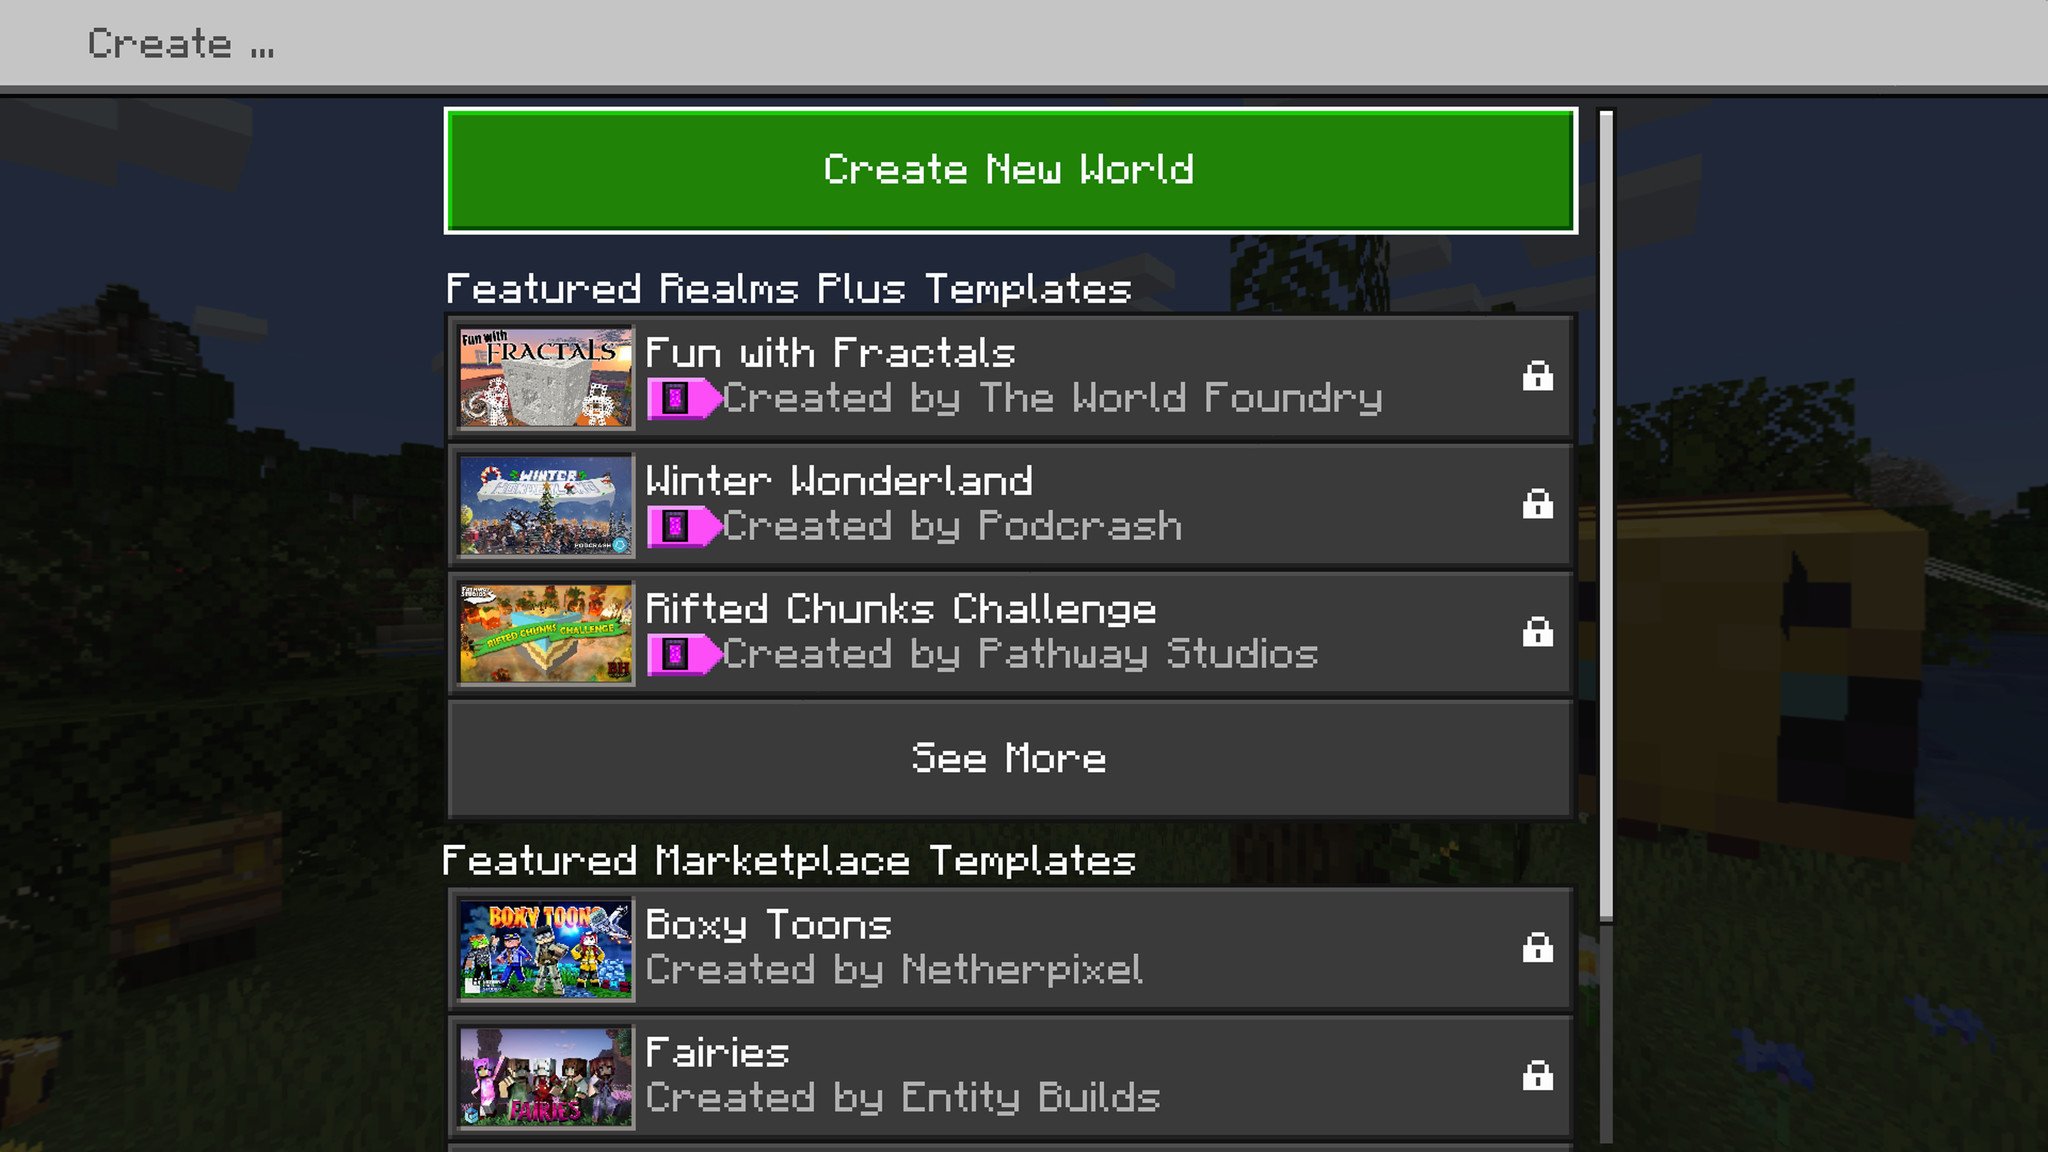
- This might bring up a "Create" screen with some pre-built templates available to buy in the community marketplace. Tap or click on the "Create New World" button at the top of the screen to skip this.
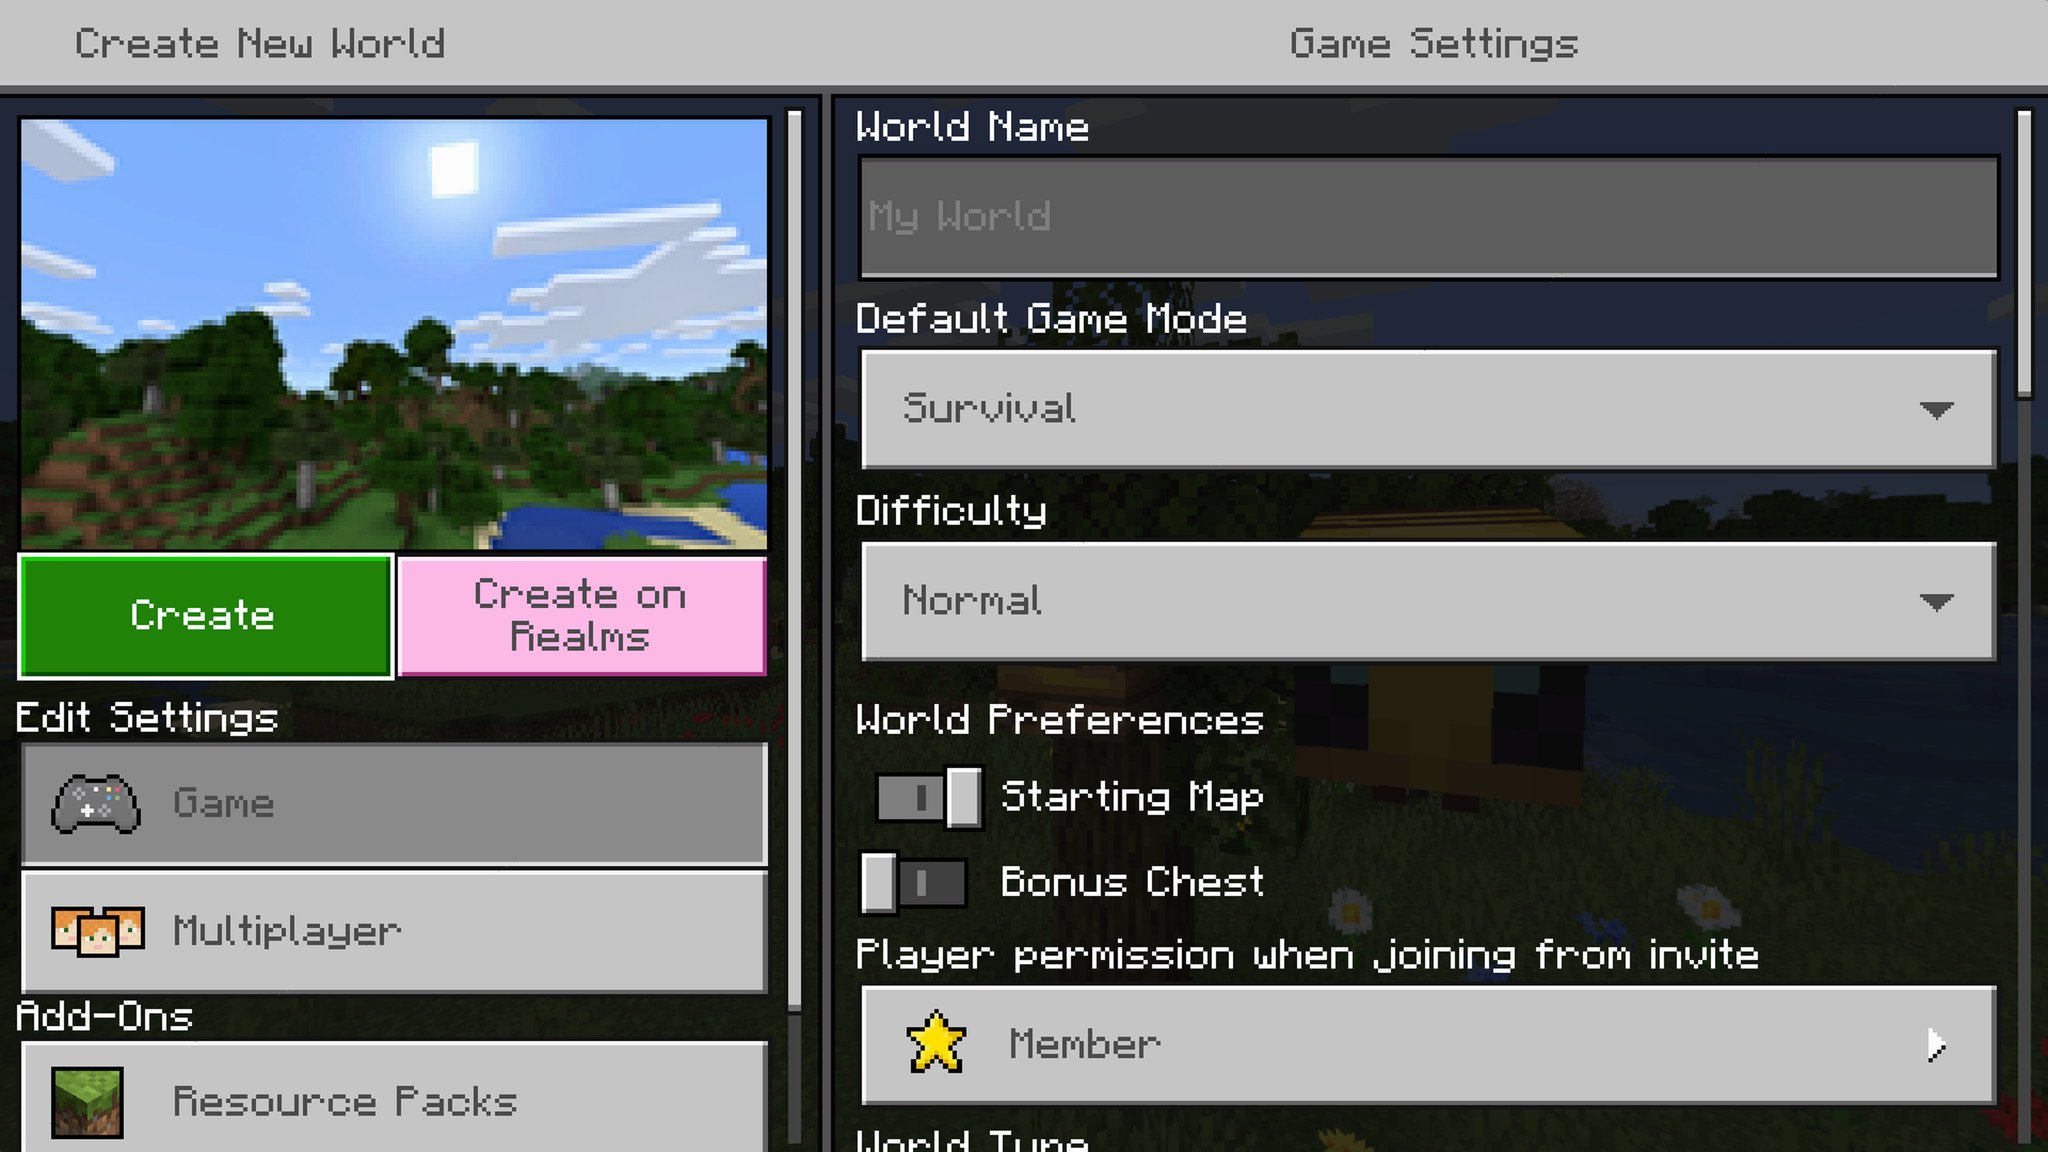
- You should now see the "Create World" screen. Name your world by tapping or clicking on the text box underneath "World Name."
- Make sure you configure your world options the way you want. There's a detailed breakdown of all the options further down below.
- Whenever you're ready, tap or click on the "Create" button on the left-hand side of the screen, below the picture.
- This will start to generate your new world. Wait for it to load and then enjoy your time with your new Minecraft world!
Of course, there are a lot of options and settings in this menu that can muddy the waters if you're just trying to play the game. To learn what all of these options are, and which ones are important to you, you'll want to refer to our dedicated section on it.
How do you manage existing worlds in Minecraft?
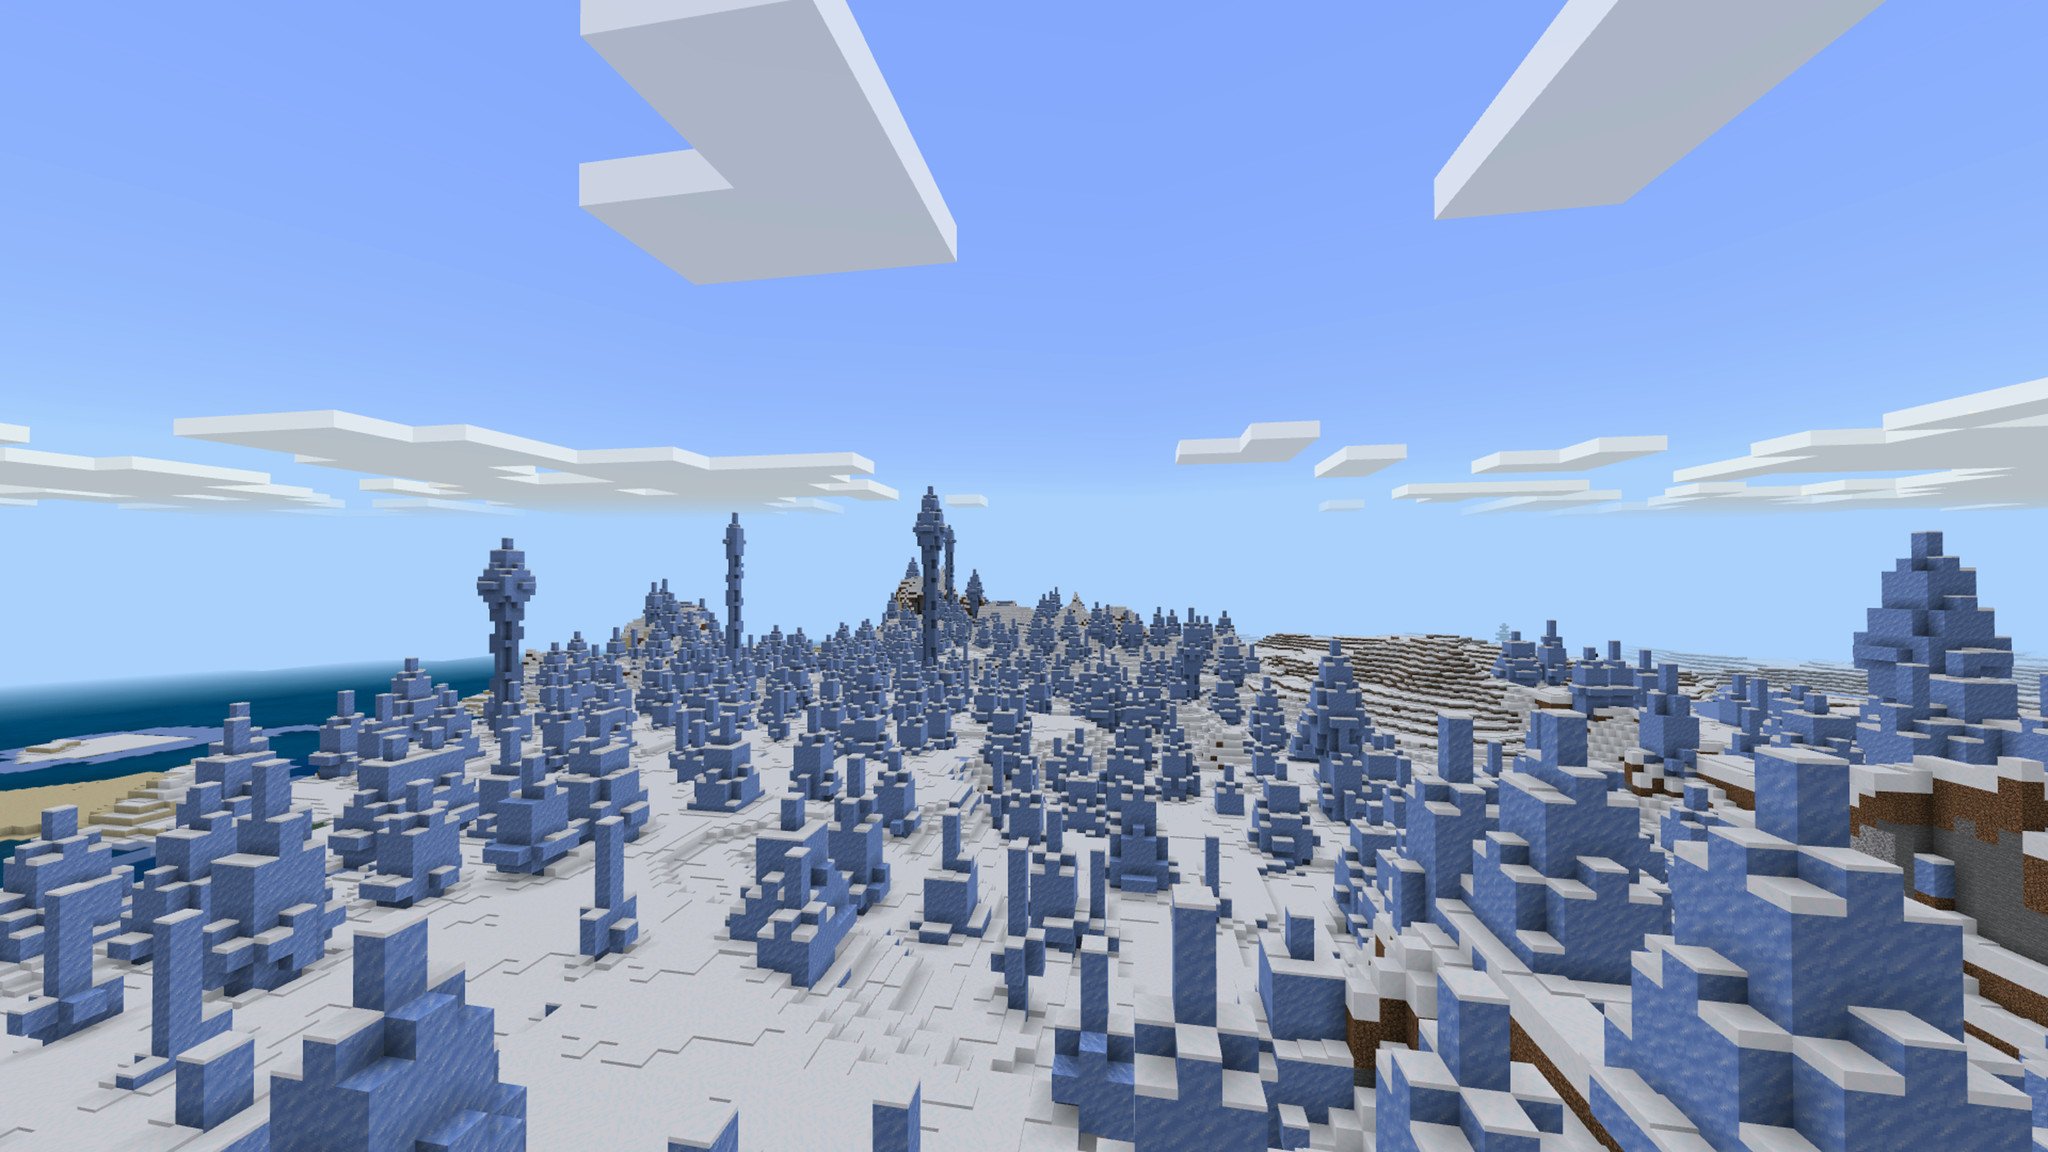
Managing worlds you've created is even easier than creating them, if you know where to look. Managing your worlds is useful for altering settings you need to change, changing the type of game you're playing, or even activating cheats. All of these options are explained in the next section, but here we'll go over how to manage your worlds in the first place.
To manage an existing world in Minecraft, follow these steps:
- Start by opening Minecraft on your device or console.
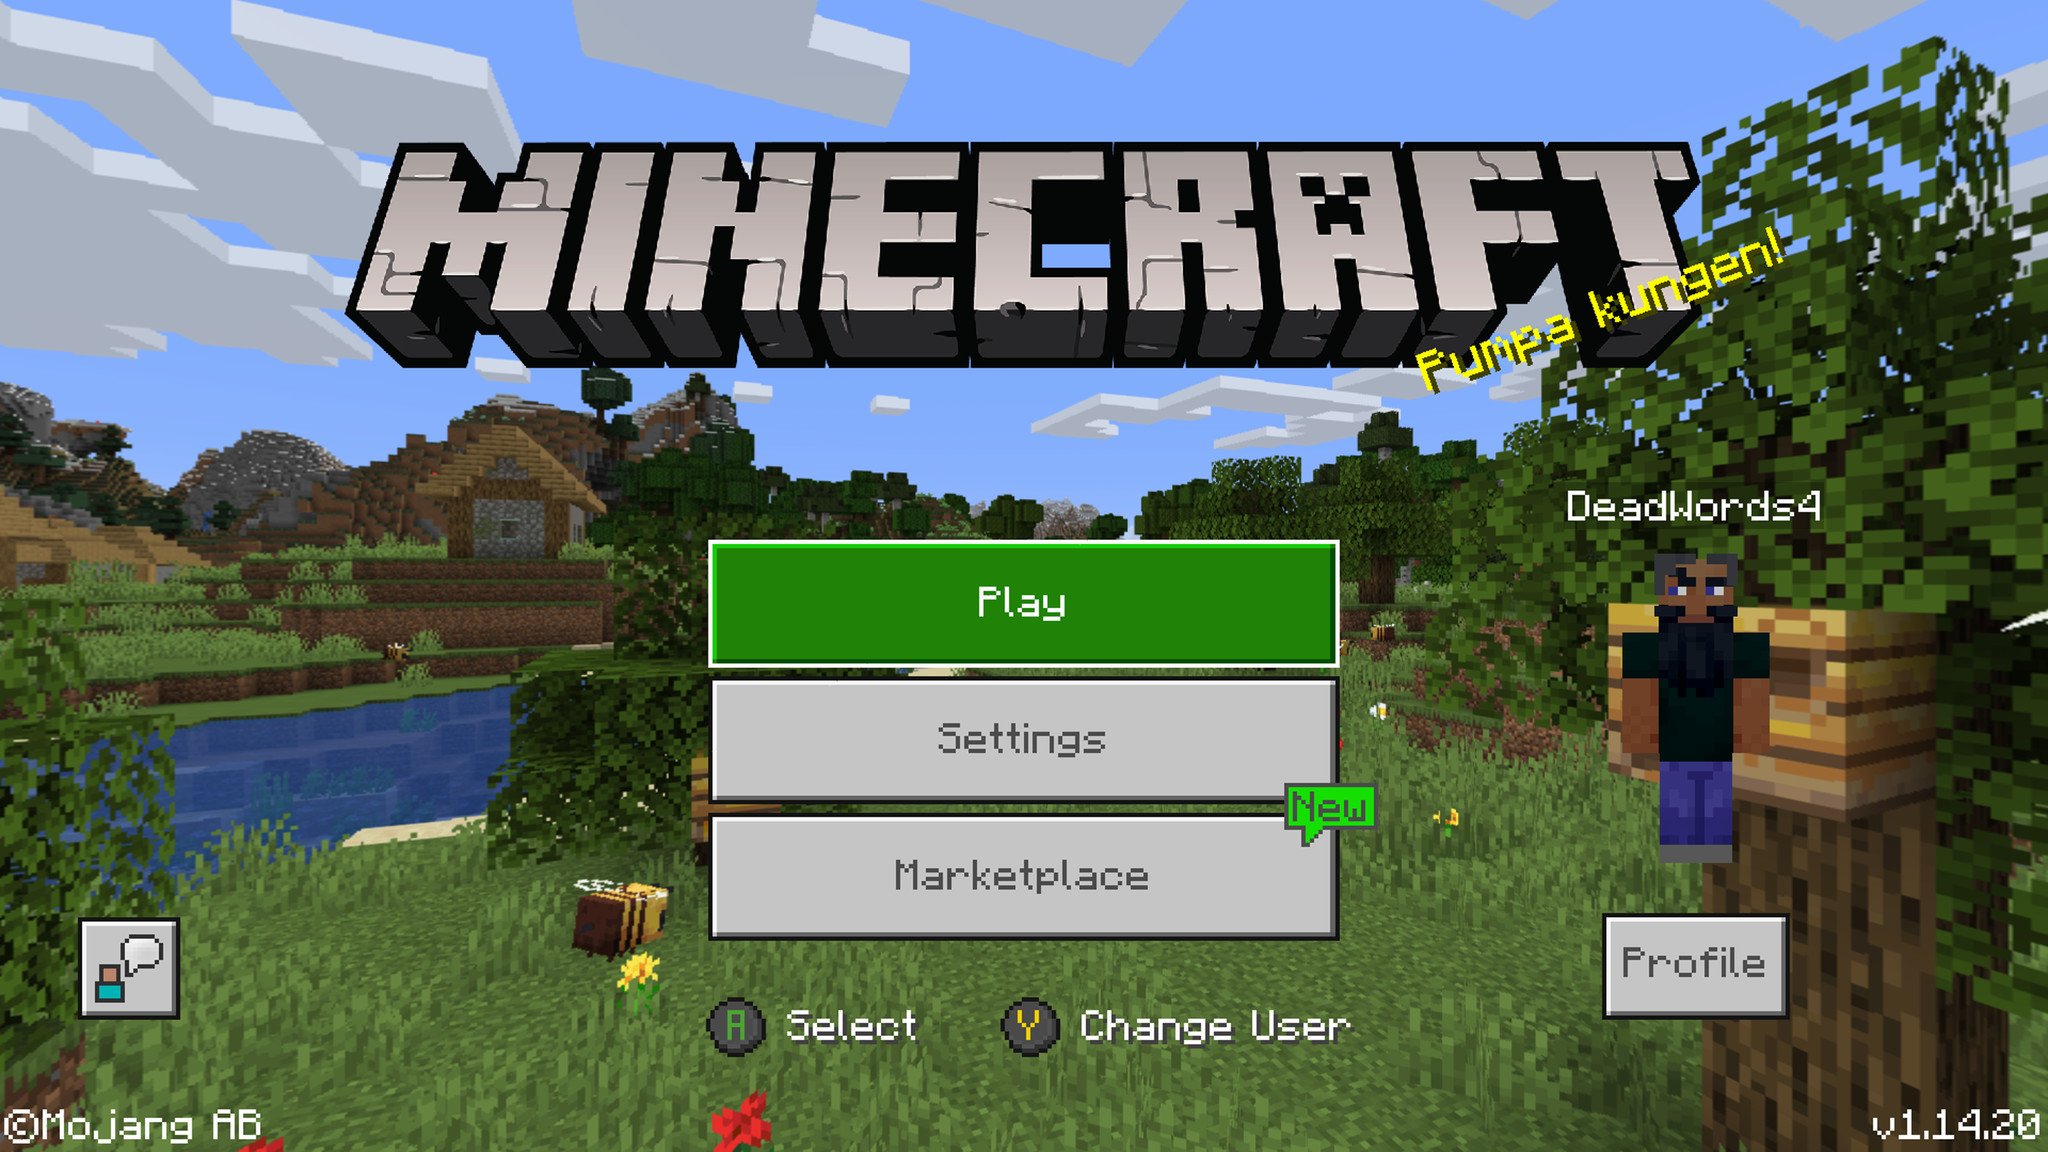
- Tap or click on the "Play" button directly below the Minecraft logo on the main menu.
- This should open up a screen with three tabs along the top. Look for the world you want to manage in the list under the "Worlds" tab, below the "Create New" button.
- Tap or click on the "Edit" button to the right of the world's name. It'll look a bit like a pencil or crayon writing something down.
- This should open the "Edit" screen that looks nearly identical to the initial "Create" screen when you create a new world. Edit any settings or options that you want to here.
- Once you've finished editing your world, just tap or click on the "Play" button to the left of the settings, underneath the picture. This will apply your changes and get your right into the world!
Of course, there are a lot of options and settings in this menu that can muddy the waters if you're just trying to change one thing in the game. To learn what all of these options are, and which ones are important to you, you'll want to refer to our dedicated section on it.
All the latest news, reviews, and guides for Windows and Xbox diehards.
What are all of the options and settings when managing worlds in Minecraft?
Minecraft is all about freedom, and that means even creating or editing worlds comes with a huge number of options for you to choose from. These range from as little as answering questions like "Does fire spread?" to huge changes like "How about you're immortal and you have infinite access to all resources and items?" Whatever you want, the power is yours to make that decision.
Here are all of the options you can change when creating a world or managing a world in Minecraft:
Game
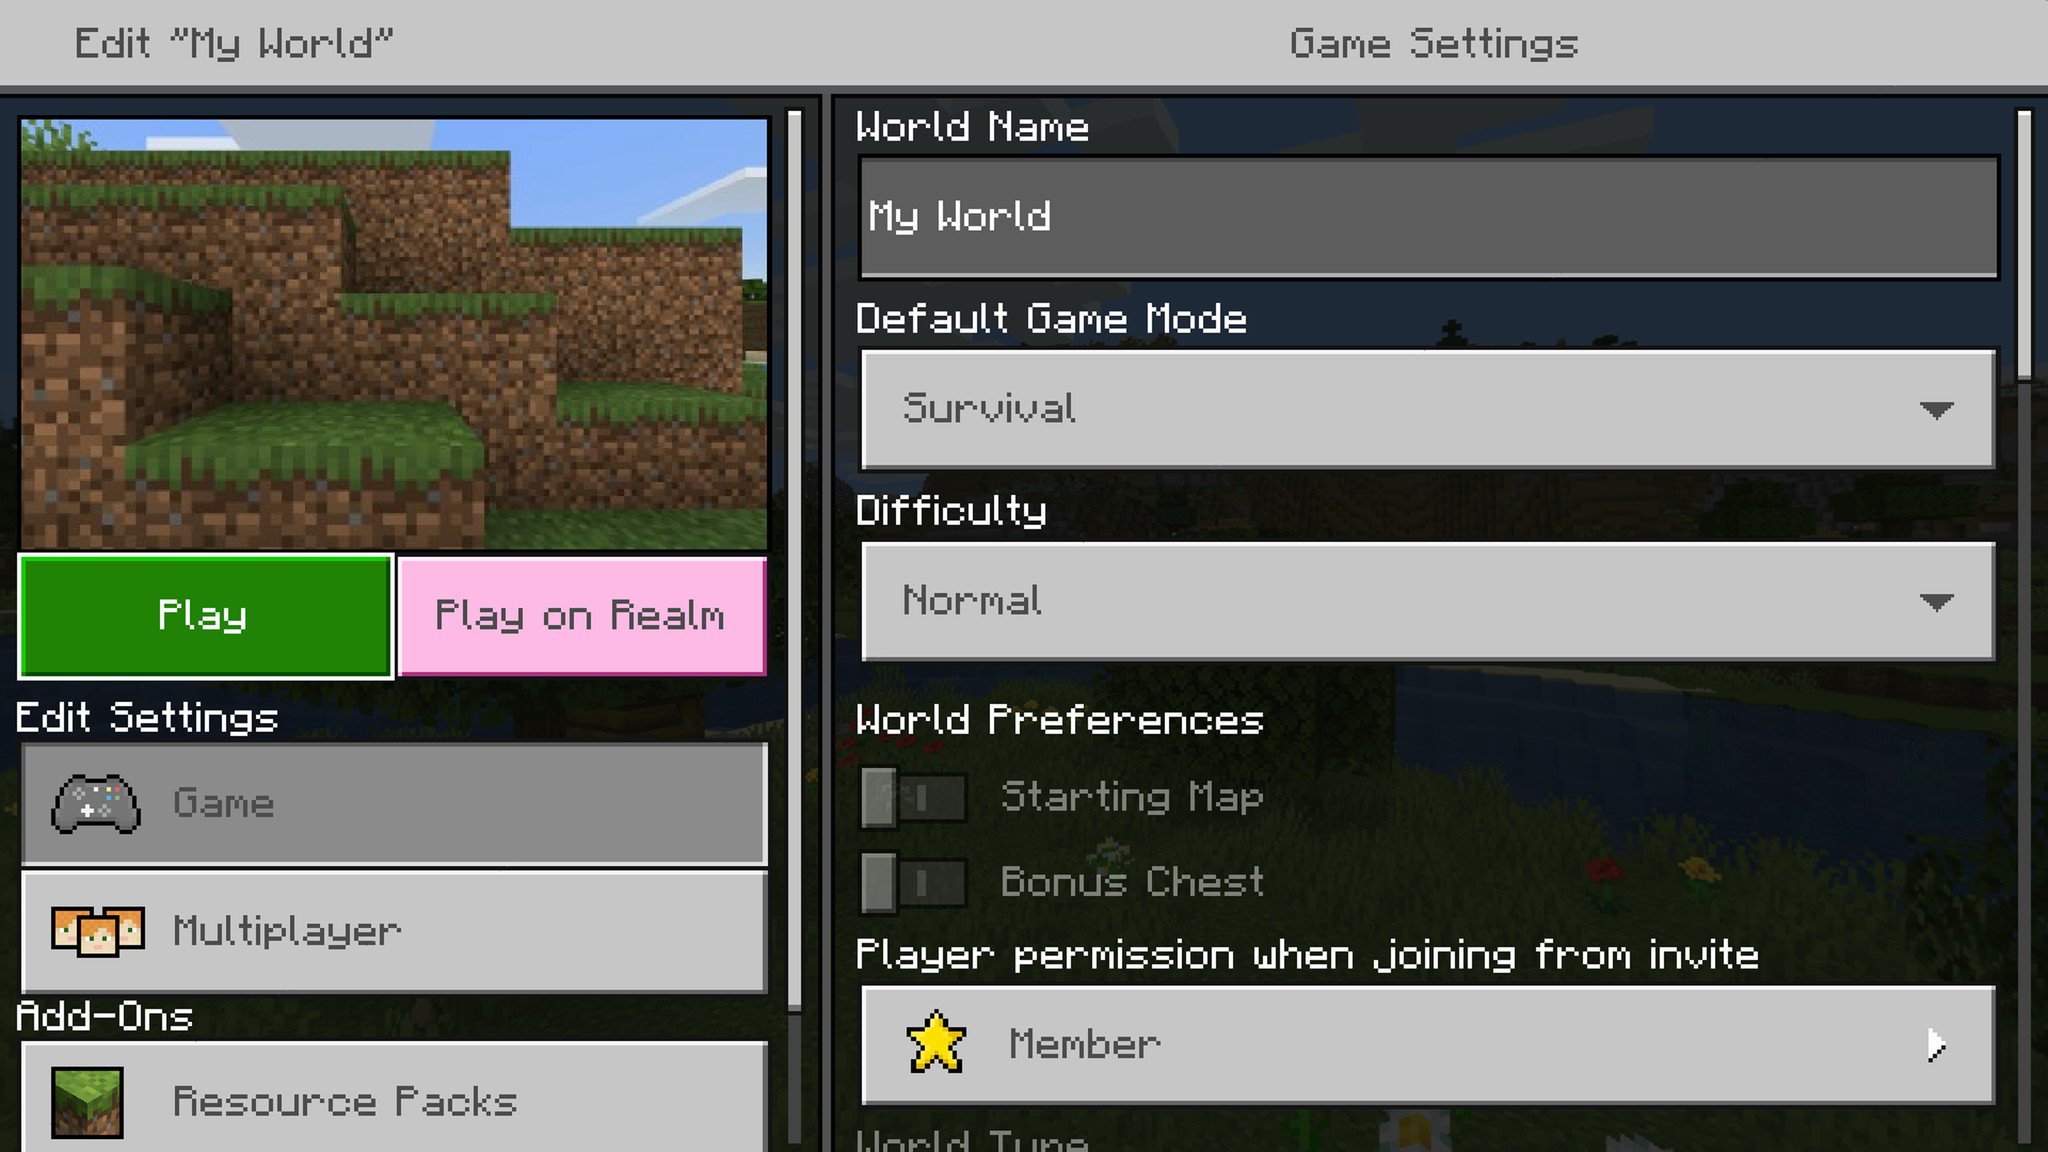
The first section you'll see in the left-hand side navigation menu is going to be the "Game" section. This is where the majority of settings are located. The settings in the "Game" section are:
- World name. This is the name for the world, which you can change at any time. Useful for making sure you know which worlds are which.
- Default Game Mode. This changes what kind of game you're playing. Survival is classic Minecraft, where you have to scavenge and craft everything you need, and it's up to you to survive the perils of Minecraft by managing your health and hunger levels. Creative is for creating and building, where you don't have to worry about health, monsters, or danger of any kind. Instead, you get access to every resource and item in the game and the ability to fly.
- Difficulty. This changes how hard the game is. Peaceful removes most monsters, and makes existing monsters pacifist. Easy adds all the monsters, but makes them have less health and deal less damage. Normal increases both, and hard takes it a step further. These difficulties don't make much difference in Creative.
- World Preferences. Lets you choose if you want to start with a map, or if you want a bonus chest to spawn nearby. Starting with a map is helpful for navigation, while the bonus chest gives players a few handy items like wooden tools and apples. These options are great for beginning players, but experienced players may like the challenge and can turn these off.
- Player permission when joining from invite. This option lets you set the default permission levels for new players joining your world via an invite you sent. By default this makes them Members, so that they can mine, place, and use everything in your world but can't alter world settings. You can also make players Visitors, so they can't affect anything in the world, or Operators, who have special controls over the world and other players.
- World Type. This is another option that drastically changes the game you're playing. The default type will be Infinite, which is a typicaly prodedurally generated world that will automatically generate new world as the player approaches the edges of the map. The preferred style for Survival and players who want their creations to have a nice landscape. The second type is a Flat world, which is also infinite but is entirely flat in all directions. There are no biomes, and no strongholds or anomalies. Not suited for Survival, but can be great for Creative worlds. The final type is Old worlds, which are the original Minecraft world style. Similar to Infinite, but drastically limited in scope to a 256 by 256 block area. Not recommended unless you want to confine all the players to a set area.
- Seed. Every Minecraft world has a unique seed that can be shared with other people who might want to play on the same map. If you have a seed you want to use, you can put that number in this text box to guarantee what map you'll play on. Need some ideas? We have a great list of awesome seeds you can try out. Alternatively, you can also tap or click on the arrow next to the seed textbox and let Minecraft give you some basic recomendations of their own.
- Simulation Distance. This dictates how far around the player it will try and generate and render the world. By default this is 8 chunks, but on more powerful systems you can push this up. A single chunk is a 16 block by 16 block area that spans 256 blocks tall. Turning this up should increase how far head you can see, and how far ahead Minecraft will generate new terrain.
- World Options. This section has a ton of smaller toggles to control many aspects of your world. These options include controlling if friendly fire is turned on, if your coordinates will appear in the upper left-hand corner of the screen, if fire spreads to flammable blocks, if TNT explodes, if mobs will drop loot, if players will heal over time, if blocks drop themselves when broken, or if players immediately respawn upon death. Some of these options are quite small, like if fire spreads, but other options completely change the game, like if blocks drop themselves when broken.
- Respawn Radius. The world has a default spawn point when it's created, and all players will spawn and respawn near that spawn point until they move their spawn point somewhere else with a bed. You can shrink or extend this respawn radius if you need to, like if you're doing a battle royale style game and you can't have everyone spawning right on top of each other.
- Use Experimental Gameplay. This option is for those who want to sample some changes that may be introduced in future updates. This isn't quite the same as actually enrolling in Minecraft's Beta program on Xbox, Windows 10 and mobile devices, but it does let you play with facets of future updates earlier if they're available. Keep in mind, this may affect your ability to play with other players online and may affect Achievments and Trophies as well.
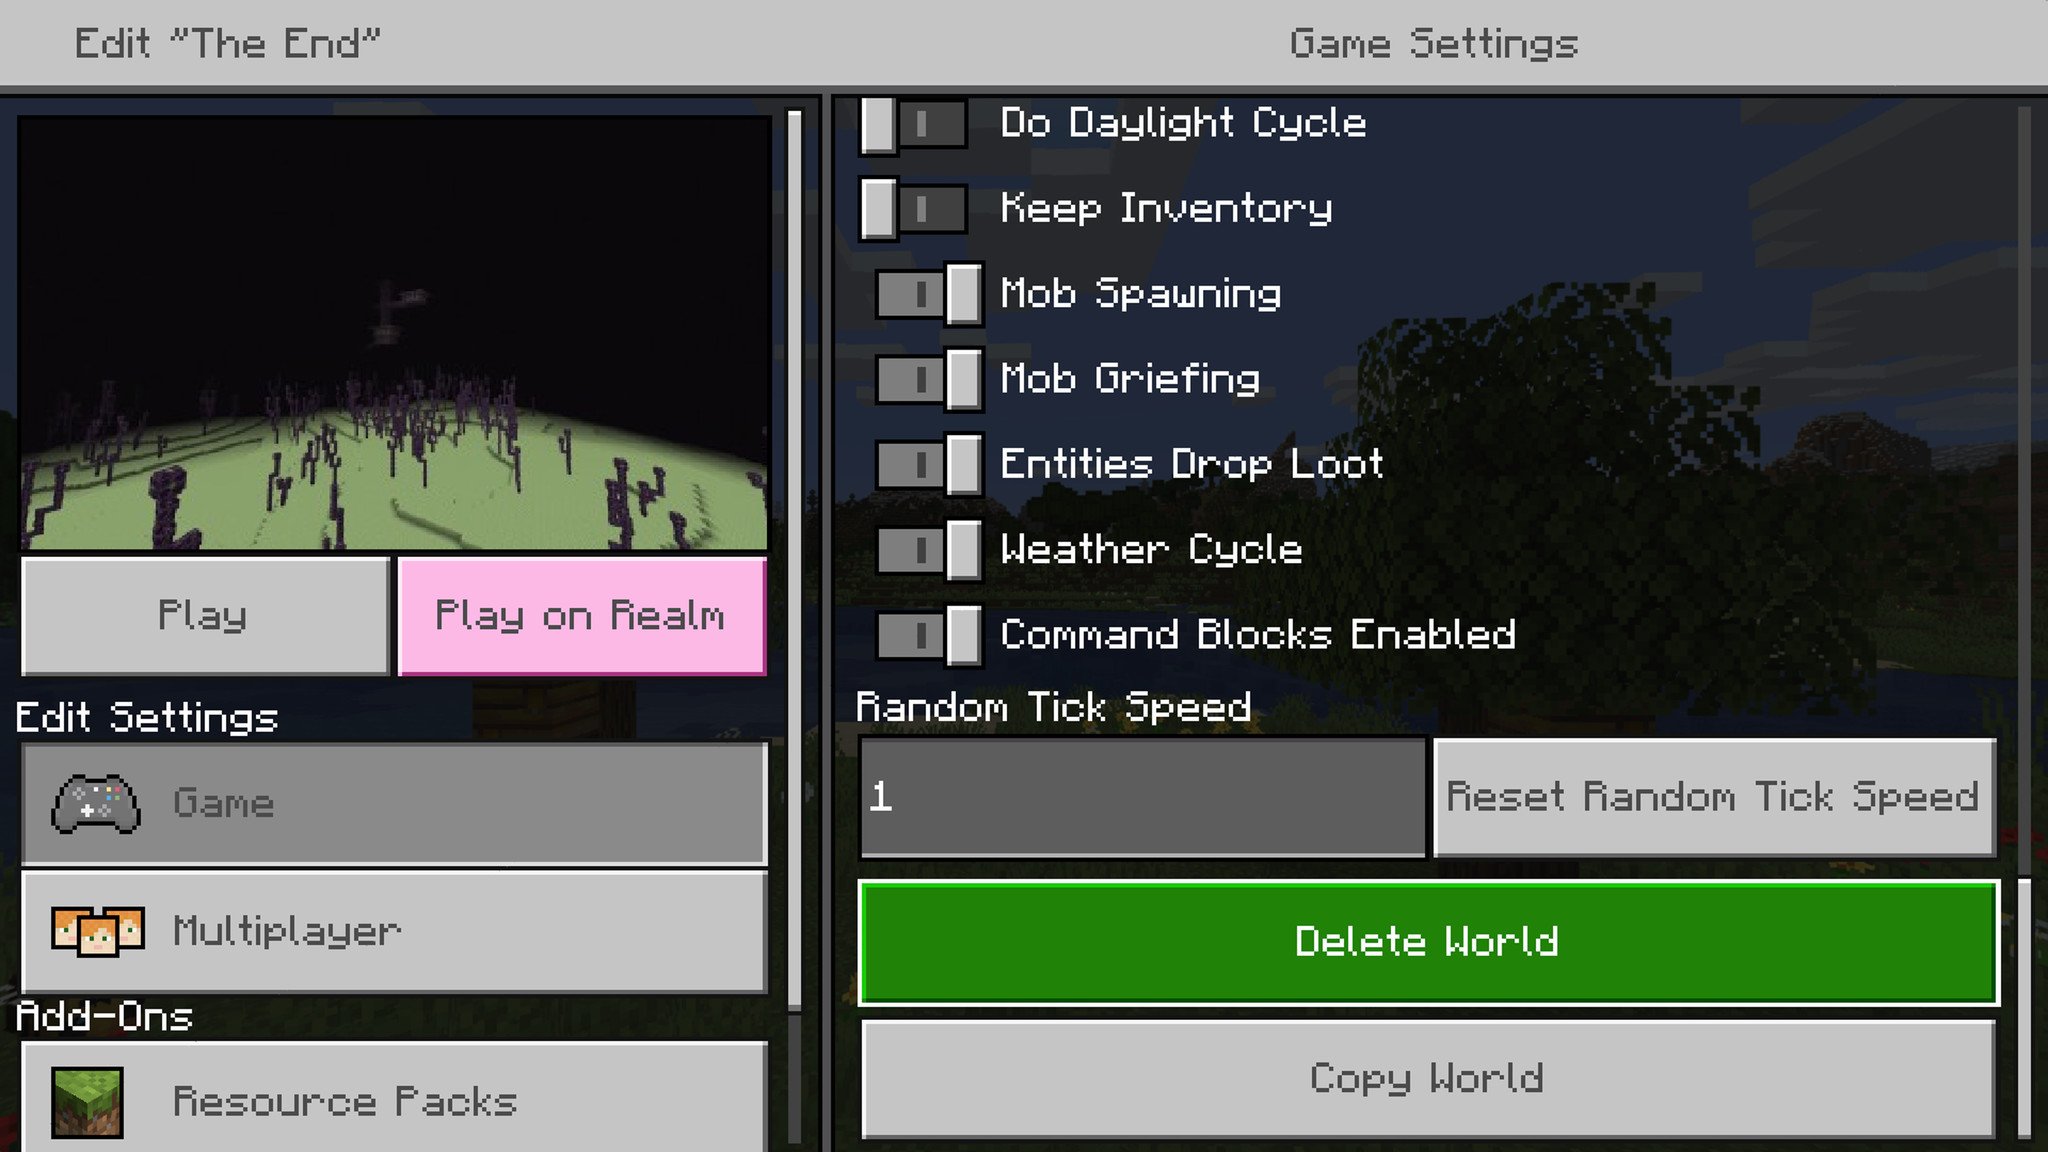
- Cheats. Cheats are abilities and controls that are granted to the host (i.e., you) and any players that are given the Operator status. Cheats include things like making the daytime permanent versus doing the traditional day/night cycle, having players keep everything in their inventory on death, deactivating mob spawning, deactivate mob griefing (basically abilities of mobs like blowing things up, interacting with blocks, picking things up, etcetera,) turning off loot dropping, turning off the weather cycle, and enabling command blocks. Cheats also lets you turn the game into the Education Edition of Minecraft, which is a specialized version of Minecraft focused on teaching students things like architecture, agriculture, chemistry and more. Activating cheats deactivates Achievements and Trophies.
- Random Tick Speed. Minecraft tells times using something called ticks. If you want to speed up Minecraft's time, you can increase the tick speed of the game. Cheats has to be enabled for you to use this option.
Some of the options and settings here may change when you're editing a world, rather than creating it. Here are all the differences:
- World Preferences. These settings still appear, but cannot be altered after the world has already been created.
- World Type. This setting also cannot be altered after the world has already been created.
- Seed. You can come here to find out what the seed of your world is, if you want to share it or save it for future use.
- Use Experimental Gameplay. Once this option has been enabled, it cannot be turned off. Make sure and create copies of worlds if you don't want to lock your favorite world down.
- World options. Down at the bottom of the Game settings for a created world, there will be 2 or 3 more options. There will always be options to delete a world or copy a world. On older platforms, there may also be an option to export the world for use in newer versions.
Multiplayer
The second section available to tinker with your worlds is the "Multiplayer" section. This section is far smaller than the "Game" section but is still handy to have access to. All of these options are the same for creating and editing worlds. Here's all of the settings you can find here:
- Multiplayer Game. This is a toggle to simply turn on or off multiplayer in this world. If the toggle is off, no online play with other players will be allowed. This will also grey out the other options in this section.
- Microsoft Account Settings. This setting changes who can join your multiplayer games. By default, this is set to "Friends of Friends." You can change it to "Friends Only" or "Invite Only."
- Visible to LAN Players. This will change if other players on the same network can also see and join your game.
Add-Ons
Add-Ons are different packs you can install that change the core of Minecraft, sometimes in subtle ways and sometimes in drastic ones. There are two different kinds of Add-Ons, both of which are available from the Community Marketplace. Those Add-Ons are:
- Resource Packs. These packs are usually things that change the look of Minecraft, or add something on top of Minecraft. For most people, this is going to mean Texture Packs, which change the graphics of Minecraft. Some Texture Packs follow themes of popular franchises like Halo, while others are unique and original.
- Behavior Packs. These packs change how things work in Minecraft. These are different from the mods you can install on the Java Edition in that they use existing code in Minecraft to make these changes. That means they're a little more limited, but can still be a lot of fun.
How do you delete worlds in Minecraft?
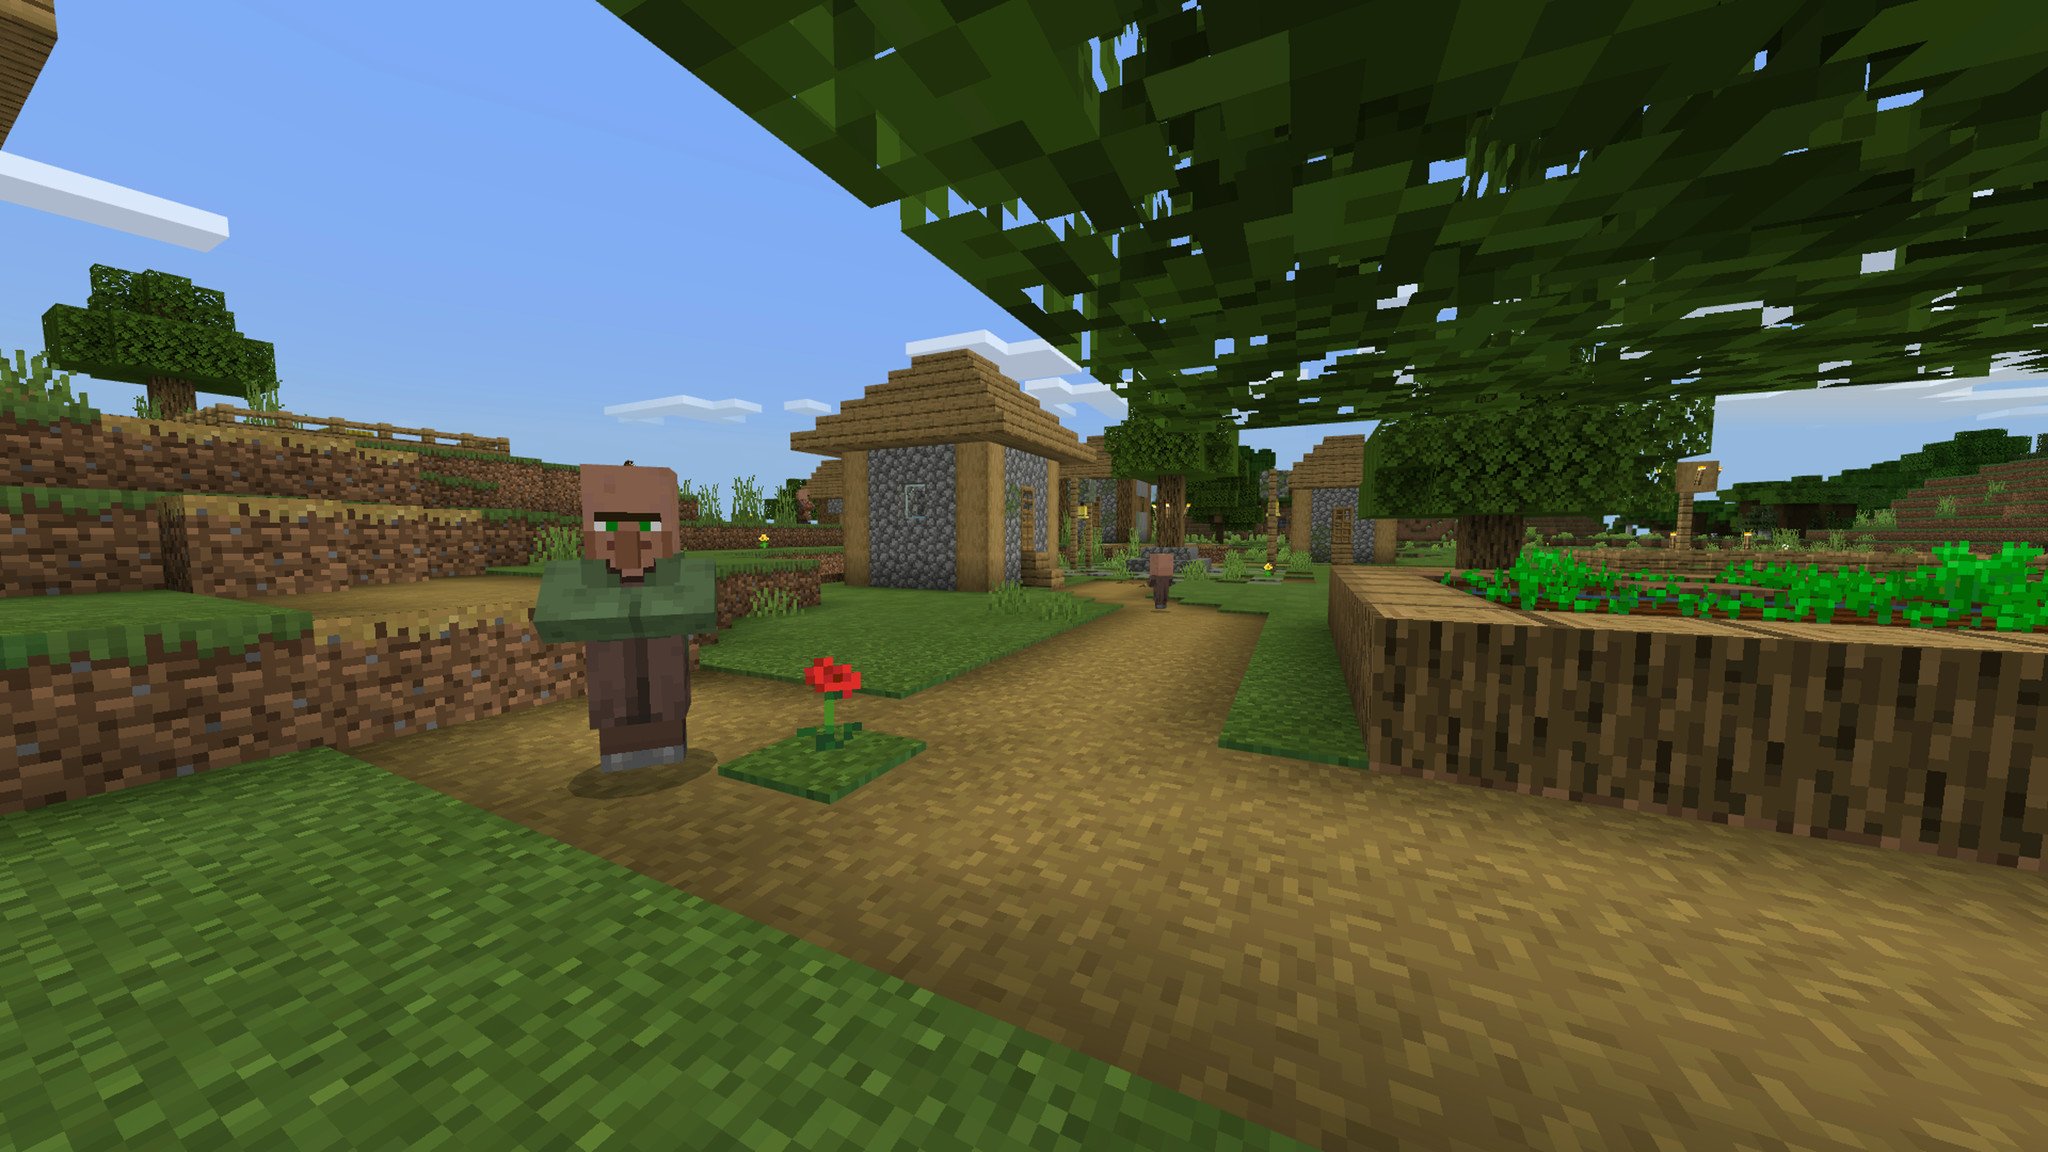
Sometimes a world exceeds its usefulness, and it's time to free up a little more space on your device or console. Fortunately, deleting your worlds in Minecraft is almost as easy as creating new ones, so you can clear out old worlds you don't play anymore whenever you want.
To delete worlds in Minecraft, follow these steps:
- Make sure you're in the right place by opening Minecraft on your device or console.
- Tap or click **on the "Play" button* directly below the Minecraft logo on the main menu.
- This will bring up a screen with three tabs along the top. Look for the world you want to delete in the list under the "Worlds" tab, below the "Create New" button.
- Tap or click on the "Edit" button to the right of the world's name. It'll look a bit like a pencil or crayon writing something down.
- This should open the "Edit" screen that looks nearly identical to the initial "Create" screen when you create a new world. Scroll to the bottom of the list on the right-hand side of the screen.
- Tap or click on the "Delete World" button near the bottom of the screen, next to the "Export World" and "Copy World" buttons.
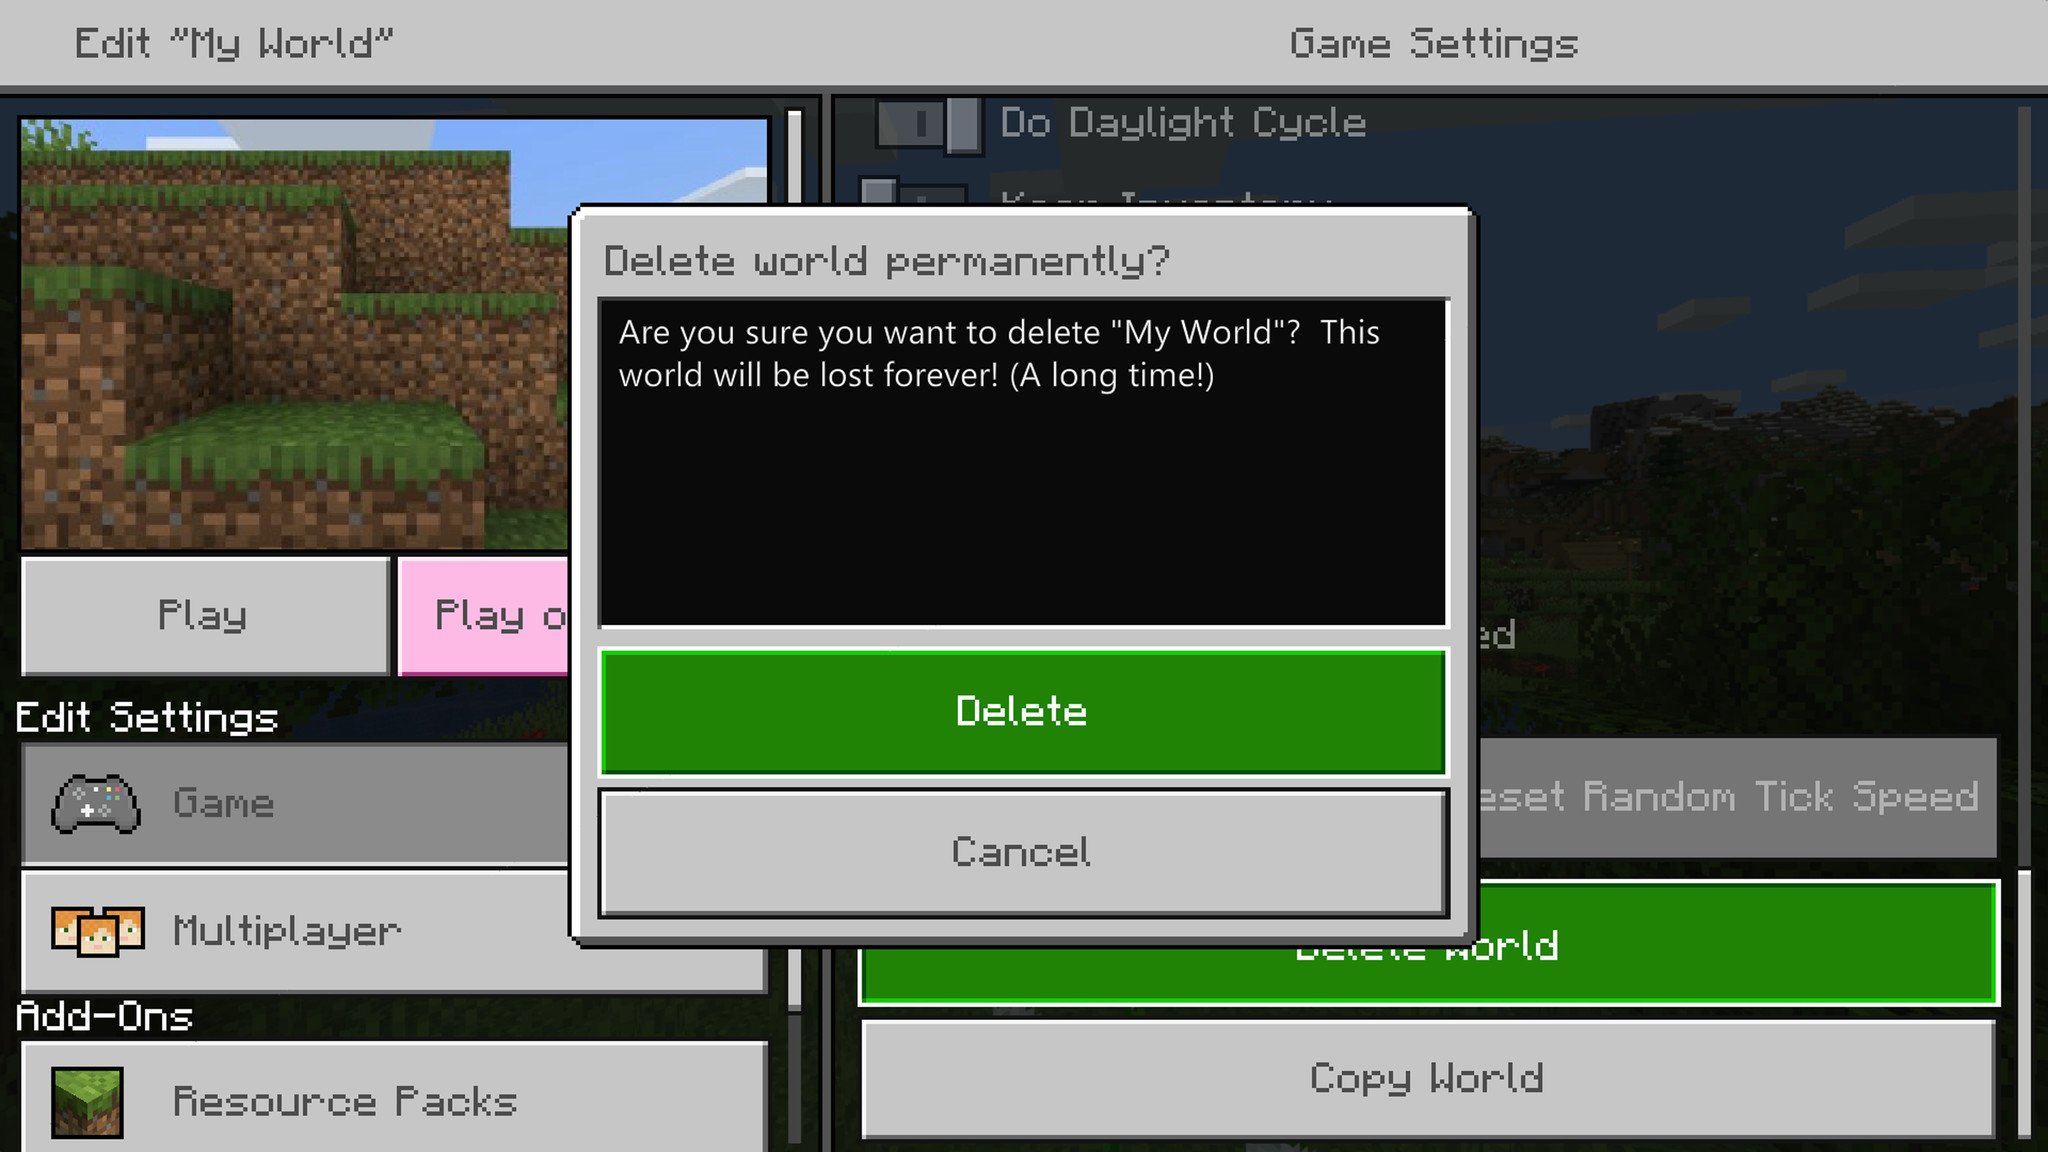
- A confirmation will pop-up on the screen. If you're sure you want to delete this world, tap or click on the "Delete" button underneath the pop-ups warning message.
- Your world will be deleted permanently. Keep in mind there is no way to recover deleted worlds once they're gone, so be confident in your decision. Once you've deleted some worlds, you'll have more space to create even more new ones!
How do you convert old worlds in Minecraft?

There may be times in your Minecraft life that you upgrade from an older console like an Xbox 360 to a newer one, or that you simply get a new device and want to make sure to have your oldest worlds brought along with you. Fortunately, Minecraft does their very best to make this as seamless as possible for you, so that you never have to worry about where your worlds are.
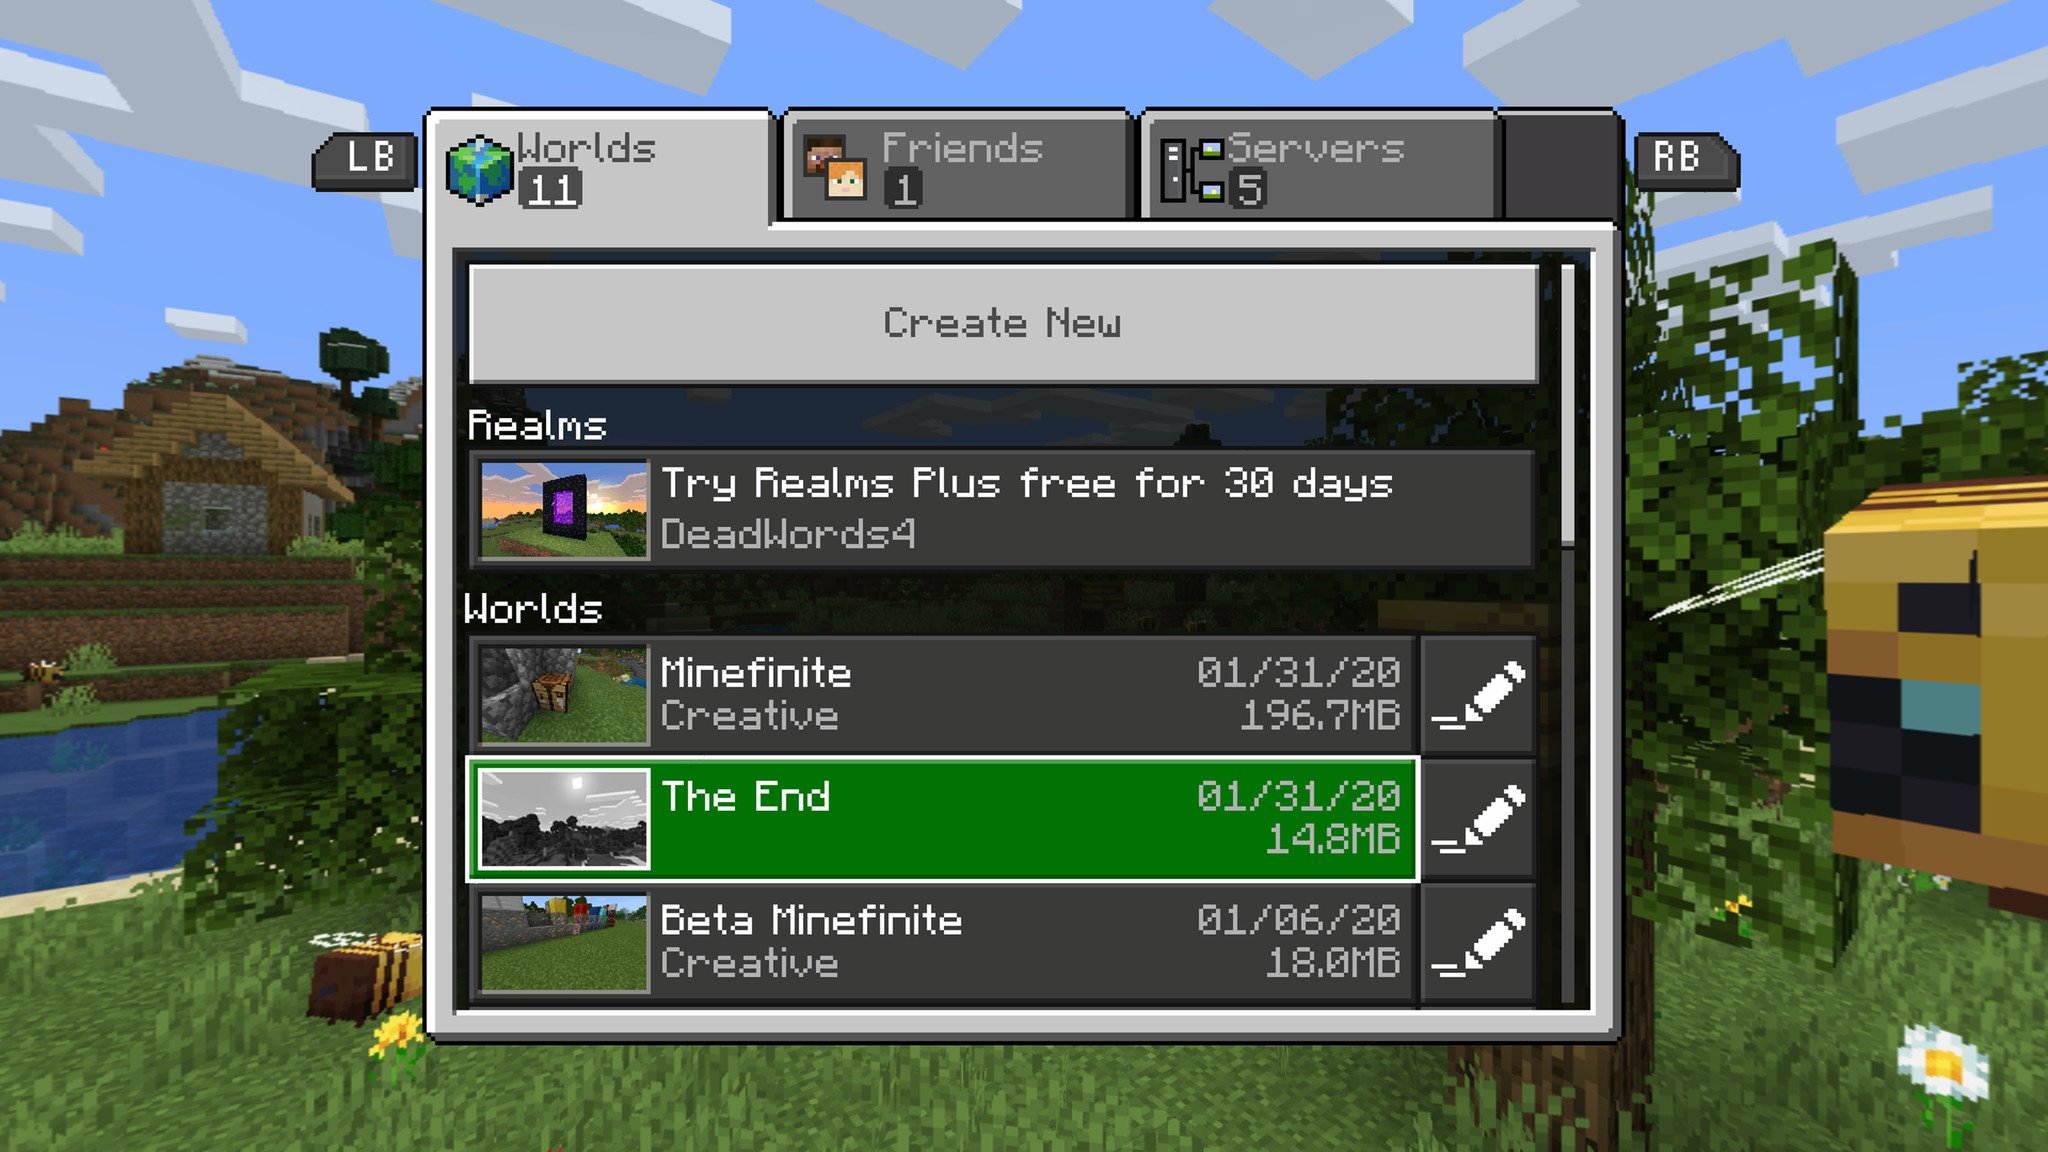
When you're moving between different versions or devices on Xbox or Windows it's incredibly easy. As long as you have cloud saves enabled on your account (you definitely should,) older worlds should appear in the list of worlds. In these cases, the worlds will be greyed out to signify that the world comes from another version or device. If you tap or click on that greyed out world, Minecraft should sync all the necessary data for you (and possibly convert the world if you're coming over from a different version.) If the world truly is an "Old" world (meaning it isn't infinite,) you can change that after it has been converted by editing the world's settings.
To change a world from "Old" to "Infinite," follow these steps:
- Start by opening Minecraft on your device or console.

- Tap or click on the "Play" button directly below the Minecraft logo on the main menu.
- This should open up a screen with three tabs along the top. Look for the world you want to manage in the list under the "Worlds" tab, below the "Create New" button.
- Tap or click on the "Edit" button to the right of the world's name. It'll look a bit like a pencil or crayon writing something down.
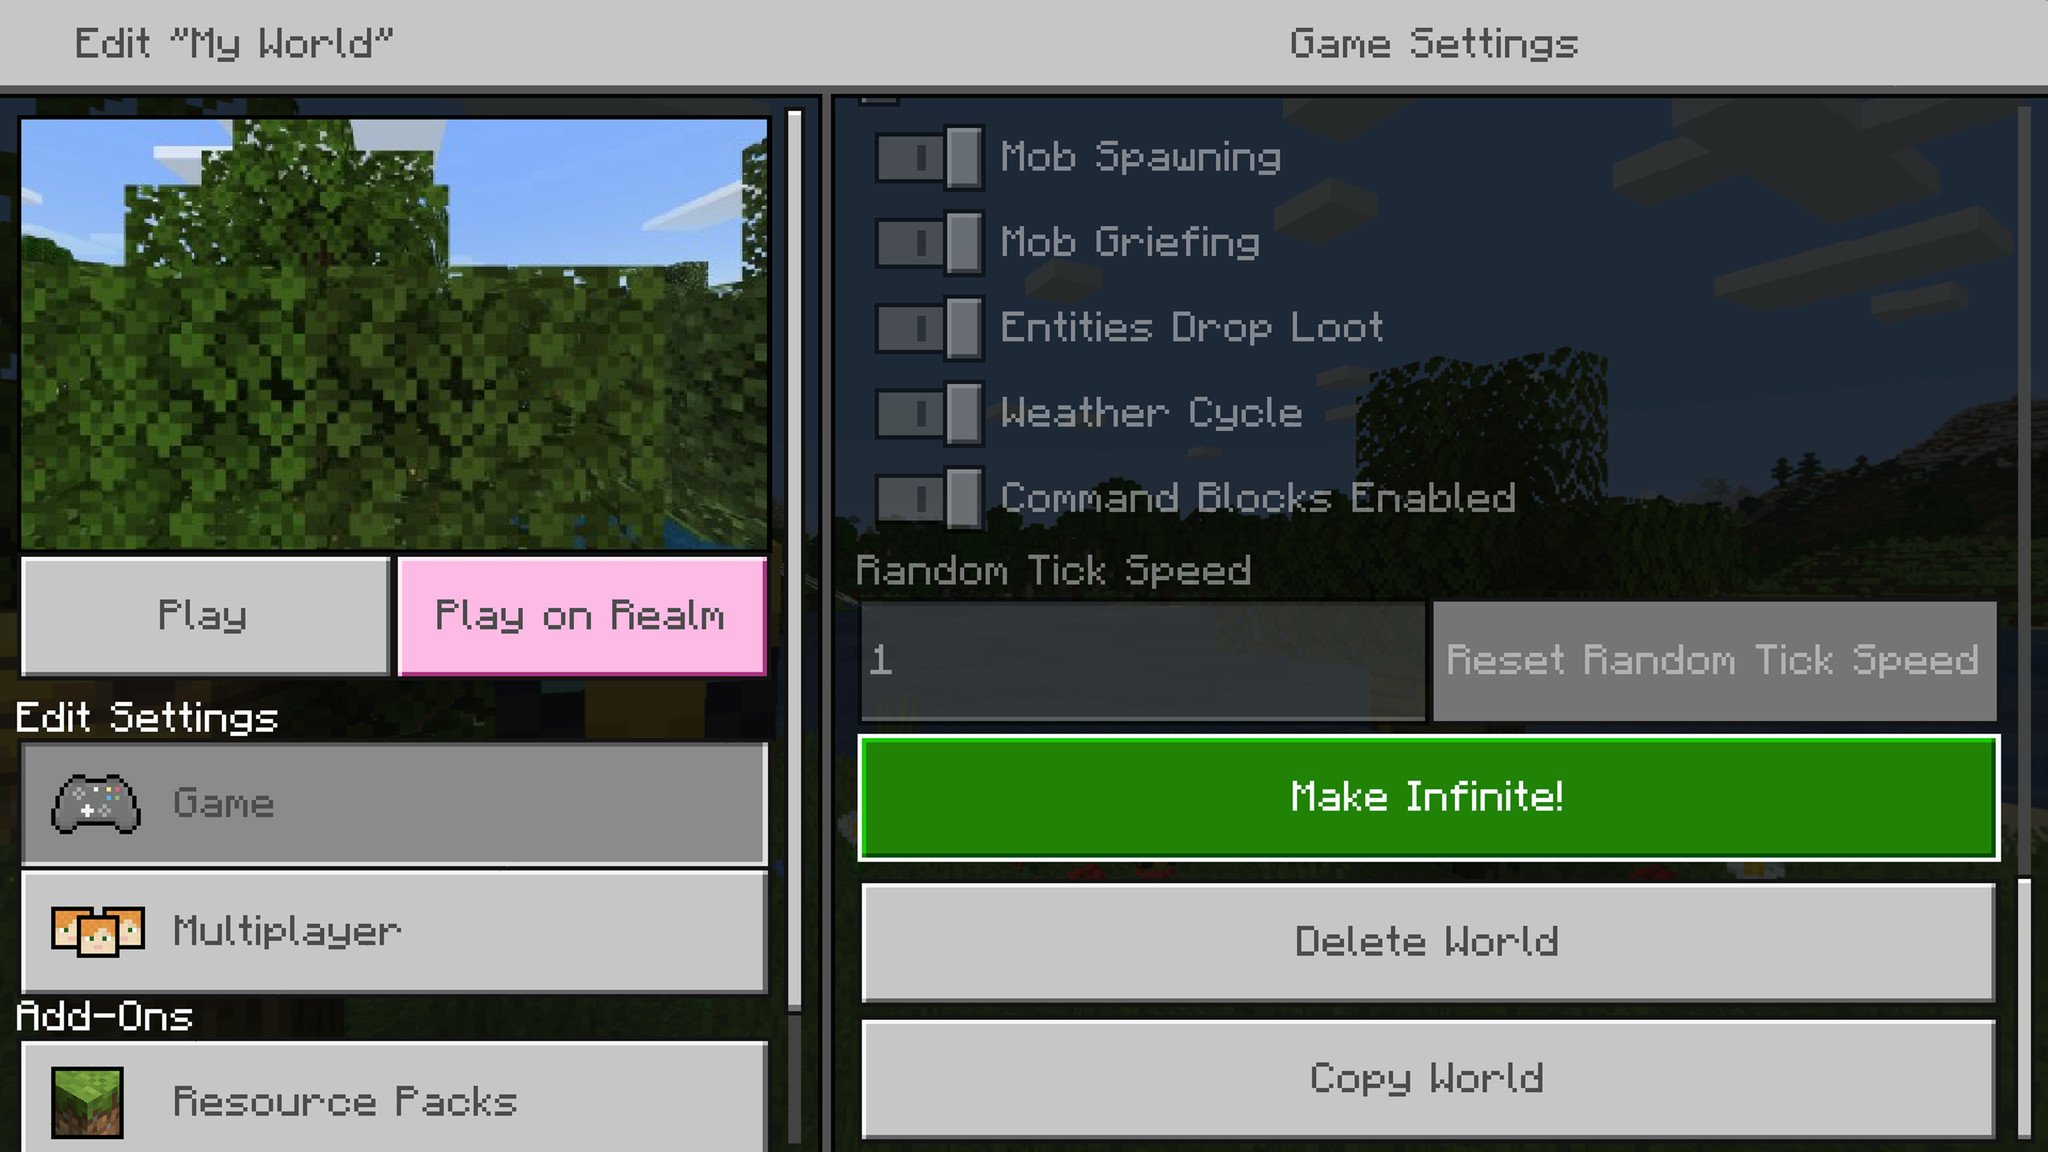
- Move to the very bottom of the world's "Game" section where you would normally see the "Delete World" and "Copy World" options. If the world was created as an "Old" type originally, you should see a new "Make Infinite!" option appear here.
- Tap or click on the "Make Infinite!" button. This will apply the change immediately, but it will also create a copy of the world in its original form automatically, which is very helpful.
- Tap or click on the "Play" button to the left of the settings to try out your newly expanded world!
Explore your worlds
Once you've mastered the art of managing your worlds, there's nothing stopping you from having a different adventure for every occasion. And some secrets worlds that your friends aren't allowed in. Minecraft is about freedom of expression, after all, and that of course includes having as many different worlds as you want.
Do you have multiple worlds in Minecraft? What's your favorite way to play? Sound off in the comments below!

Zachary Boddy (They / Them) is a Staff Writer for Windows Central, primarily focused on covering the latest news in tech and gaming, the best Xbox and PC games, and the most interesting Windows and Xbox hardware. They have been gaming and writing for most of their life starting with the original Xbox, and started out as a freelancer for Windows Central and its sister sites in 2019. Now a full-fledged Staff Writer, Zachary has expanded from only writing about all things Minecraft to covering practically everything on which Windows Central is an expert, especially when it comes to Microsoft.
