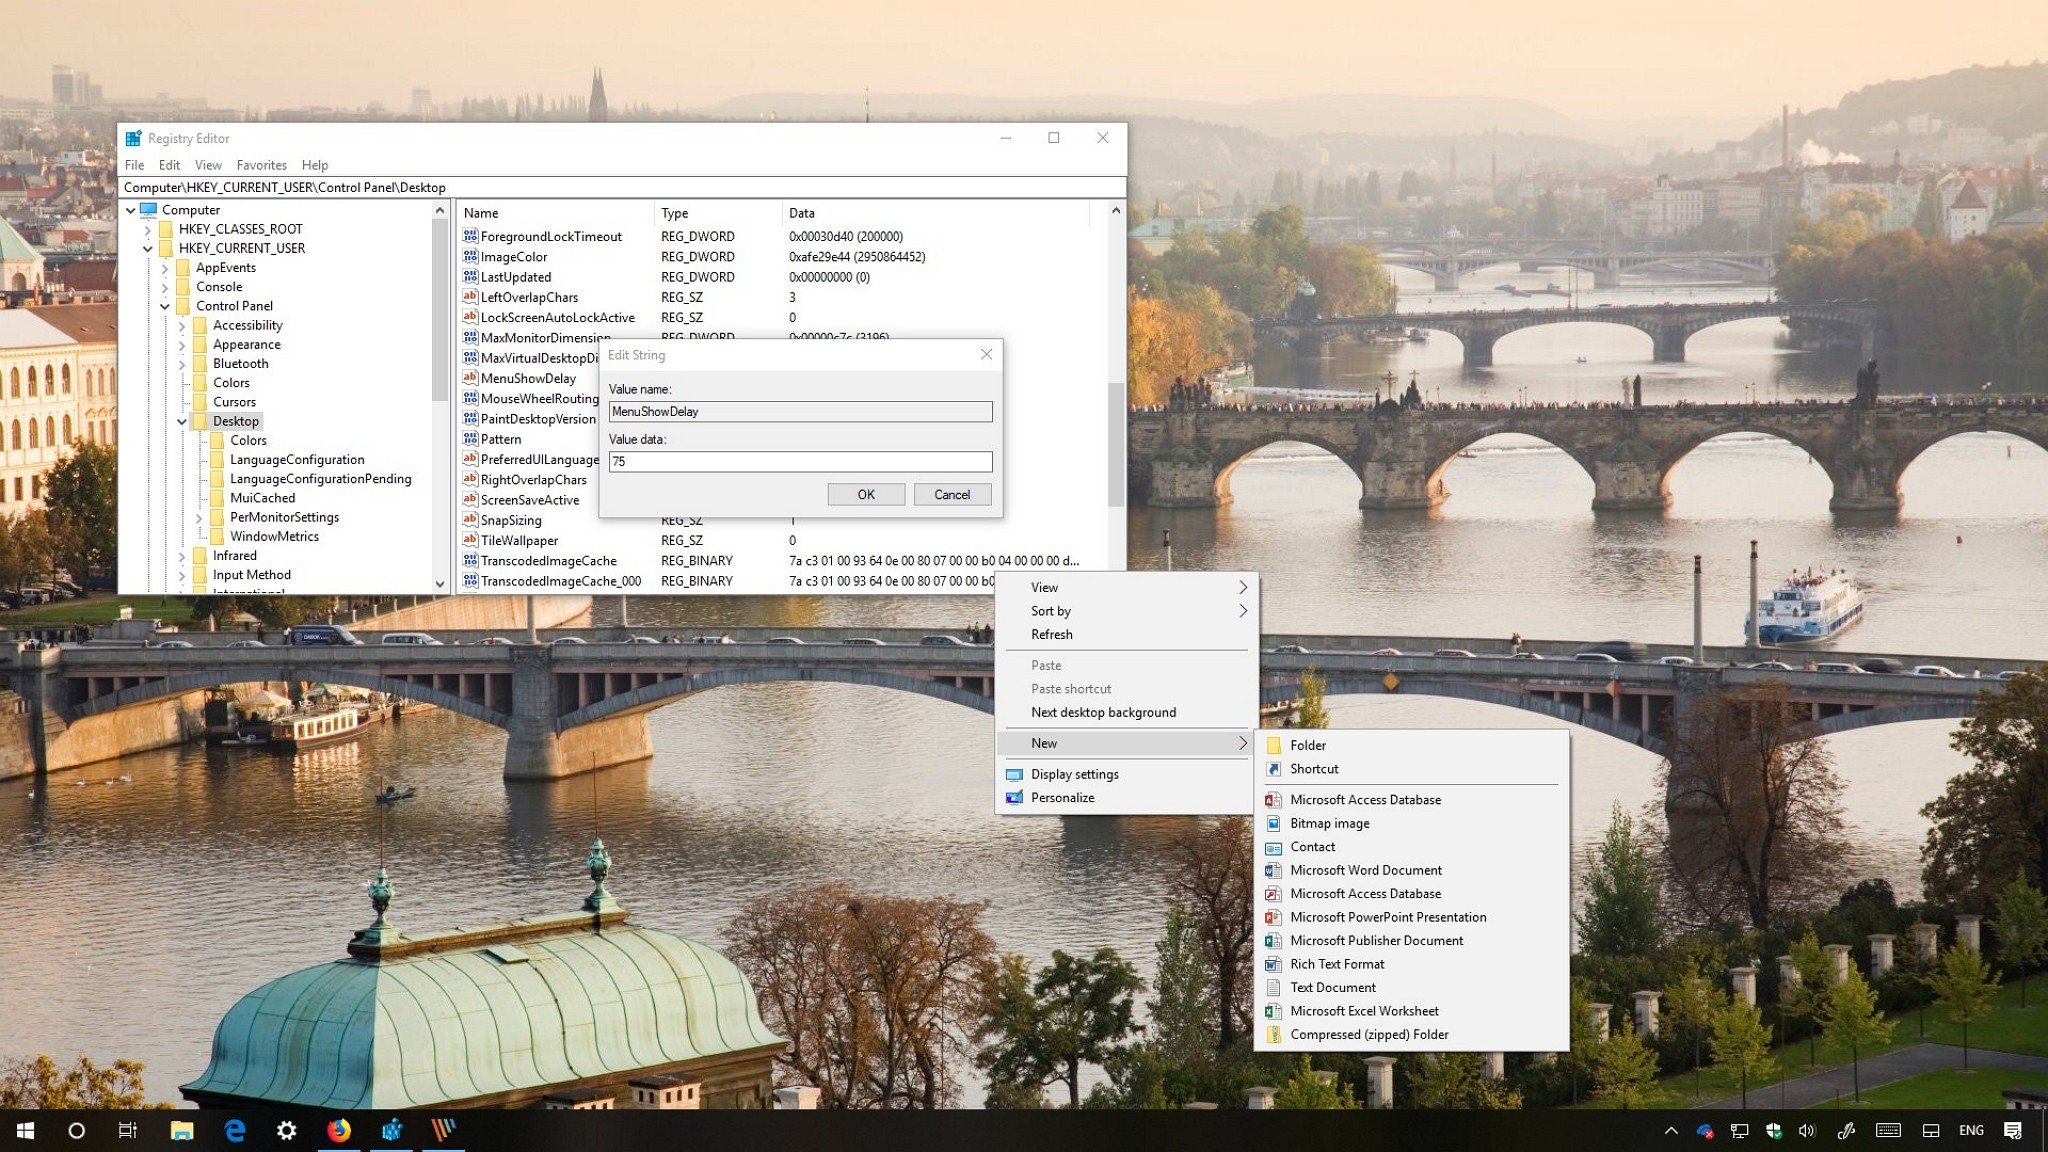
How to speed up menu visual effects on Windows 10
You can speed up or slow down the speed at which menus show on Windows 10. Here's how to do it.

All the latest news, reviews, and guides for Windows and Xbox diehards.
You are now subscribed
Your newsletter sign-up was successful
Across Windows 10, you'll find a bunch of animations that give you the illusion of movement and make the experience feel a little smoother.
One of these animations is the sliding effect when opening menus. For the most part, the default setting should be optimal for most users, but you can further adjust the animation timing to make your device feel a little more responsive by tweaking the Registry.
In this Windows 10 guide, we walk you through the steps to adjust the speed of the menu animation to make the experience feel a little faster.
How to adjust Windows 10 menu animation speed using Registry
If you want to speed up or slow down the animation of menus on Windows 10, use the following steps.
Warning: This is a friendly reminder that editing the Registry is risky, and it can cause irreversible damage to your installation if you don't do it correctly. We recommend making a full backup of your PC or make sure to create a backup of the Registry before proceeding.
- Use the Windows key + R keyboard shortcut to open the "Run" command.
- Type regedit, and click OK to open the Registry.
- Browse the following path:
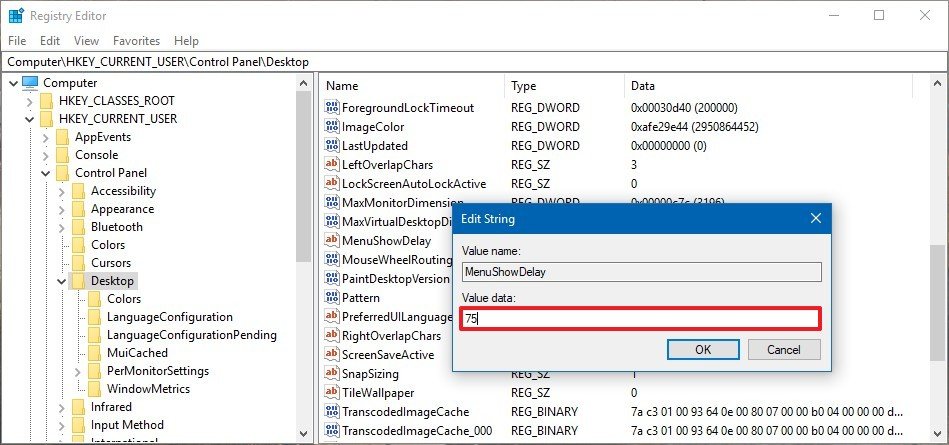
HKEY_CURRENT_USER\Control Panel\DesktopQuick Tip: On Windows 10, you can now copy and paste the path in the Registry's address bar to quickly jump to the key destination. - Double-click the MenuShowDelay key, and specify a new delay value, in milliseconds, to adjust the menu animation speed. (For example, if you want to speed up the animation, use something significantly below 400, such as 75, 100, or 125. If you want to slow down the speed of the animation, use a value above 400, up to 4,000.)Quick Tip: Setting the "MenuShowDelay" value to 0 will disable the animation entirely.
- Click the OK button.
Once you complete these steps, restart your computer, right-click the desktop, and hover over the sub-menus to test the new configuration.
If you want to revert the changes or make further adjustments, you can use the same instructions but make sure to change the value on step No. 4. If you want to revert the changes to the original settings, on step No. 4, make sure to set the value back to 400.
All the latest news, reviews, and guides for Windows and Xbox diehards.
This guide is focused on Windows 10, but this setting has been available for a long time, which means that these steps will work on Windows 8.1, Windows 7, and older versions.
More Windows 10 resources
For more helpful articles, coverage, and answers to common questions about Windows 10, visit the following resources:
- Windows 10 on Windows Central – All you need to know
- Windows 10 help, tips, and tricks
- Windows 10 forums on Windows Central

Mauro Huculak has been a Windows How-To Expert contributor for WindowsCentral.com for nearly a decade and has over 22 years of combined experience in IT and technical writing. He holds various professional certifications from Microsoft, Cisco, VMware, and CompTIA and has been recognized as a Microsoft MVP for many years.

