


It's not only possible to remove, replace, and upgrade the RAM inside the ASUSTOR AS5304T; it's a straightforward process almost anyone can do in but a few moments. All you require is a RAM module or kit to install inside the NAS, allowing you to bump the pre-installed capacity of just 4GB up to 8GB.
Products Used In This Guide
- Double the fun: Crucial 8GB RAM Kit (1x 8GB) ($30 at Amazon)
How to upgrade your ASUSTOR AS5304T RAM
- Take out the four hard drive bays.
- The free RAM module slot is located on the side where the power button is.
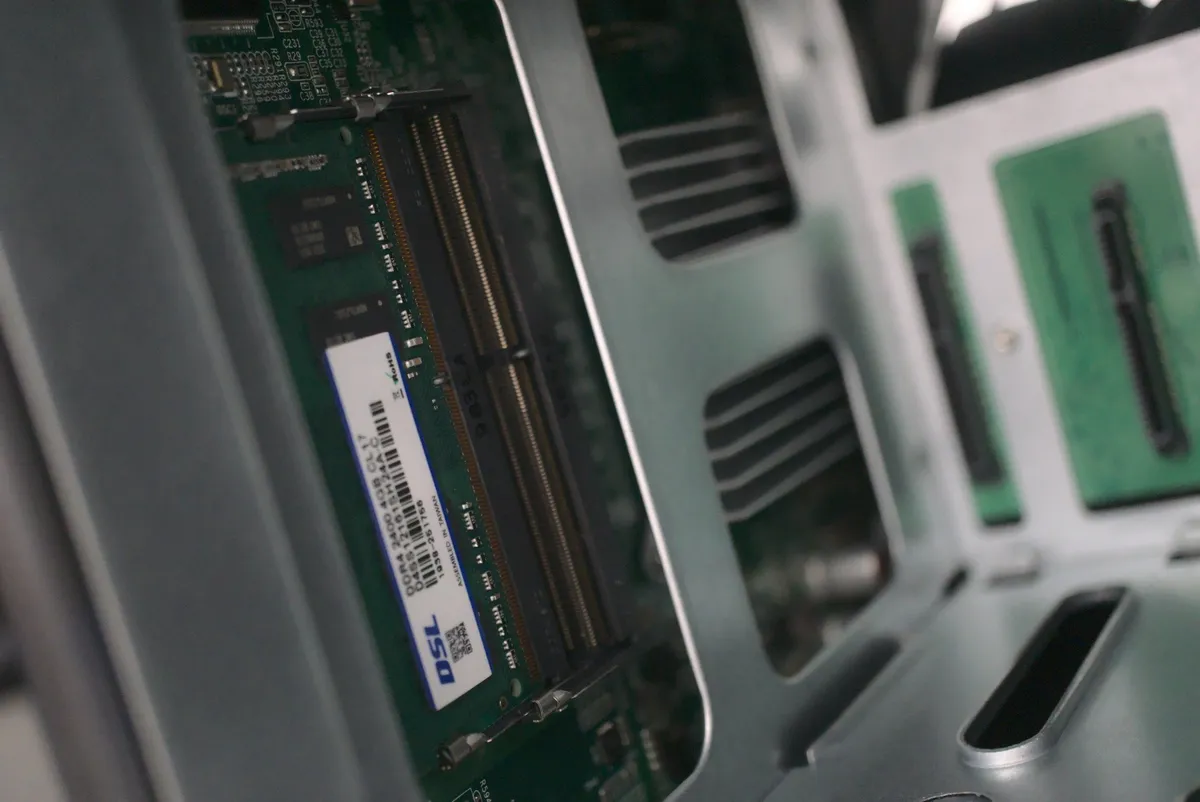
- Remove the existing RAM module by lightly pressing on the clip that holds it in place.
- Take out the newly purchased RAM module from the packaging.
- Carefully insert the module into the same slot you removed the existing module from, making sure it's the right way up. Match the notch to that on the module.
- Re-insert the hard drive bays.
- Power up your NAS.
With the new 8GB module installed, the kit will allow the NAS to utilize double the amount of RAM than what's installed from the factory.
Our top equipment picks
These are the mandatory or core equipment selections. Optional or ancillary equipment will follow.


High-quality memory
This kit will double the amount of available system RAM for the NAS to use, allowing you to have more people connected simultaneously, as well as perform more advanced and intense tasks.
The Crucial module we've selected is backed by more than 6,000 positive reviews on Amazon. This RAM module is also rated to run a little faster than the 4GB module already installed, and we're saving money in the process compared to going to ASUSTOR direct.

