All the latest news, reviews, and guides for Windows and Xbox diehards.
You are now subscribed
Your newsletter sign-up was successful
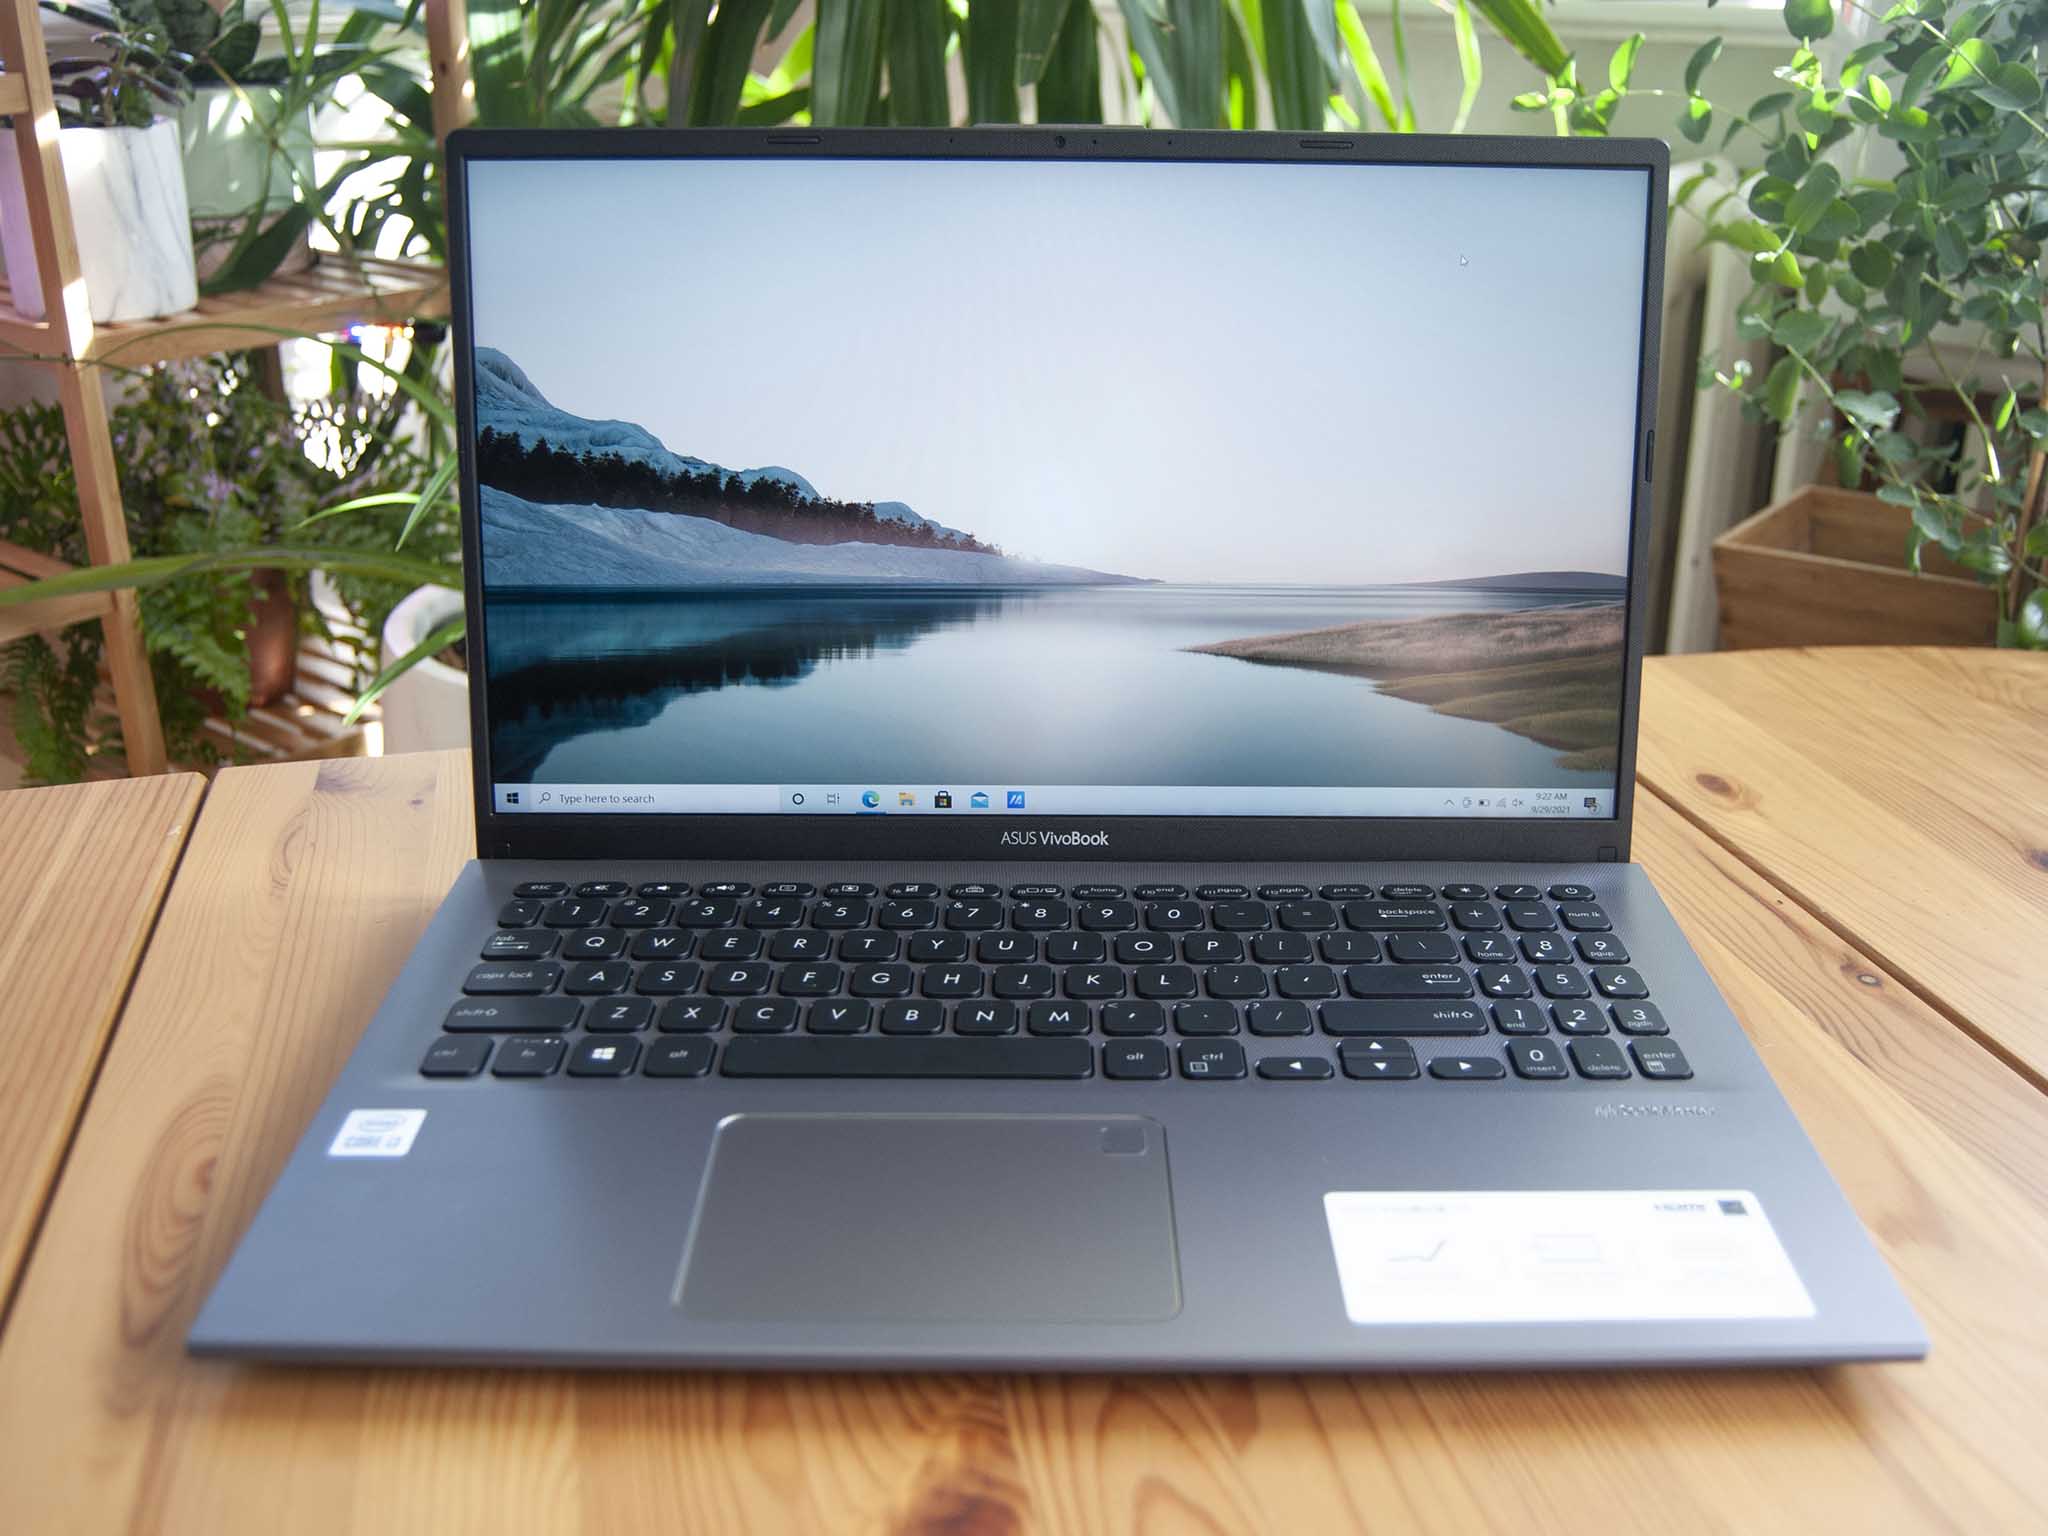
Upgrading RAM in a laptop is a great way to increase performance if you notice your device can't quite keep up with the task at hand. In the case of the ASUS VivoBook 15, which comes with 4GB of memory soldered to the board with an optional extra 4GB in a SODIMM slot, this might be a necessary upgrade as soon as you receive the laptop. Thanks to a bottom panel that's easily removed and a SODIMM slot that's easily accessible, upgrading the RAM in the VivoBook 15 shouldn't be much trouble. I've laid out all the required steps as well as some hardware suggestions to get the job done.
How to upgrade RAM in the ASUS VivoBook 15
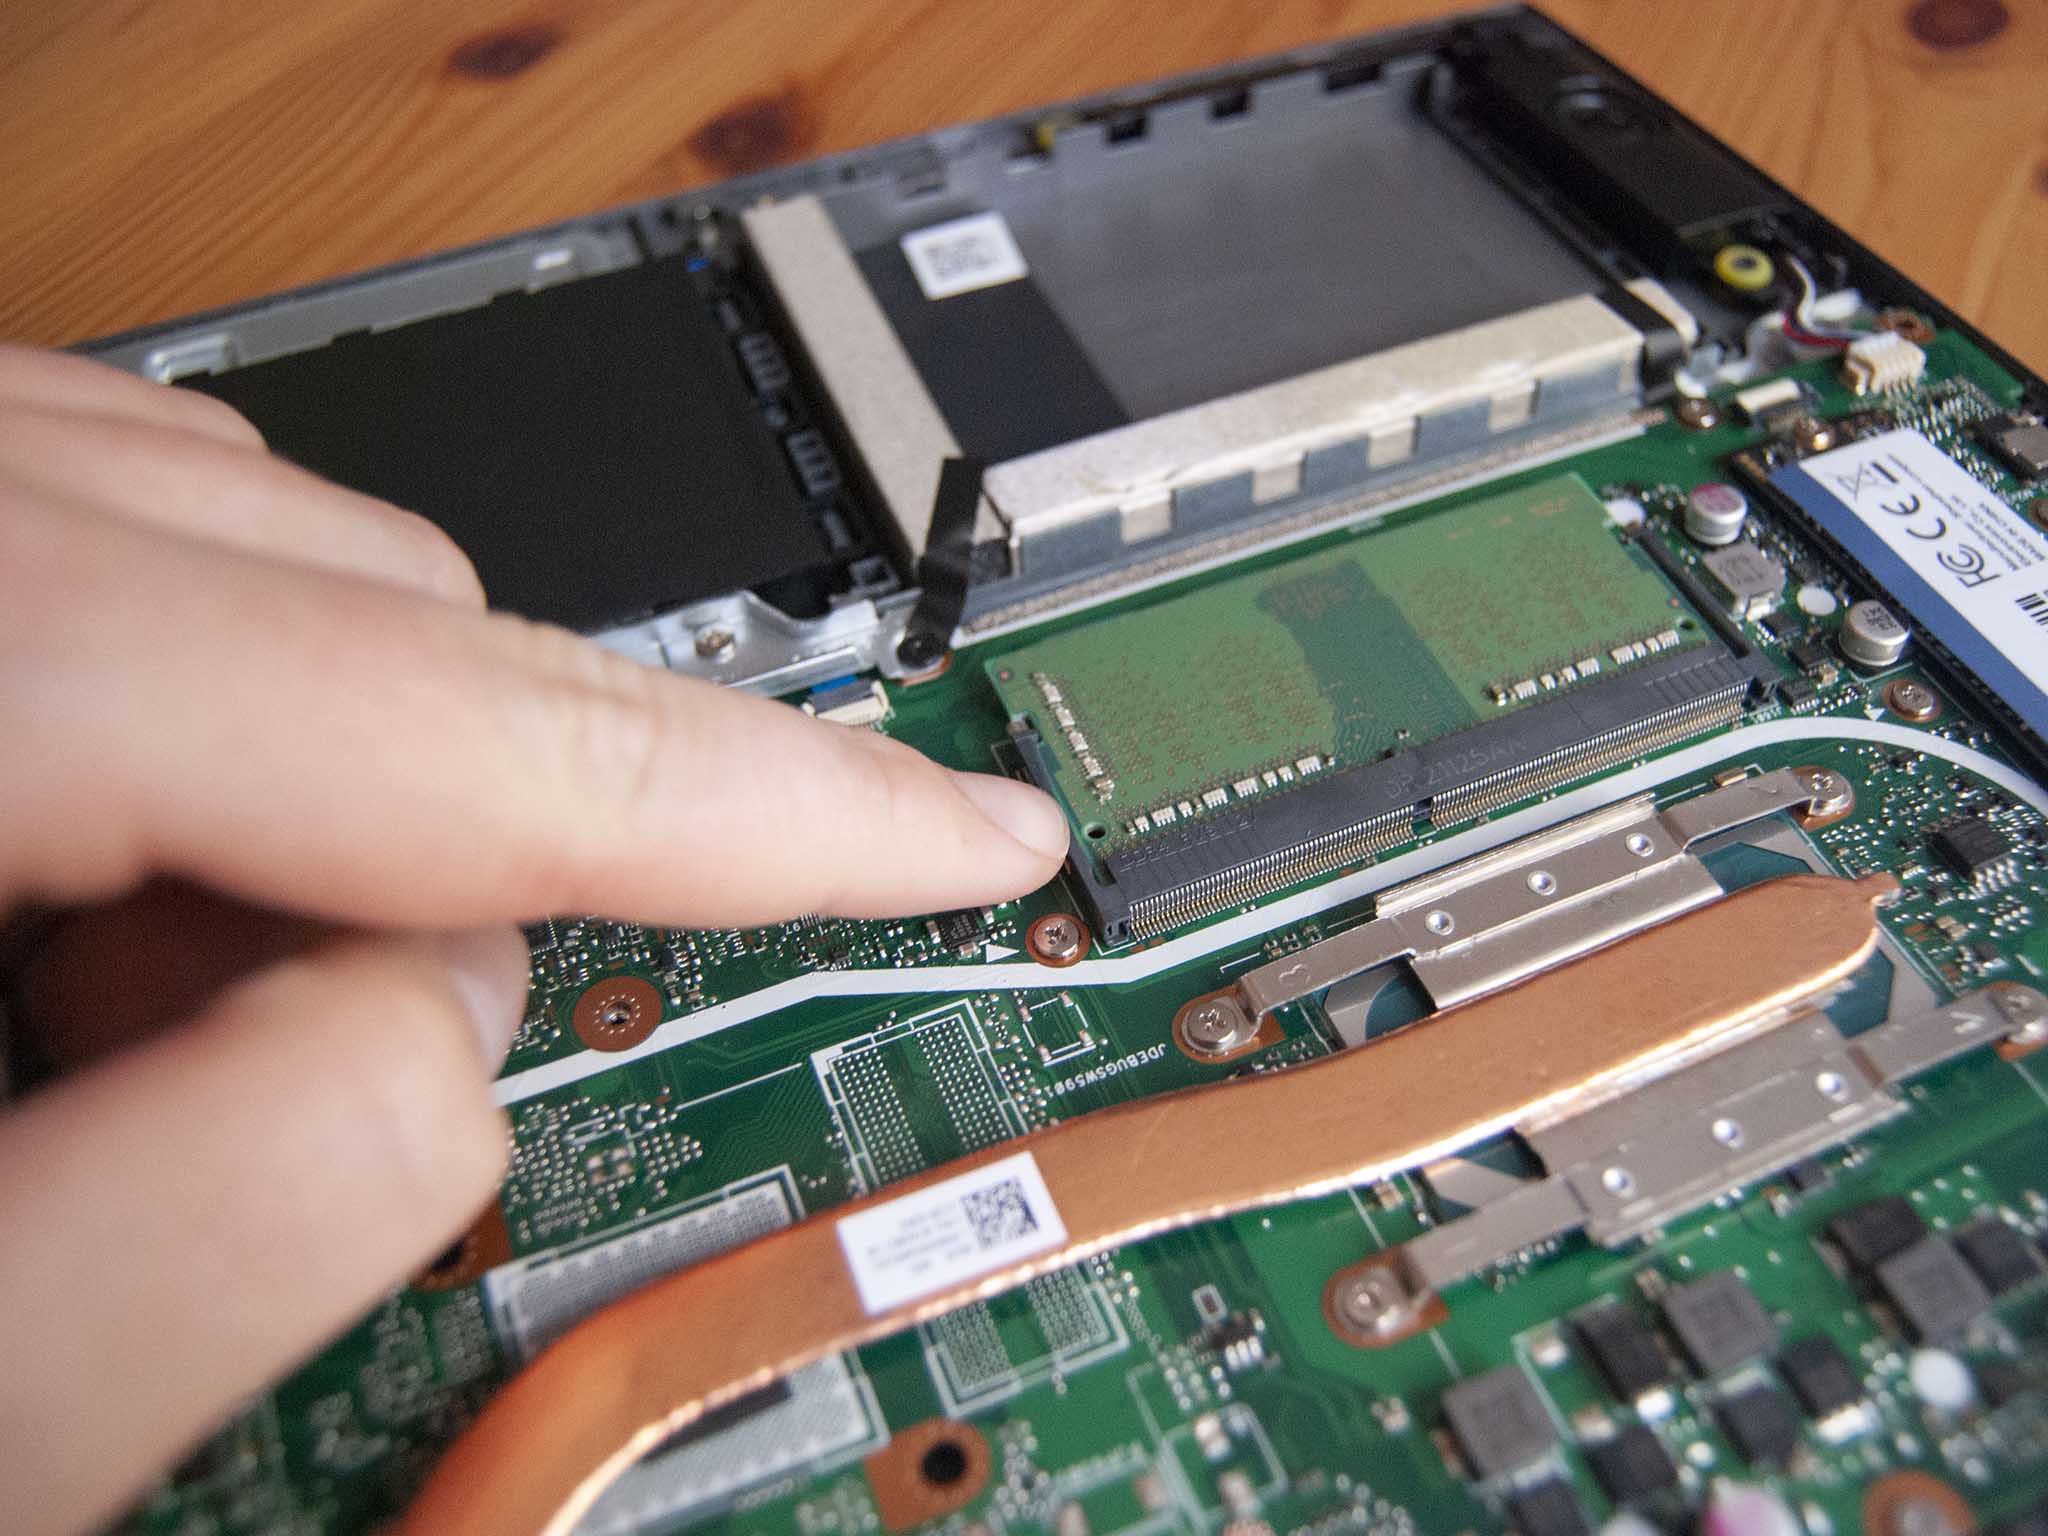
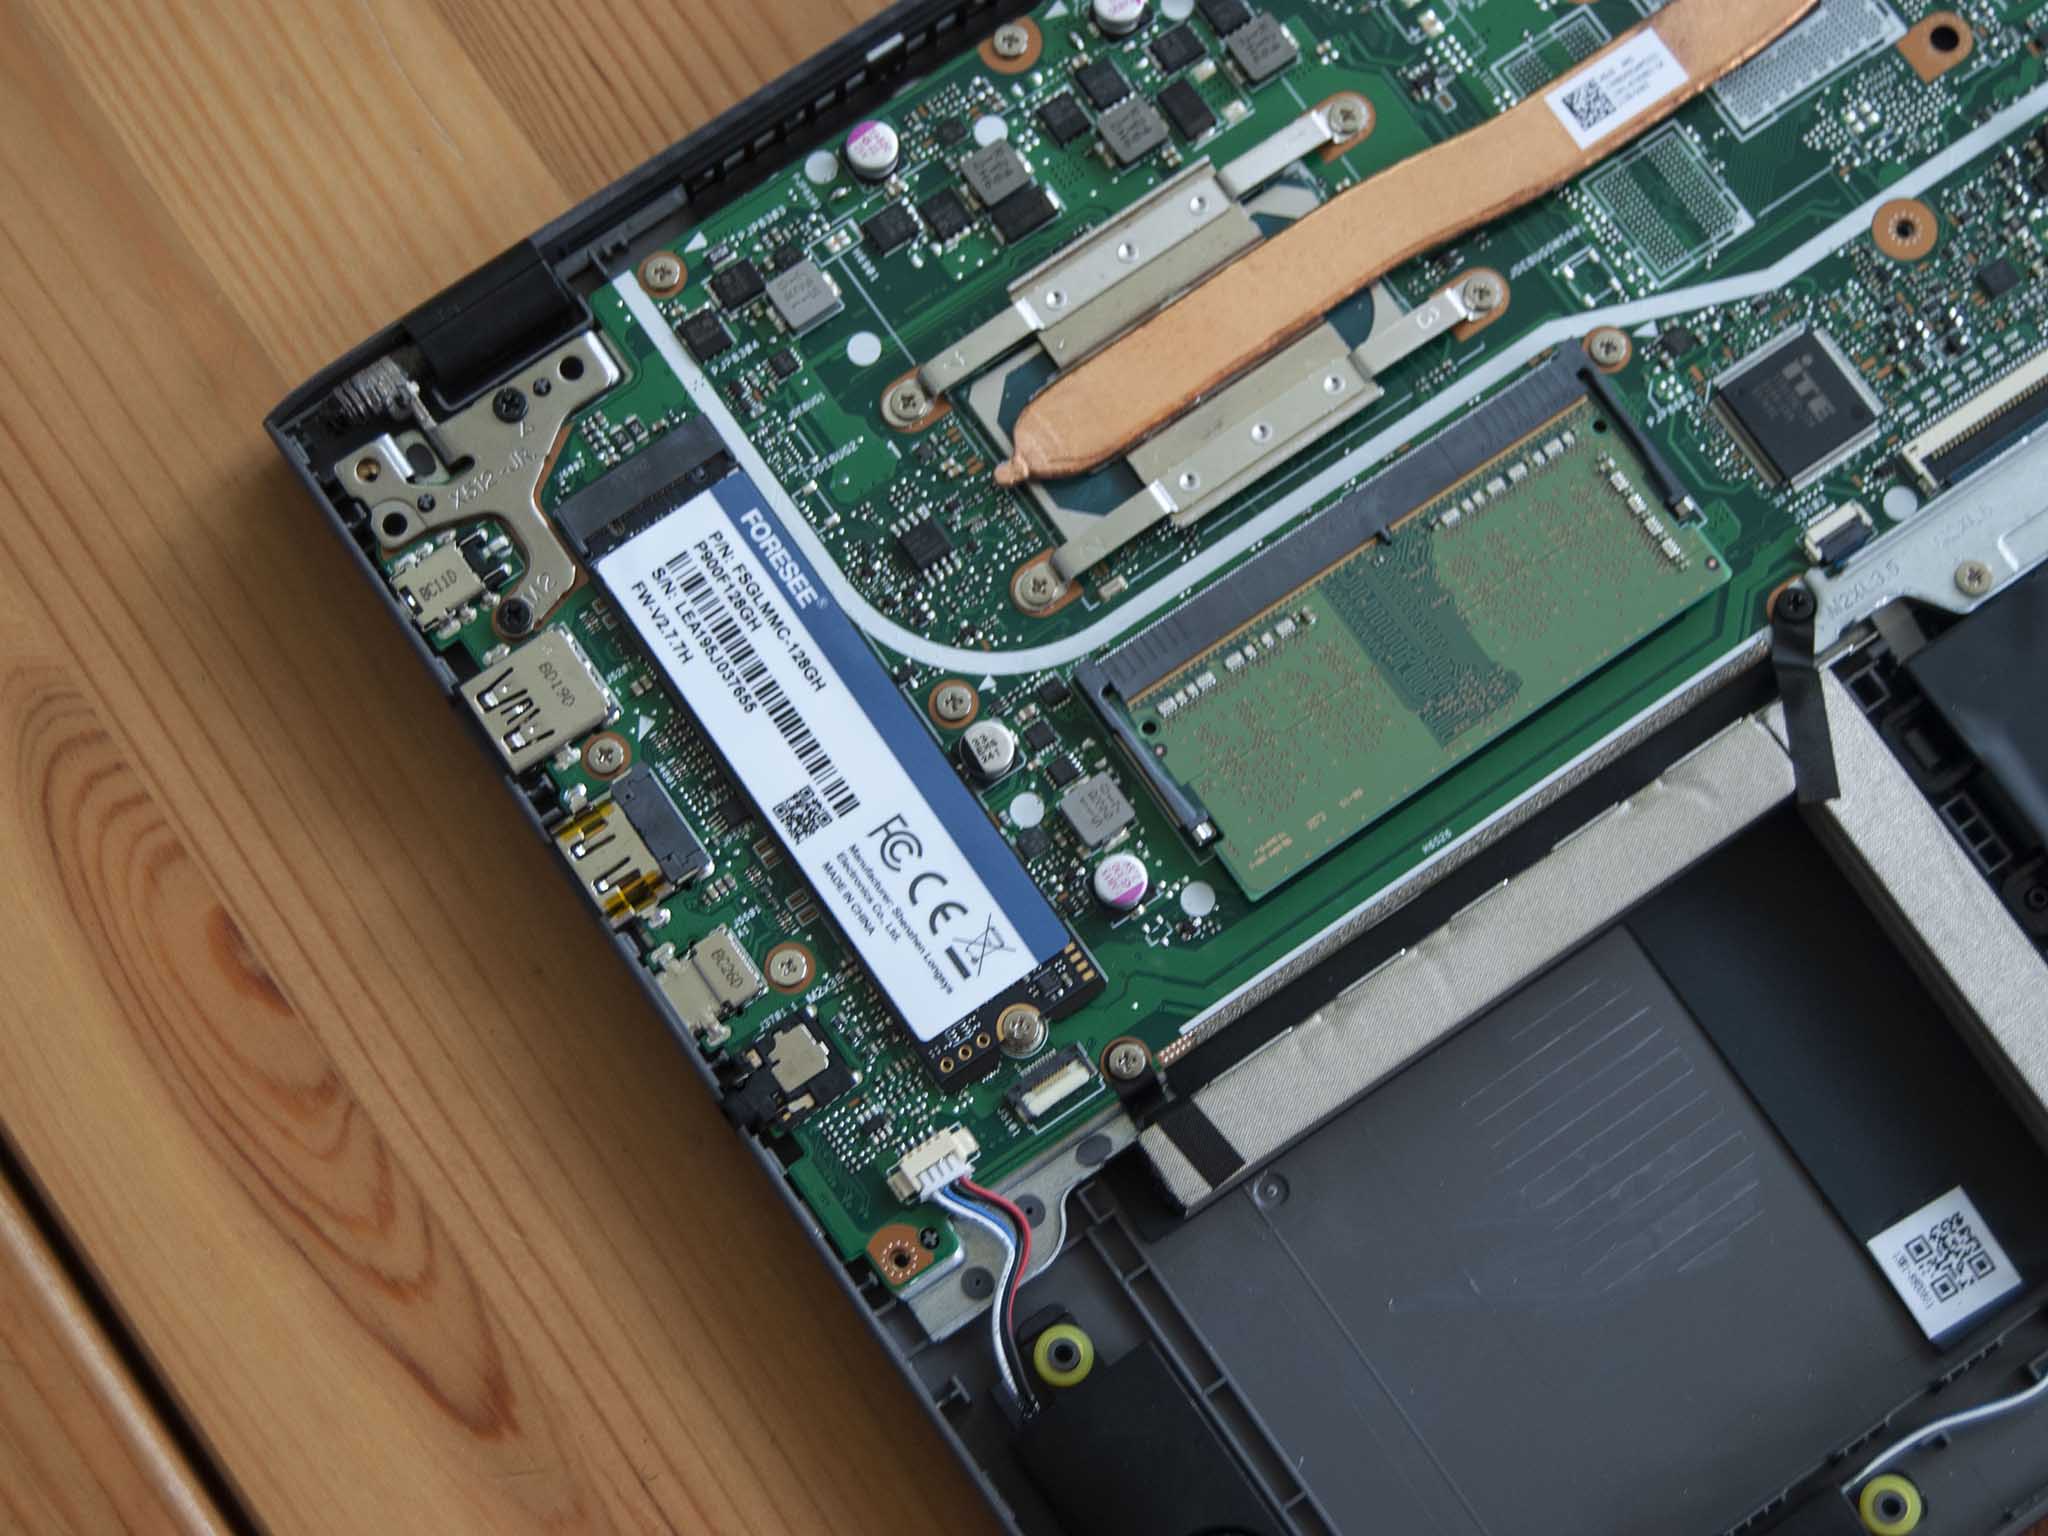
The bottom panel on the ASUS VivoBook 15 — one of the best budget laptops — is quite easy to remove, giving you direct access to the single SODIMM slot. If you bought a model with 8GB of RAM the accessible SODIMM slot will be filled; otherwise, it should be sitting empty since the standard 4GB of RAM is soldered to the board. This means you'll be shopping for just one stick of RAM. Be sure to have a look at our ultimate RAM buyer's guide for Windows 10 if you're looking for more answers.
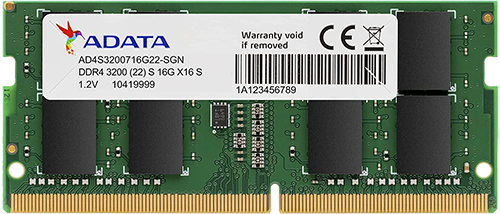
The VivoBook 15 comes with DDR4-3200MHz RAM, which is what we recommend here. The ADATA XPG brand has been working well for me (and is listed here), but you can go with any brand you like. This is a great time to shop around for the best RAM deals to save some money. Since the laptop only has a Core i3 CPU, adding an extra 8GB stick for a total of 12GB of RAM should be more than enough.
You won't be touching the laptop's storage during this process, but it's never a bad idea to back up your data before tinkering with internals. Our guide on six easy and effective ways to back up your PC has much more information.
Once you've backed up any necessary data, power down your VivoBook 15 and clear out a well-lit workspace before proceeding with the steps below. Note that you can skip steps 3 and 4 if your VivoBook 15 came with just 4GB of soldered RAM from the factory.
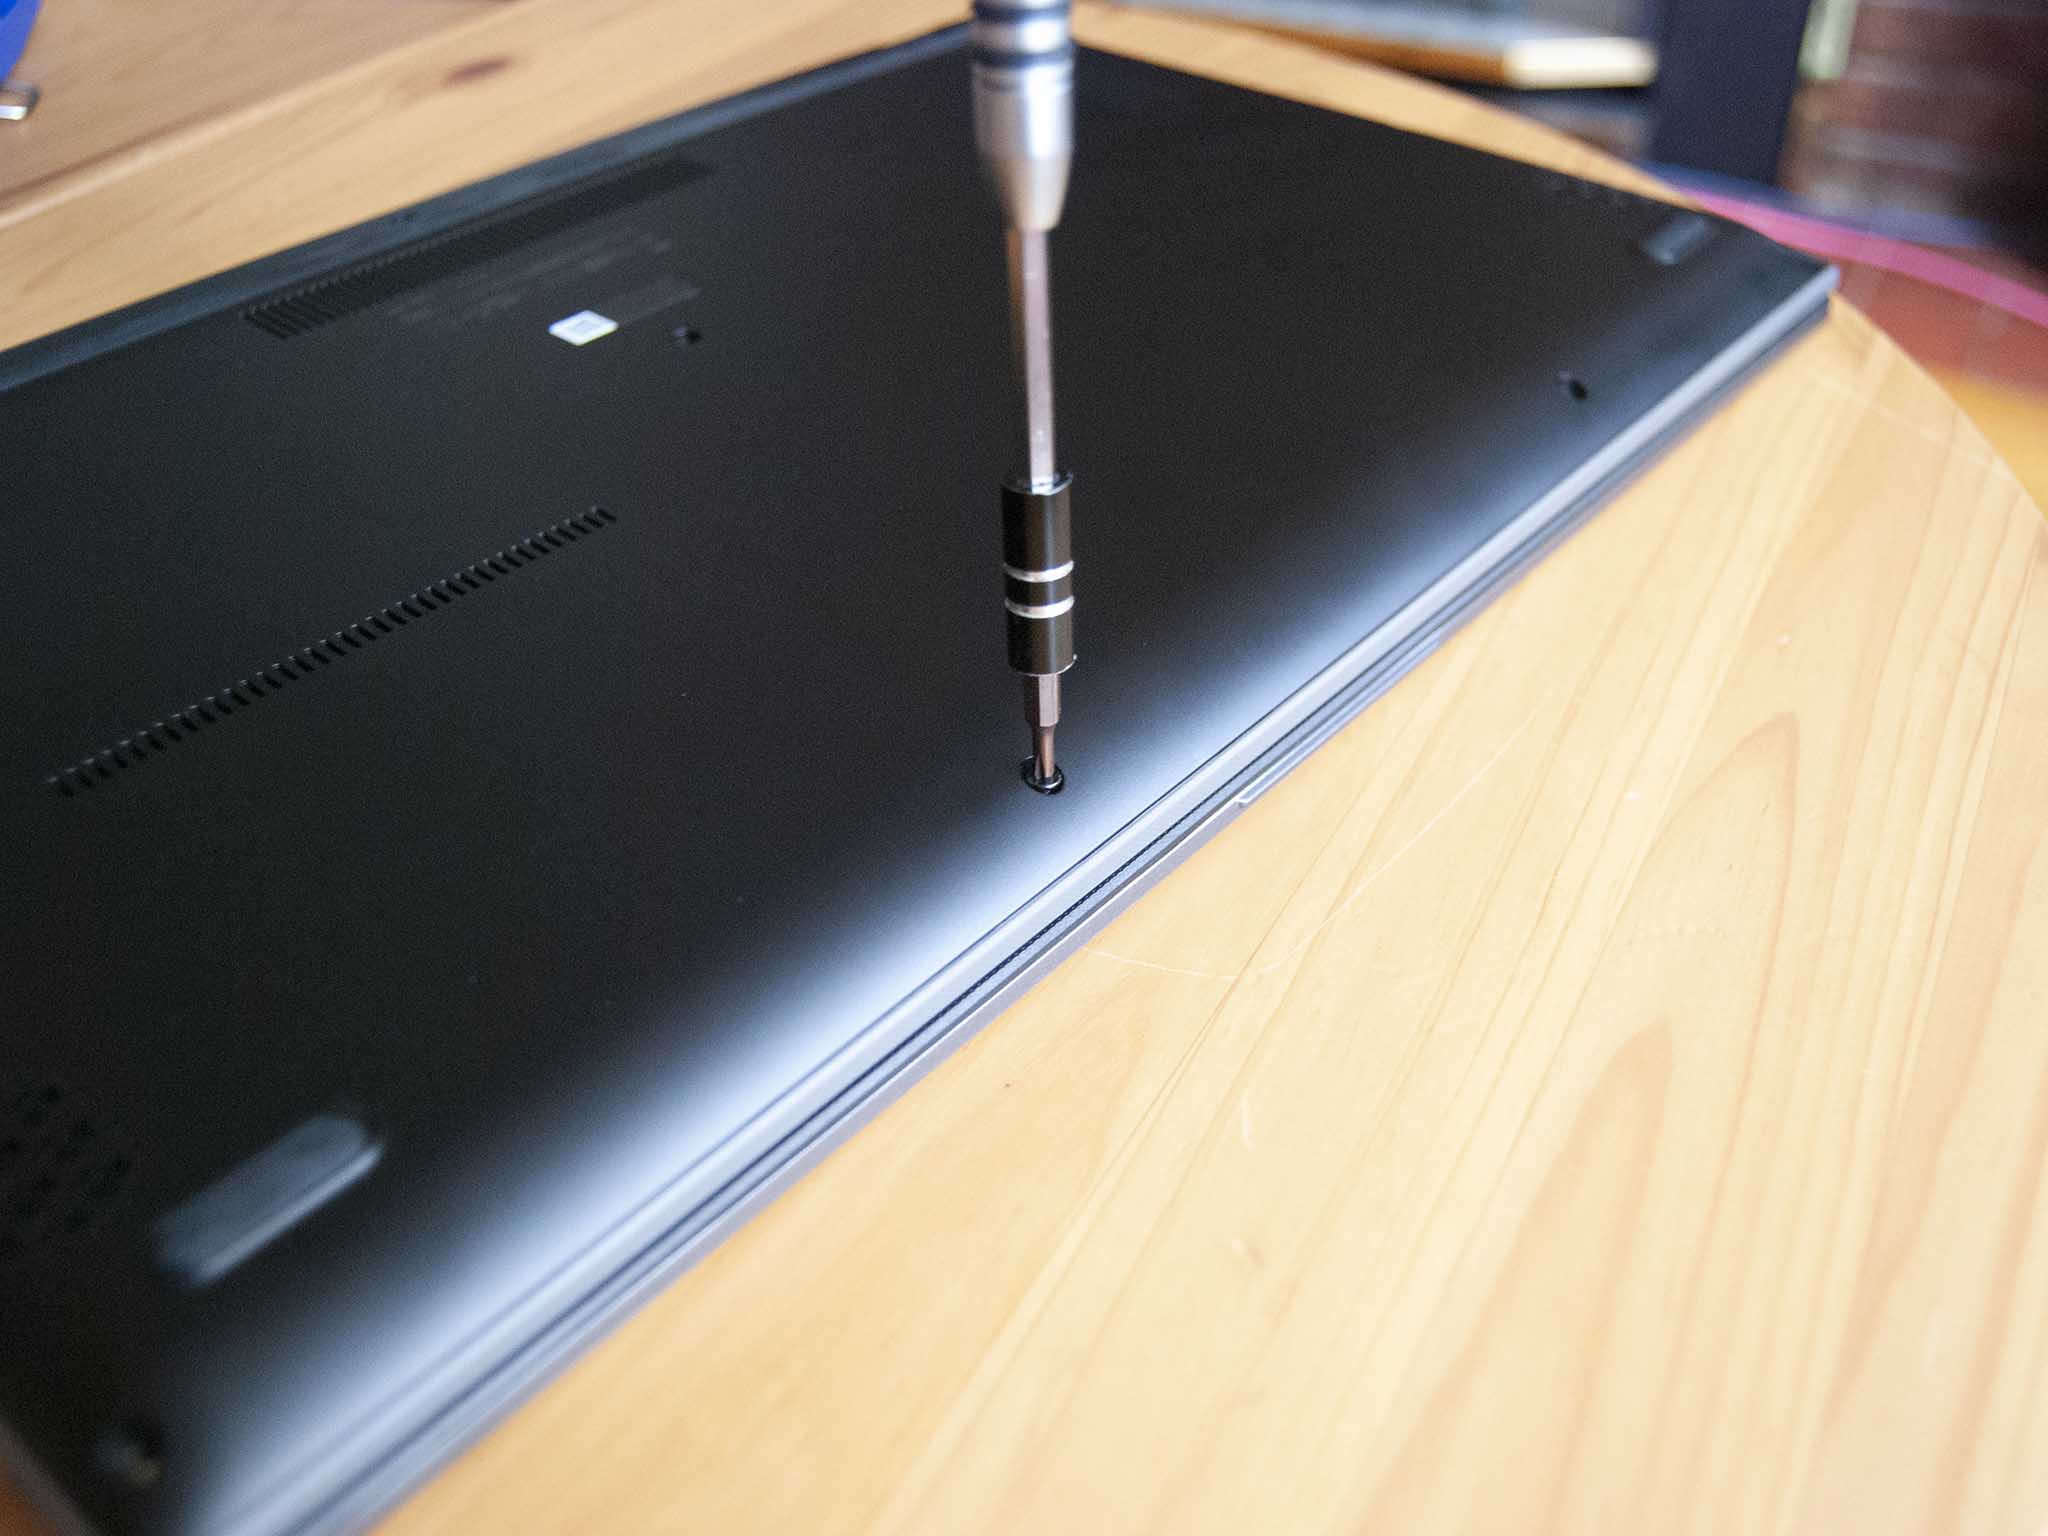
- Unscrew the 10 fasteners on the bottom panel of the laptop using a Philips-head screwdriver. Note that the screws along the front are shorter than the others.
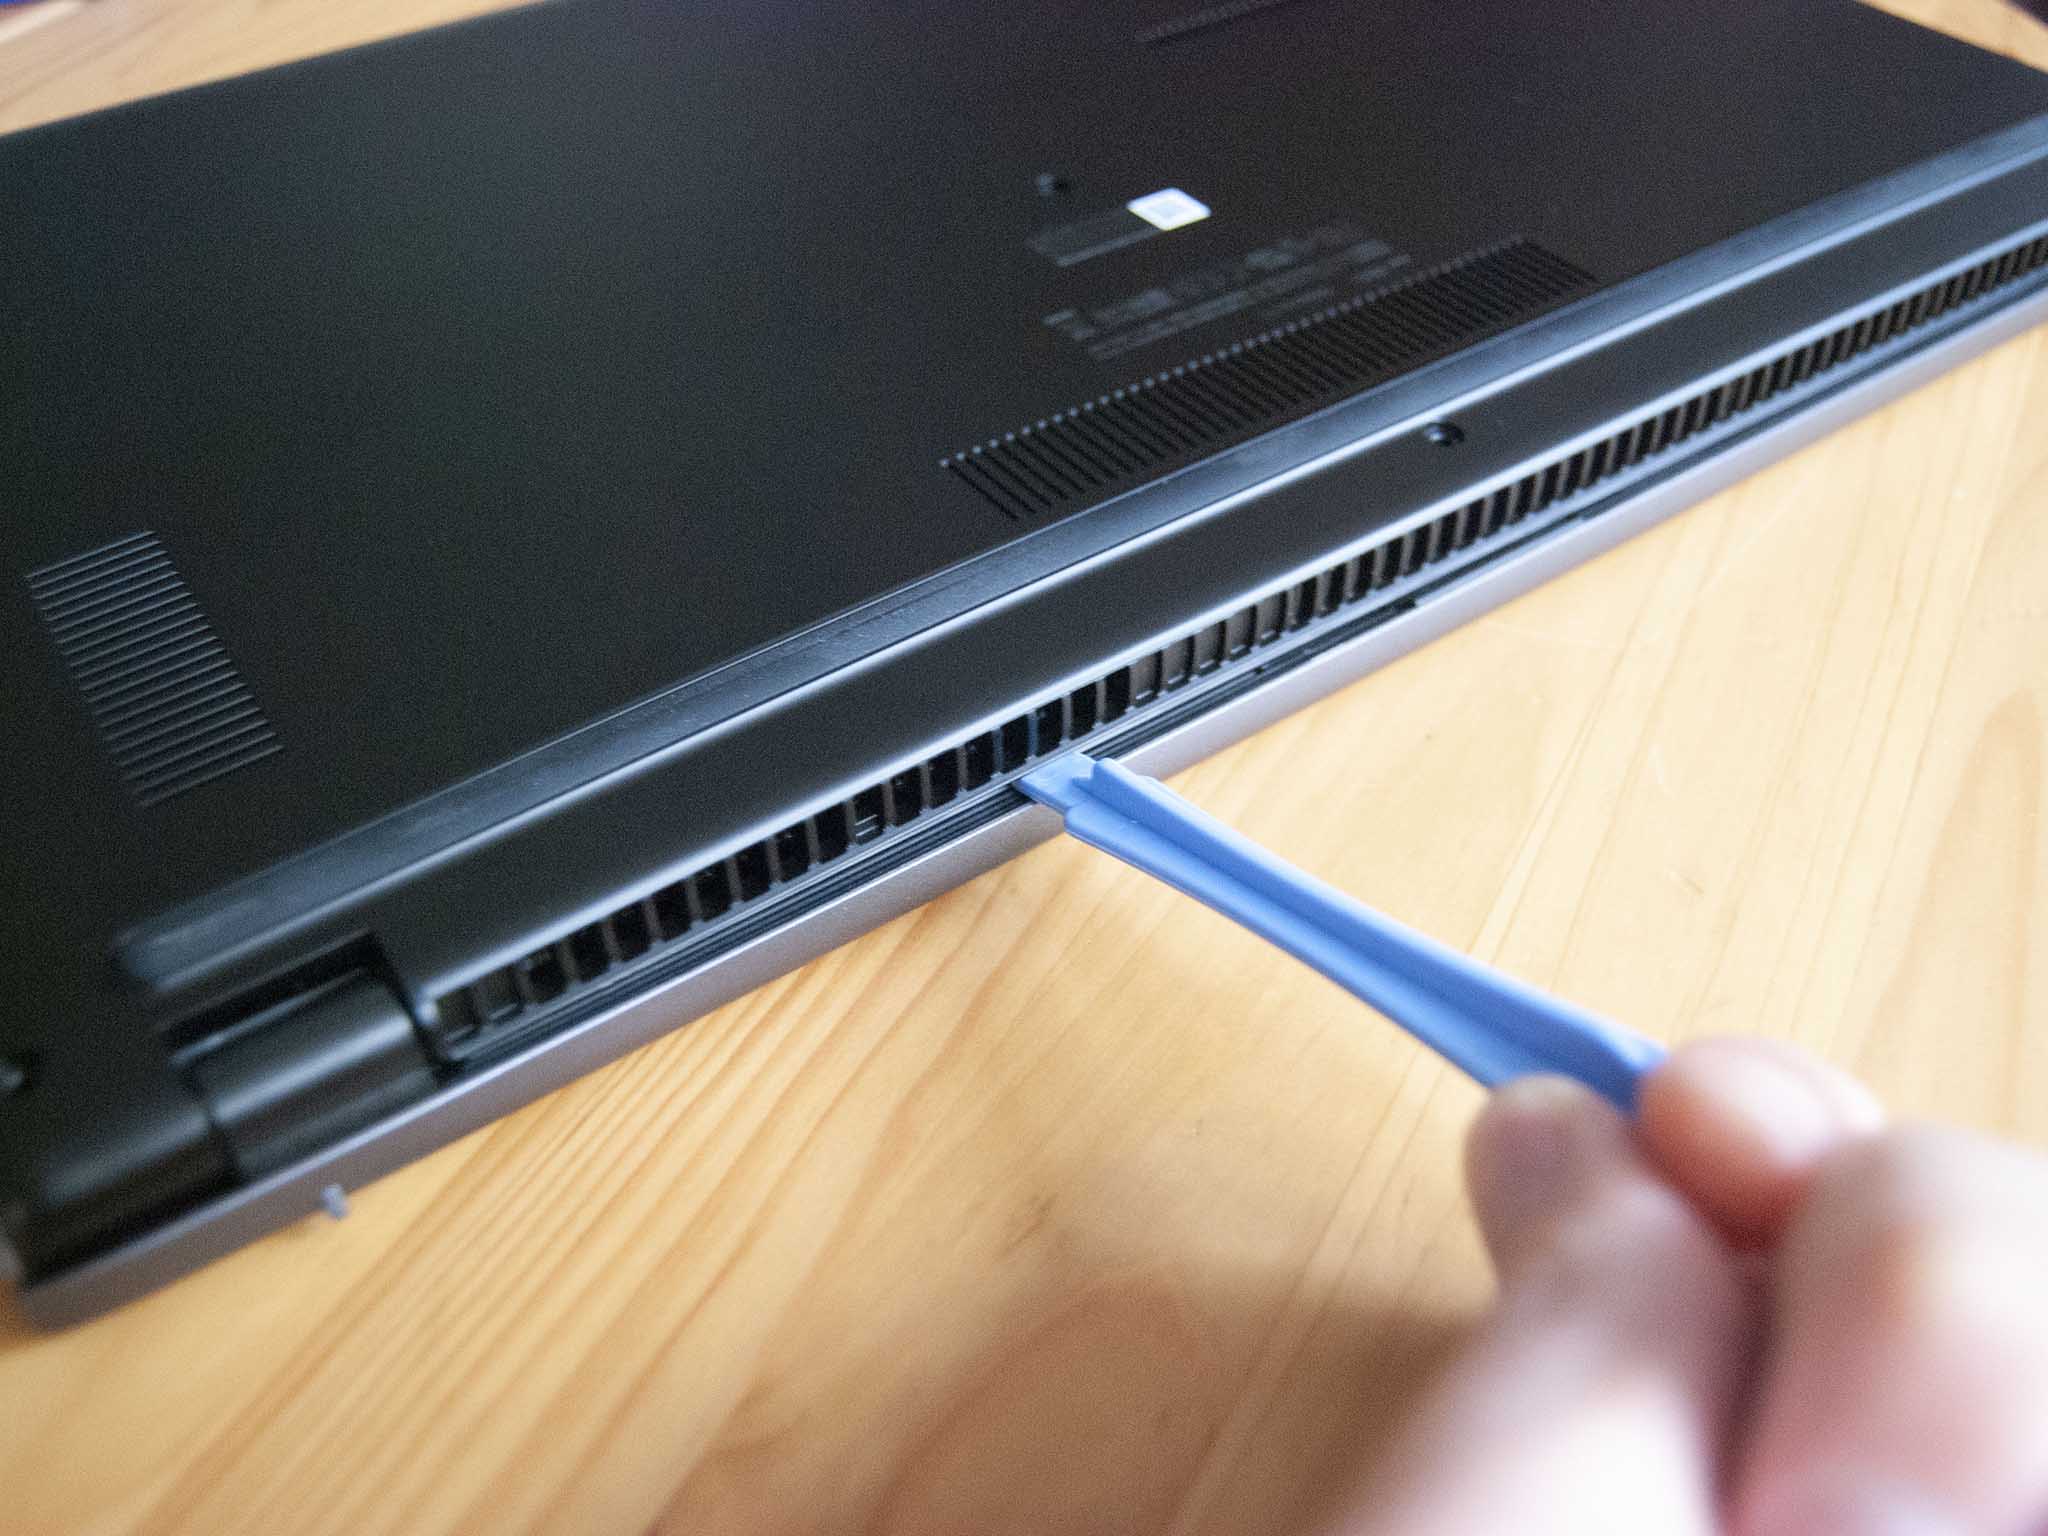
- Pry up the bottom panel using a pry tool. I found it easiest to start along the hinge and work my way around to the front.
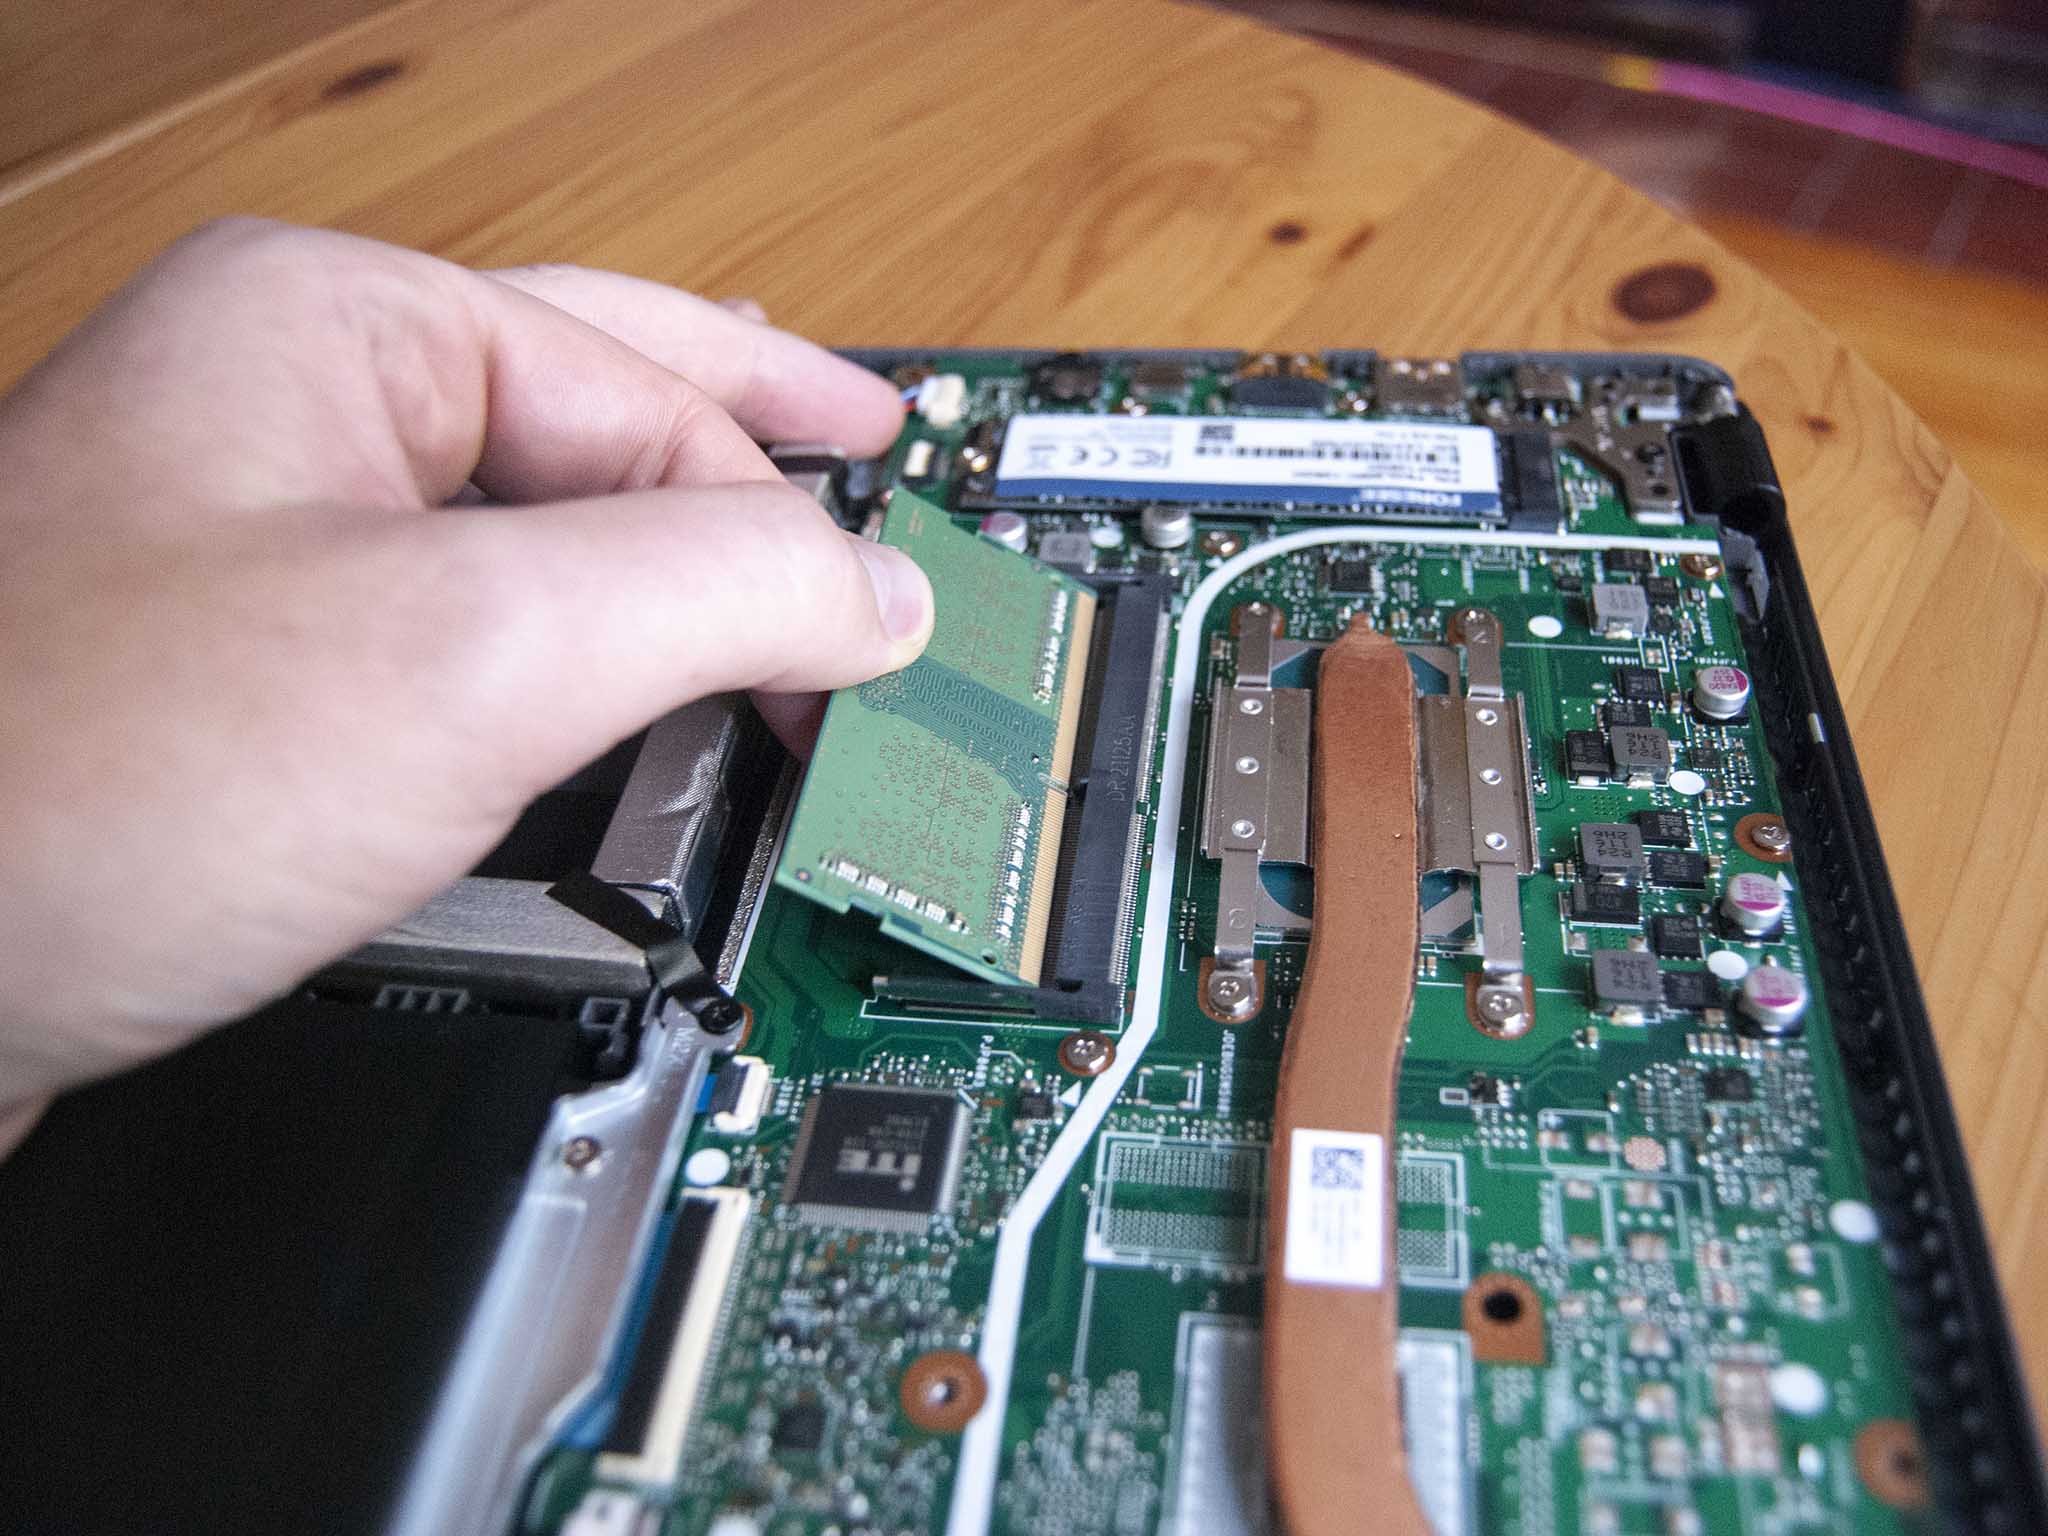
- Unfasten the plastic arms on either side of the RAM. Just pull them away until the RAM clicks up out of place.
- Pull the RAM away from the slot. Do not lift straight up or damage may occur.
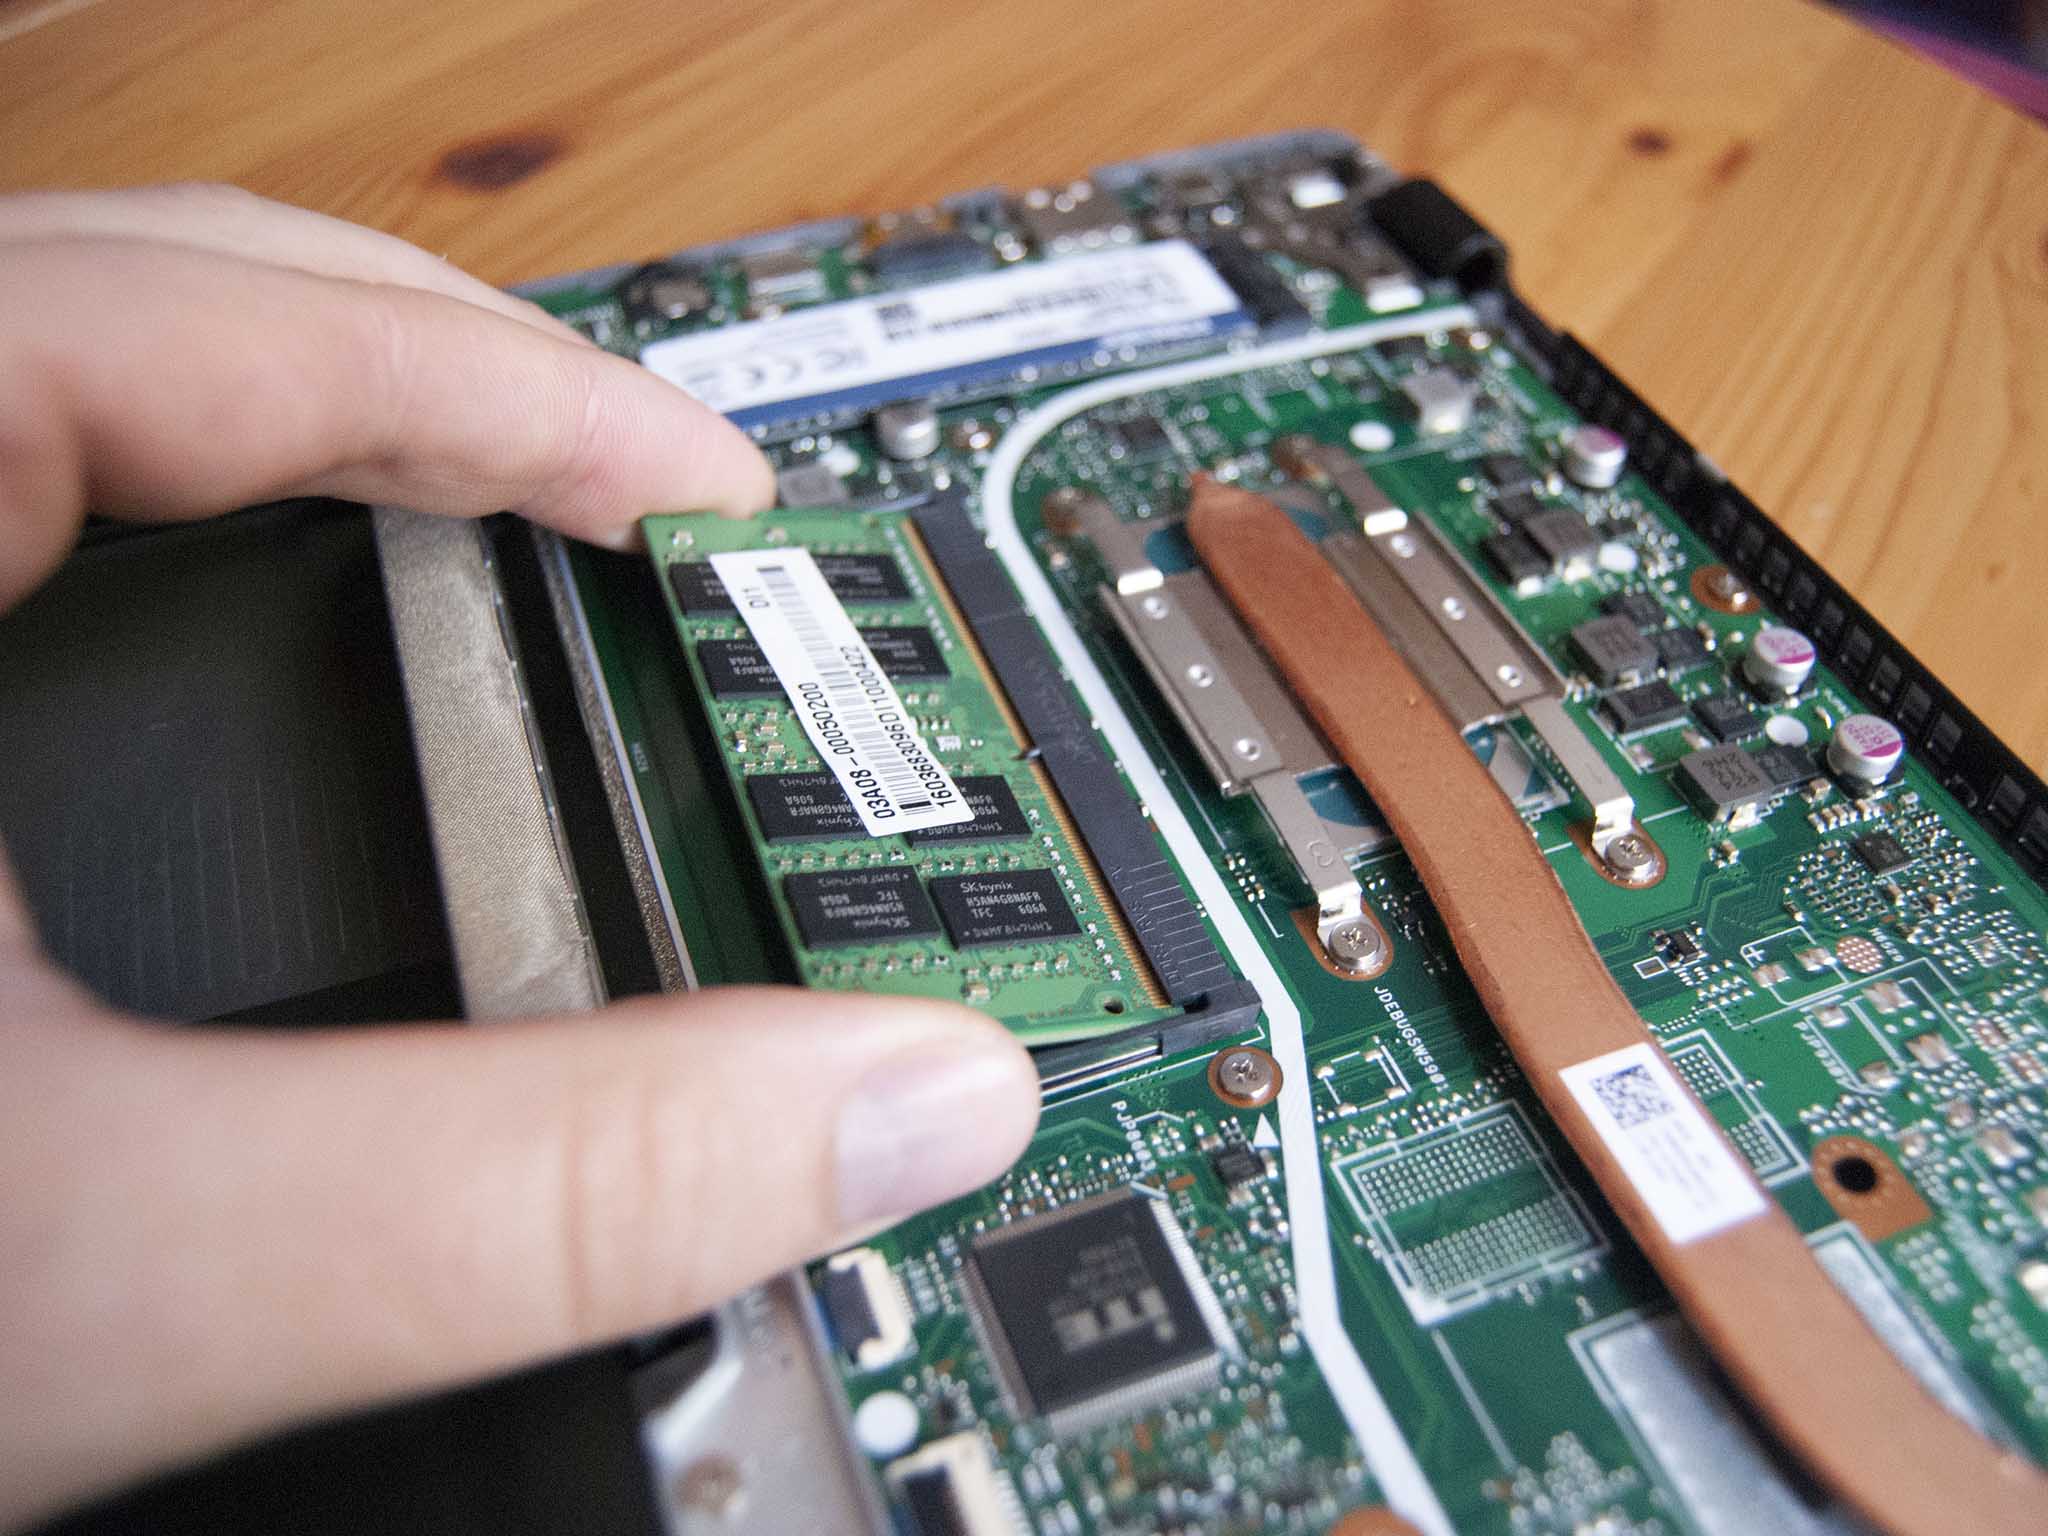
- Slide the new RAM into the slot at about a 25-degree angle. It is keyed and will only fit into the slot one way.
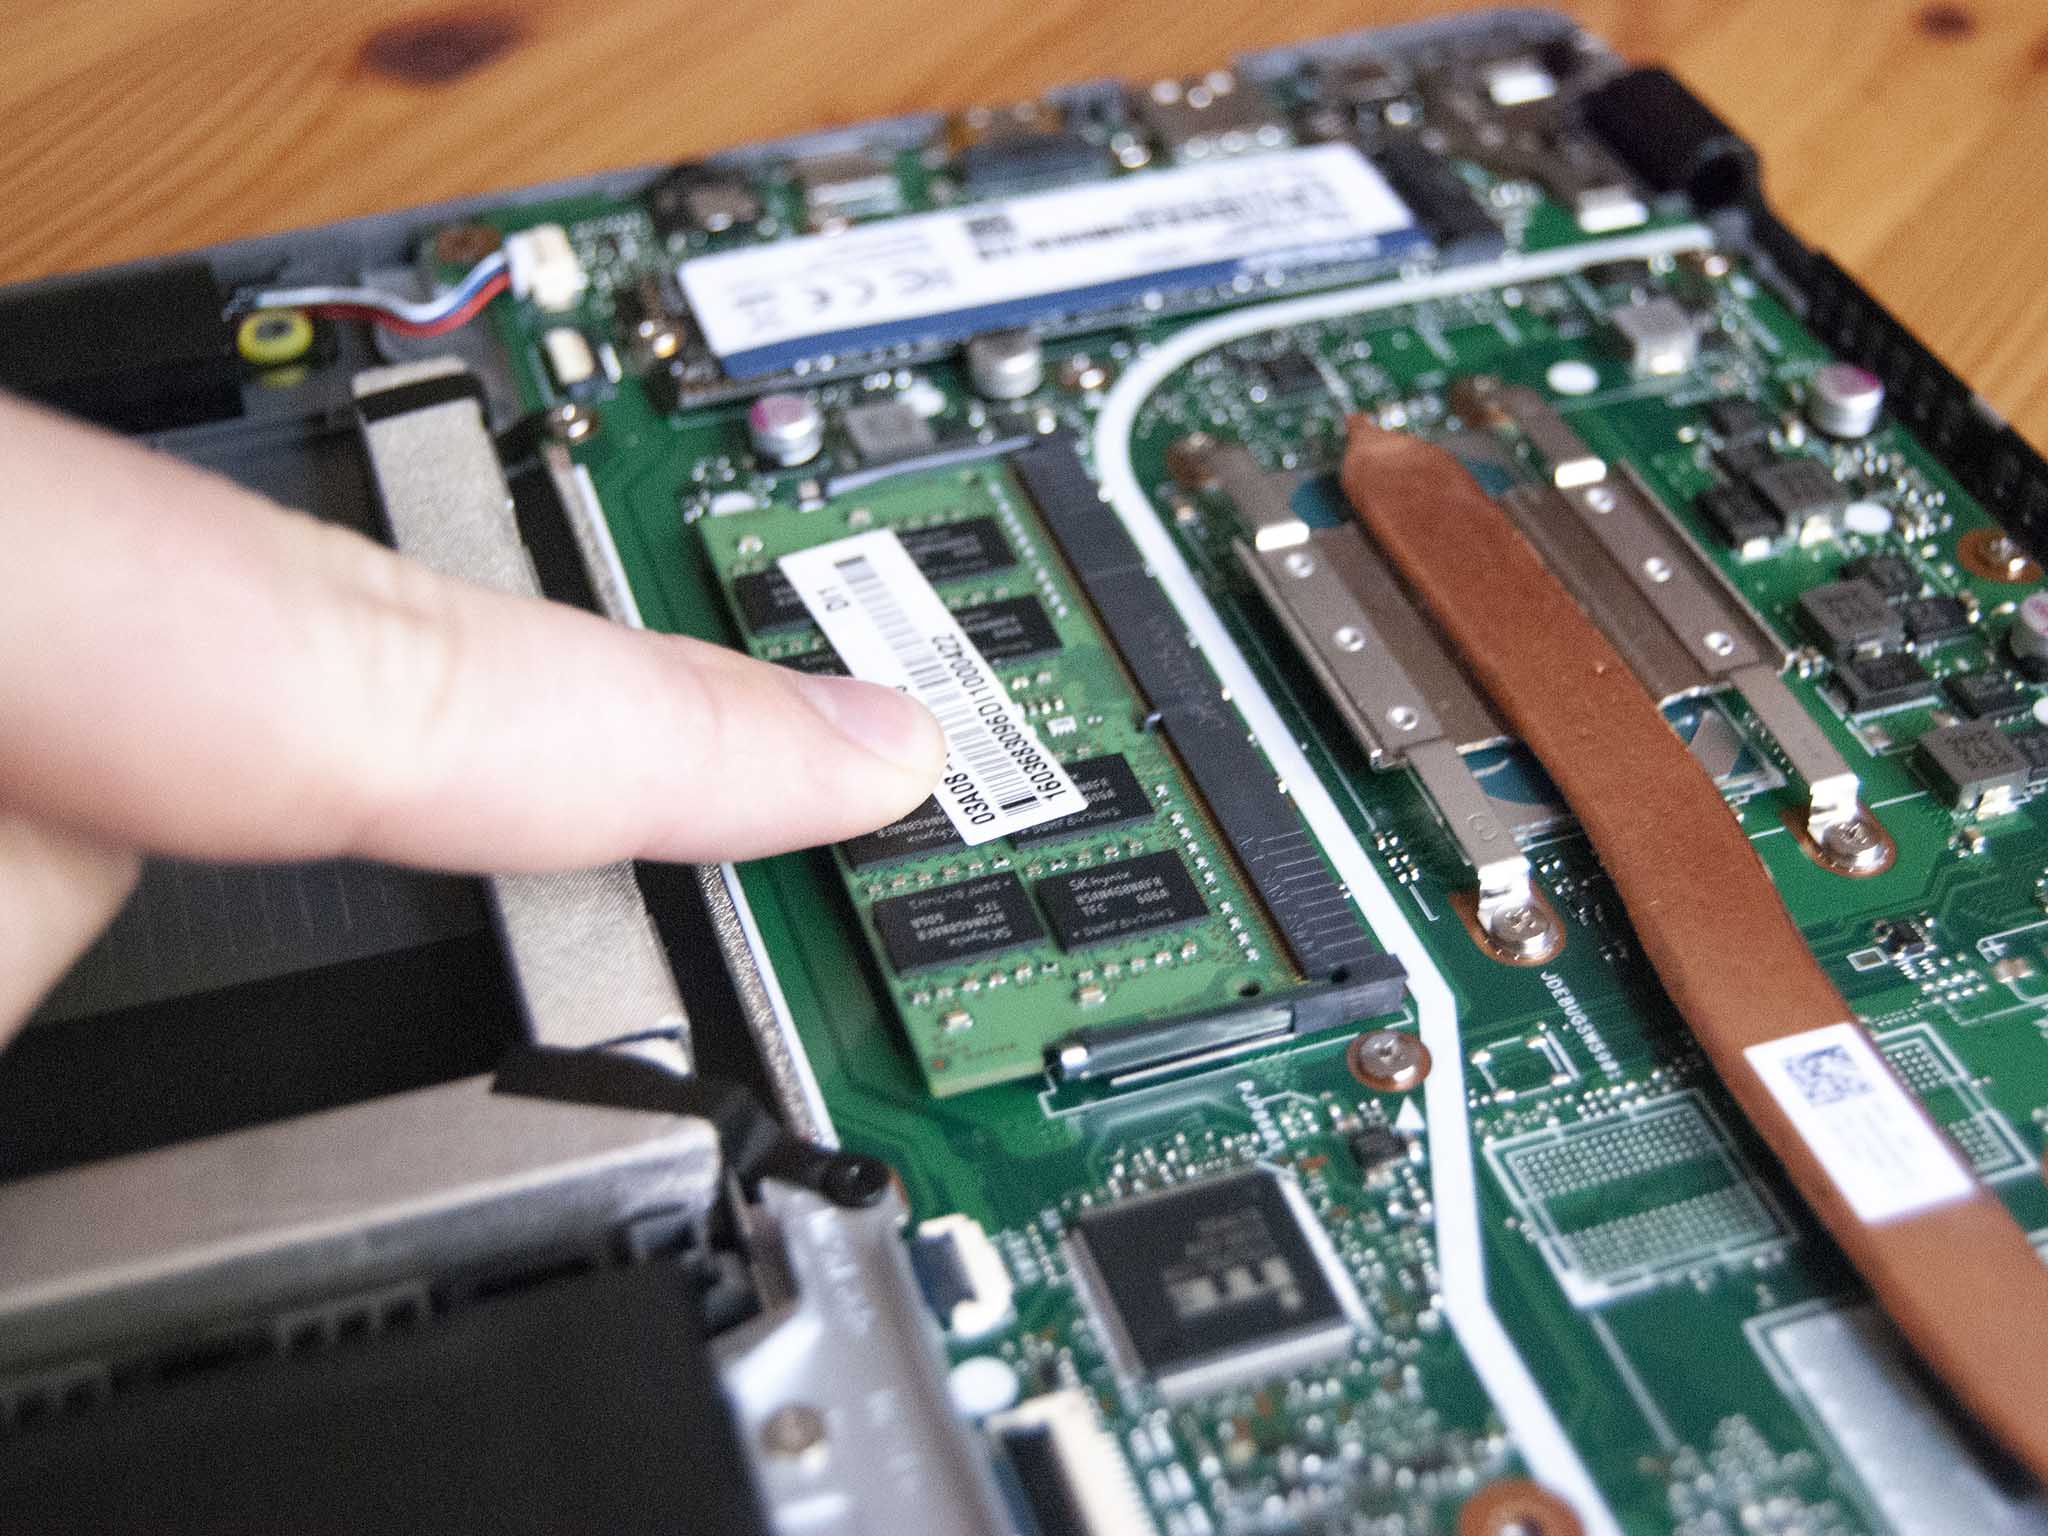
- Press down on the new RAM until the plastic arms click into place.
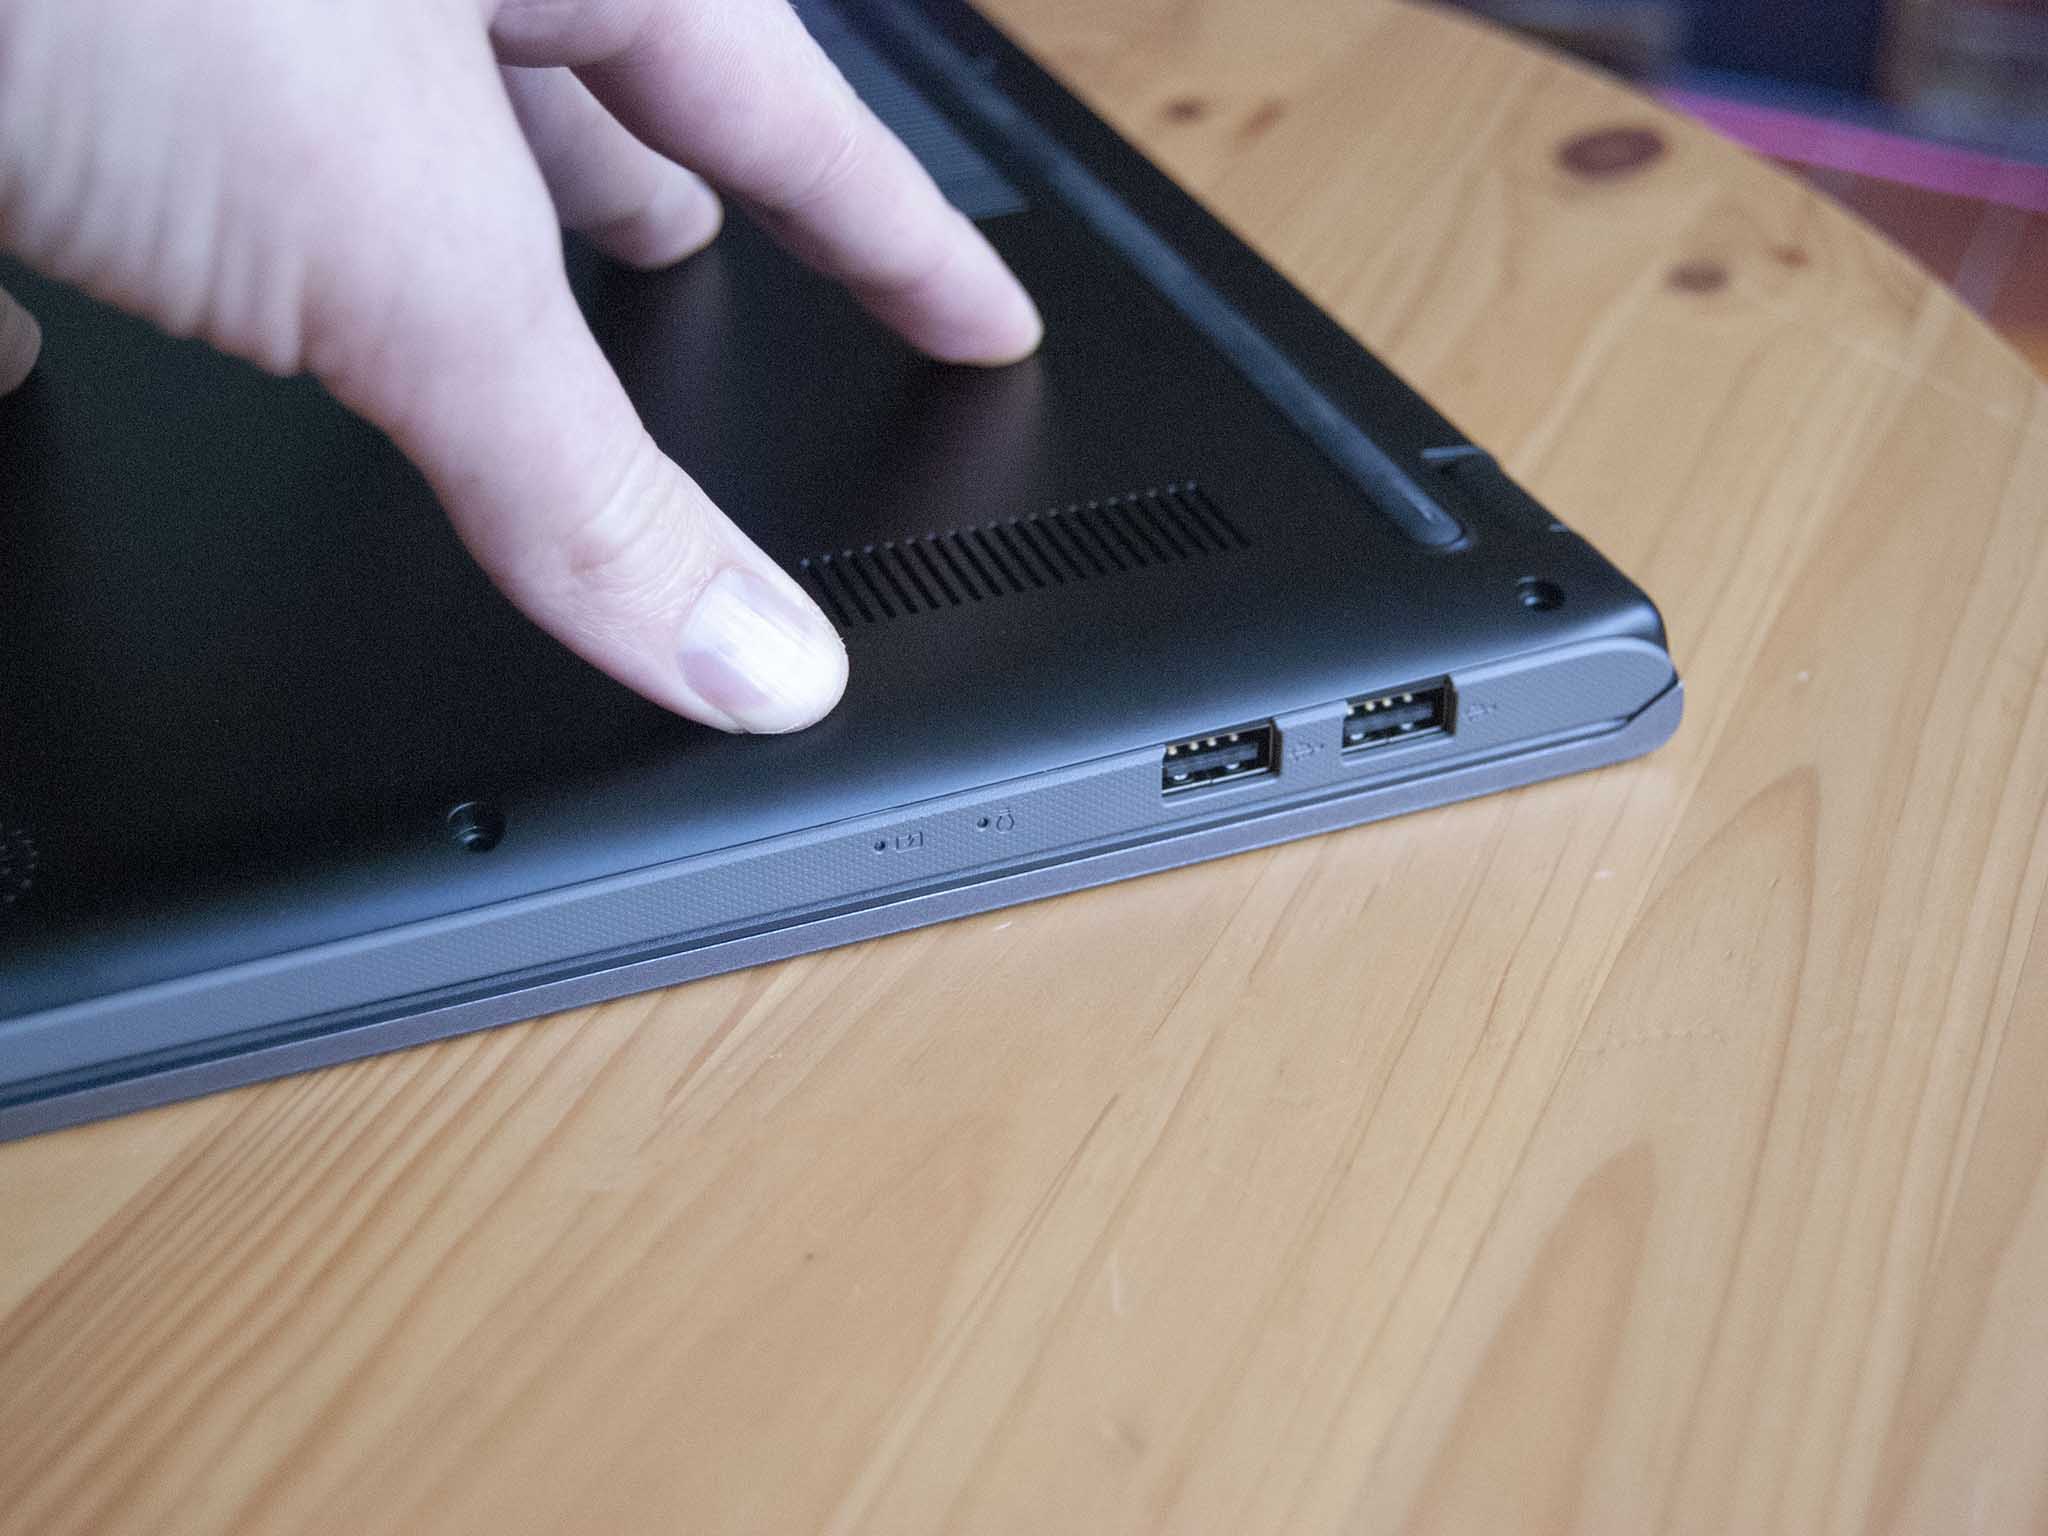
- Replace the bottom panel. Apply pressure around the edges and in the center until it clicks into place.
- Screw in the 10 fasteners to secure the bottom panel.
You're now free to power on your ASUS VivoBook 15 to see whether the RAM upgrade was a success.
- Right-click the Start button.
- Click System.
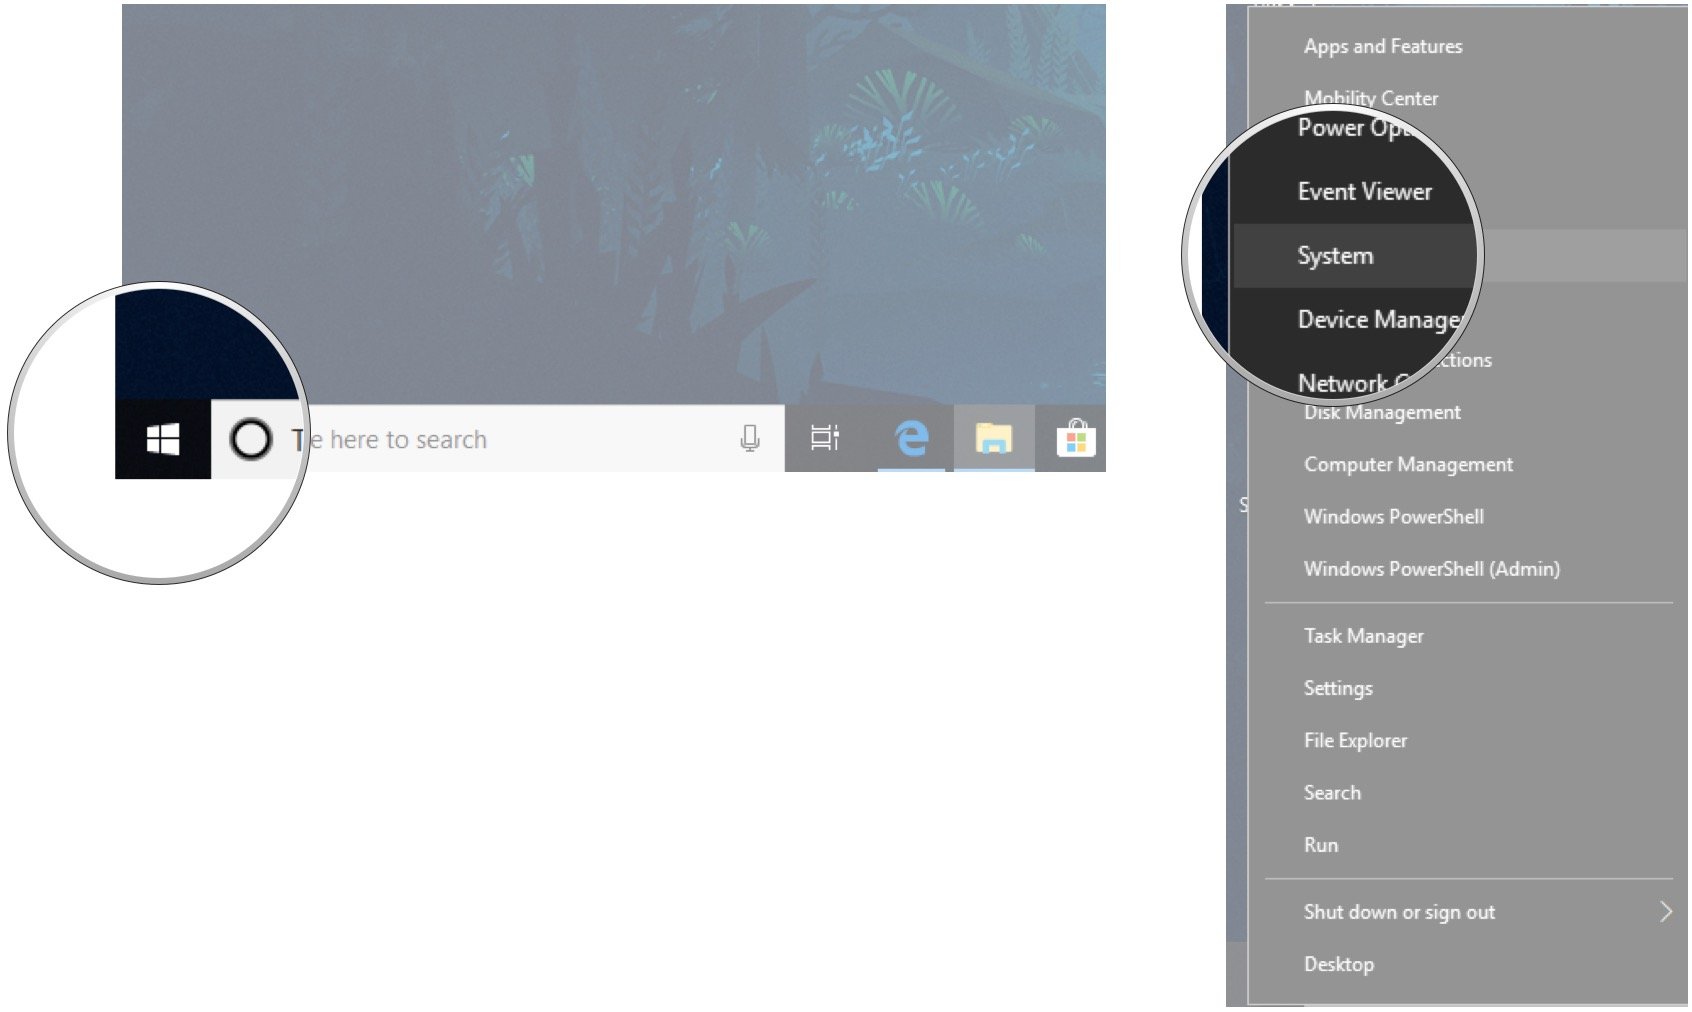
You should now be able to see the total amount of installed RAM in the Device specifications section. As long as it matches the total amount you have installed, your upgrade was a success.
All the latest news, reviews, and guides for Windows and Xbox diehards.
Our top equipment picks
These are the mandatory or core equipment selections. Optional or ancillary equipment will follow.
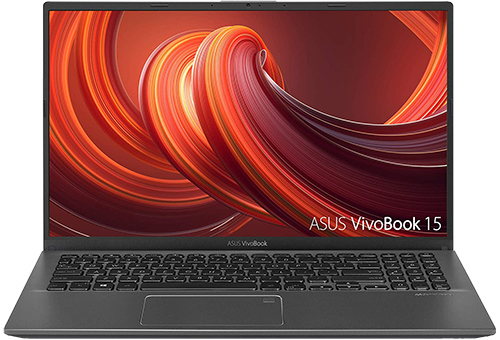
The ASUS VivoBook 15 does it better than many other budget laptops. It has a comfy keyboard and touchpad, fingerprint reader, FHD display, upgradeable RAM and SSD, and tons of ports with USB-C. Battery life is disappointing, and the display isn't particularly powerful, but I would recommend this over the IdeaPad 3 15 and Acer Aspire 5.
Additional equipment
This equipment isn't absolutely necessary, but it can make your life a whole lot easier.
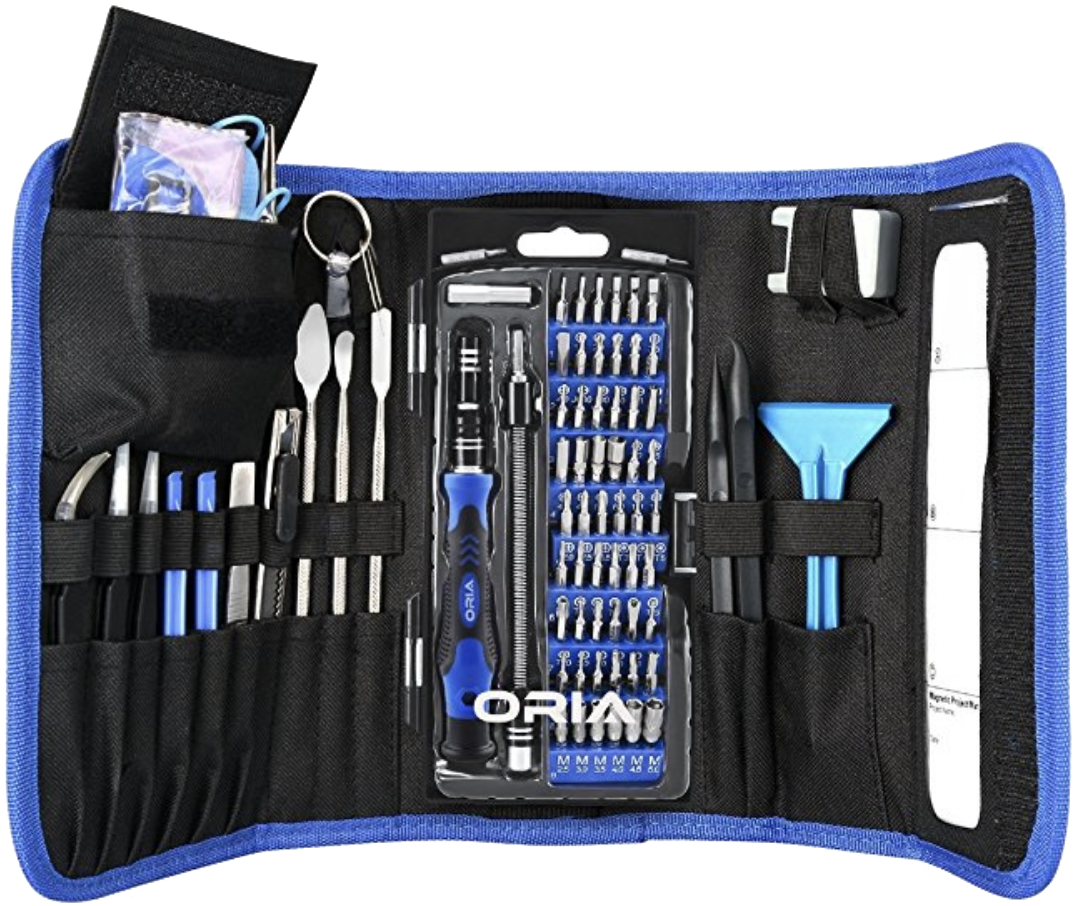
ORIA PC toolkit ($29 at Amazon)
Having the proper gear to work on your PC will always make the job much easier. Here you get a plethora of tools contained in a portable case.
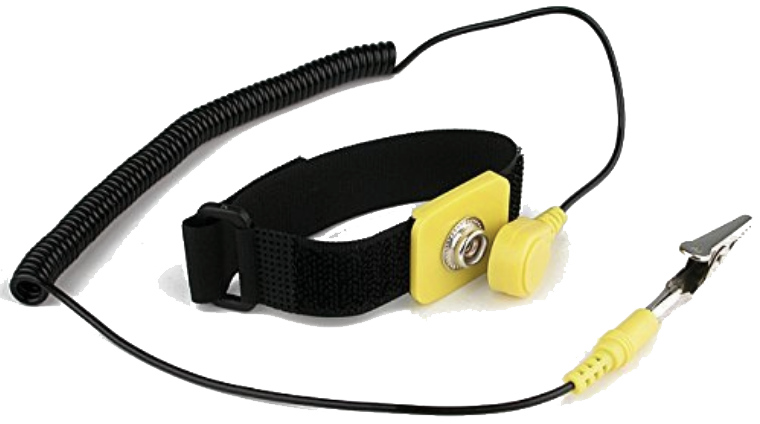
Rosewill anti-static wristband ($7 at Amazon)
Static electricity can damage sensitive PC parts, so remove the risk with an anti-static wristband. Fasten it around your wrist and clip it onto your PC for peace of mind.

Cale Hunt brings to Windows Central more than nine years of experience writing about laptops, PCs, accessories, games, and beyond. If it runs Windows or in some way complements the hardware, there’s a good chance he knows about it, has written about it, or is already busy testing it.
