


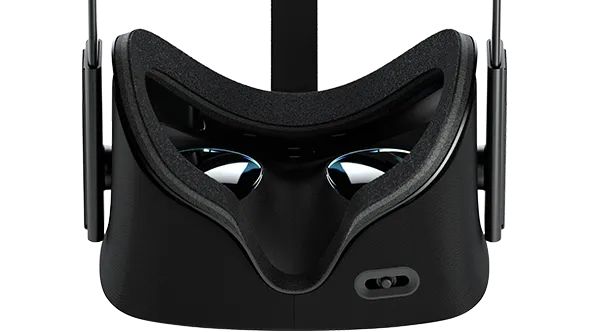
Your Oculus Rift is capable of turning your PC into a portal to many other worlds, but sometimes those other worlds don't always look as sharp as we'd like them to be. It's a little jarring to go from a super high high-resolution and a super high-resolution laptop to a head-mounted display where you can basically see the pixels on the display, but there are ways to improve what you see out of the box.
If you know your PC has some graphics power to spare when driving your Rift, you can use a technique called Supersampling to create a better visual experience in the headset. Here's how it works!
What is Supersampling?

Your OS knows the resolution of the displays you are using and tells all of your apps to draw everything based on that resolution. Every Oculus app is built to work within the resolution of the headset because it's a fixed number that every headset has, but the OS helps choose whether to enable things like the Oculus Asynchronous Space and Time Warp functions.

Supersampling is what happens when you tell the Oculus apps to draw all of the visuals as though there are far more pixels than the default. These apps will respond by using more GPU power to make all of the visuals much denser than they technically needed to be, so when that artwork is sent to the display there's more information to work with than necessary.
The end result in most cases is a noticeably sharper image, especially for background images or detail-heavy environments. It's not a huge difference in every single app or game, especially games designed to look overly animated or pixelated, but in more realistic titles Supersampling can greatly improve the experience.
How do I enable Supersampling on Oculus Rift

Conveniently, Oculus has built a tool for Supersampling right into the Oculus SDK. It's called the Oculus Debug Tool, and as the name suggests it does a whole lot more than mess with the visuals in your headset. For our purposes, that's the only part of the tool we're going to be messing with.
Oculus makes the SDK available on their developer portal for free, and the Oculus Debug Tool is included with the Windows SDK download. Be sure to close all of your existing Oculus apps before opening the Debug Tool, and look for the "Pixels Per Display Override" field close to the top. The blank space to the right of this is where you're going to add a number between 1 and 2 in order to enable Supersampling on your Rift.
Choosing the right number for you requires a bit of trial and error, because it's entirely based on what your hardware can handle. As cool as increasing your visuals is, the most important thing for a successful VR experience is that consistent smooth 90fps experience. For example, most people using an nVidia GTX 980ti have found going above 1.7 or 1.8 can cause stuttering. This is usually dropped frames, which isn't great. The key here is to set a value, test it in an app while sitting down, and adjust until you have a consistent and enjoyable experience.
Step by step instructions
- Close all Oculus programs on your PC
- Download the Oculus for Windows SDK from here
- Unzip the download and find the Tools folder
- Open the Oculus Debug Tool
- Adjust the Pixels Per Display Override field to your desired multiplier
- Launch the Oculus app you want to experience
- Close the Oculus Debug Tool
Are you using Supersampling on your Oculus Rift? Tell us about your preferred settings and games you've seen the biggest difference in down in the comments!

