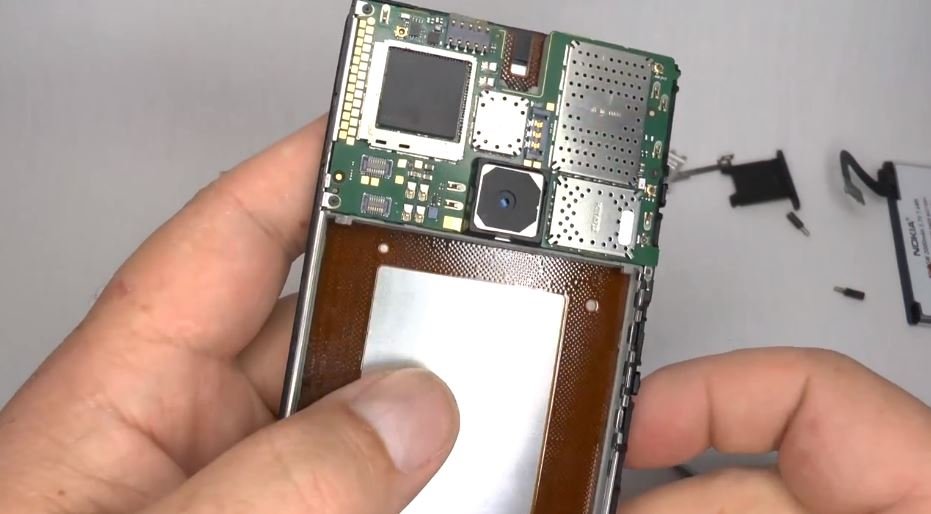
We’ve already shown a video with a Lumia 920 guts displayed, but it wasn’t a pleasant sight (I personally cringe when people destroy phones for no purpose). Now we’ve got a video where you can see the insides of your Espoo flagship device, but in a much more civilized manner. We’ve got a video of the process to disassemble and assemble a Lumia 920, in great detail too.
This is a great video for those do-it-yourselfers who like to save a few bucks and do repairs the old fashioned way. Or if you’re happened to import your Lumia 920 and don’t have a warranty to fall back on for repairs. The tools required are rather easy to obtain and if you’re brave enough to do something like this you probably already have them in your quiver. You’ll need the following:
- Three Torx screwdrivers (T2, T4, and T5)
- Small bladed screwdriver
- Plastic separation tool
- Tweezers
- SIM removal tool
- Adhesive.
When I said the video was detailed, I wasn’t kidding. It clocks in at 33 minutes in length and is really fascinating to watch. It helps one appreciate the physicality of the Lumia 920 by seeing what Nokia crammed inside. Bookmark this for when you want to step up your DIY game or if you need to fix any potential future problems.
So I’m curious, how many of you would ever do something like this or have done something like this?
Source: YouTube, Via: Windows Phone Central Forums
All the latest news, reviews, and guides for Windows and Xbox diehards.

Sam Sabri was formerly the Managing Editor for Windows Central, covering Windows Phone, Microsoft Build, and many more topics.
