How to remove malware using Microsoft Safety Scanner on Windows 10
Are you unsure if the antivirus is working correctly on Windows 10? Get a second opinion with the Microsoft Safety Scanner tool.
All the latest news, reviews, and guides for Windows and Xbox diehards.
You are now subscribed
Your newsletter sign-up was successful
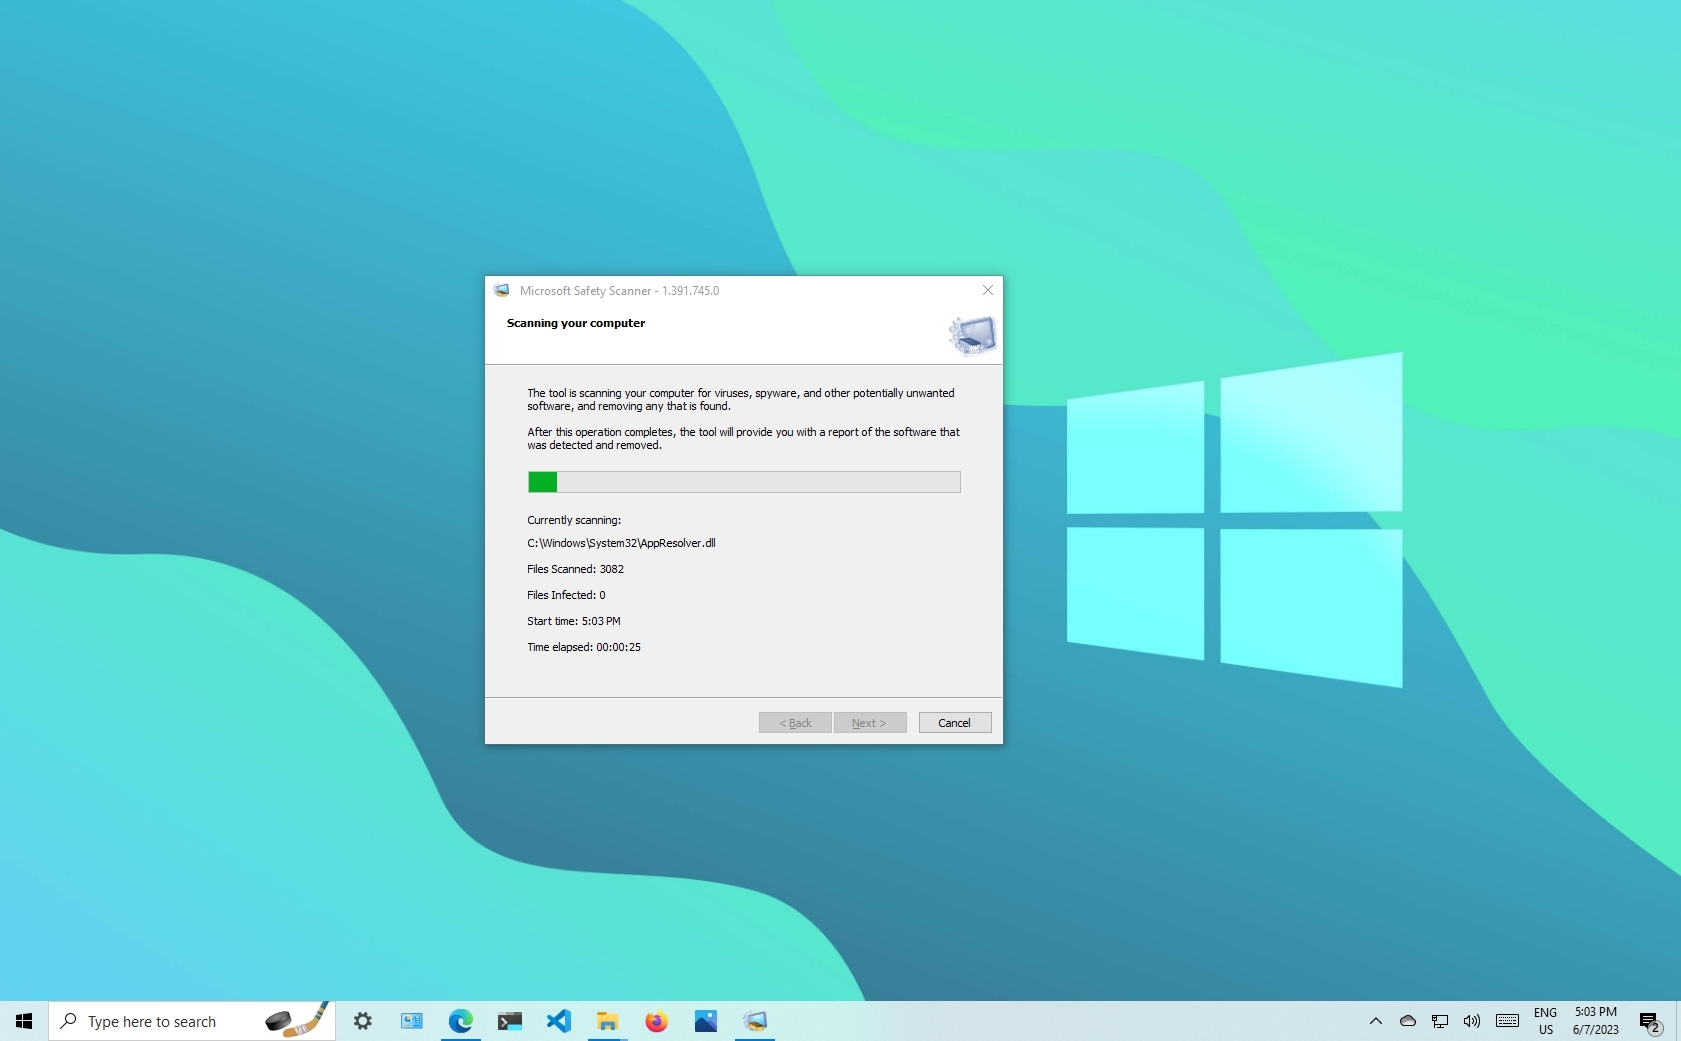
On Windows 10, the Microsoft Safety Scanner (MSERT) is a standalone tool to scan, find, and remove many types of malware, including viruses, spyware, and unwanted software that may cause harm to your computer without additional installation.
The security tool is similar to the Malicious Software Removal Tool (MSRT), and it works similarly to the anti-malware software you use on Windows 10. It even has the same engine and threat definitions as the Microsoft Defender Antivirus. However, it is not a replacement for your antivirus solution since it does not offer real-time protection or automatic updates. Instead, it only provides another way to scan and remove infections when you suspect the current security software is not working correctly and believe the device has been infected.
Also, the Microsoft Safety Scanner is only valid for ten days. Once it expires, you need to download an updated version to make sure you are scanning the device with the latest security threats definitions and enhancements.
This how-to guide walks you through the steps to scan and remove malware infecting your Windows 10 computer using the free Microsoft Safety Scanner tool.
How to remove malware with Microsoft Safety Scanner on Windows 10
To use the Microsoft Safety Scanner tool to remove malware on Windows 10, use these steps:
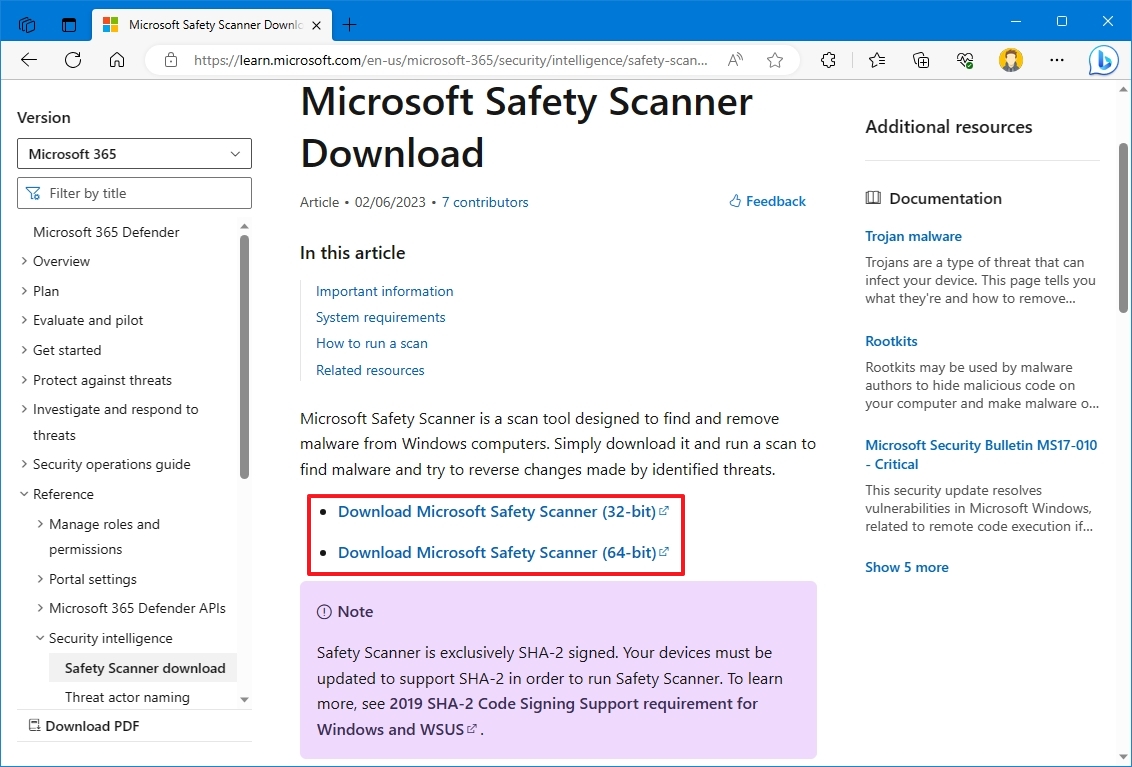
- Open this Microsoft support page.
- Click the "Download Microsoft Safety Scanner (64-bit)" option to download the tool on your computer.
- Quick tip: The page will offer downloads for both architectures (32-bit and 64-bit) of Windows 10. You can determine the architecture you need to download on Settings > System > About, and on the "Device specifications" section, confirm the system type.
- Check the option to accept the terms and conditions.
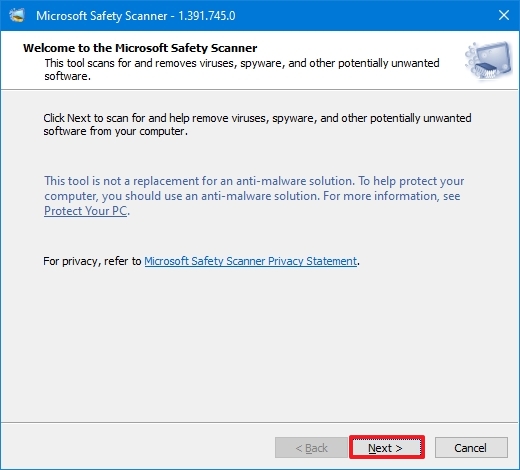
- Click the Next button.
- Click the Next button again.
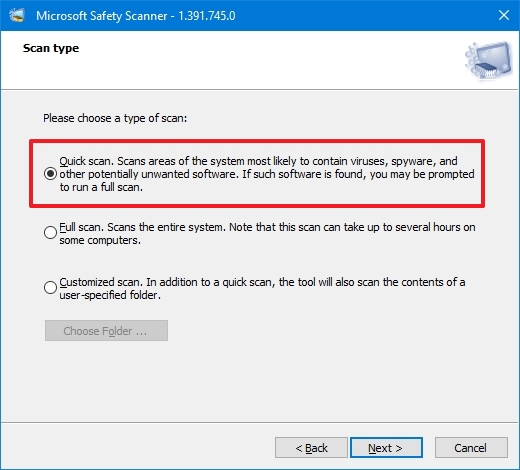
- Select the scan you want to run on Windows 10:
- Quick scan: Scans the section likely to contain viruses, spyware, and other unwanted software but does not remove any infections. Instead, you will be prompted to perform a full scan.
- Full scan: Scans the entire system for malware and removes infections.
- Customized scan: Performs a quick virus scan and scans the folder location you specified.
- (Optional) If you choose the Customized scan option, click the Choose Folder button to select the folder to scan for malware.
- Click the Next button.
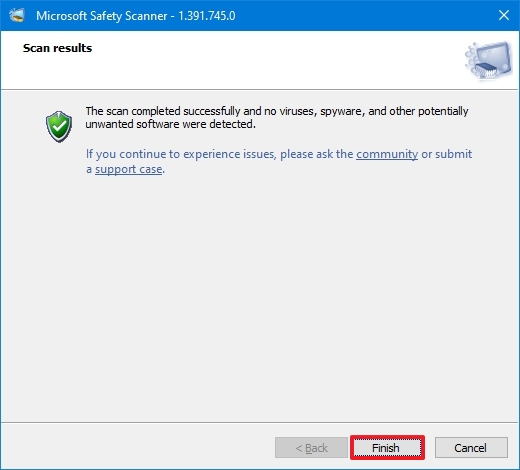
- Click the Finish button.
Once you complete the steps, the Microsoft tool will scan the system for common viruses and many other types of malware, similar to any other anti-virus software.
How to remove malware with Microsoft Safety Scanner on Command Prompt
To use the Microsoft Safety Scanner with Command Prompt, use these steps:
All the latest news, reviews, and guides for Windows and Xbox diehards.
- Open Start.
- Search for Command Prompt, right-click the top result, and select the Run as administrator option.
- Type the following command to navigate to the folder containing the tool and press Enter: cd C:\files
In the command, update the path with the location containing the "MSERT.exe" file.
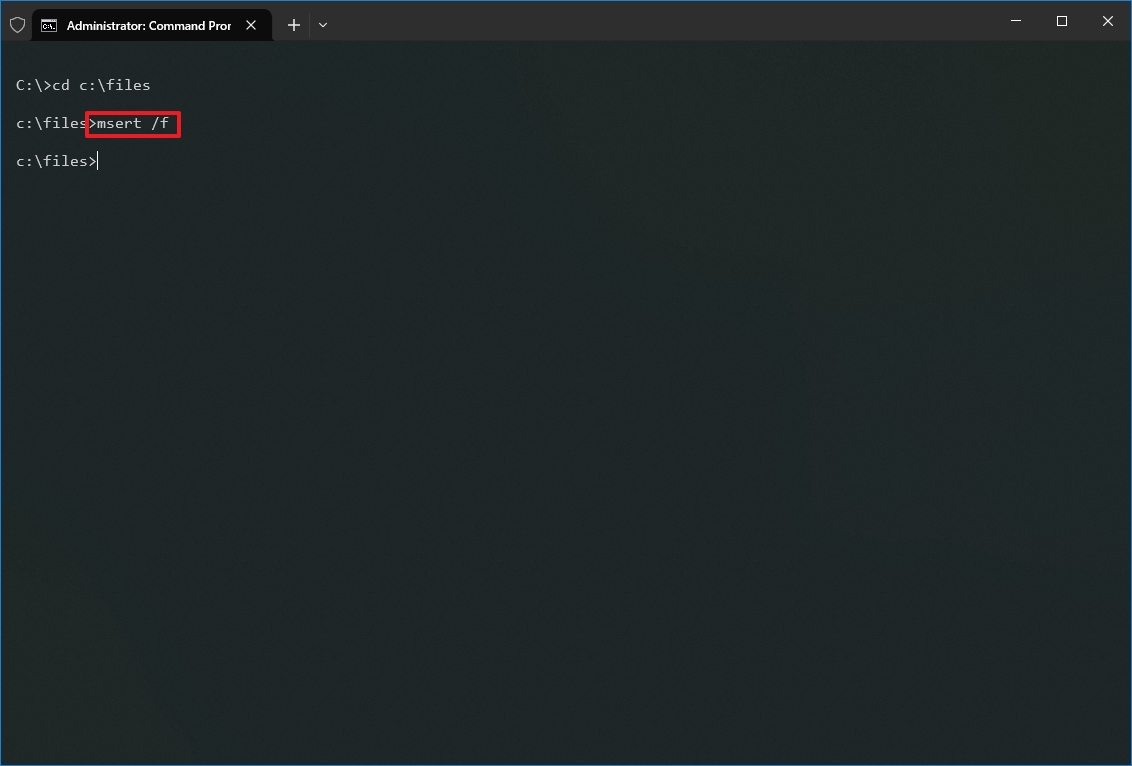
- Type the following command to start a forced scan, and press Enter: msert /f
- Click the Next button to proceed with a full scan.
- Type the following command to do a full scan and automatically clean infected files and press Enter: msert /f:y
- Click the Next button to proceed with the scan and automatic cleaning.
- Type the following command to run a scan quietly (without a visual interface) and press Enter: msert /q
- Type the following command to execute a full scan quietly and press Enter: msert /f /q
After you complete the steps, the tool will perform a scan on the computer to detect and delete any malware it may find.
If a threat is found using the quick scan, you will get a prompt to perform a full scan. In the case you ran the command with the /f:y options, the scan will detect and remove any malware. If you use the /q option, the tool will run in the background without a user interface. You can always see the complete list of options using the msert /? command.
When using this tool, it's always commended to download a new instance for every scan. Also, the Safety Scanner expires after 10 days after being downloaded.
We are focusing this guide on Windows 10, but the anti-malware tool is also compatible with previous versions, including Windows 8.1 and 7. You can also use this tool on Windows 11.
More resources
For more helpful articles, coverage, and answers to common questions about Windows 10 and Windows 11, visit the following resources:
- Windows 11 on Windows Central — All you need to know
- Windows 10 on Windows Central — All you need to know

Mauro Huculak has been a Windows How-To Expert contributor for WindowsCentral.com for nearly a decade and has over 22 years of combined experience in IT and technical writing. He holds various professional certifications from Microsoft, Cisco, VMware, and CompTIA and has been recognized as a Microsoft MVP for many years.
