How to successfully install Windows 10 build 14393.222 (workaround)
If trying to update to Windows 10 build 14393.222 fails, use this guide to get around the problem and successfully install cumulative update KB3194496.
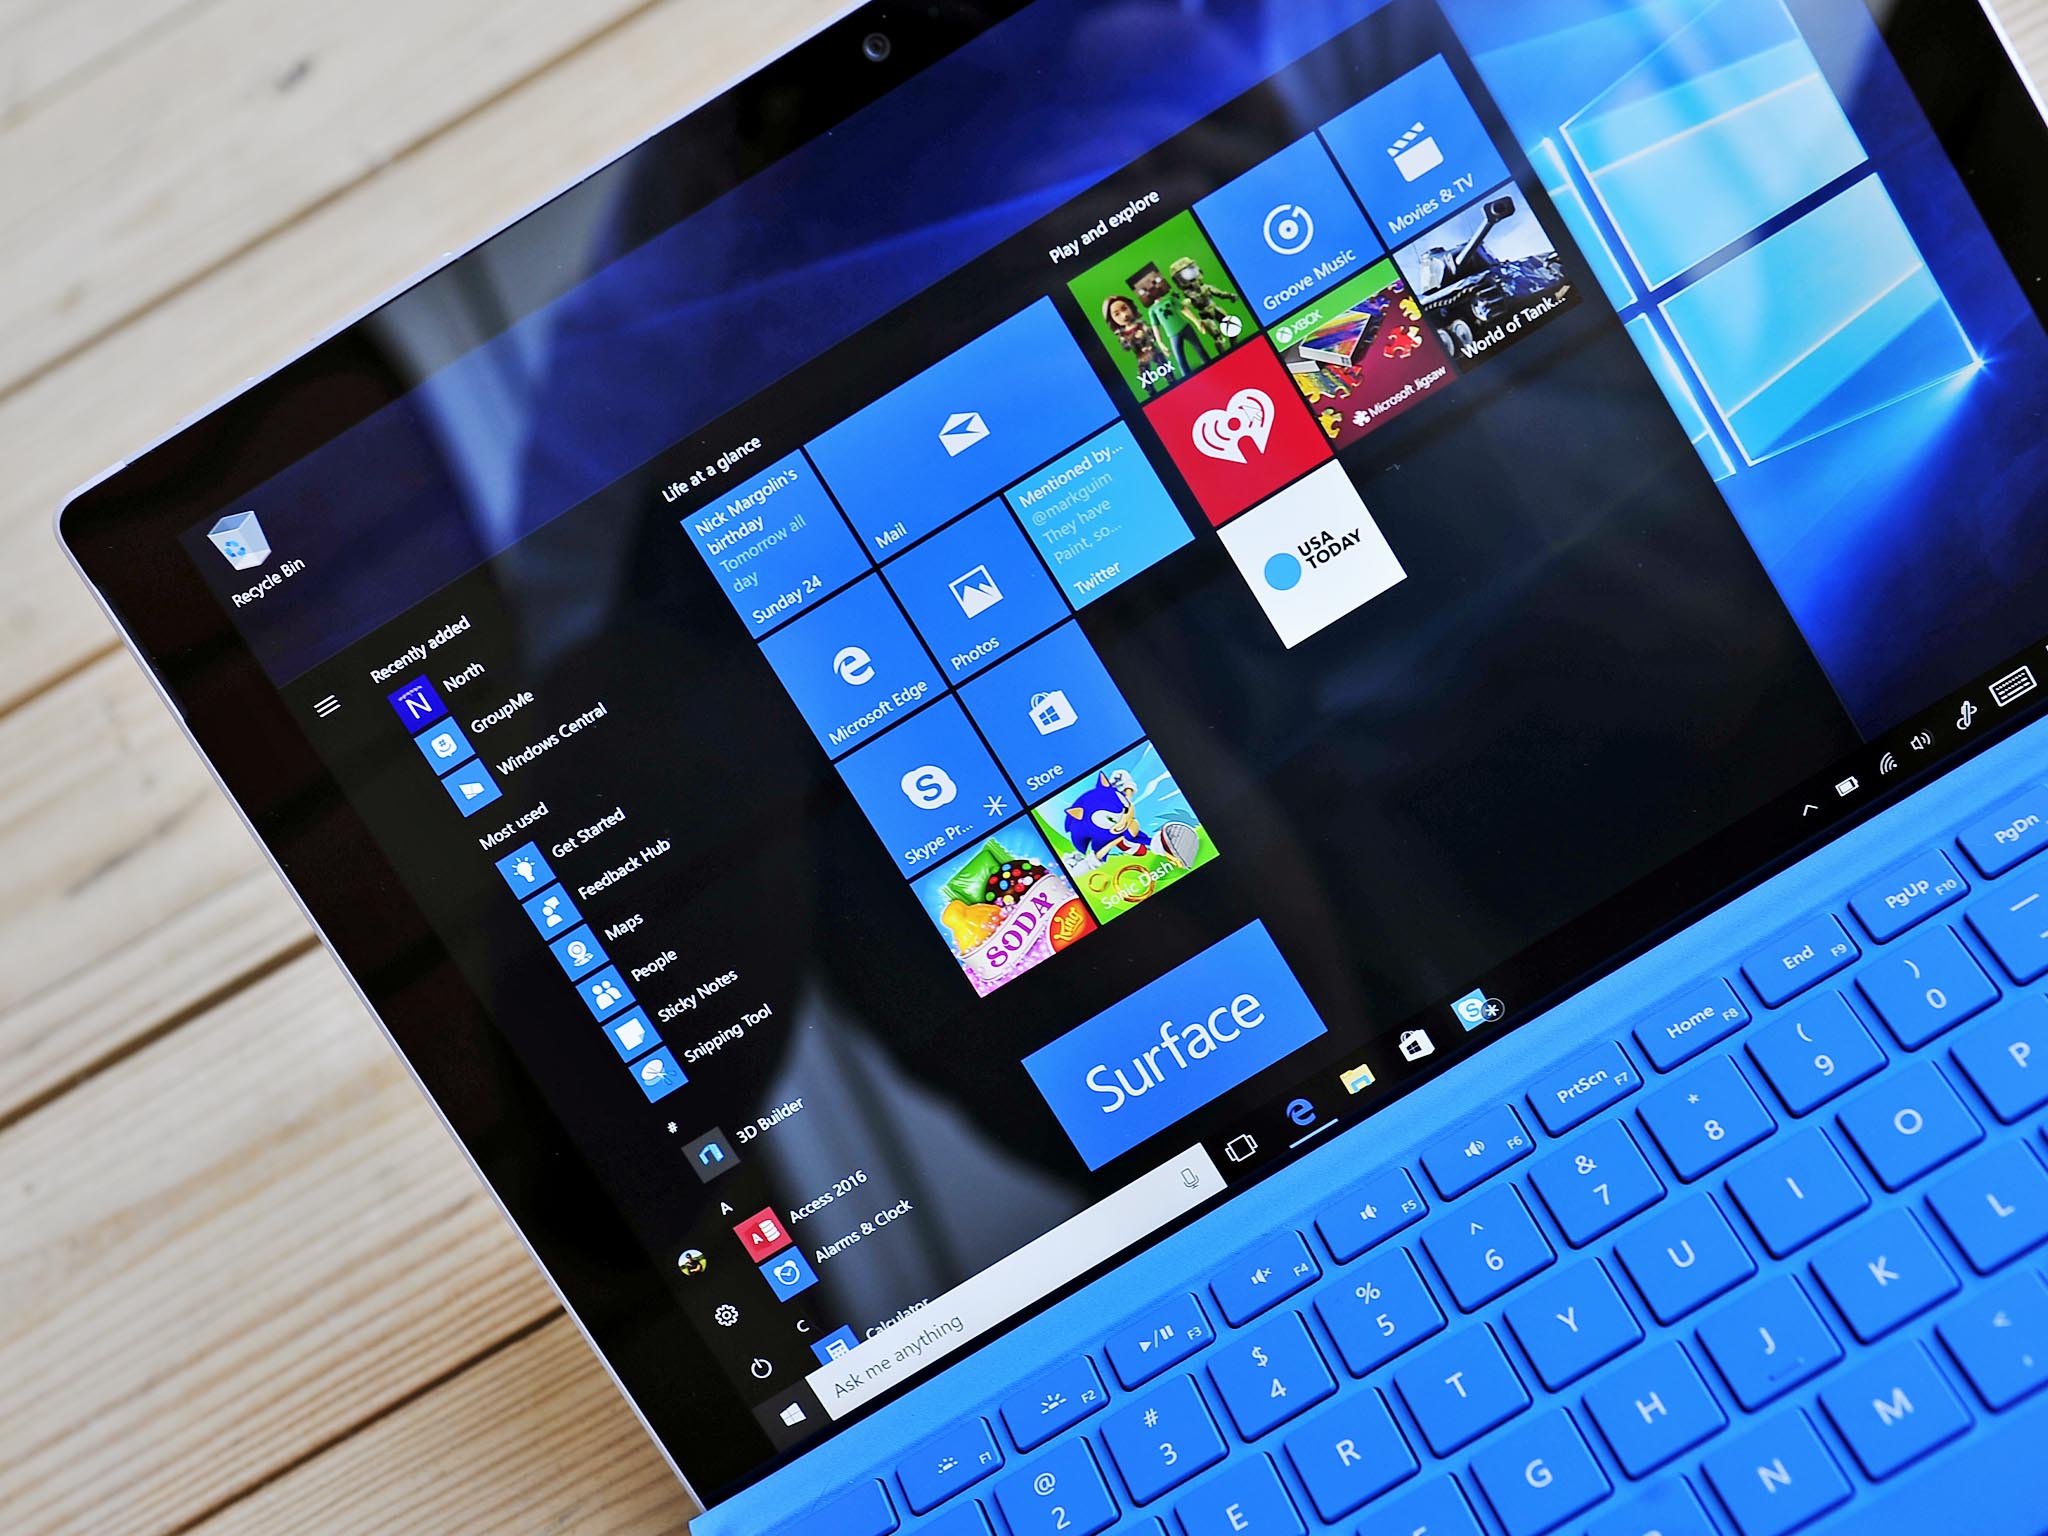
Microsoft recently rolled out cumulative update KB3194496 for those running the Windows 10 Anniversary Update. The update bumped the version number to build 14393.222 and was meant to address a number of issues to improve the quality of the operating system. However, short after the release a small number of users begun to report issues trying to install the update.
Users quickly took their concern to the Microsoft forums to a thread that now has grown over 25 pages long. Quickly the Windows team responded that is aware of the problem and it's working to address the issue.
On a statement, Jason from Microsoft said:
"Teams have dug into this issue and do believe the cause has been identified. Looks like this will only be hitting a subset of Insiders. The correct team is developing a fix/workaround and once we have the full details, we'll be posting that information. For your affected machines, there's no need to keep attempting the install. It'll keep failing."
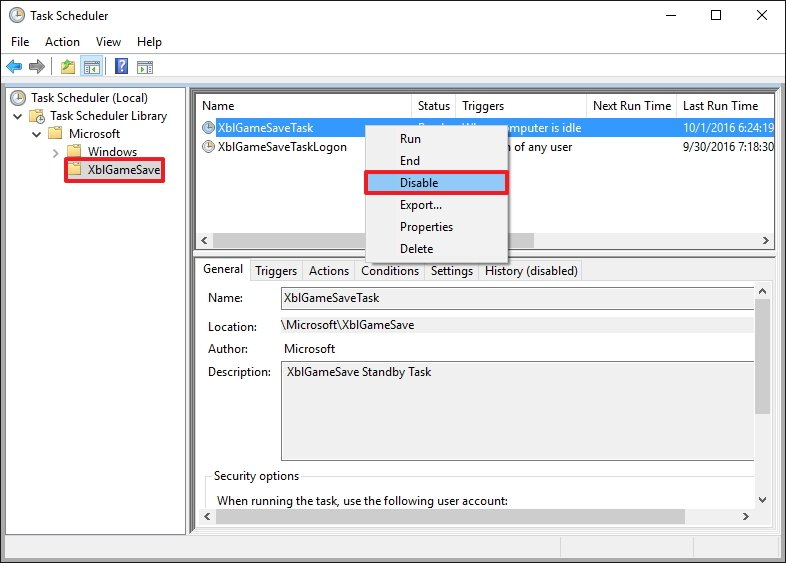
However, AirportsFan, a user at the Microsoft forums had a reply with a workaround that seems to be working for some. The problem appears to be that update KB3194496 is failing to install because of two items in the Task Scheduler, including XblGameSaveTask and XblGameSaveTaskLogon, and the workaround involves editing the Task Scheduler, deleting two system files, and editing the Registry.
If you can't wait until Microsoft issues a permanent fix, in this Windows 10 guide, we'll walk you through the steps to successfully install Windows 10 build 14393.222 on your device.
Workaround to install Windows 10 build 14393.222
Important: Before diving into this guide, it's worth noting that editing the registry can be dangerous, and it can cause irreversible damage to your system if you don't do it correctly. It's highly recommended to make a full backup of your system before proceeding. You've been warned!
- Open Start type Task Scheduler and press Enter.
- Expand Task Scheduler Library > Microsoft.
- Select XblGameSave.
- On the right side, right-click XblGameSaveTask, and select Disable.
- Right-click XblGameSaveTaskLogon and select Disable too.
- Close the Task Scheduler.
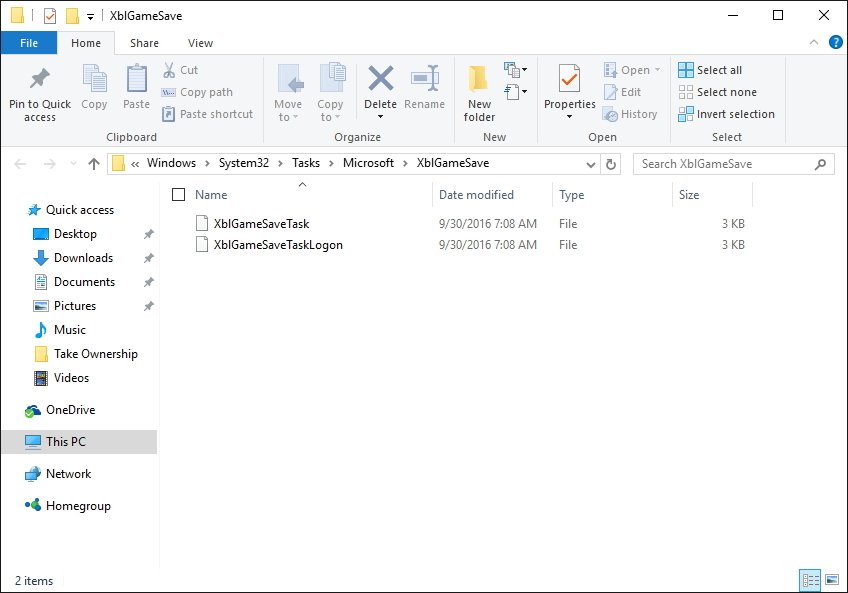
- Use the Windows key + E keyboard shortcut to open File Explorer.
- Navigate the following path:
C:\Windows\System32\Tasks\Microsoft\XblGameSave - Delete both files: XblGameSaveTask and XblGameSaveTaskLogon.
- Use the Windows key + R keyboard shortcut to open the Run command.
- Type regedit, and click OK to open the Registry. (This should open the Registry with administrative privileges. If it doesn't, make sure to search for regedit on the Start menu, right-click the result, and select Run as Administrator.)
- Navigate to the following path:
HKEY_LOCAL_MACHINE\SOFTWARE\Microsoft\Windows NT\CurrentVersion\Schedule\TaskCache\Tree\Microsoft\XblGameSave - Right-click and delete the subkeys: XblGameSaveTask and XblGameSaveTaskLogin.
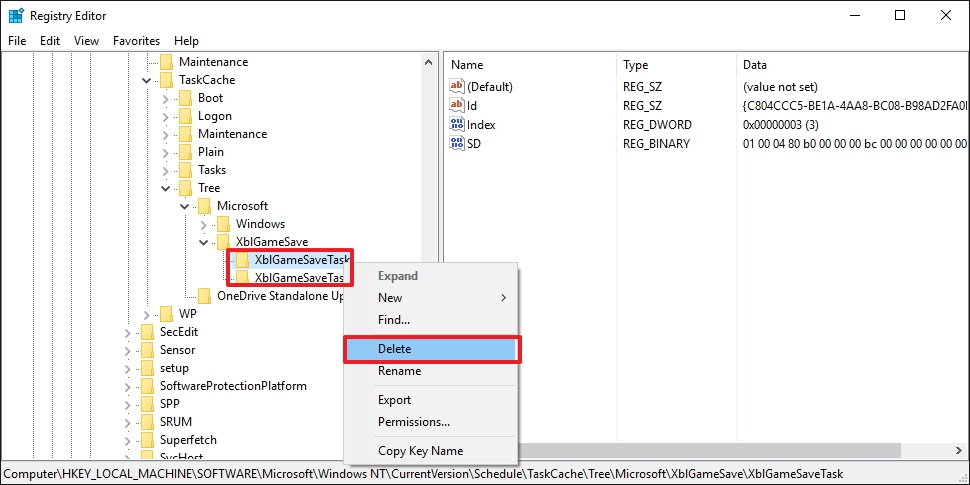
- Close the Registry.
- Open Settings.
- Click on Update & security.
- Click on Check for updates and try to install the update one more time.
Once you completed the steps mentioned above, you should now be able to install Windows 10 build 14393.222 on your device. After the update installs, the two tasks you have previously deleted should re-appear, which means that you shouldn't have to revert the changes.
All the latest news, reviews, and guides for Windows and Xbox diehards.
Did the workaround allow you to install cumulative update KB3194496? Tell us in the comments below.
More Windows 10 resources
For more help articles, coverage, and answers on Windows 10, you can visit the following resources:
- Windows 10 on Windows Central – All you need to know
- Windows 10 help, tips, and tricks
- Windows 10 forums on Windows Central

Mauro Huculak has been a Windows How-To Expert contributor for WindowsCentral.com for nearly a decade and has over 22 years of combined experience in IT and technical writing. He holds various professional certifications from Microsoft, Cisco, VMware, and CompTIA and has been recognized as a Microsoft MVP for many years.
