Minecraft Dungeons guide: How to farm easy infinite emeralds / XP, even while AFK
Swimming in an ocean of emeralds, loot, and apples.
All the latest news, reviews, and guides for Windows and Xbox diehards.
You are now subscribed
Your newsletter sign-up was successful
Join the club
Get full access to premium articles, exclusive features and a growing list of member rewards.
We already know that emeralds and XP are important in Minecraft Dungeons for buying new gear and levelling up respectfully, but preparing for the endgame and future DLC makes them even more vital. Harvesting these crucial resources can be time-consuming, especially if you're focusing on finding the apex version of your favorite gear. If you want to make the grind as easy as possible for emeralds and XP, here's everything you need to set up the perfect farm.
What do I need to farm emeralds and XP in Minecraft Dungeons?
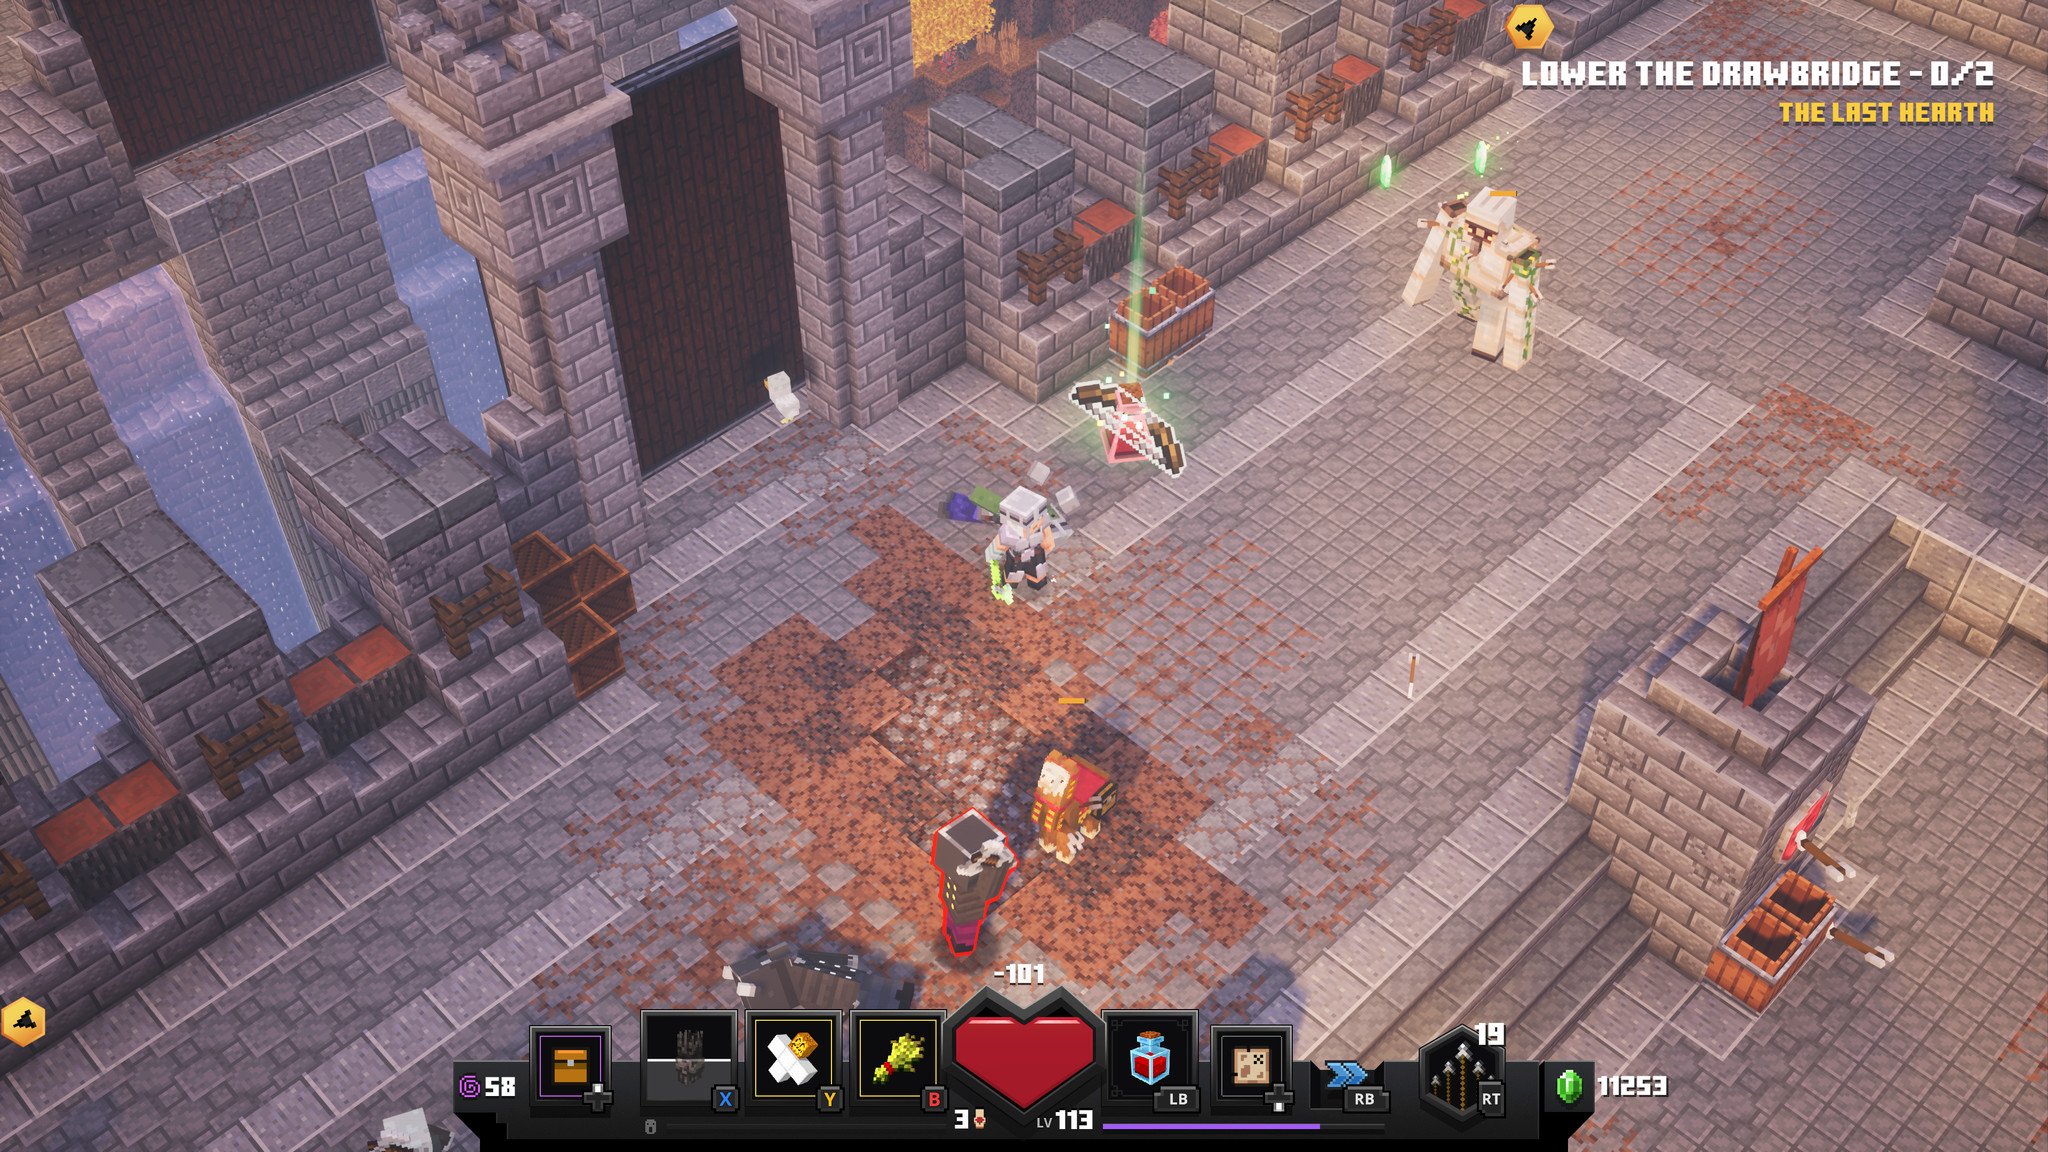
Farming emeralds and XP in Minecraft Dungeons is easy. You don't even have to touch the controller or actively play the game once you're set up. This means taking advantage of three things in the game: enchantments that can use artifacts passively, companions, and areas in which enemies will infinitely respawn until you fulfill certain requirements to move forward. Using these three ingredients, you can literally stand in one spot and watch as emeralds, gear drops, and consumables pile up around you and fill up your screen.
Let's start with how you'll want your loadout to be set up.
Article continues belowThe short version
Don't need all the mechanical details and just want to know precisely which gear to equip? We've got you covered. Go here for the farming method!
Recommended gear:
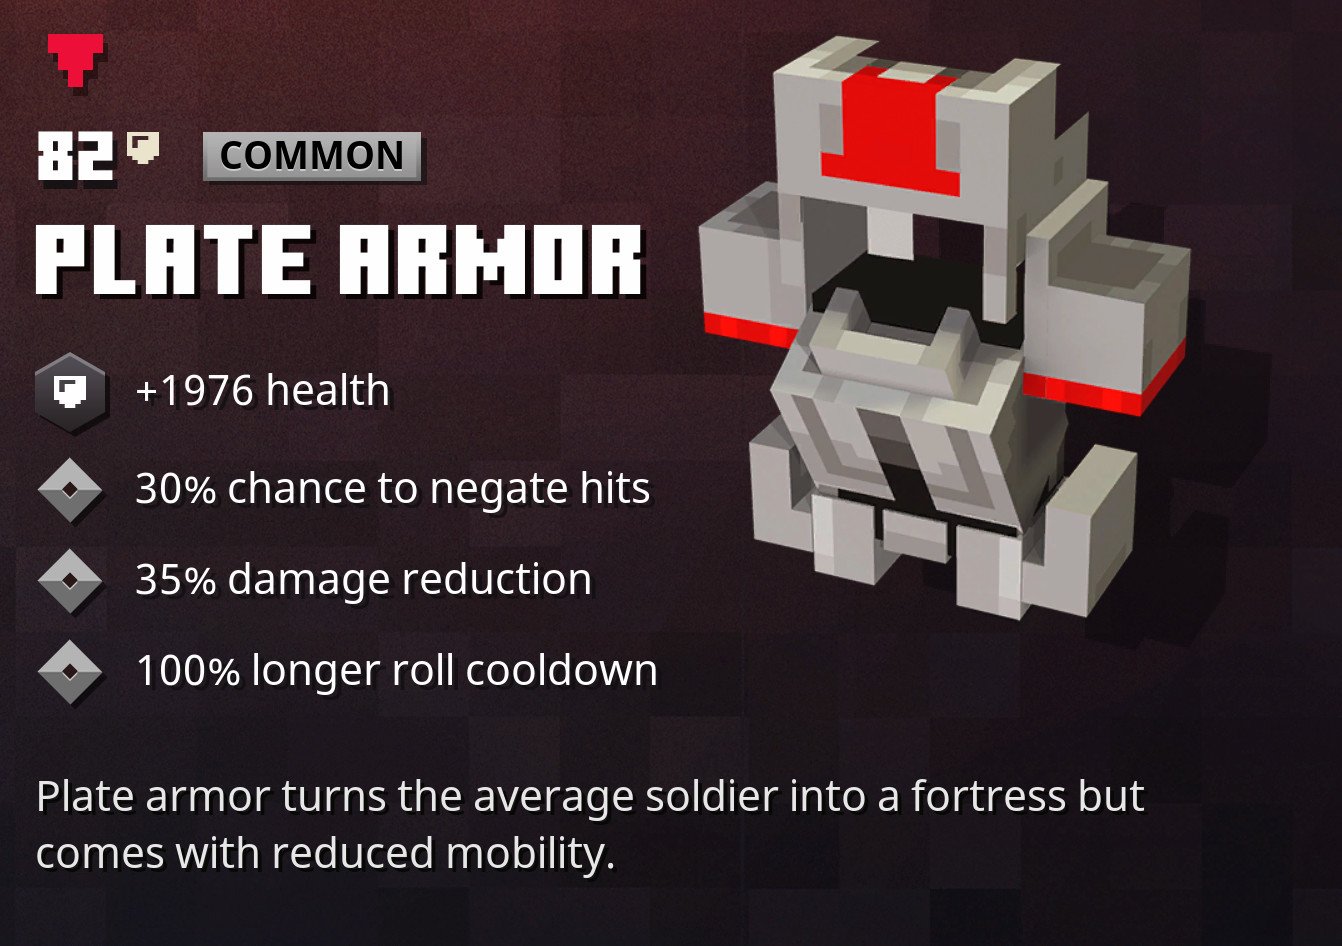
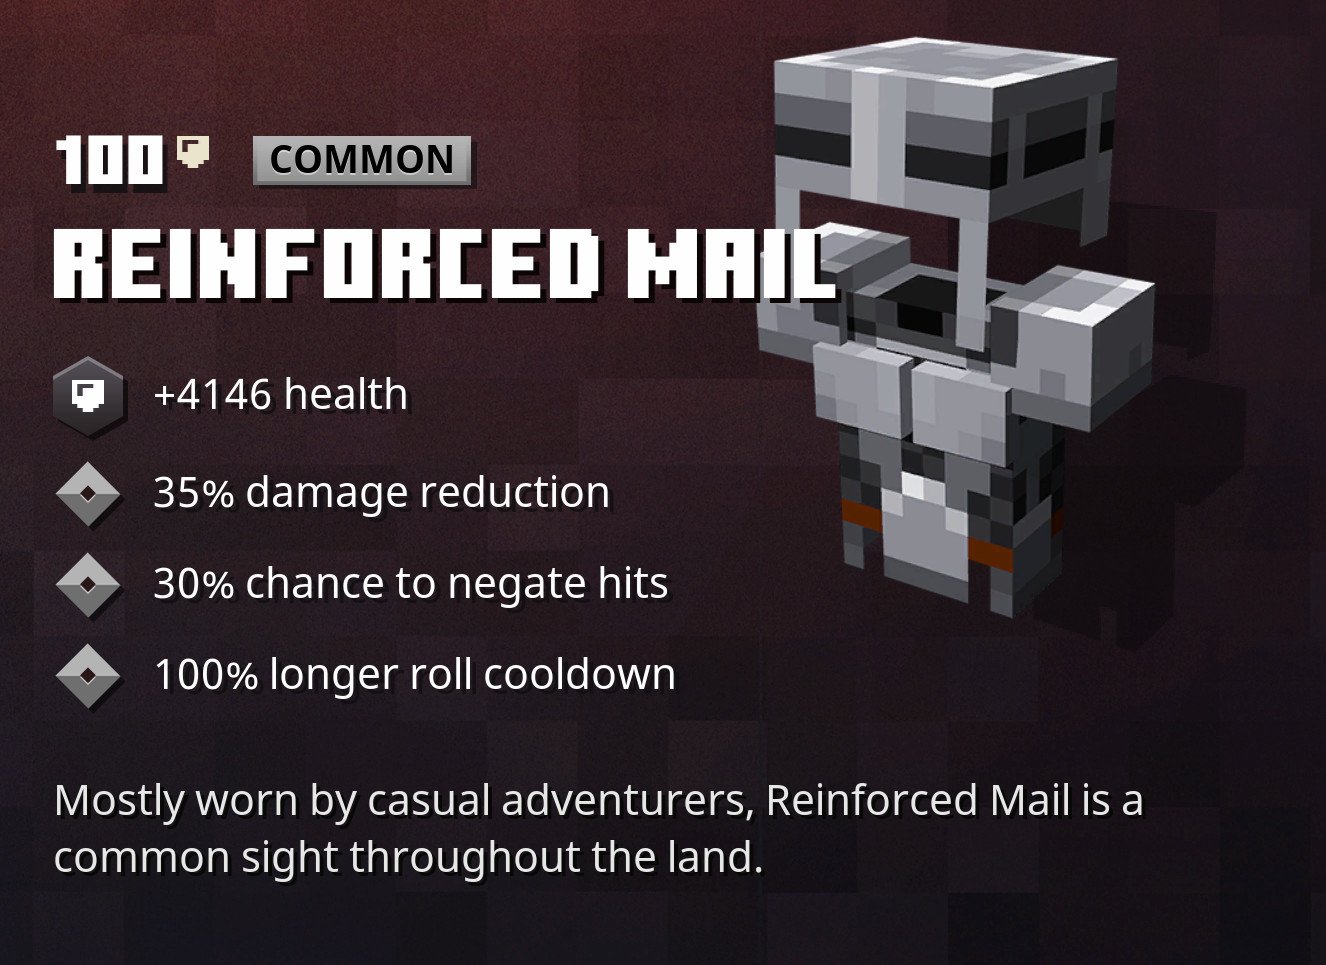
- Plate Armor or Reinforced Mail.
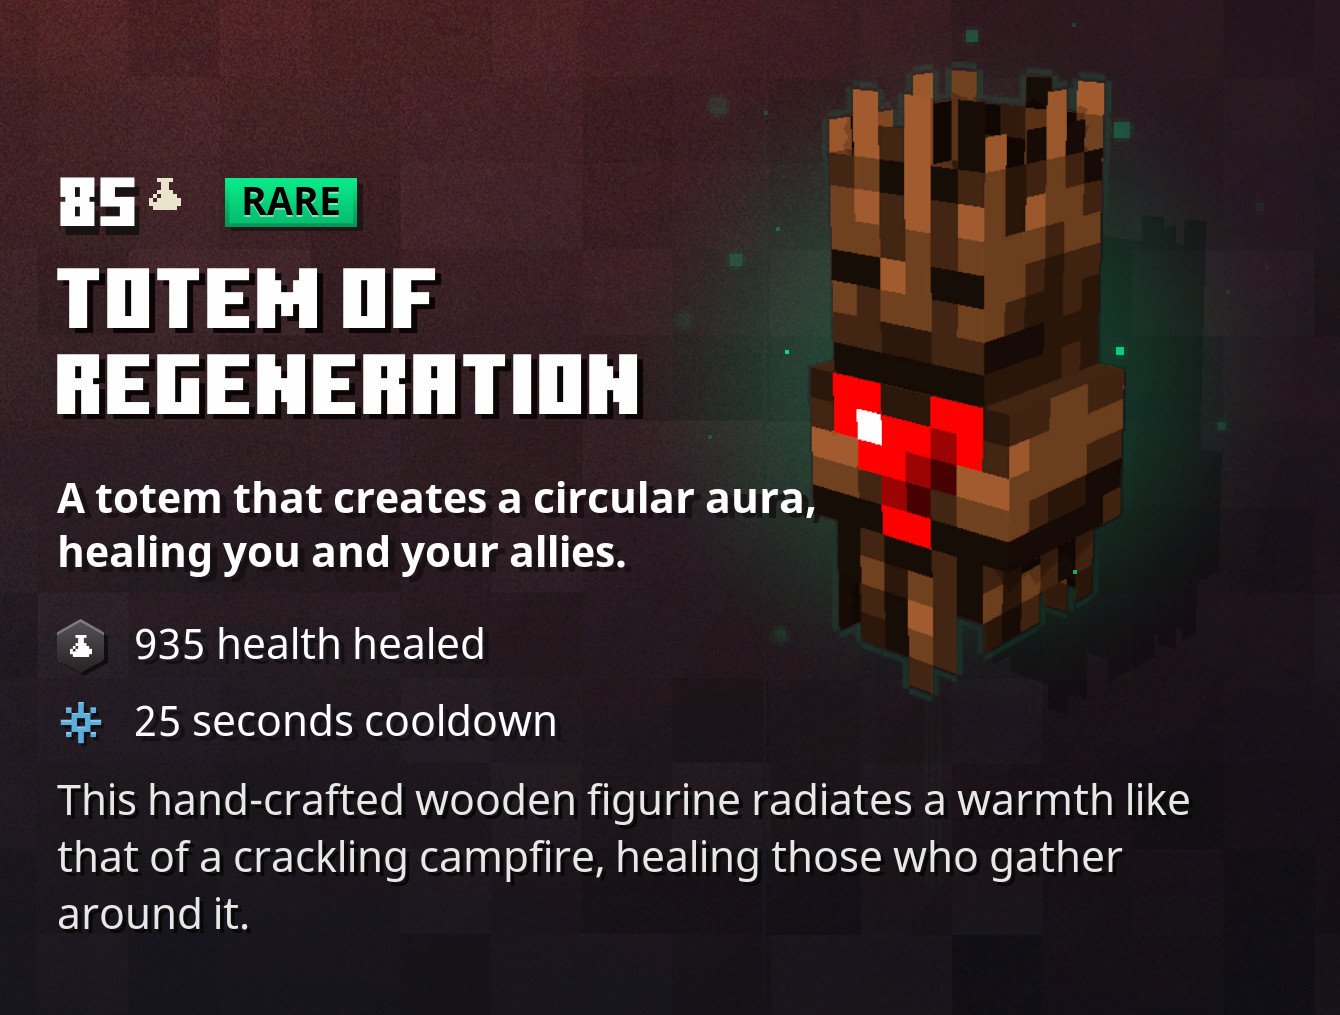
- Totem of Regeneration or Soul Healer.
- Tasty Bone or Golem Kit.
- Wonderful Wheat.
- Final Shout enchantment.
- Thorns and Health Synergy enchantments.
The gear
Because this farm doesn't require any active input from you whatsoever, it doesn't make much difference what weapons you choose. Just keep using whatever you like, since they're only going to be used as far as you have to go to set up your farm. What's important for your loadout is your armor, and your artifacts. There's a specific combination that you'll need to be as effective as possible.
Source: Windows Central
All the latest news, reviews, and guides for Windows and Xbox diehards.
For your armor, you'll want to go for whatever is as "tanky" as possible. This means the most amount of health, with the best passive perks that supplement defense. Right now, the two best sets of armor for this are the Plate Armor, and the Reinforced Mail. These armors are specifically catered to a sturdy playstyle that is doubly beneficial for our infinite emeralds and XP farm. Both will provide:
- Massively increased health, proportionate to the gear's level.
- 35% damage reduction.
- 30% chance to negate hits.
- 100% longer roll cooldown.
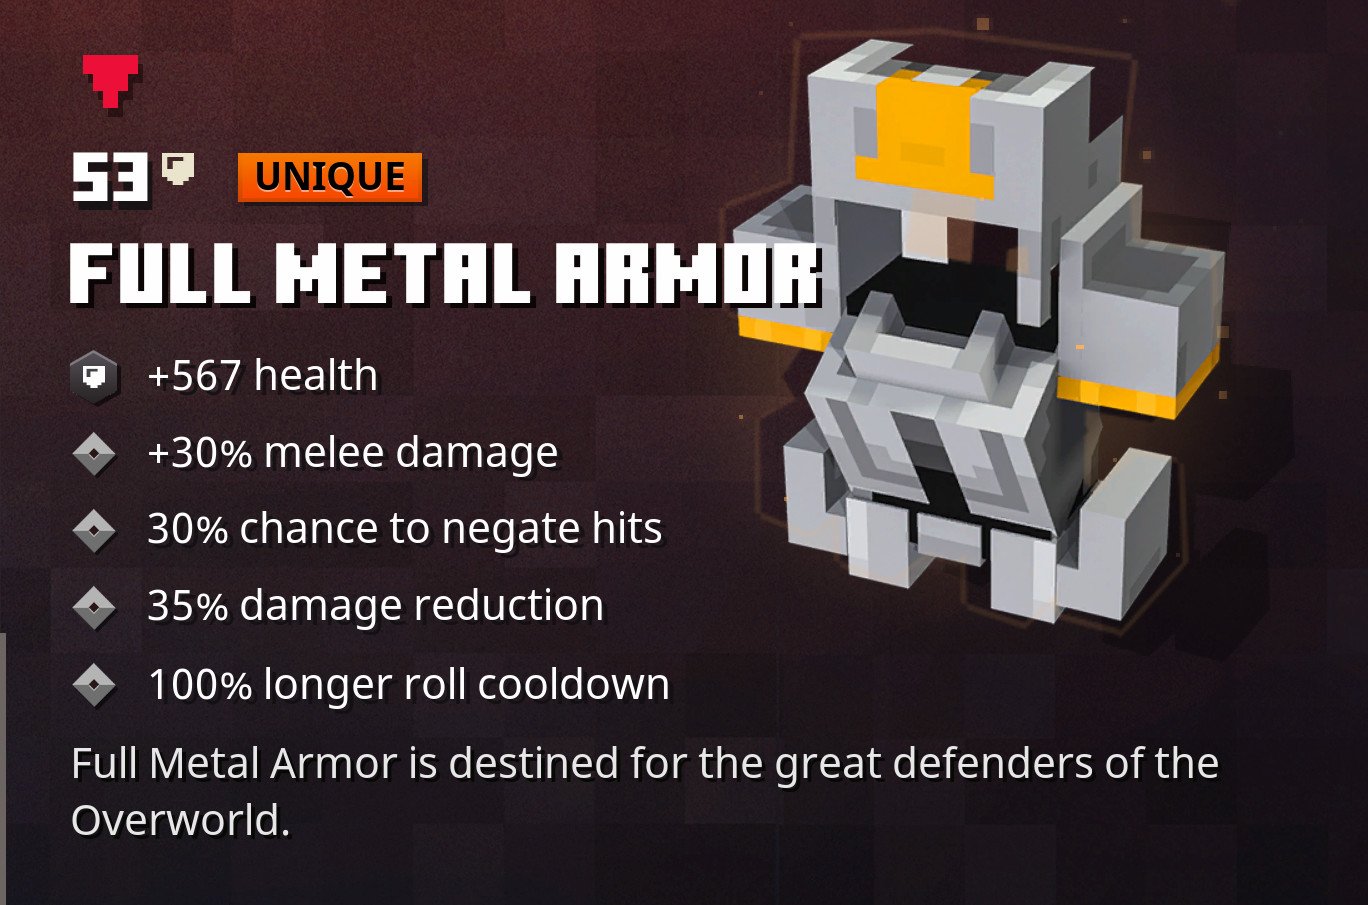
Normally using this armor would mean accepting a compromise: you won't be able to roll or dash as often. Since you won't be moving in this situation, you won't have to worry about that. Also, while the Unique variants of these armor types (being the Full Metal Armor and the Stalwart Armor) are nicer for general play, due to their extra ability, they don't add anything for our farm, so they're not necessary. The mundane, boring version is just perfect, and is far easier to find with the enchantments we'll need for it.
The artifacts
Next stop, our artifacts! As you probably know by now, artifacts provide extra, unique abilities, attacks, and spells to use in battle and augment your gear. They massively change how effective you are in battle, and can mean the difference between life and death. When you're completely stationary and trying to farm for emeralds and XP, this is literally the case. You'll need a pretty specific selection of artifacts to make this work, but you do have a little bit of choice.
Source: Windows Central
One of your artifacts will need to be one of the two healing-focused artifacts currently in the game, with your choice of the two. The Totem of Regeneration is my go-to choice, as it's easier to get set-up and more reliable when combined with the enchantment that ties this whole ensemble together. This artifact places down a circle of passive regeneration, in which your health will slowly regenerate up to a certain amount over 30 seconds or so. Because you won't be moving, this artifact works perfectly, and doesn't rely on any other requirements. Its only downside is that it is regenerative, and not an instantaneous injection of health.
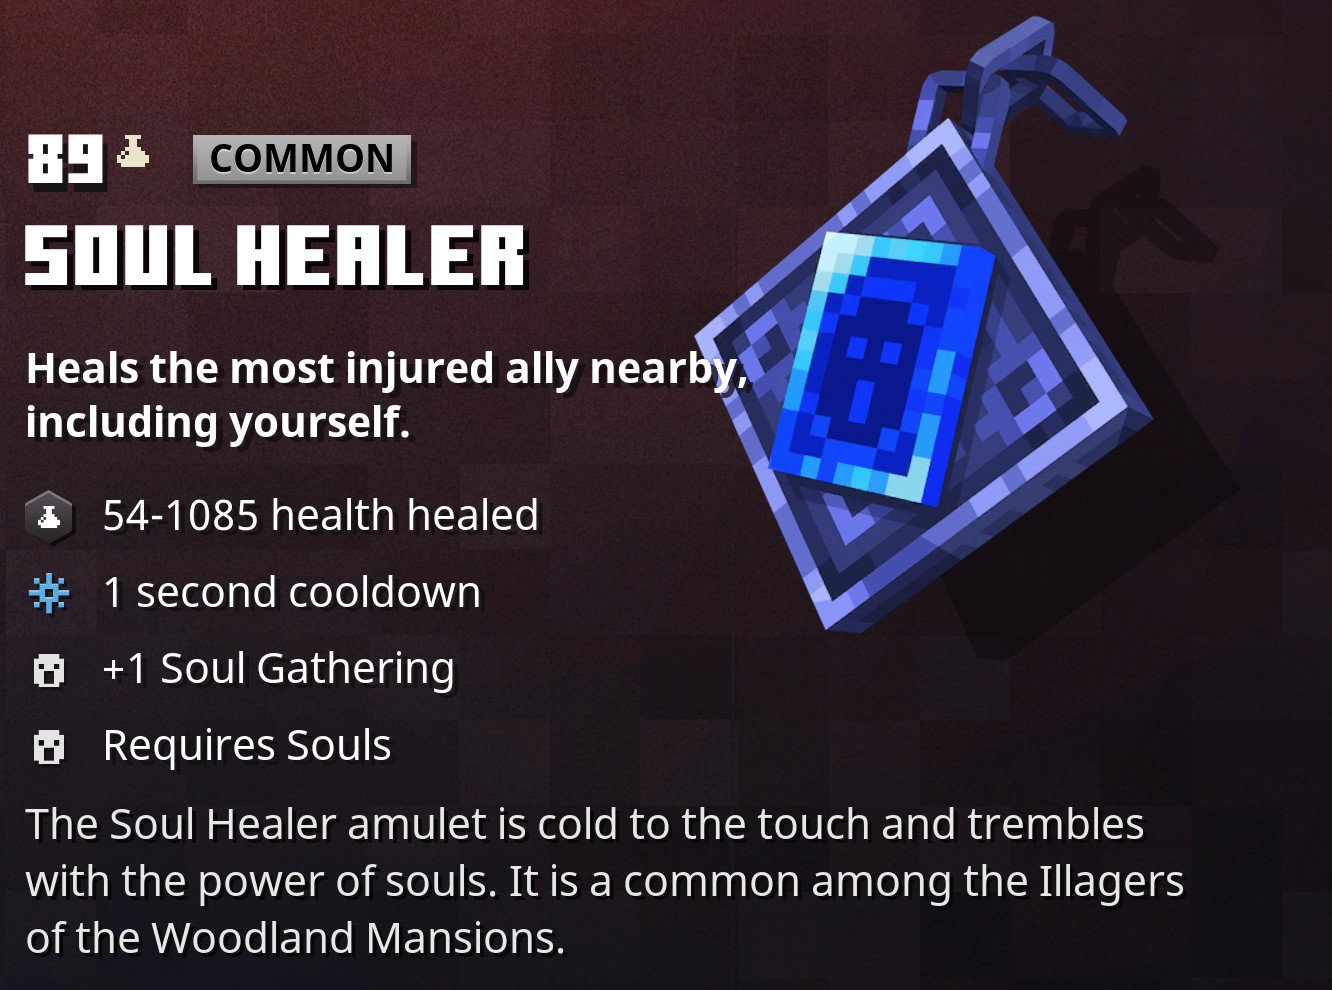
If you'd rather do something more instant, you can consider the Soul Healer, which instantly heals the most injured ally in your party by a set amount, at the cost of souls. There are two issues with the Soul Healer, however, that make the Totem of Regeneration a little bit of a better choice. You'll have to harvest souls, which requires killing enemies while you have soul gathering. If you use this artifact, you'll probably want to equip weapons that add to soul gathering, so that even if you're not using them, you still get more souls from kills.
The other issue is that the Soul Healer artifact does not strictly heal you for a set amount of health, but preferably the most wounded member in your party. If you're playing solo, that's fine, but this also includes companions, which are necessary for this build. That means you can accidentally heal a critically wounded companion right at a time when you also need that health injection. Not the biggest deal, with how this farm works, but something worth noting nonetheless.
Source: Windows Central
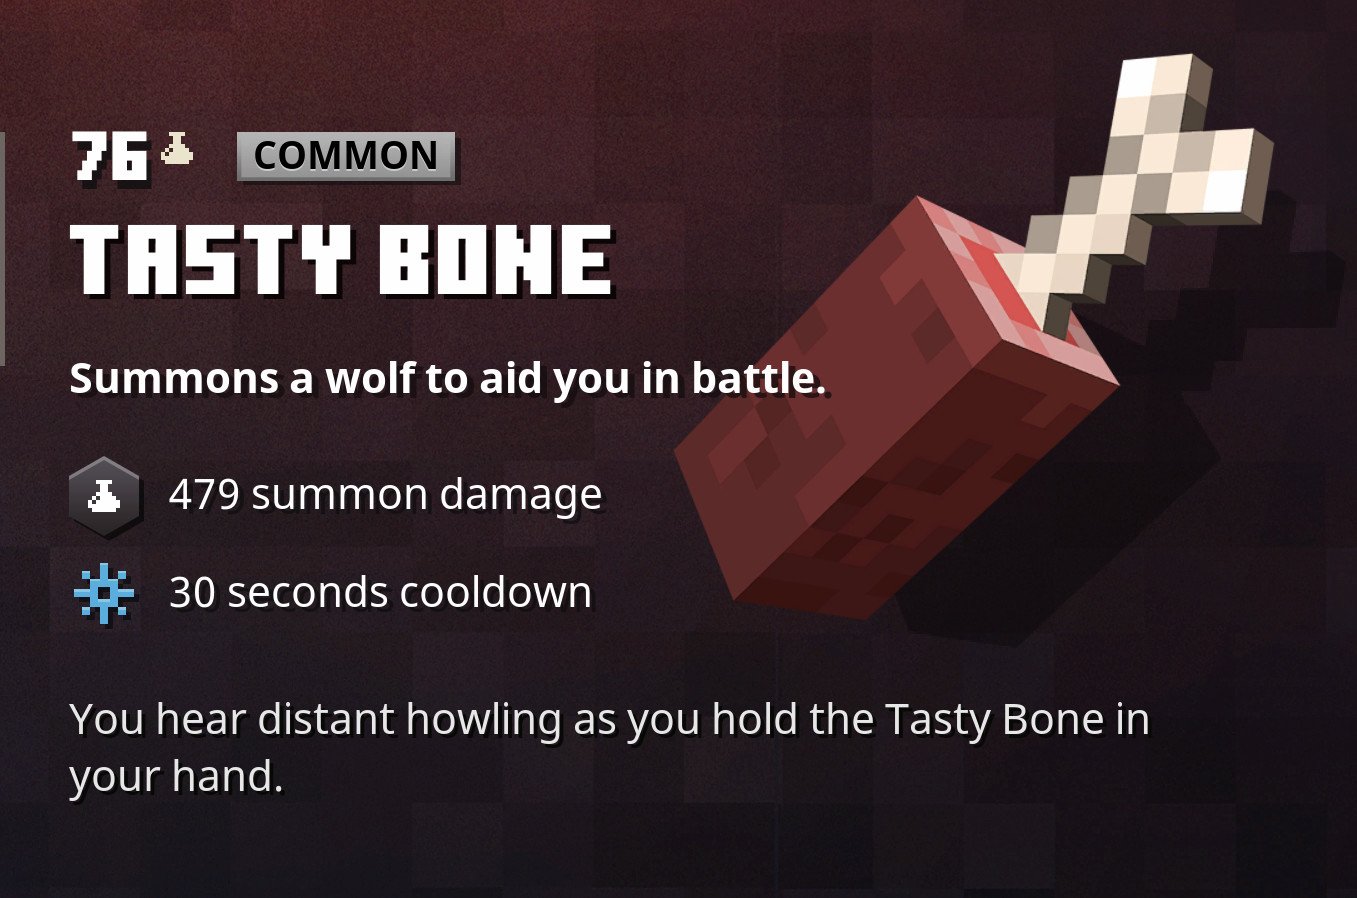
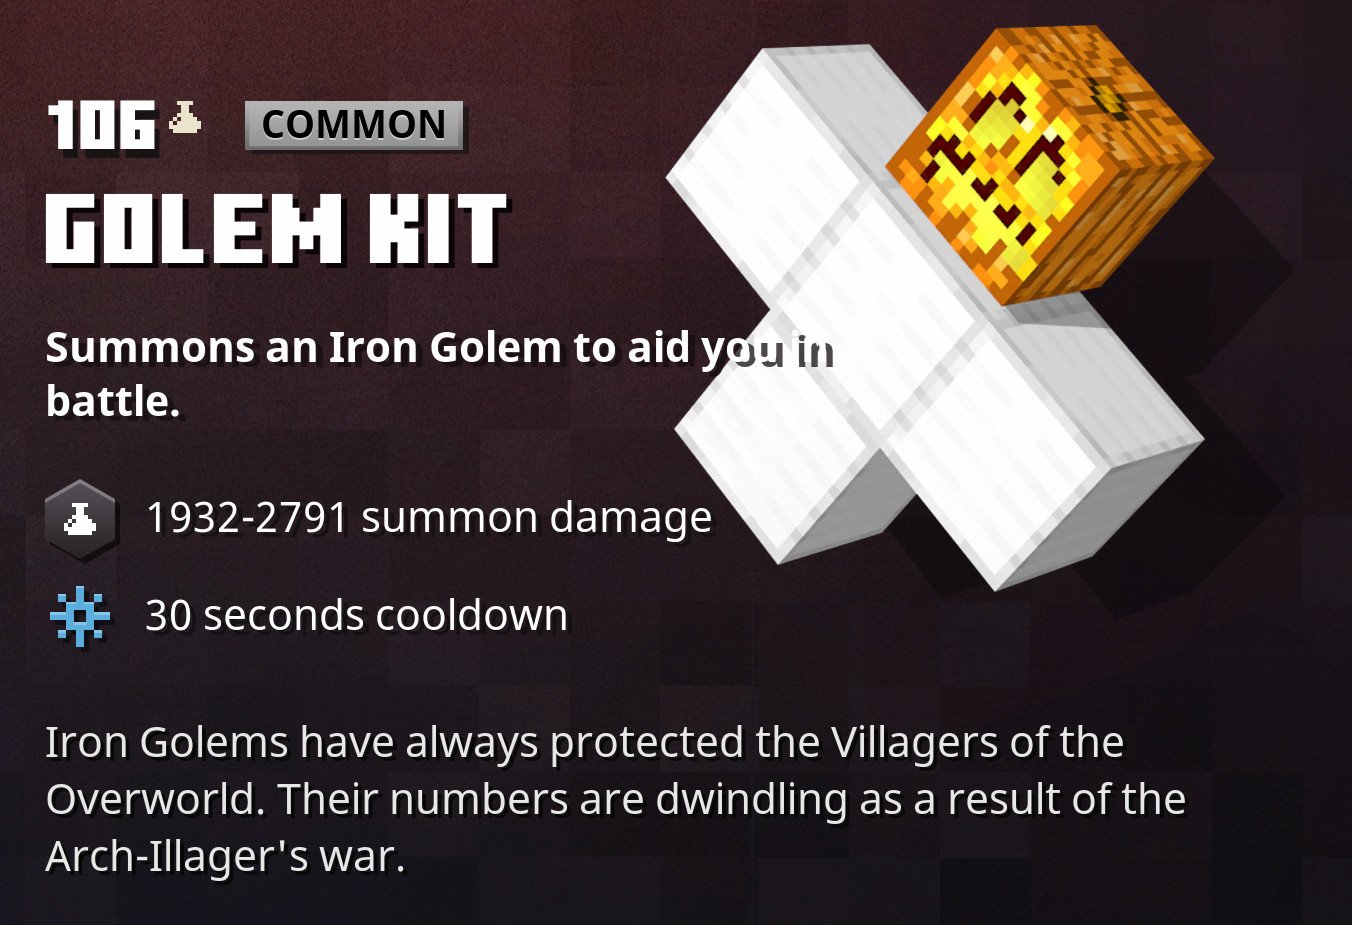
The other two artifact slots should be filled with companions. These friends will kill enemies for you while you're otherwise occupied, so consider them your "harvesters" of emeralds and XP. They're very important because they help keep you alive and keep the wheel turning. You'll want one of your artifacts to be a melee-focused companion, like either the wolf or the iron golem. These companions are summoned by the Tasty Bone and Golem Kit artifacts, respectfully.
I personally prefer the iron golem, as they're more sturdy and still deal awesome damage. The wolf does more damage per level, but it's far squishier, and harder to keep alive. If you're constantly healing the wolf, this isn't a problem, but that won't be the case here. Unless you have a Tasty Bone that's higher level than your Golem Kit, or you haven't found a Golem Kit yet (they're only available at higher difficulties), I'd go for the iron golem instead.
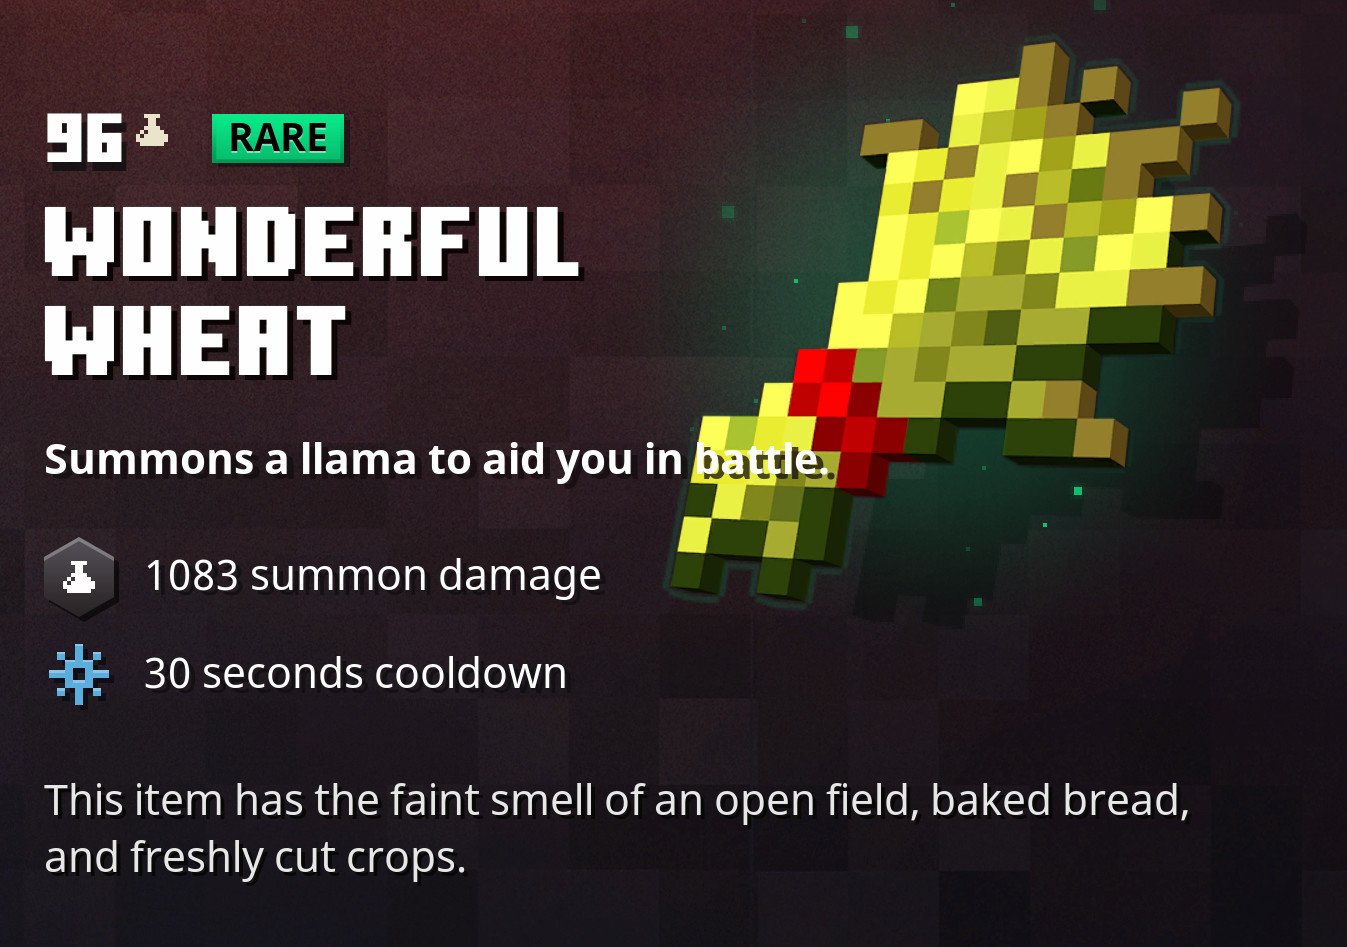
Your third and final artifact slot, and your second companion, will be the llama, summoned using the Wonderful Wheat artifact. You'll want a llama by your side because they're a ranged companion, and can engage foes at a distance. Because the area you'll set up your farm in is larger than the range at which enemies can see you when you're not moving, the llama helps move things along a little faster by being able to spot and kill these enemies faster. And that rounds out the three artifacts you'll be using for this emeralds and XP farm.
The enchantments
Finally, the last piece of this puzzle is the enchantments you'll place on your armor. Yes, your armor. Nothing is stopping you from enchanting your weapons as well, but they won't help with our emeralds and XP farm, so that's for another guide. Instead, you'll need at least one enchantment on your armor, but I've found three enchantments that work perfectly with this set up, if you want to seek out the perfect loadout for farming emeralds and XP.
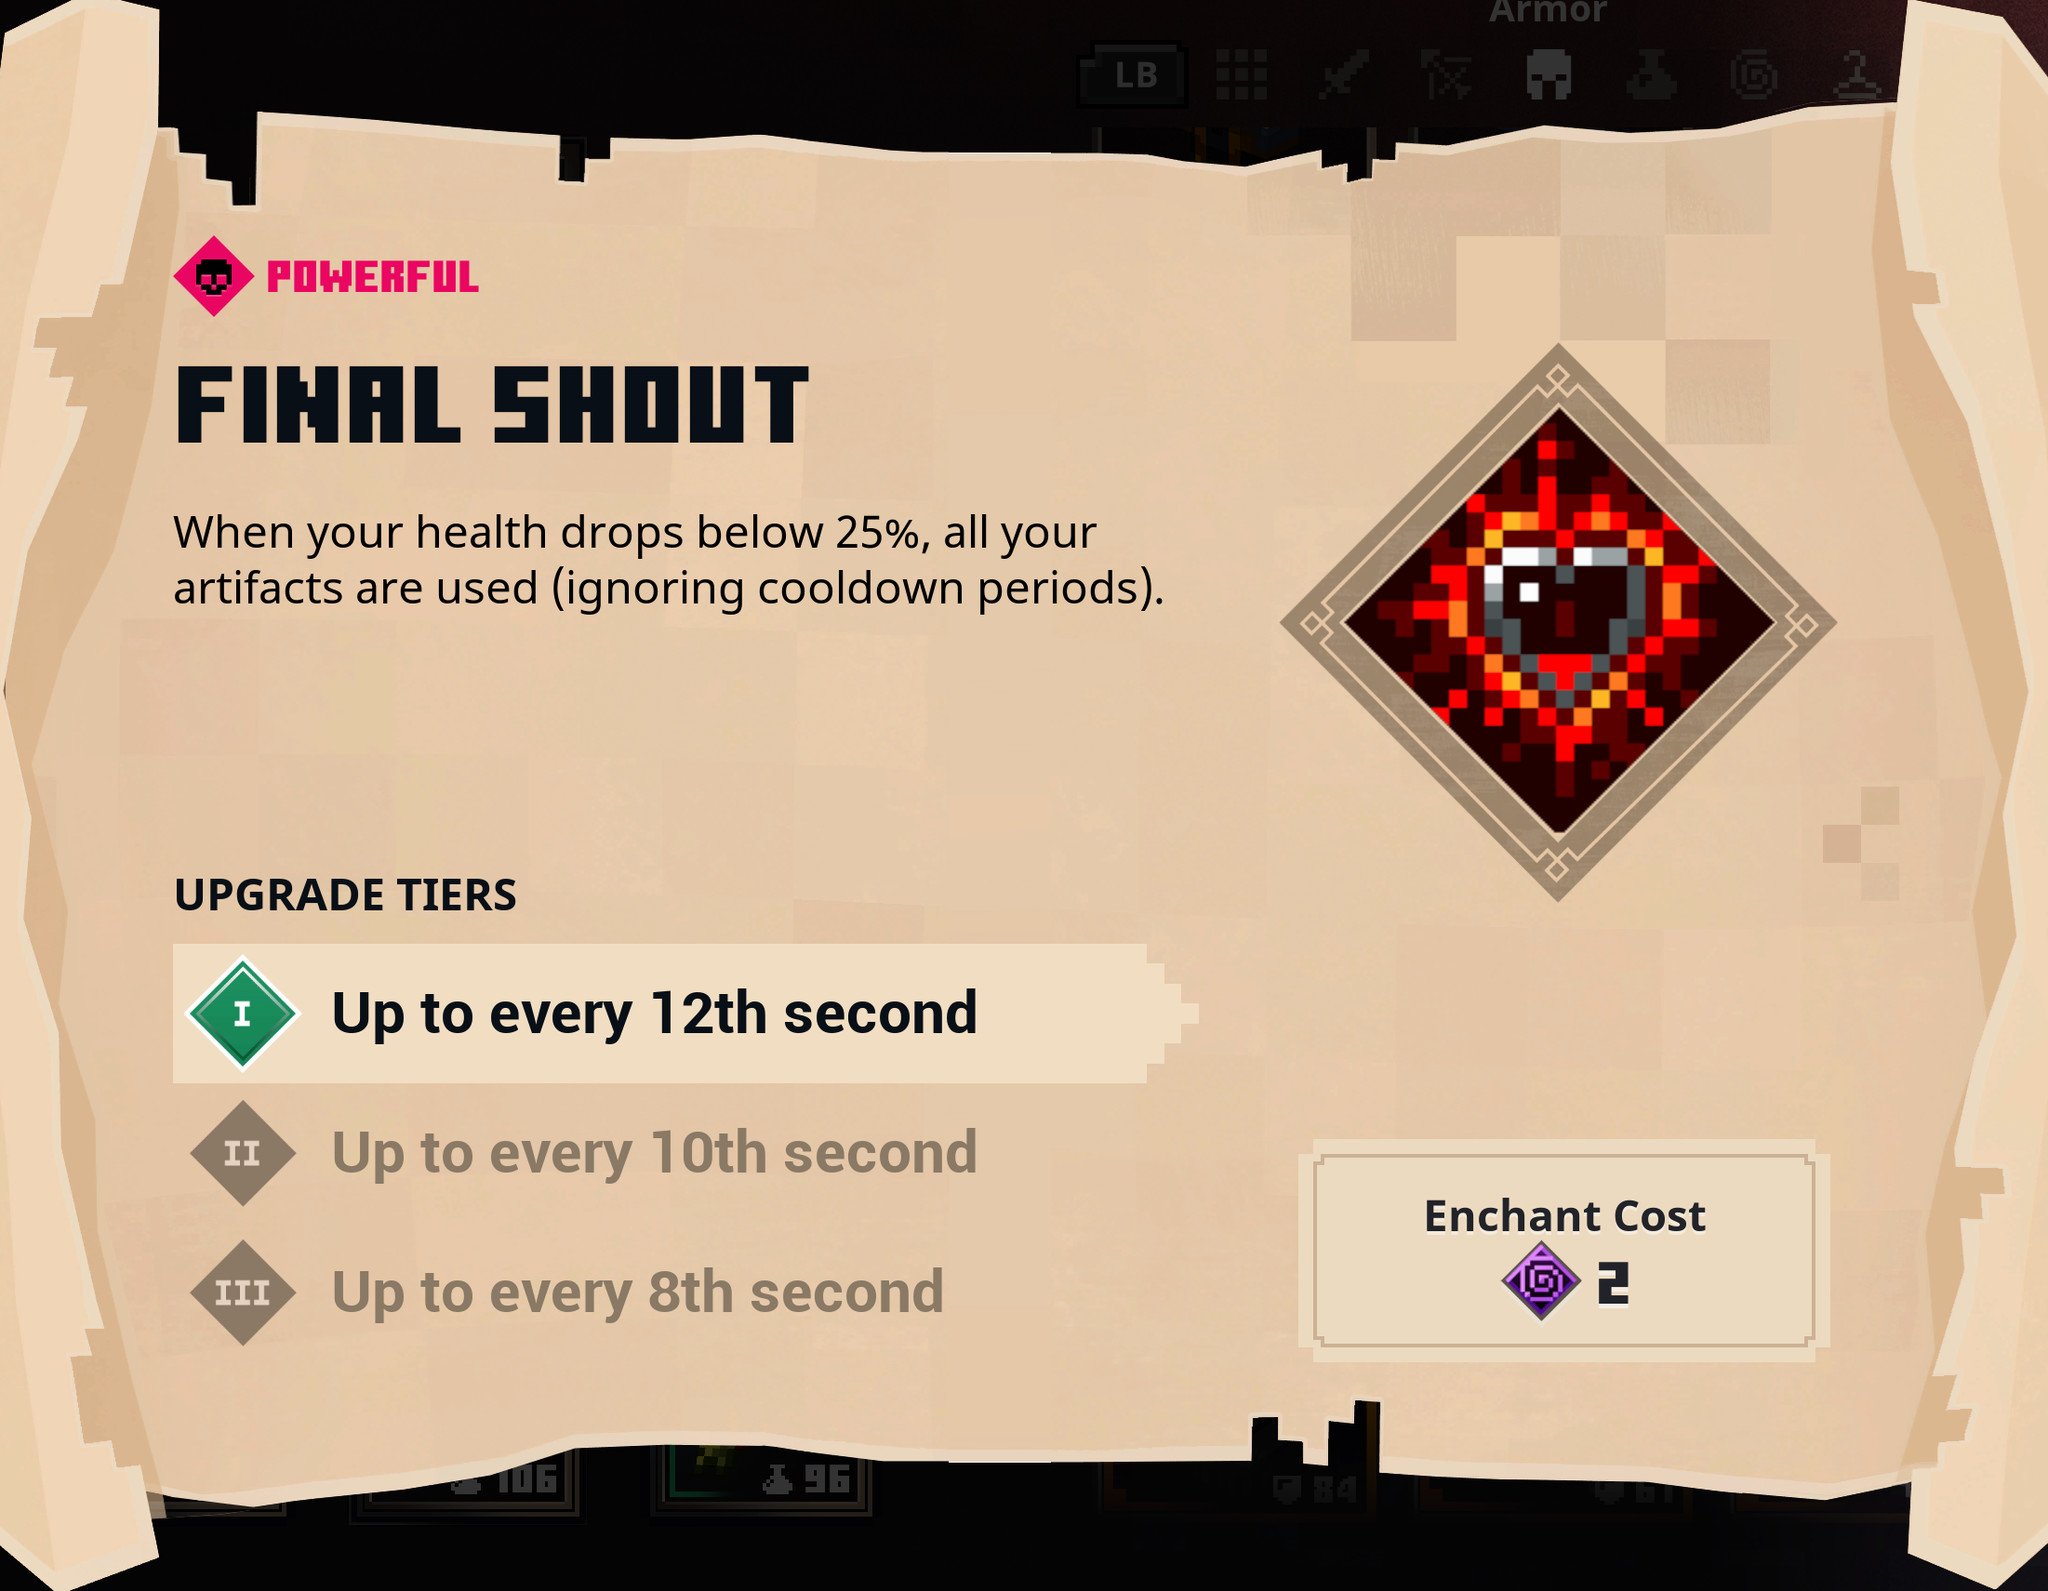
The first enchantment is the only one here that's 100% necessary, and that's Final Shout. This enchantment makes it so that if your health falls below the dreaded 25% number, all of your equipped enchantments will be used immediately, regardless of their current cooldown level. This means the artifacts you chose above will all be used again, regenerating your health and summoning fresh companions to fight by your side, or calling your existing ones to come aid you. This is the enchantment that keeps you alive and isn't optional.
Source: Windows Central
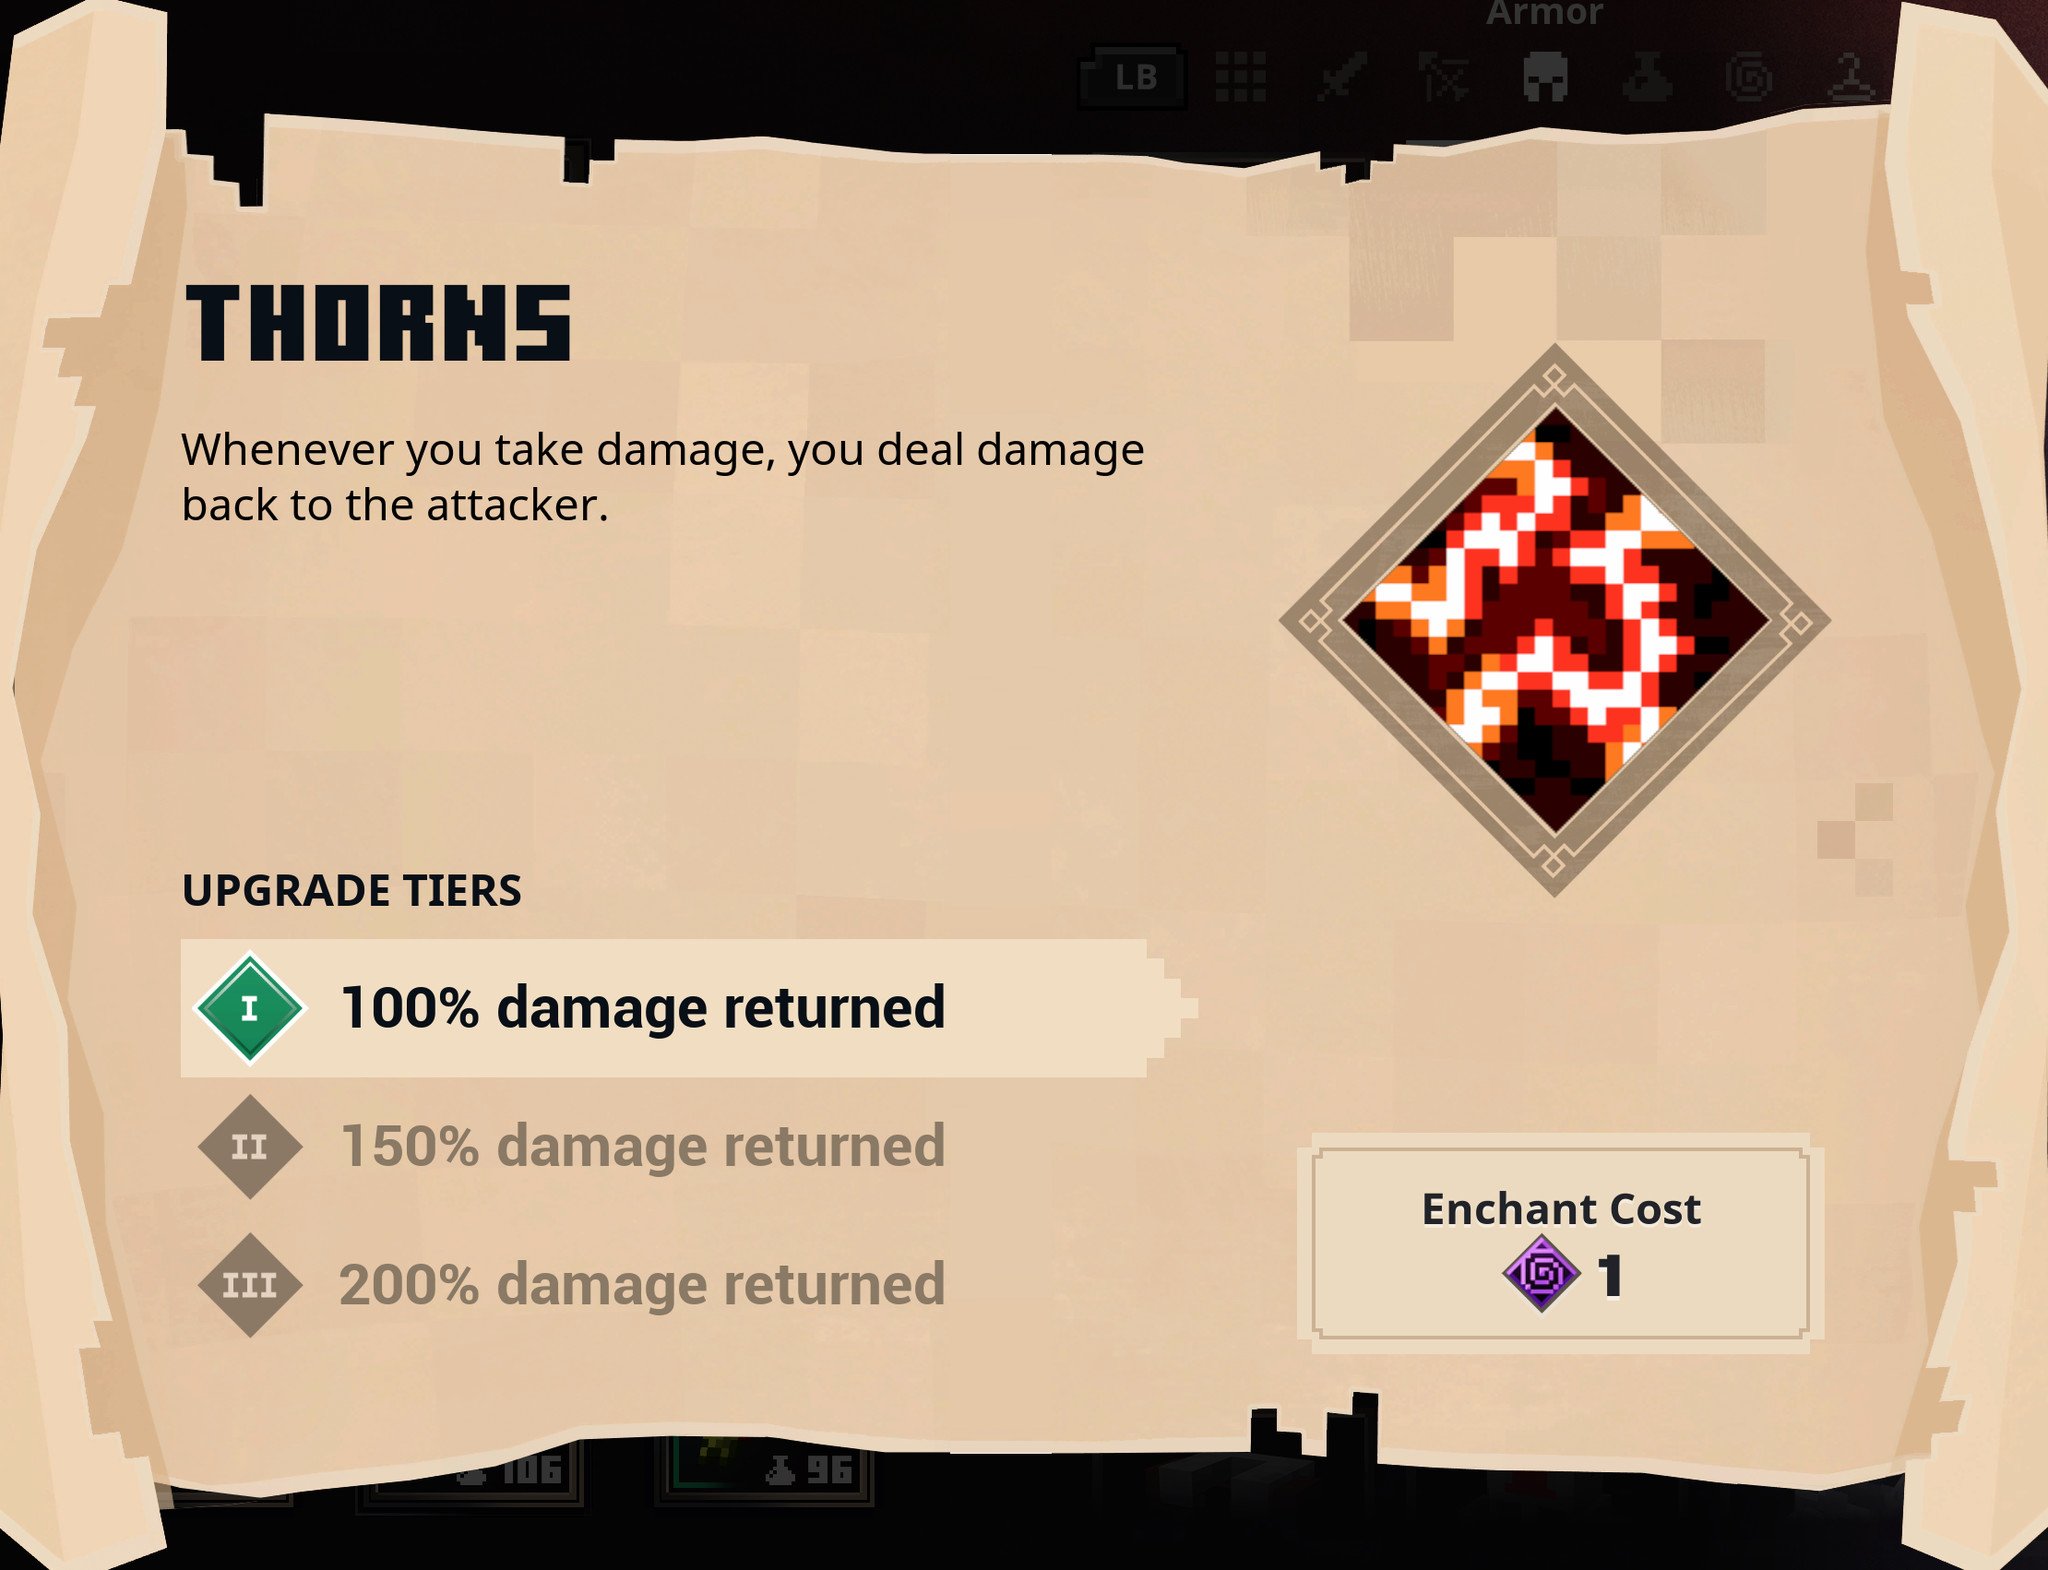
The other two enchantments are optional, but nicely complement what we've set up here and allow you to take this emeralds and XP farm to higher difficulties than you would otherwise be able to. The Thorns enchantment returns up to 200% damage back to your enemies when they'll attack you, accelerating how fast you're able to kill enemies than with just companions, and reducing how much damage you'll take in the long run. This pairs up very nicely with this build, since it's the only enchantment that doesn't require attacking or moving to deal damage to enemies.
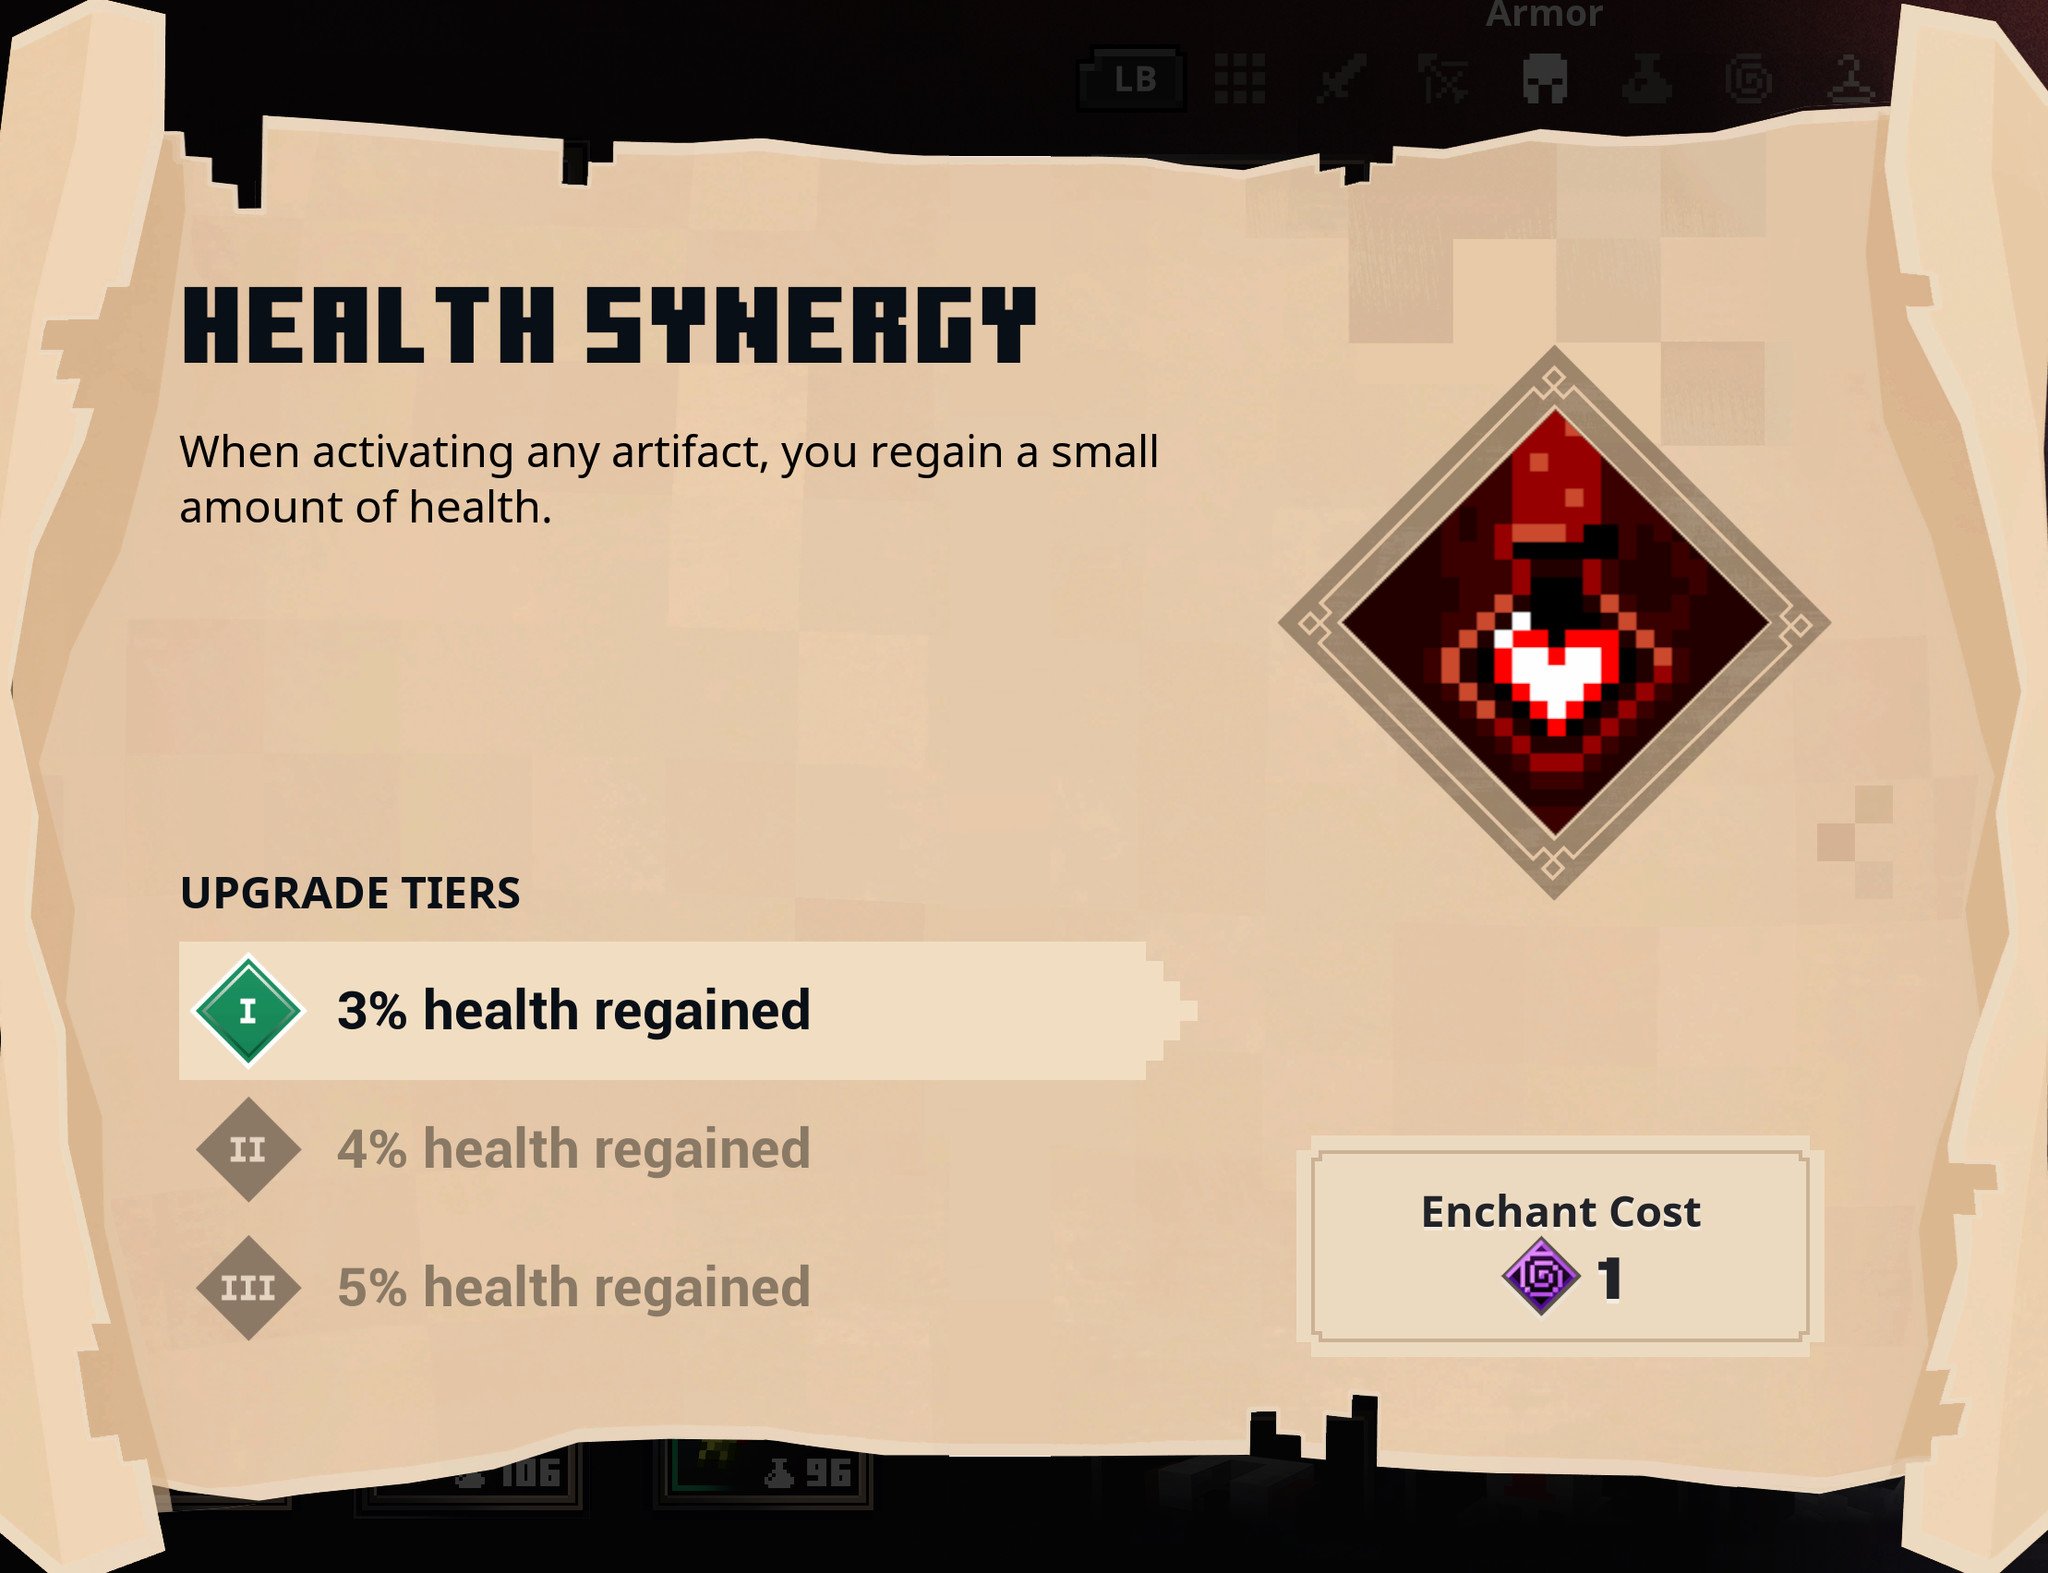
The final enchantment is the Health Synergy enchantment, which heals up to 5% of your total health for each artifact you use. What does this mean for you? Well, artifacts used by the Final Shout enchantment actually count towards the Health Synergy enchantment, so they work hand-in-hand to instantly restore up to 15% of your health the moment you're brought down to that point. This isn't as dramatic as the Thorns enchantment but helps to keep you alive even longer if you're in a pinch.
How do I farm emeralds and XP in Minecraft Dungeons?
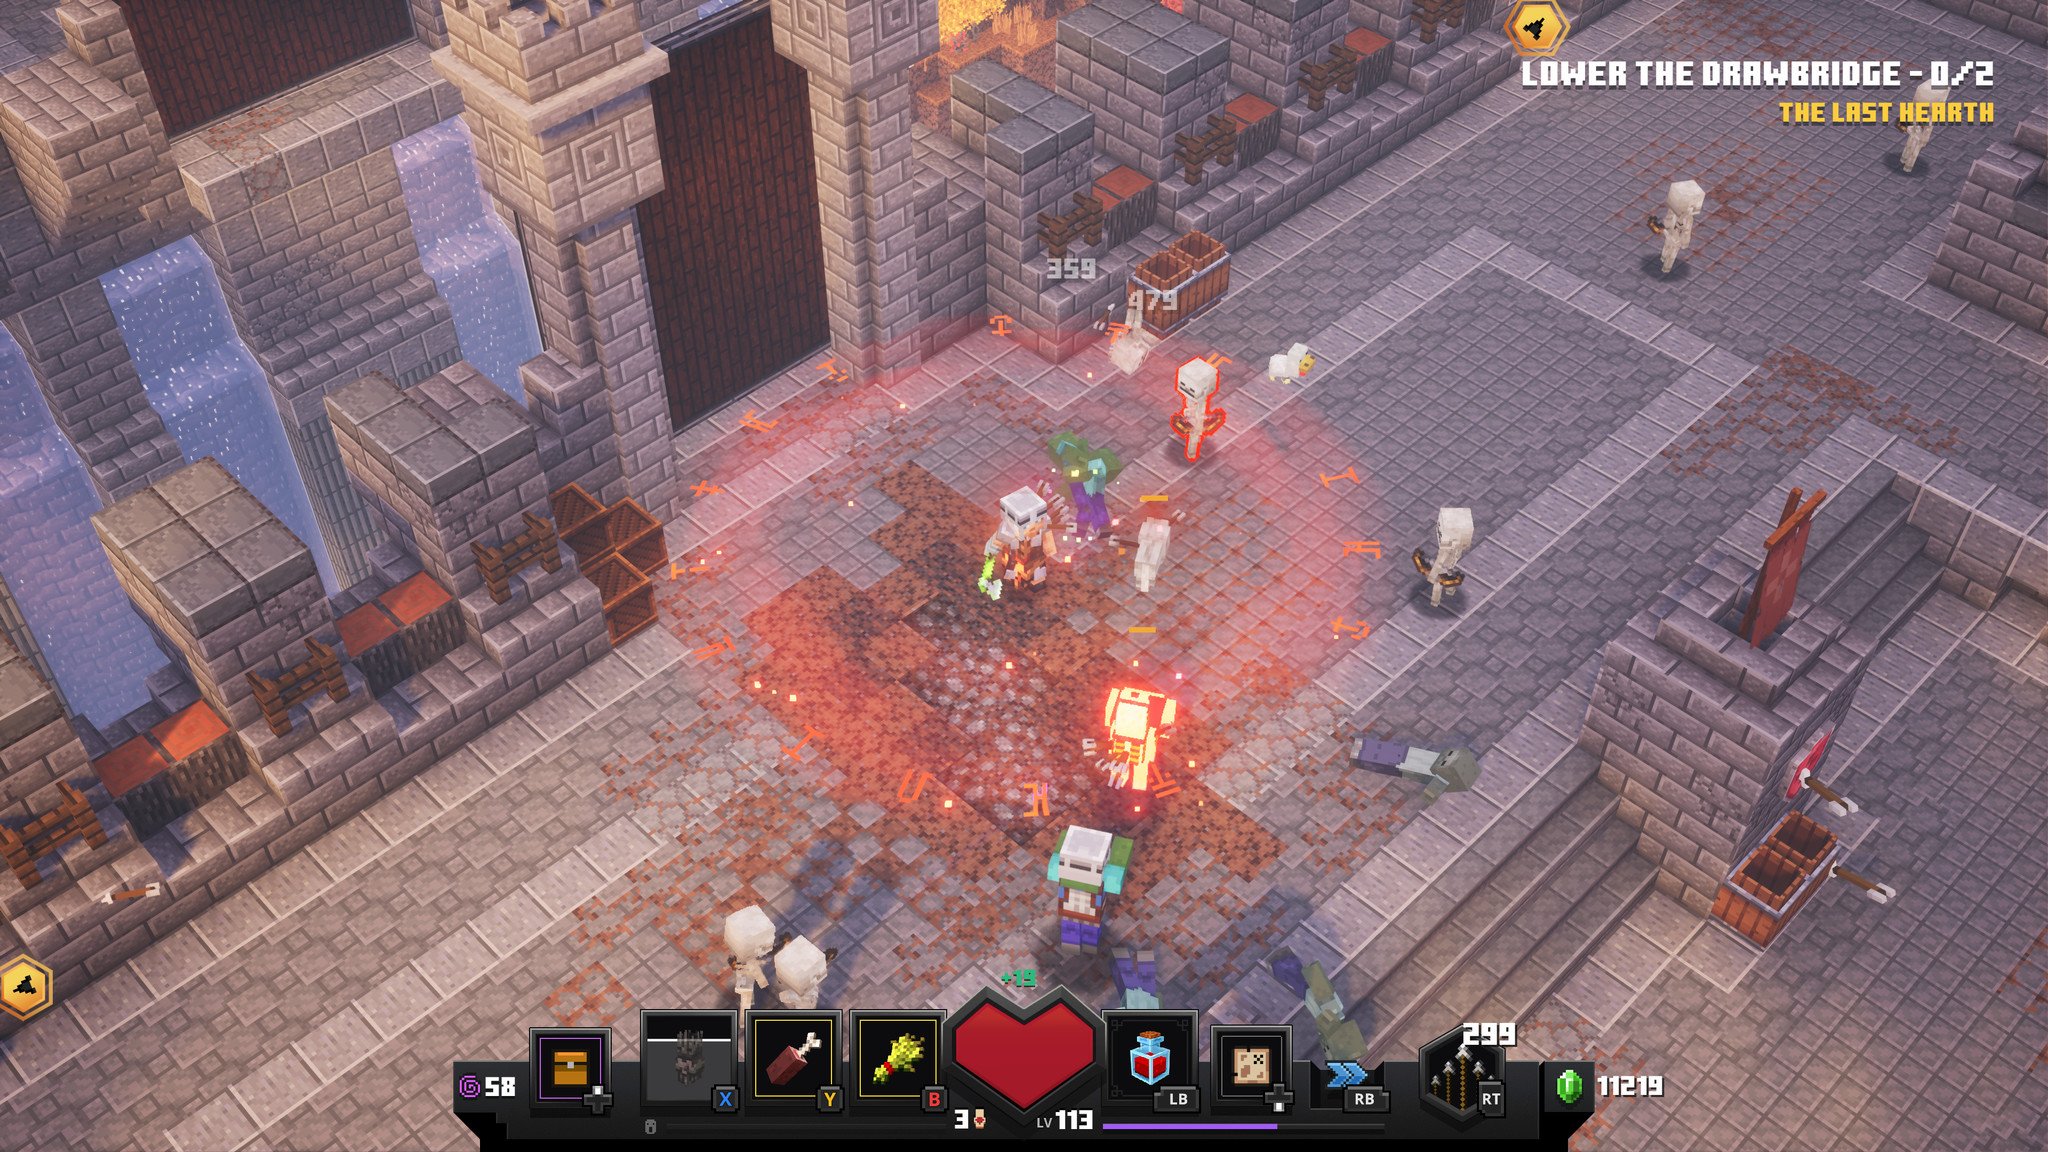
Now that you're all prepared for our infinite farm, here's how this works: in a few parts of Minecraft Dungeons, the game will spawn endless waves of enemies while you're supposed to be fulfilling an objective. Normally, this makes the game tense, and encourages you to move forward to avoid being overwhelmed. However, if you don't complete whatever objective the game wants you to, you instead get a never-ending supply of emeralds and XP, erm, I mean hostile mobs.
The easiest place to go to take advantage of this can be found earlier in the game, in Pumpkin Pastures. About halfway through the map, there is an Arch-Illager ambush followed immediately by a drawbridge that has to be lowered by activating two levers. Getting to this point begins your perpetual cycle of barely surviving the onslaught of hostile mobs, as long as you don't activate the levers in question.
Here's how to farm emeralds and XP in Minecraft Dungeons:
- Make sure your loadout is prepared properly by referring to the section above. All three parts (armor, artifacts, and enchantments) need to be in play for this work as intended.
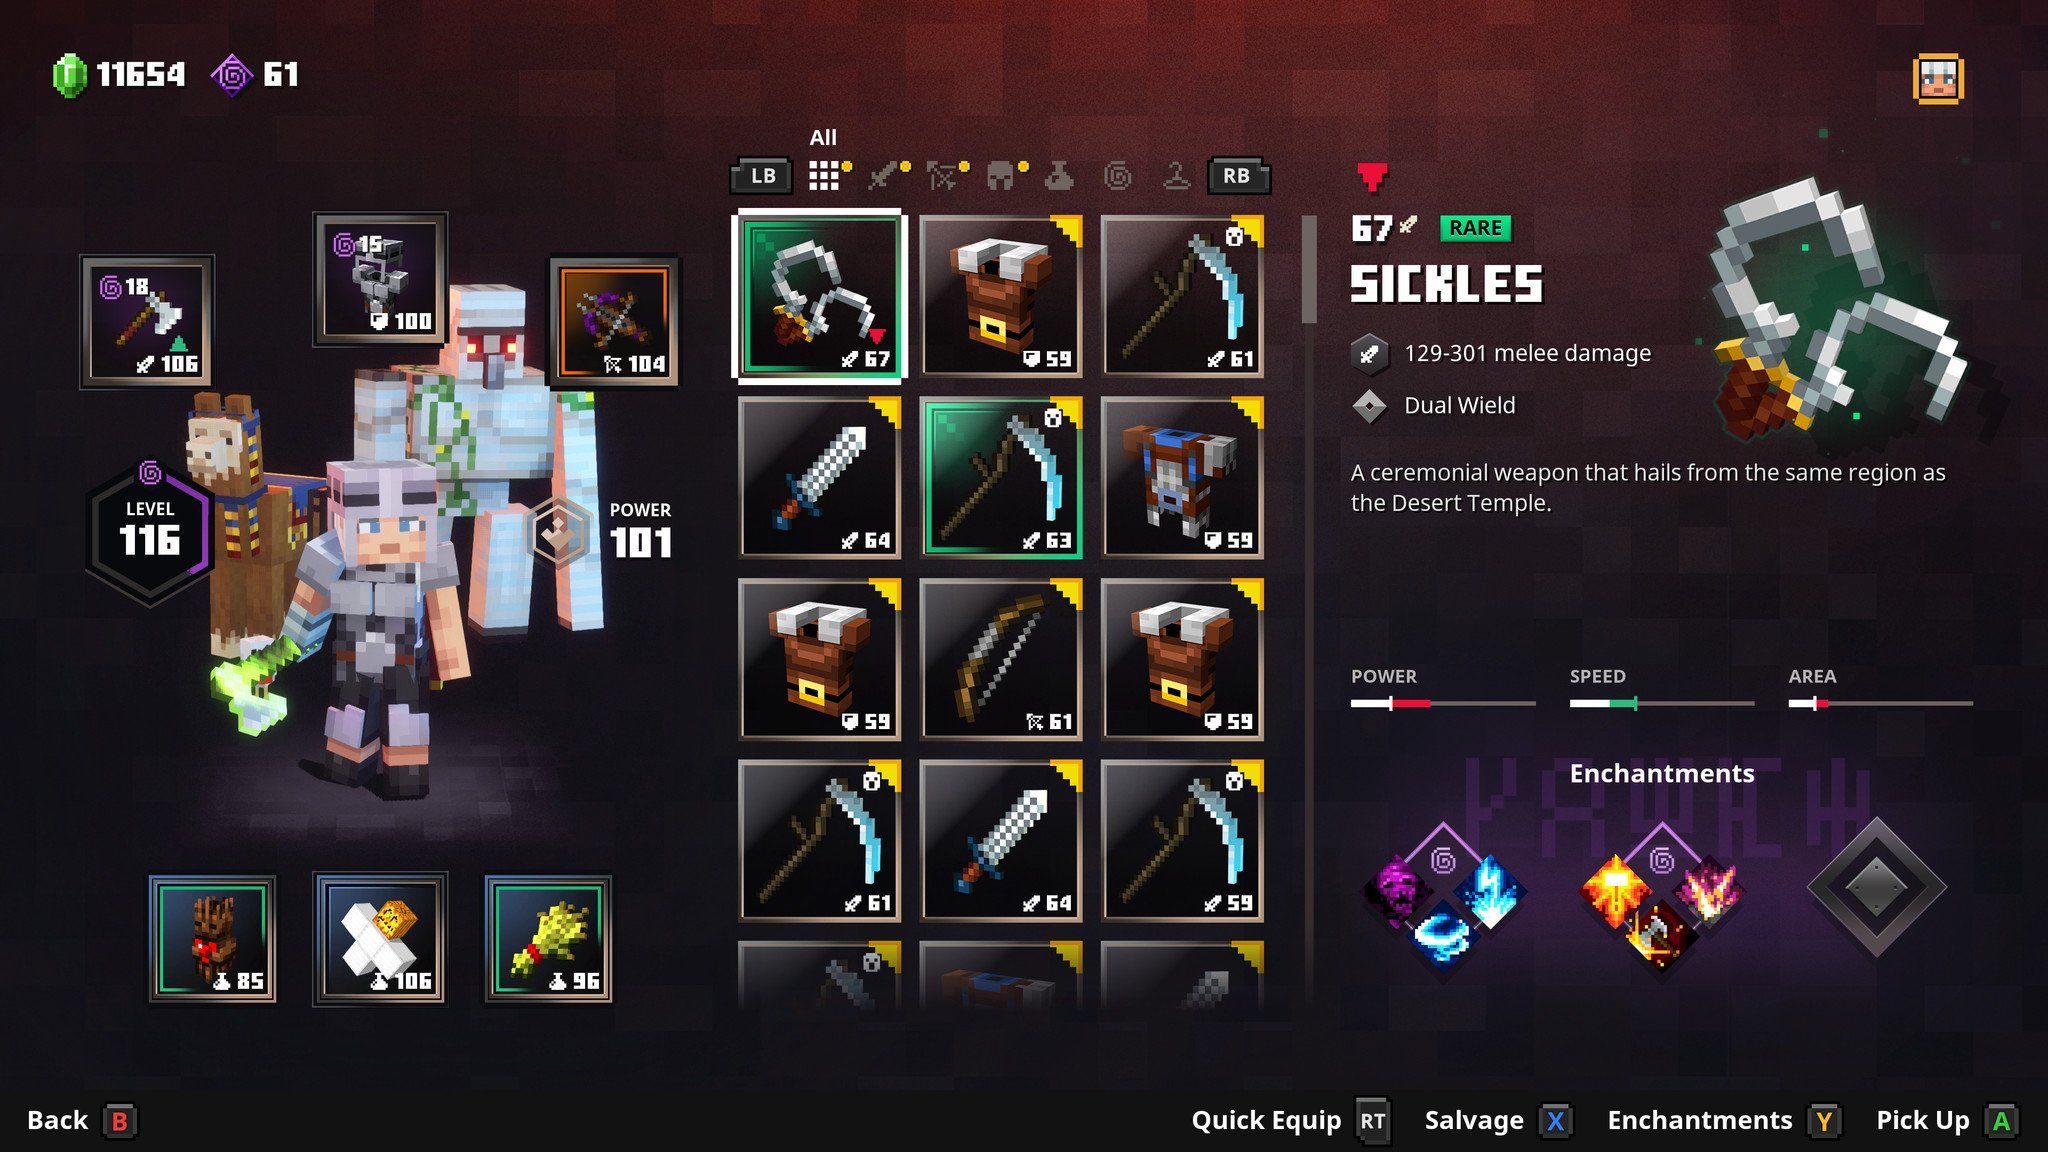
- Go to your inventory and check your power level. It'll be located just to the left of your inventory, next to your player. You'll need this info.
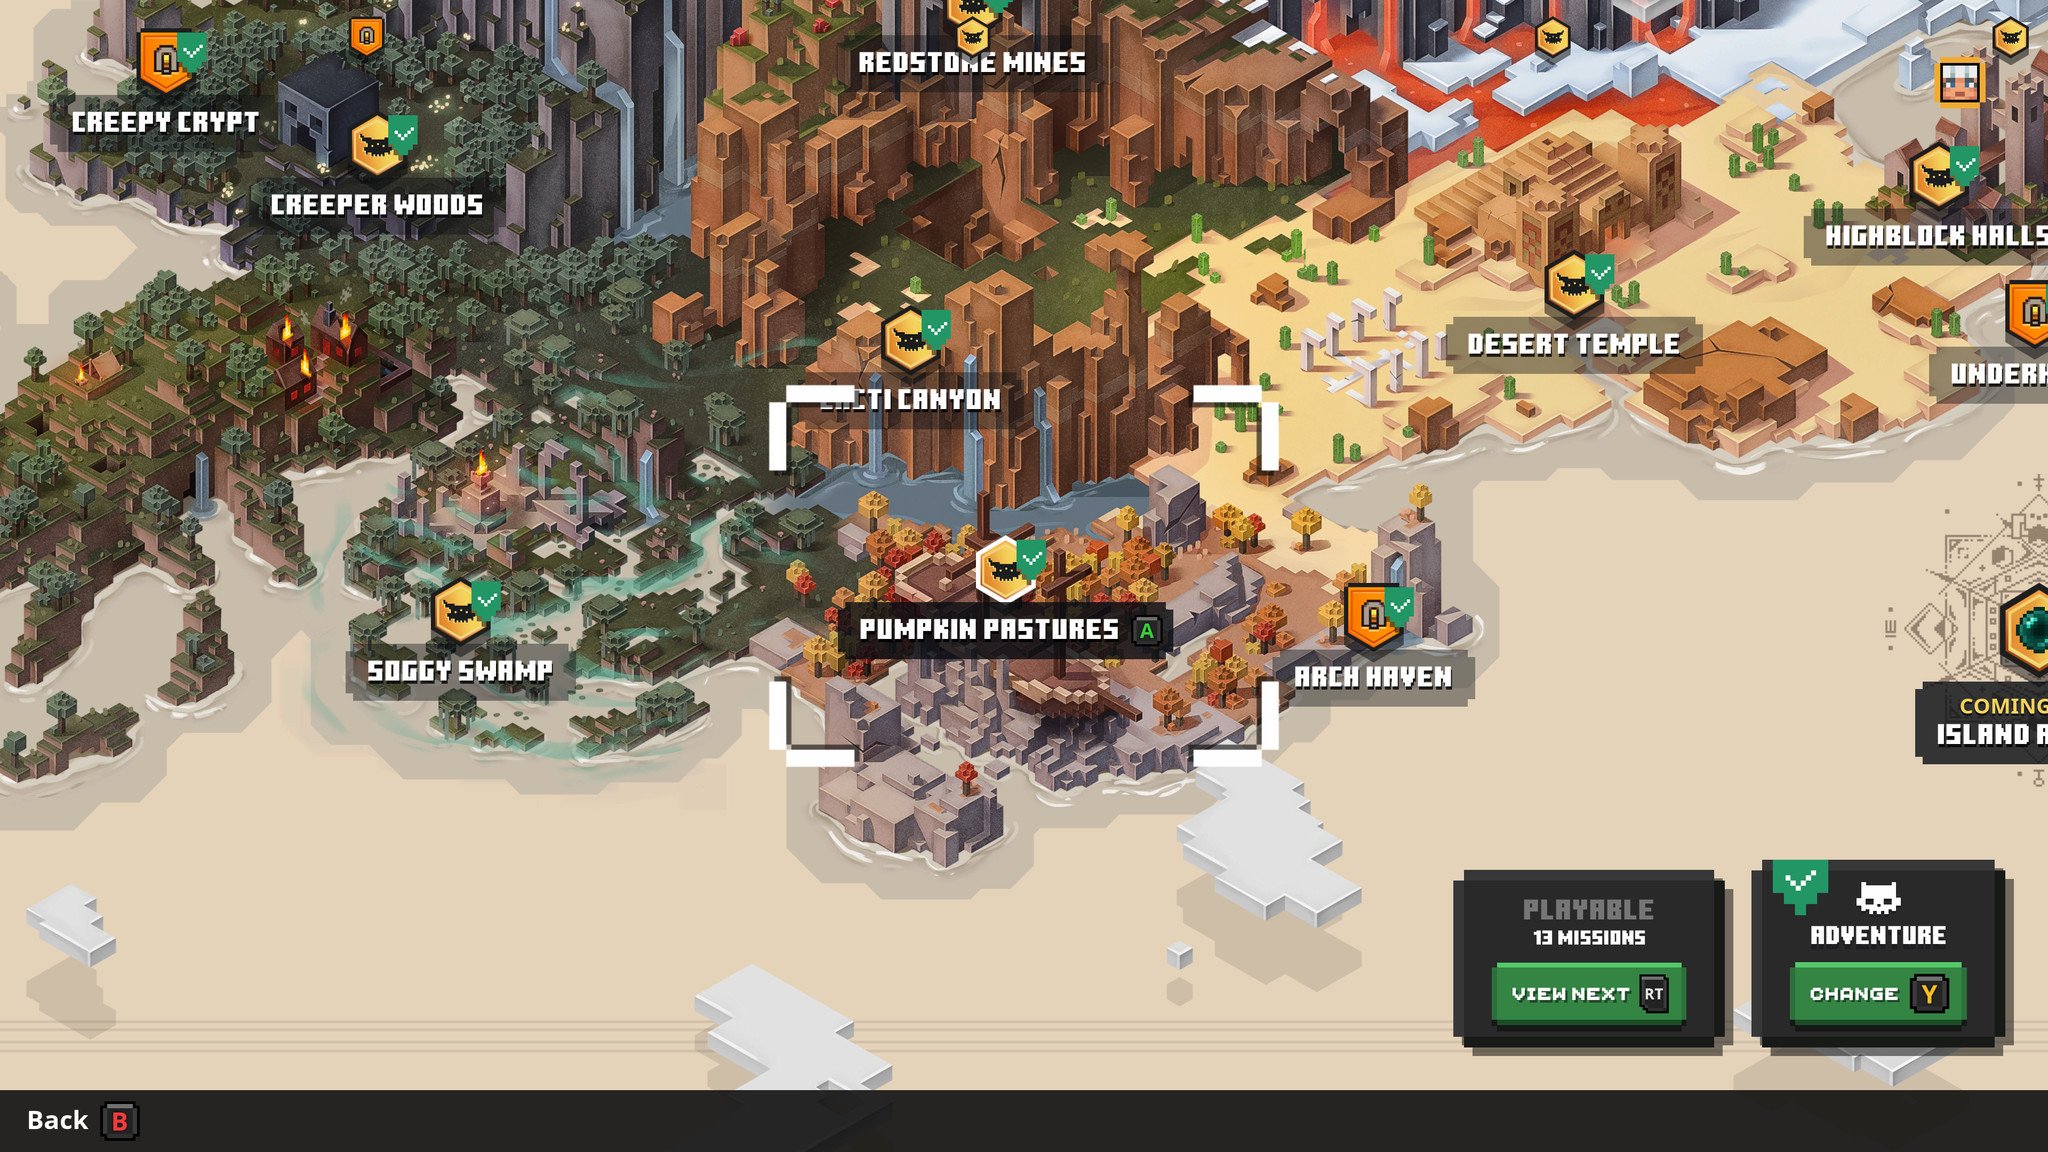
- Head to the map while you're in camp to see the level selection screen.
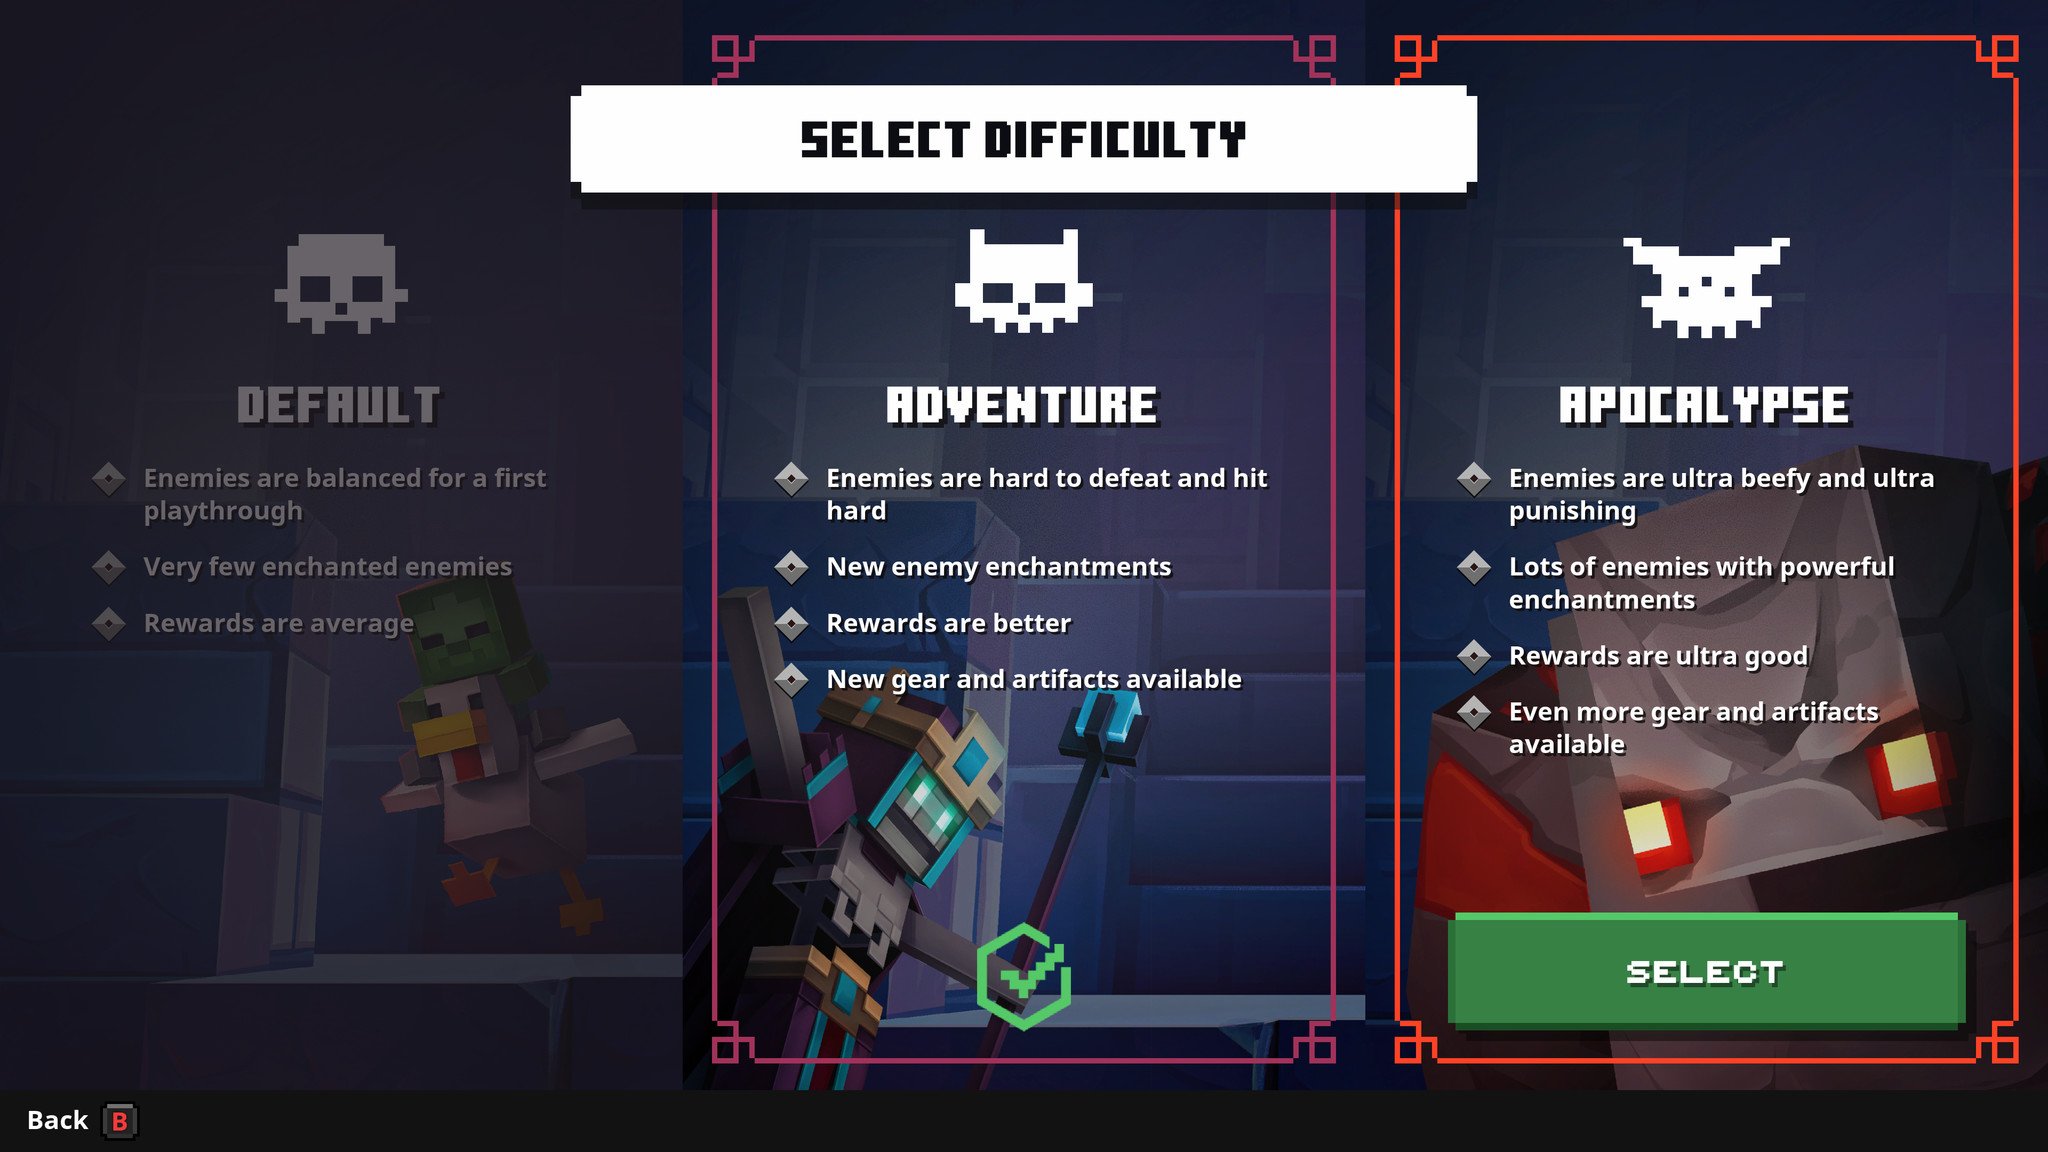
- Look in the lower right-hand corner and check what difficulty you're on. It'll either say Default, Adventure, or Apocalypse.
- Click the corresponding button to change your difficulty. You'll want to go down a difficulty. If you're on Apocalypse, move down to Adventure. Adventure difficulty goes down to Default. Players still on Default difficulty will probably want to wait before attempting this.
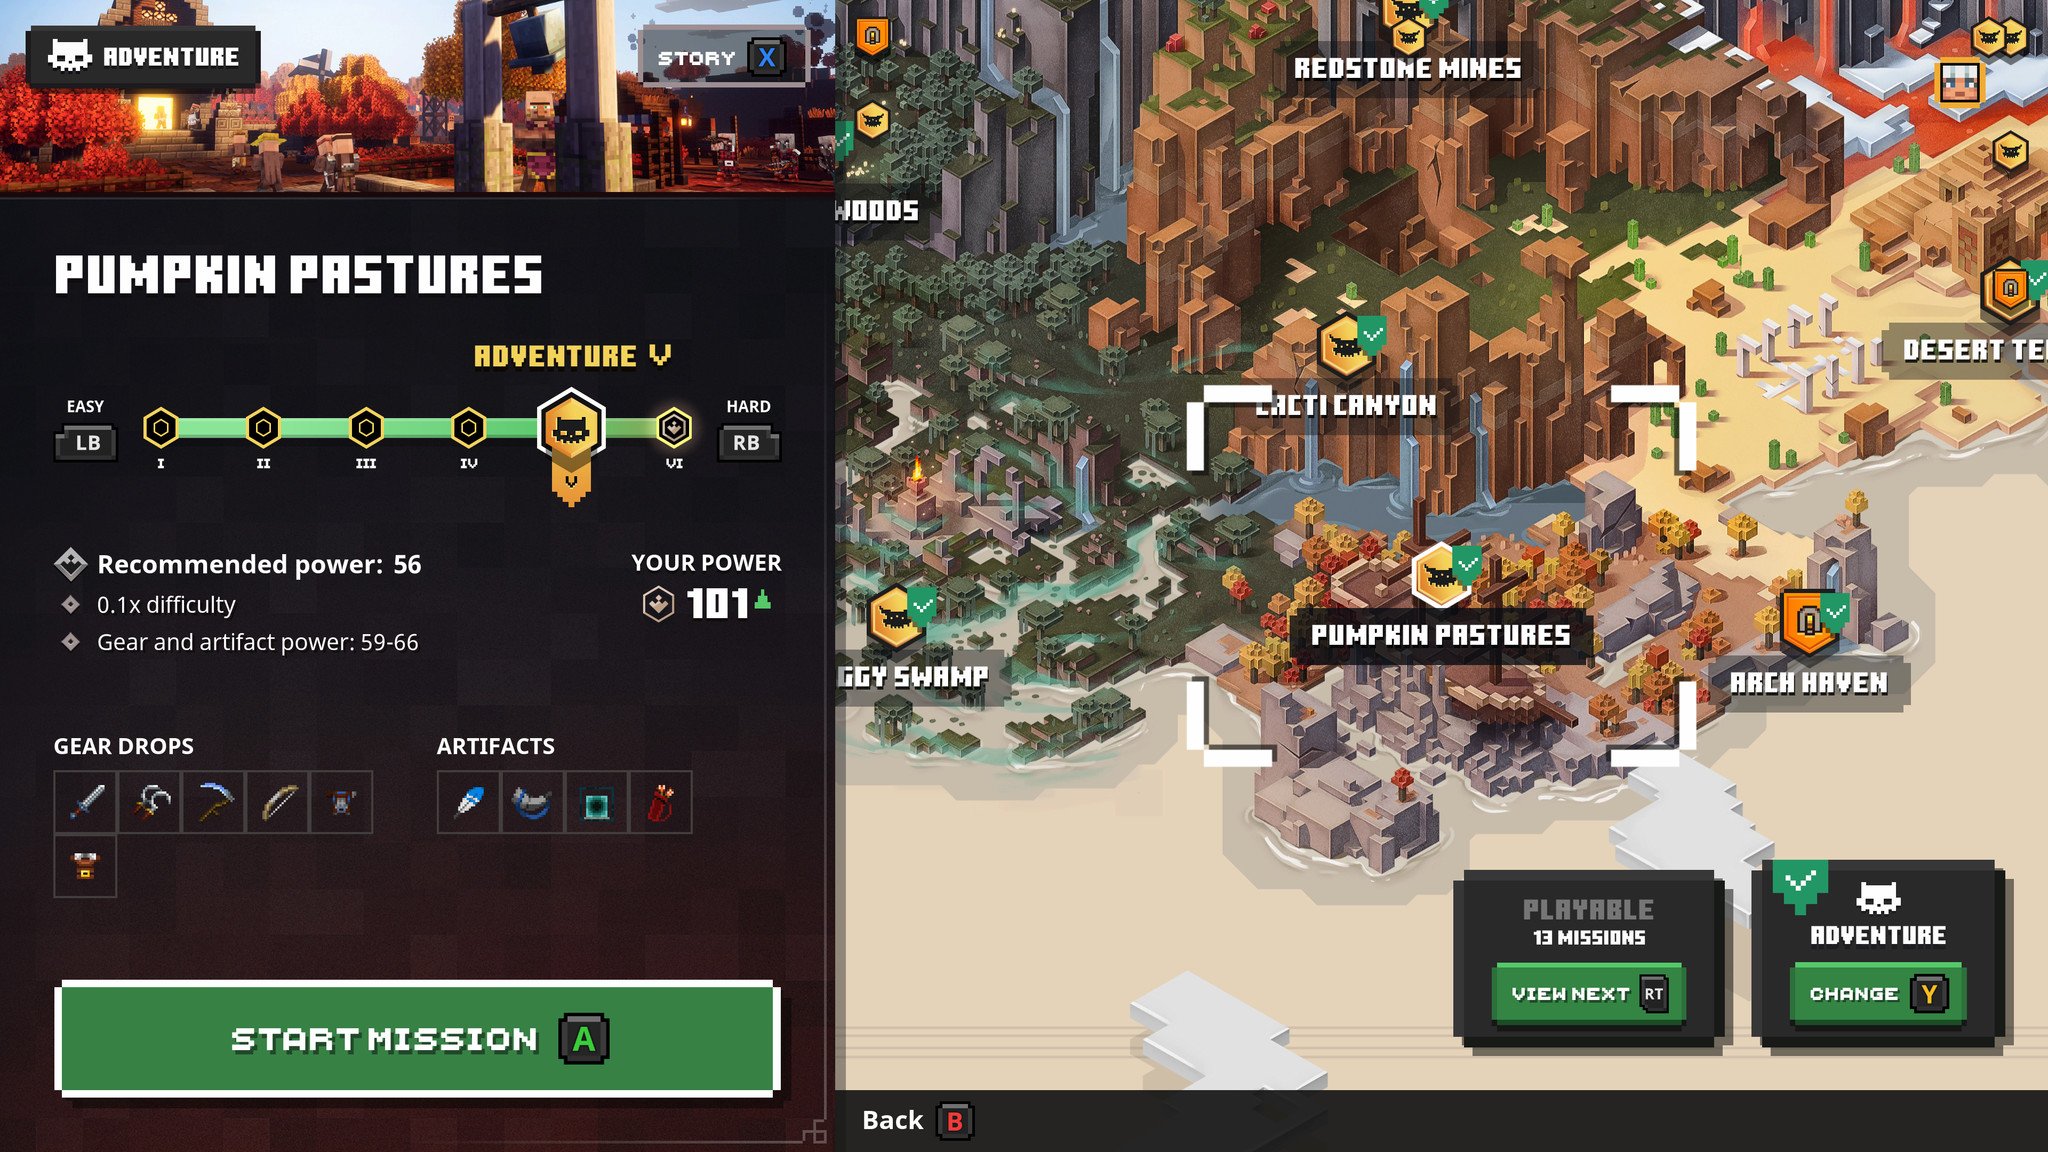
- Once you've moved down a difficulty, find Pumpkin Pastures and select it. It'll be on the lower part of the map, on top of a grounded ship.
- From here, you'll want to adjust the level difficulty. I've found that about half of your current combat power means very little chance of dying. If your power is 40, go down to about 20. If you're power is 100, go down to about 50. Your power level will also be listed here.
- If you have all three of the enchantments recommended above, and everything is the best it can be, you can probably push the difficulty up to about 75% of your current power level. This will increase the number of enemies, and therefore emeralds and XP.
- Go through the map until you get to the section with the drawbridge and two levers. You'll need to beat an Arch-Illager ambush first. You can just run through the map, or play through it, but at a lower level none of the chests or gear will really be usable, so it's best to just skip it.
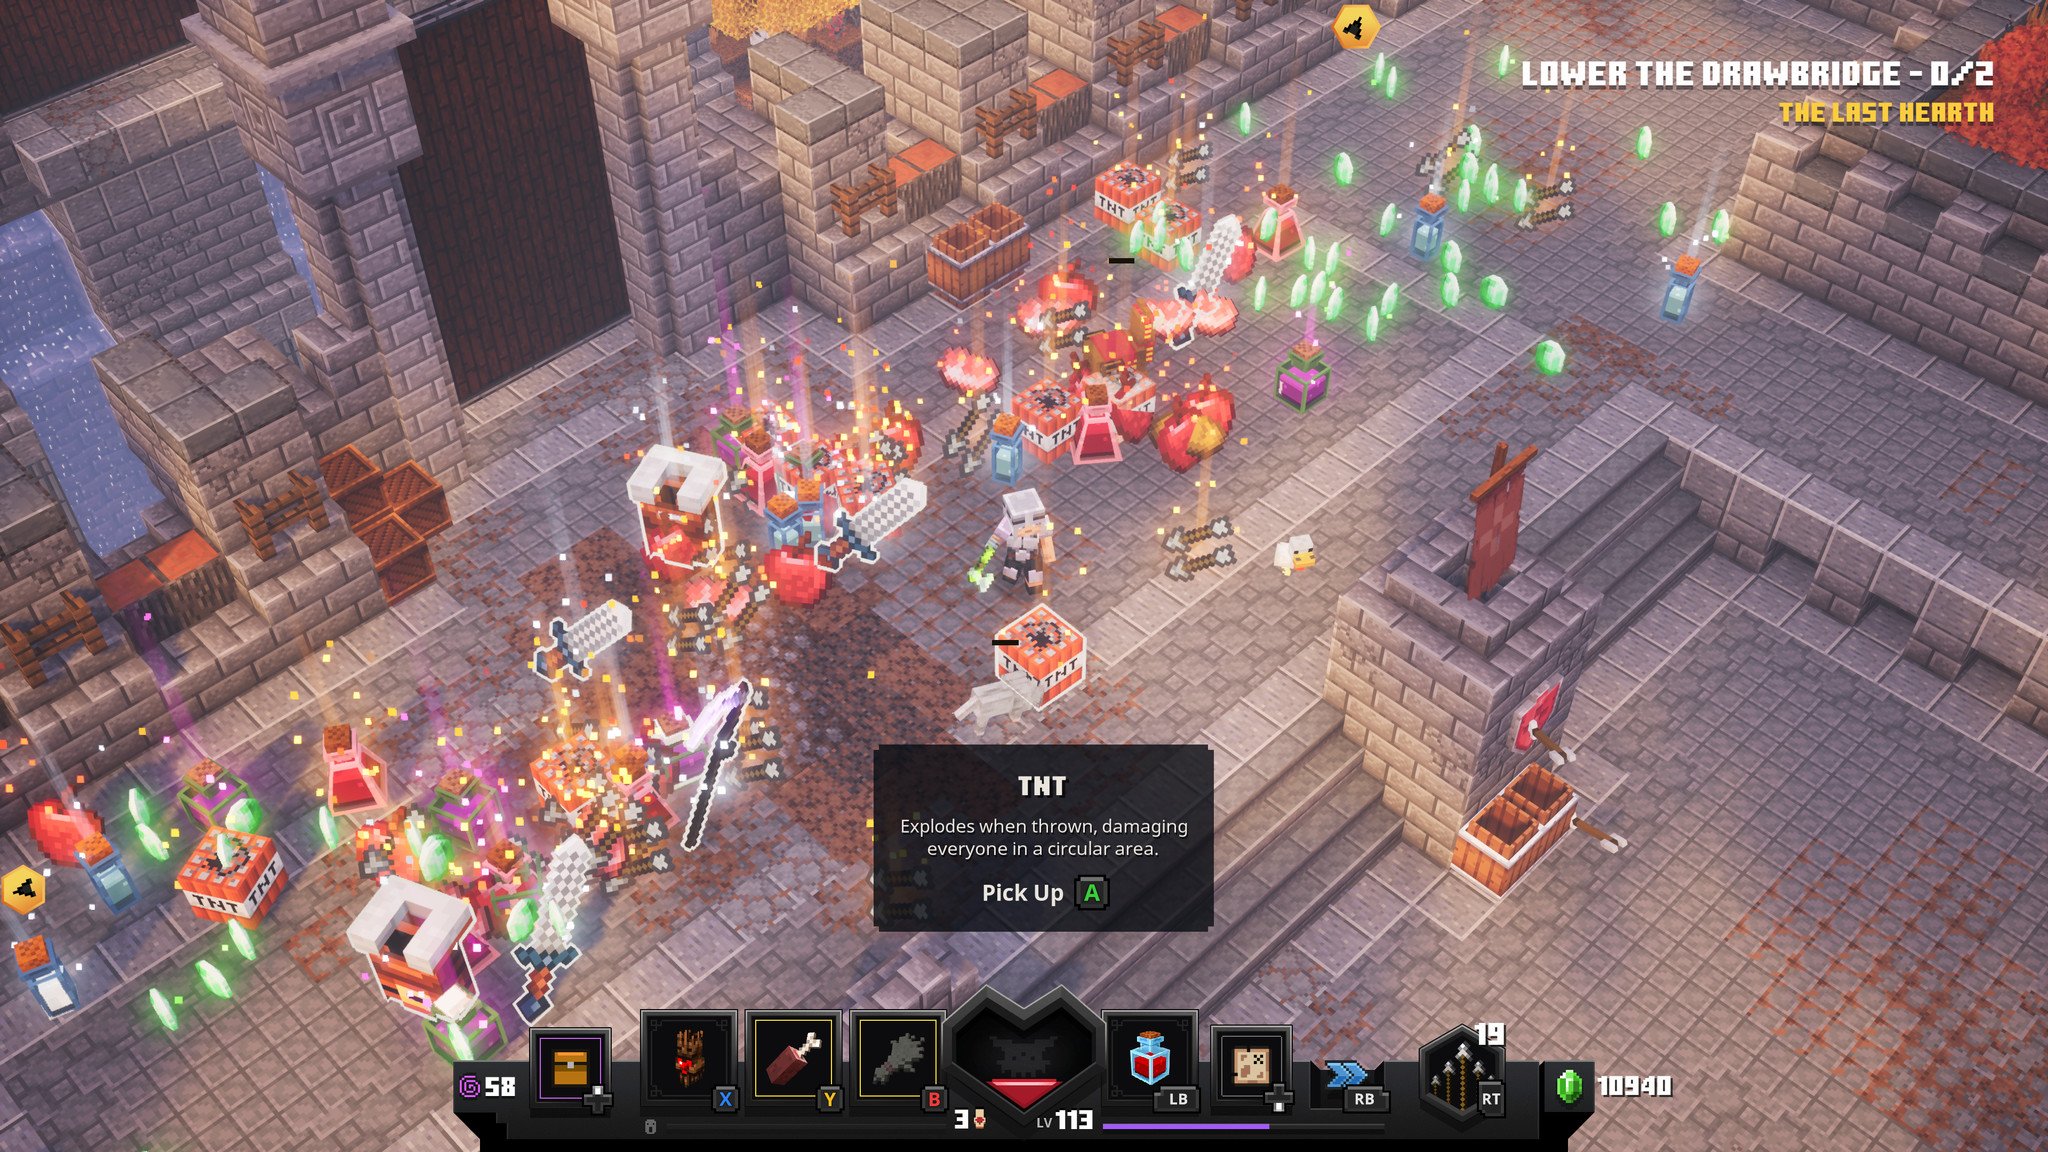
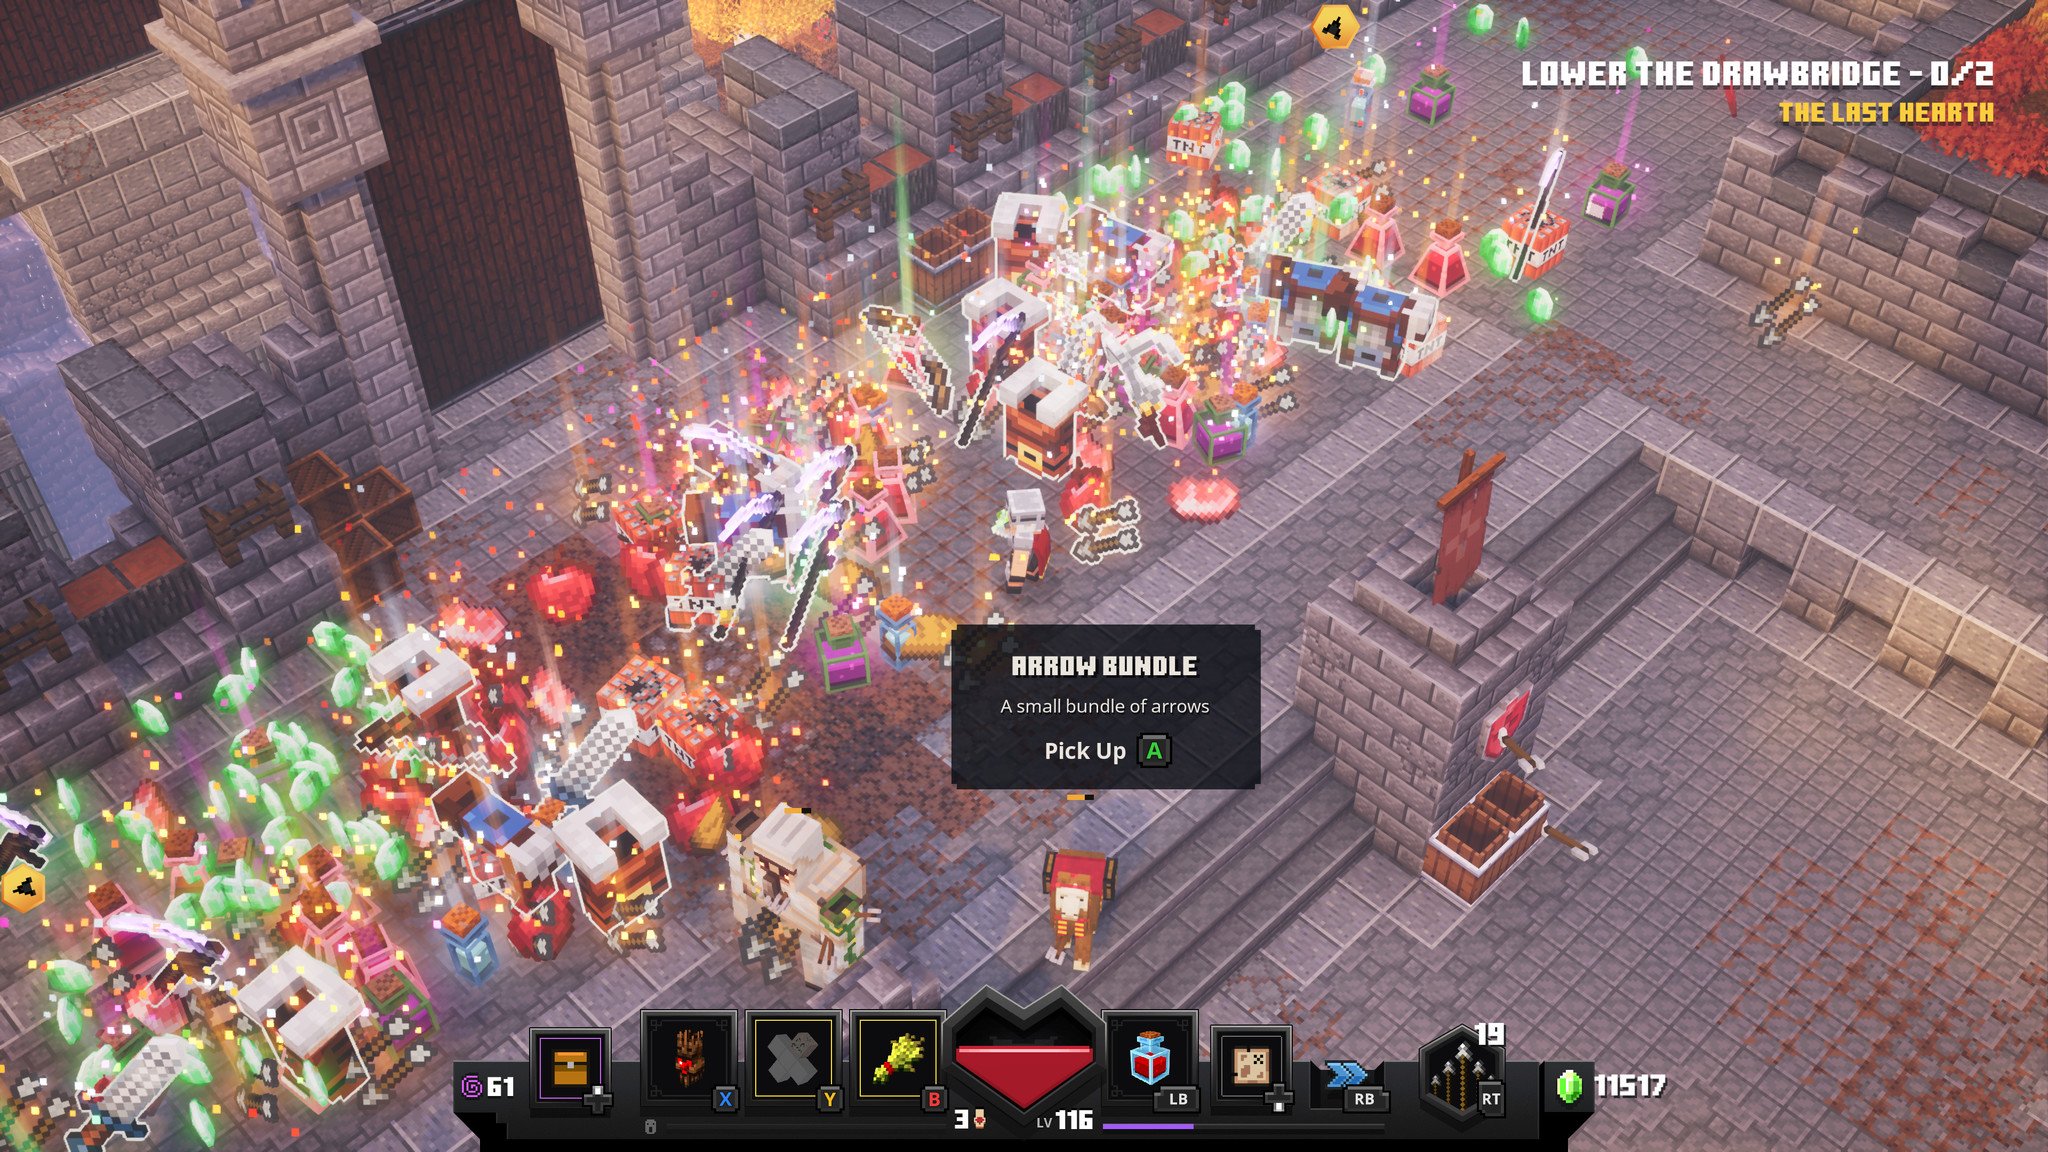
- Once you're there, do not activate the levers. Simply use your companion artifacts and stand still. That's all there is to it!
From dust to riches
If you've followed this guide to the letter, you'll slowly amass a vast fortune of emeralds, loot that you can salvage for even more emeralds, and completely useless consumables that you don't need. This infinite XP farm is slow, but I can attest that it does work. After a couple of hours of doing nothing but writing this guide, I had gained four levels and a few thousand emeralds. I didn't even have the Thorns enchantment, either, which would've made it go even faster than it did. If you've got time to kill and want to build up your emerald stores, just set the game and walk away. You'll be rich in no (some) time.

Zachary Boddy (They / Them) is a Staff Writer for Windows Central, primarily focused on covering the latest news in tech and gaming, the best Xbox and PC games, and the most interesting Windows and Xbox hardware. They have been gaming and writing for most of their life starting with the original Xbox, and started out as a freelancer for Windows Central and its sister sites in 2019. Now a full-fledged Staff Writer, Zachary has expanded from only writing about all things Minecraft to covering practically everything on which Windows Central is an expert, especially when it comes to Microsoft.

 Windows Central Insider


