How to rip a Blu-ray disc to your PC
Want to put your Blu-ray discs into your home media server or just make it easier to watch them on a PC? Here's what you need to know.
All the latest news, reviews, and guides for Windows and Xbox diehards.
You are now subscribed
Your newsletter sign-up was successful
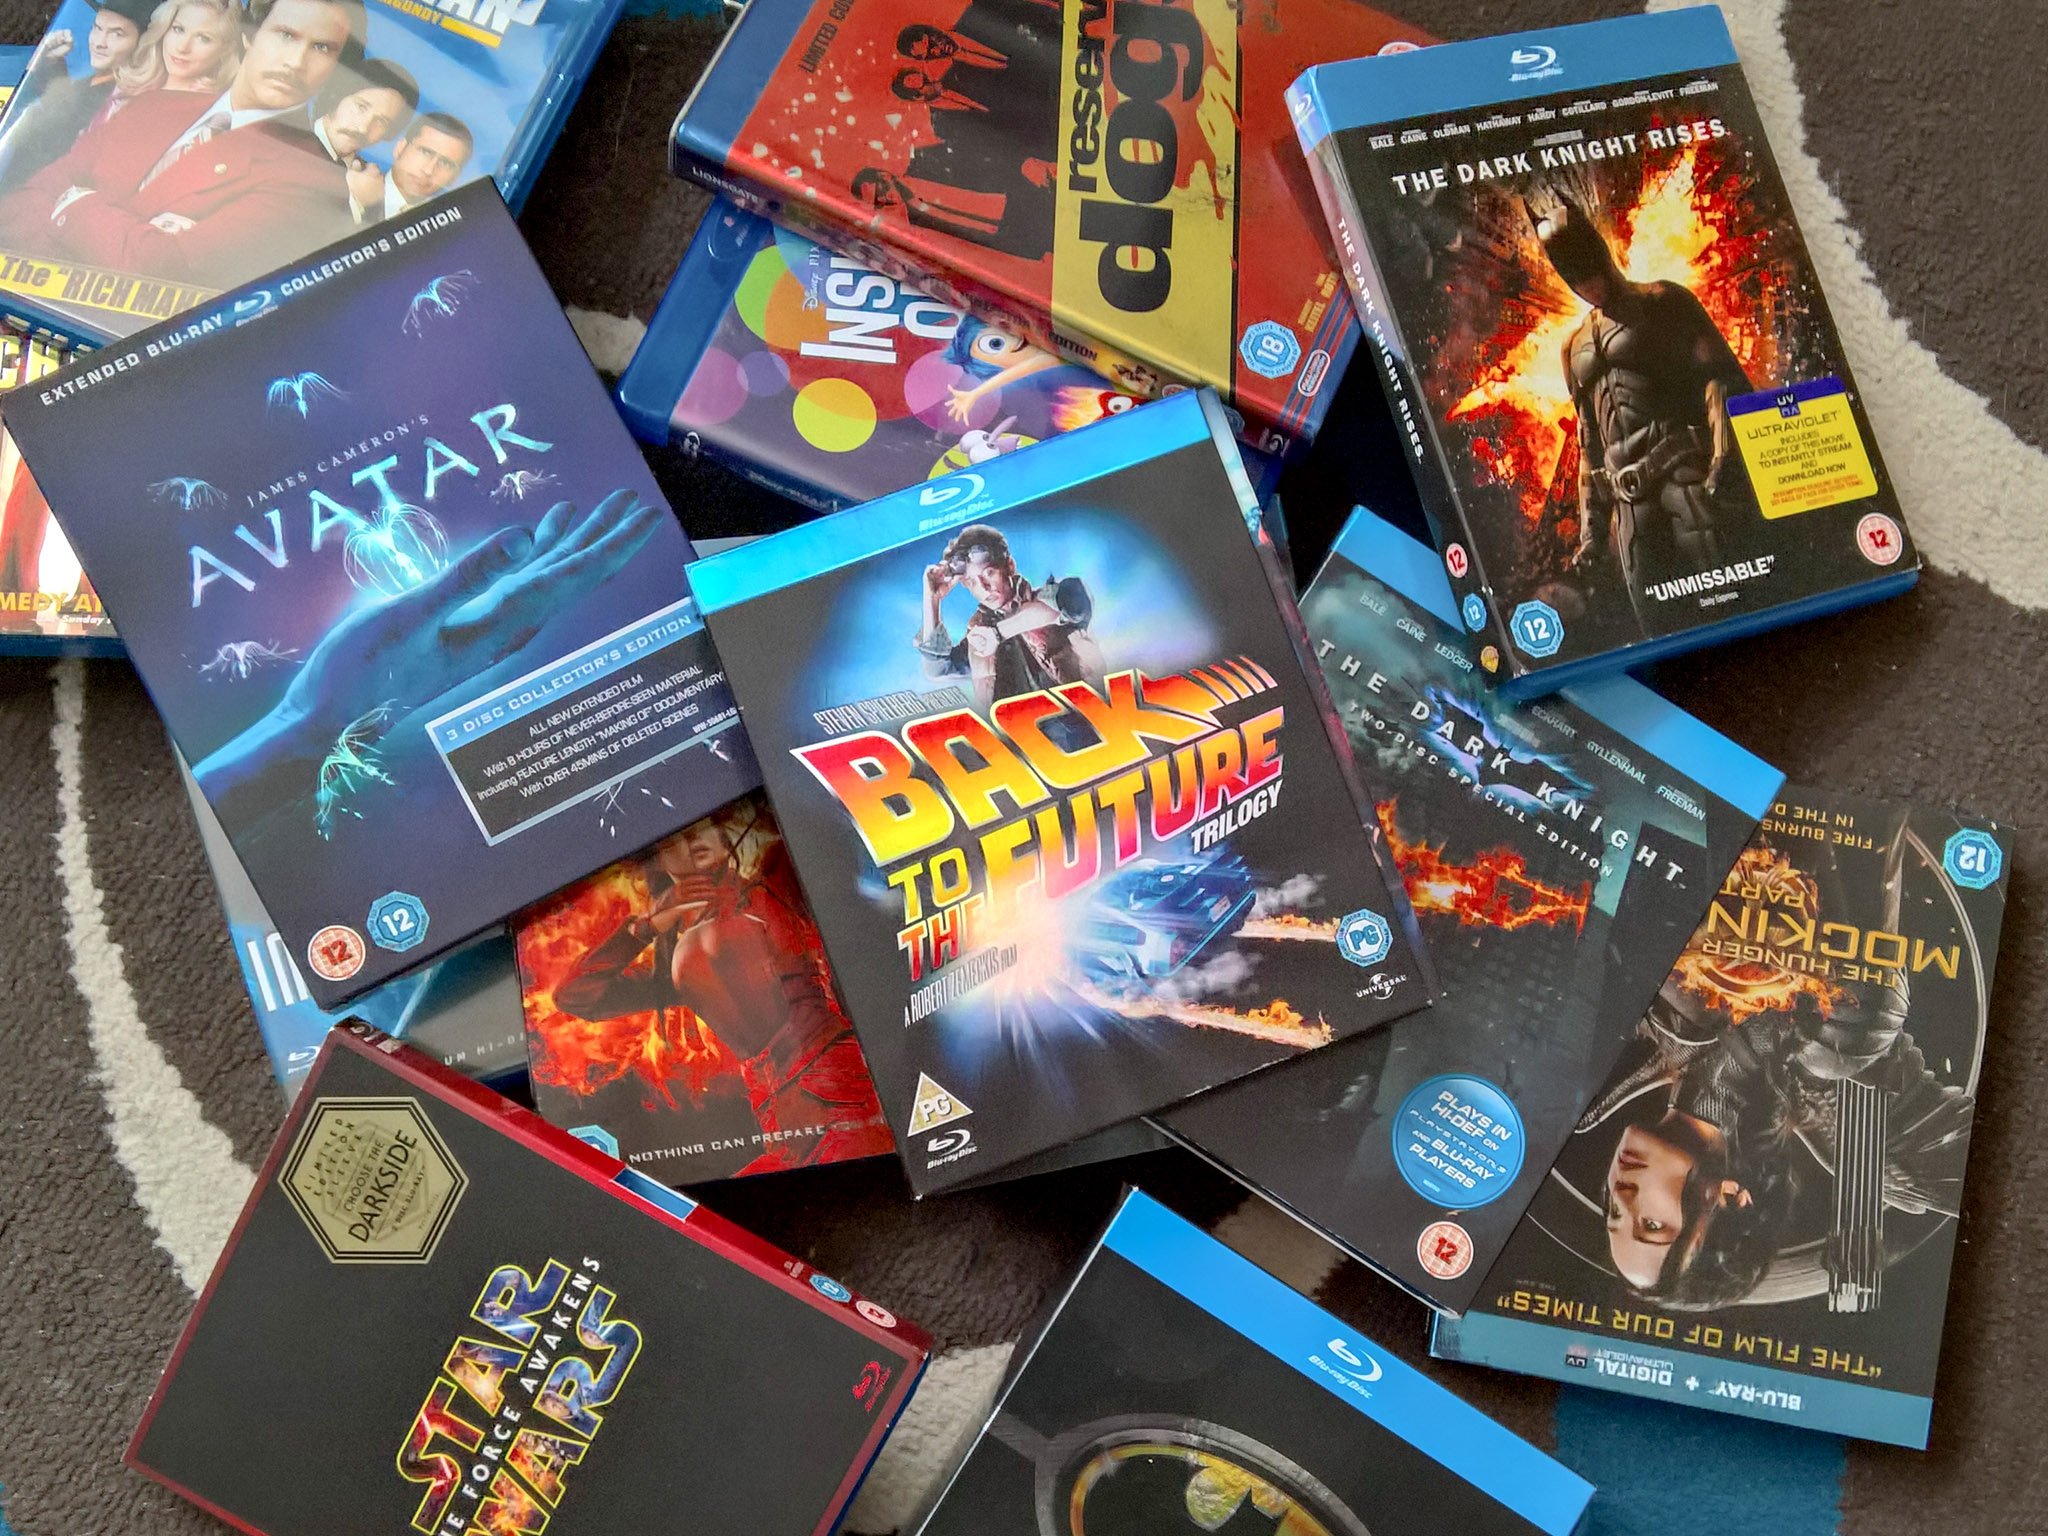
A Blu-ray disc contains a lot of data, and to get them onto your PC you need time and patience. But it's also a fairly straightforward process and something that anyone can do.
To be clear, though, there is a distinct legal grey area around using software such as that mentioned in this post, and this will differ depending on your location. It's unlikely you personally will face any direct consequences of circumventing the DRM on Blu-ray discs, but it's something to bear in mind.
Getting a Blu-ray drive for your PC
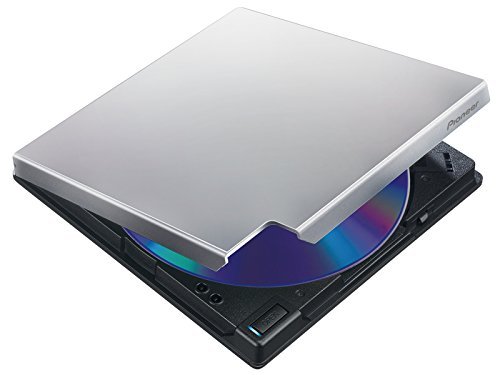
The first thing you actually need is a Blu-ray drive, and they're not particularly common when it comes to being pre-installed in PCs these days. If you have one, great, you're all set.
If you don't, you need one of the best external Blu-ray drives. They'll hook up over USB 2.0 or 3.0 to your PC, and you can get cracking straight away.
An external Blu-ray drive is unlikely to need specialist drivers or software, either, which makes working with the best pieces of software even easier.
Ripping your Blu-ray discs
This isn't for the light-hearted, mostly because it takes such a long time to do, and it's easy to make a mistake. But there is a free way to do it using two pieces of incredible software.
MakeMKV and HandBrake have been featured before in our roundup of the best DVD cloning software, and for good reason. Both are completely free to use, and though MakeMKV is technically still a beta, they're both very powerful. MakeMKV does have a paid element, though admittedly you're never really required to pay, but if you like it then you should certainly throw the developer some cash.
All the latest news, reviews, and guides for Windows and Xbox diehards.
Essentially you use MakeMKV to pull the data from the Blu-ray, then run it through HandBrake to compress it down. You can, of course, skip HandBrake, but each file from a Blu-ray will be huge. If you have a ton of storage and you're only using the files on your local machine it might not matter. But if you also picked up one of today's best NAS drives to build a media server with, the HandBrake step is crucial.
How to use MakeMKV to rip a Blu-ray disc
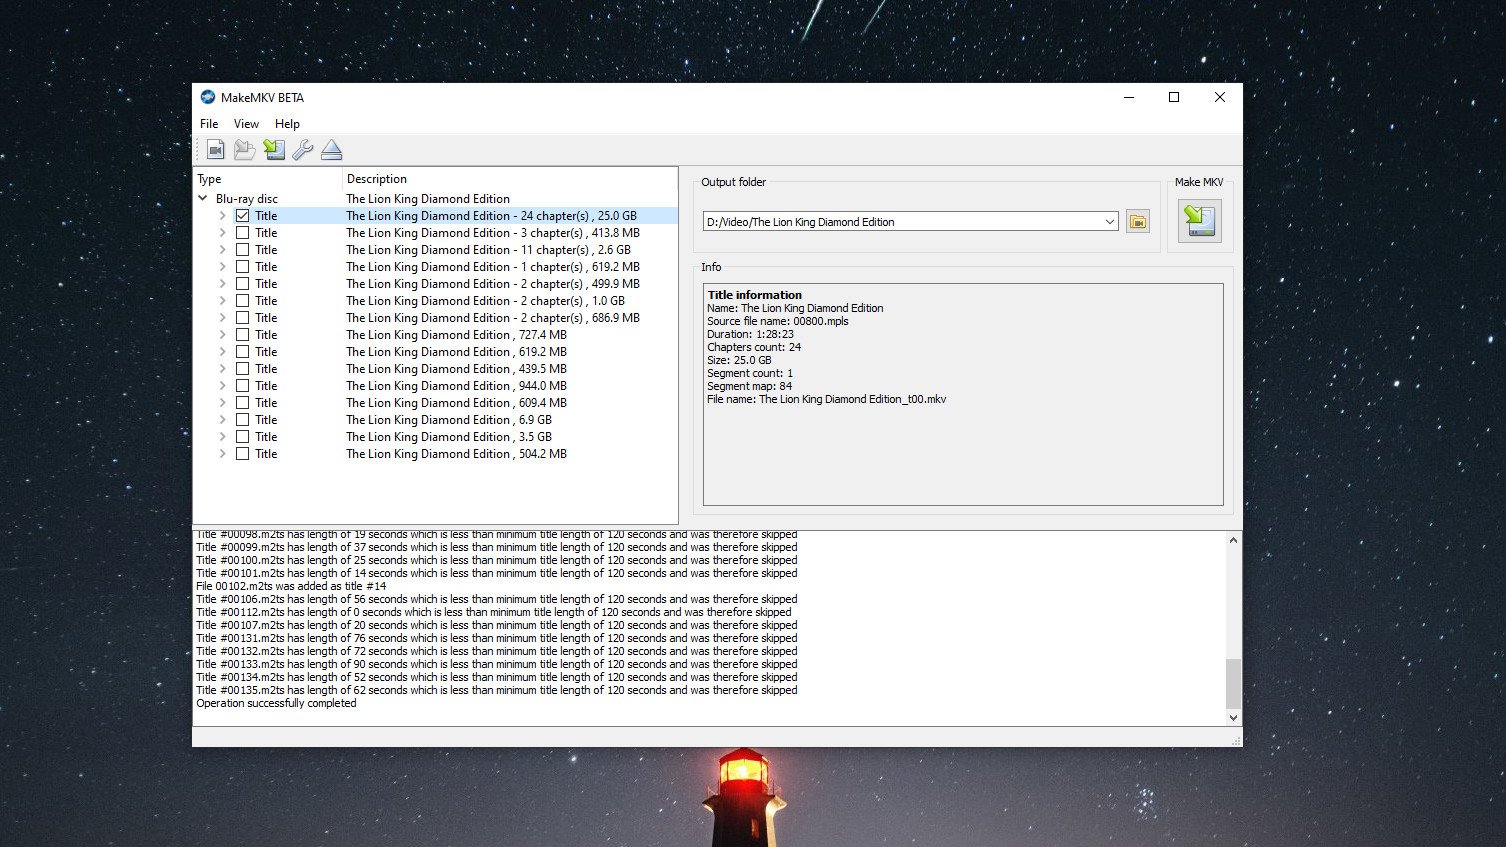
The process of using MakeMKV is straightforward, but it does take a little time to complete. It's very resource intensive and exactly how long will depend largely on the spec of your PC.
- Insert the Blu-ray disc into your drive.
- When loaded, click File in the menu bar.
- Choose Open disc.
- Select the folder that corresponds to the disc you just put in.
- Right-click and Unselect all.
The reason to de-select everything is that it makes it quicker to get what you want and get rid of what you don't. A Blu-ray is packed with extras and menus and all kinds of files that will just make the process take longer and take up space on your PC.
Select the largest file(s) on the disc as this will represent the movie or TV show episodes you're looking for. Now just click Make MKV, accept the dialog to have a folder created and go grab a coffee while it completes.
How to compress ripped Blu-rays with HandBrake
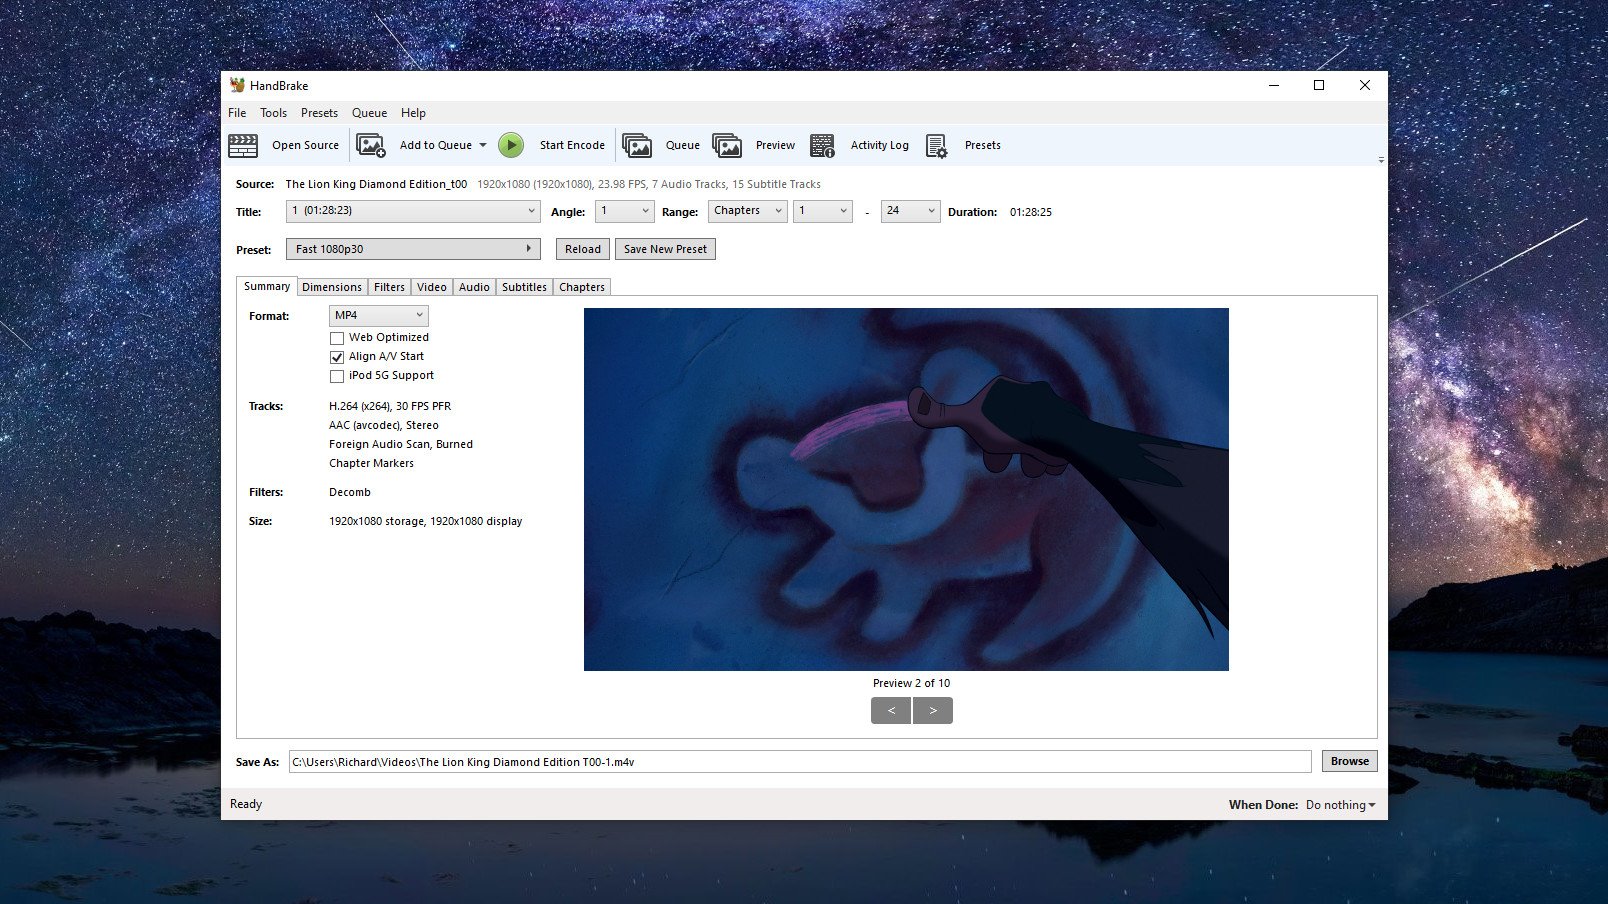
HandBrake is more than a "one size fits all" solution as it has a number of settings to change that will affect the overall quality of your file. The basic process involves opening a file (or a folder full of them) and hitting the encode button if you're happy with the settings.
Things to change include the encoding speed, which can affect visual quality, audio, subtitles, and more. Have a poke around and see what fits your needs and get those files queued up.
You will encode only a single file at a time and HandBrake will use all of your CPU (NVENC is also available to NVIDIA GPU users) so again, it's time to grab a coffee and wait. But you can queue up as many files as you need and HandBrake will get through them one by one.
How to use the files
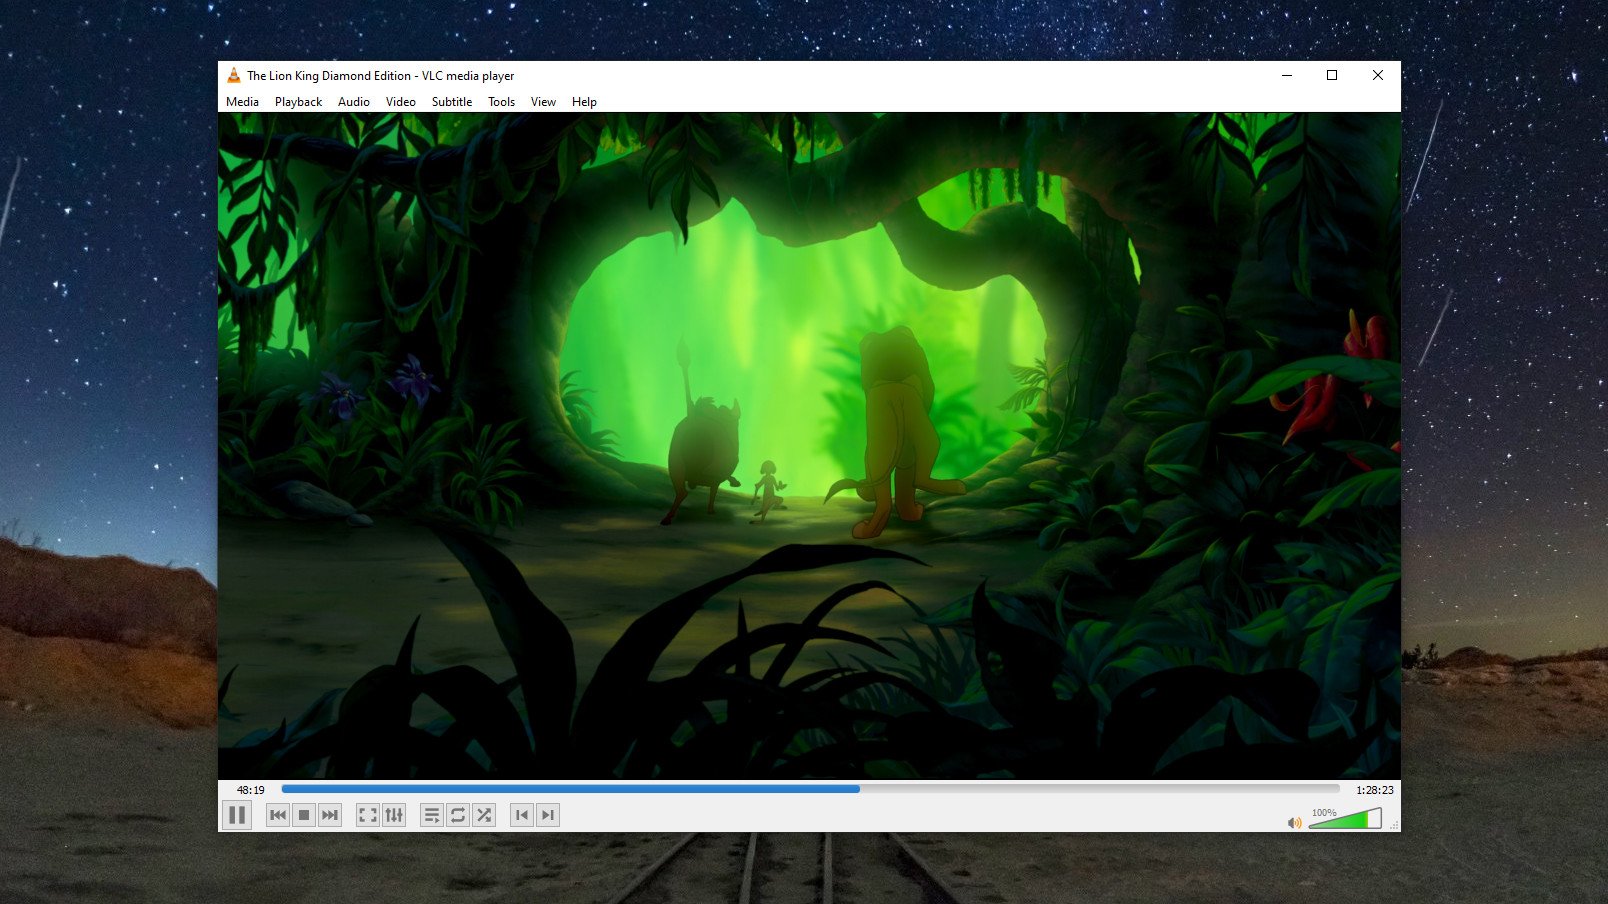
What you end up with is a digital file now instead of the disc. And that means you can watch it with any programs on your PC capable of interpreting that file type. That might be the built-in Movies & TV app, or it could be something a little more advanced like VLC.
One of the best things you can do is add them to a home media server such as Plex or Emby. This way you can enjoy them on not only your PC but any other device that has access to those apps, as well as easily being able to pull them into something like Kodi.
Alternatively you could just store the files on something like a Synology NAS and use the Synology apps to stream your files to other PCs, smart TVs, and mobile devices. Once you have the digital files, the only limit is your imagination.

Richard Devine is the Managing Editor at Windows Central with over a decade of experience. A former Project Manager and long-term tech addict, he joined Mobile Nations in 2011 and has been found in the past on Android Central as well as Windows Central. Currently, you'll find him steering the site's coverage of all manner of PC hardware and reviews. Find him on Mastodon at mstdn.social/@richdevine
