How to upgrade to Windows 10 over USB
All the latest news, reviews, and guides for Windows and Xbox diehards.
You are now subscribed
Your newsletter sign-up was successful
Whether you just can't wait for the Windows Update app to handle your upgrade automatically, or you're having some other issue getting it to work, we're going to help you get to Windows 10 with a USB stick alone.
If you're installing on a fresh machine or you want to wipe your current one prior to upgrading, be sure to read our guide on how to do a clean install of Windows 10. What we're doing here is a bit more straightforward, though very similar, and still not quite as easy as using the automated tool. If you can't get it to work, try these tips on fixing the Get Windows 10 app before going the USB route.
Back up
First off, backup all of your important data. Here are a few ways to go about it. Though this process will be painless and hassle-free, you never know what can go wrong. Better safe than sorry, eh?
Get your existing Windows product key
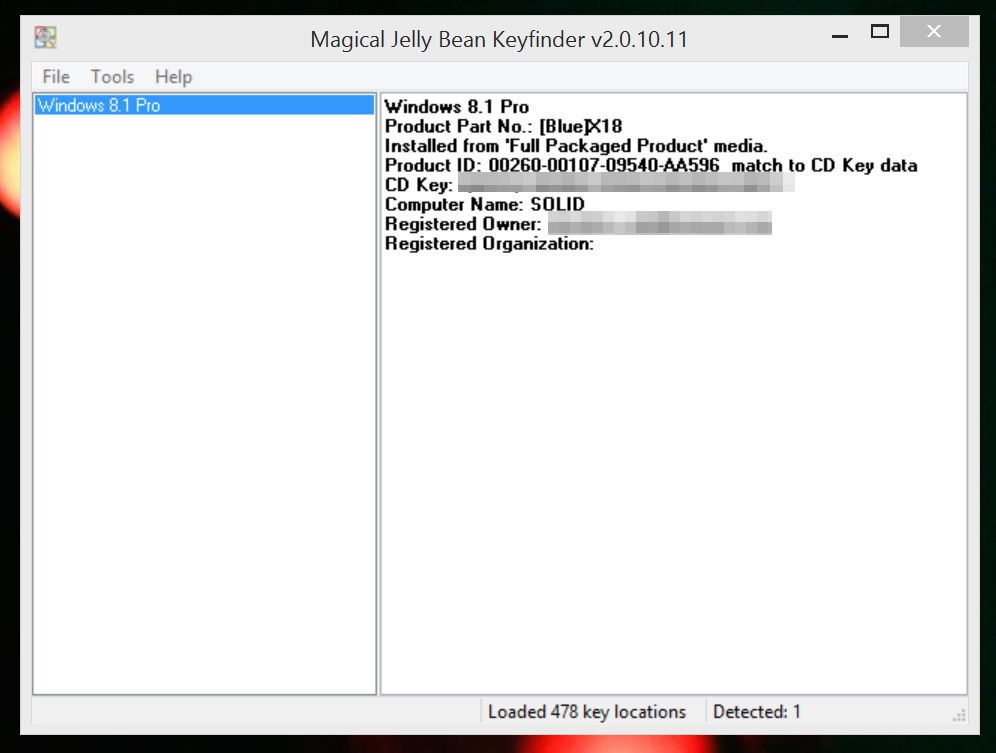
Getting your product key isn't always required to upgrade, but it's good to have just in case. If you don't have the key on a sticker on your computer or somewhere in your product documentation, The Magical Bean KeyFinder is a free tool you can download and use to get your product key and write it down. It's worth noting that if you're running an enterprise version of Windows, that key isn't accessible, and you may very well need your IT guy to help with the upgrade.
Create the installation USB stick
Next you'll need to download the installation file from Microsoft. 32-bit and 64-bit versions are available. To find out which version you're currently running, right-click Computer, and left-click Properties. Under the System tab, it will tell you which version you're running (which is also which version you should upgrade to.)
Then you'll need a USB stick with at least 4 GB of storage on it. The stick will be wiped, so make sure to save your files on it before running the installer. Plug in the stick, launch the Windows 10 installer you downloaded earlier, and pick Create installation media for another PC. You can choose Upgrade this PC now if you like though the installation media will let you use the USB stick later or on another machine provided you have the product key for it. As we mentioned earlier, this is where you could choose to do a clean install. Just pick the Custom box for that and follow these instructions.
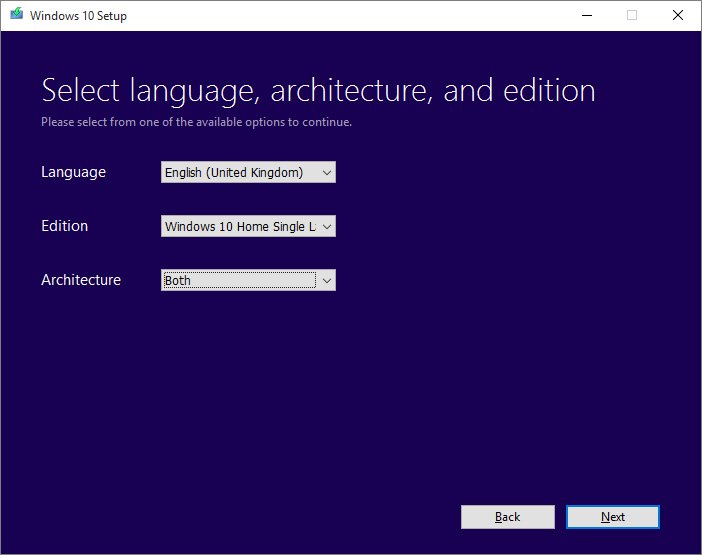
Then you'll be provided options for language, version of Windows to install on the stick, and architecture (32-bit, 64-bit, or both). If you want both 32-bit and 64-bit versions installed, you'll need 6 GB of spare storage. After hitting Next, pick USB flash drive, select the USB drive you want to install to, and then you're off to the races. Give your PC some time to download Windows 10.
All the latest news, reviews, and guides for Windows and Xbox diehards.
Insert the USB stick and reboot
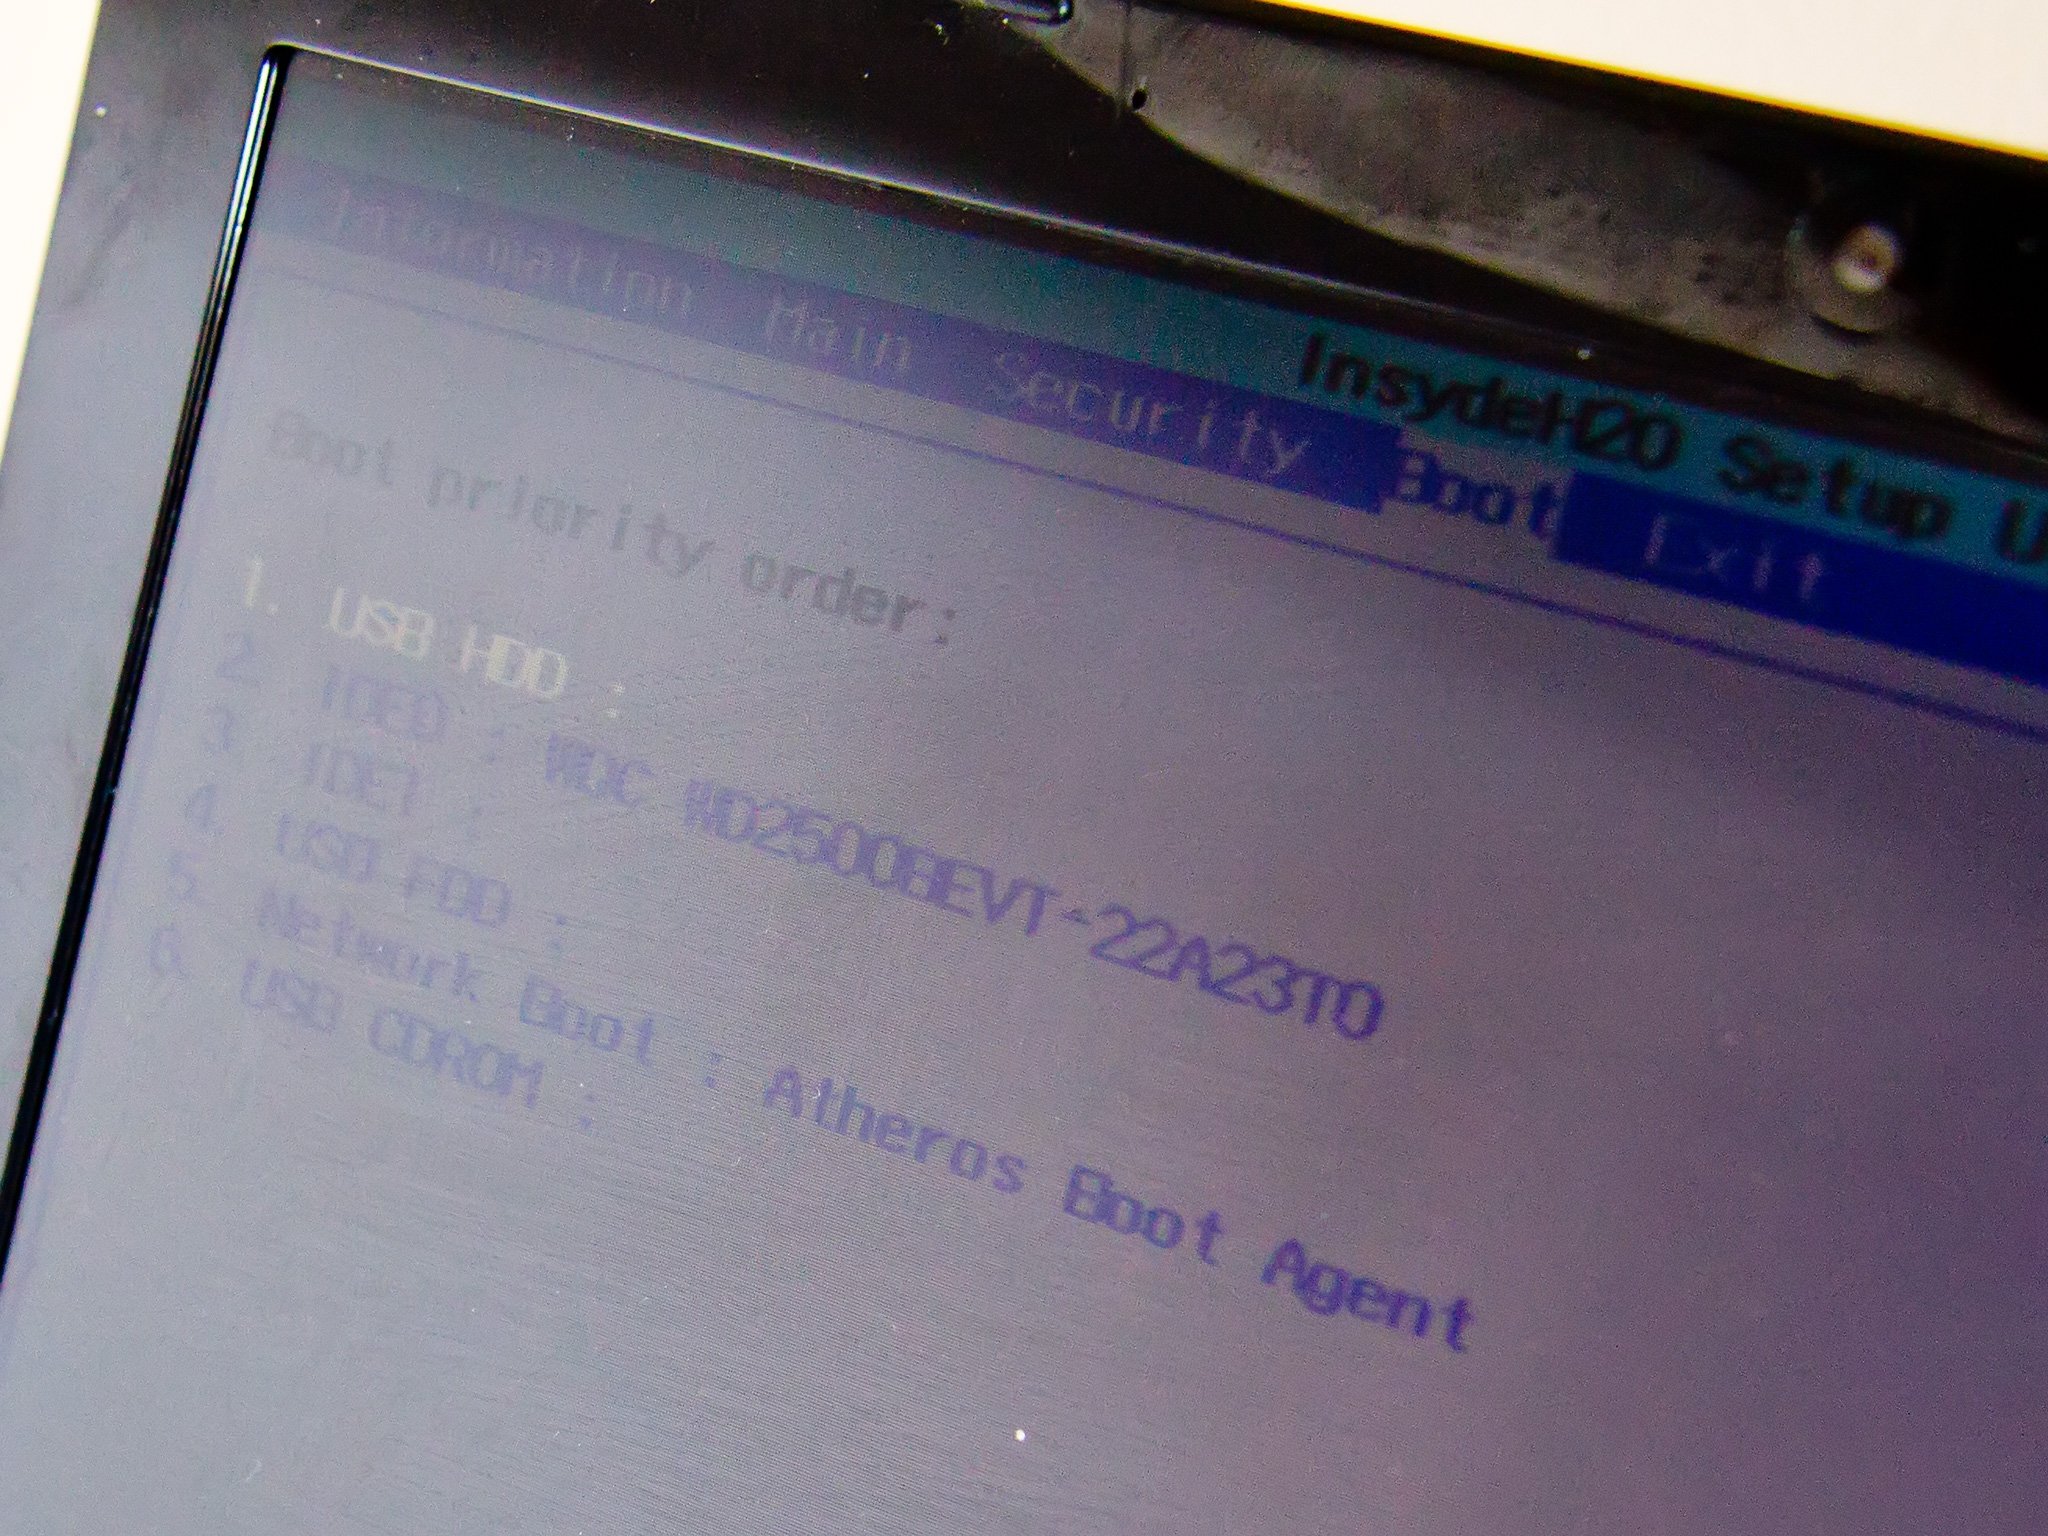
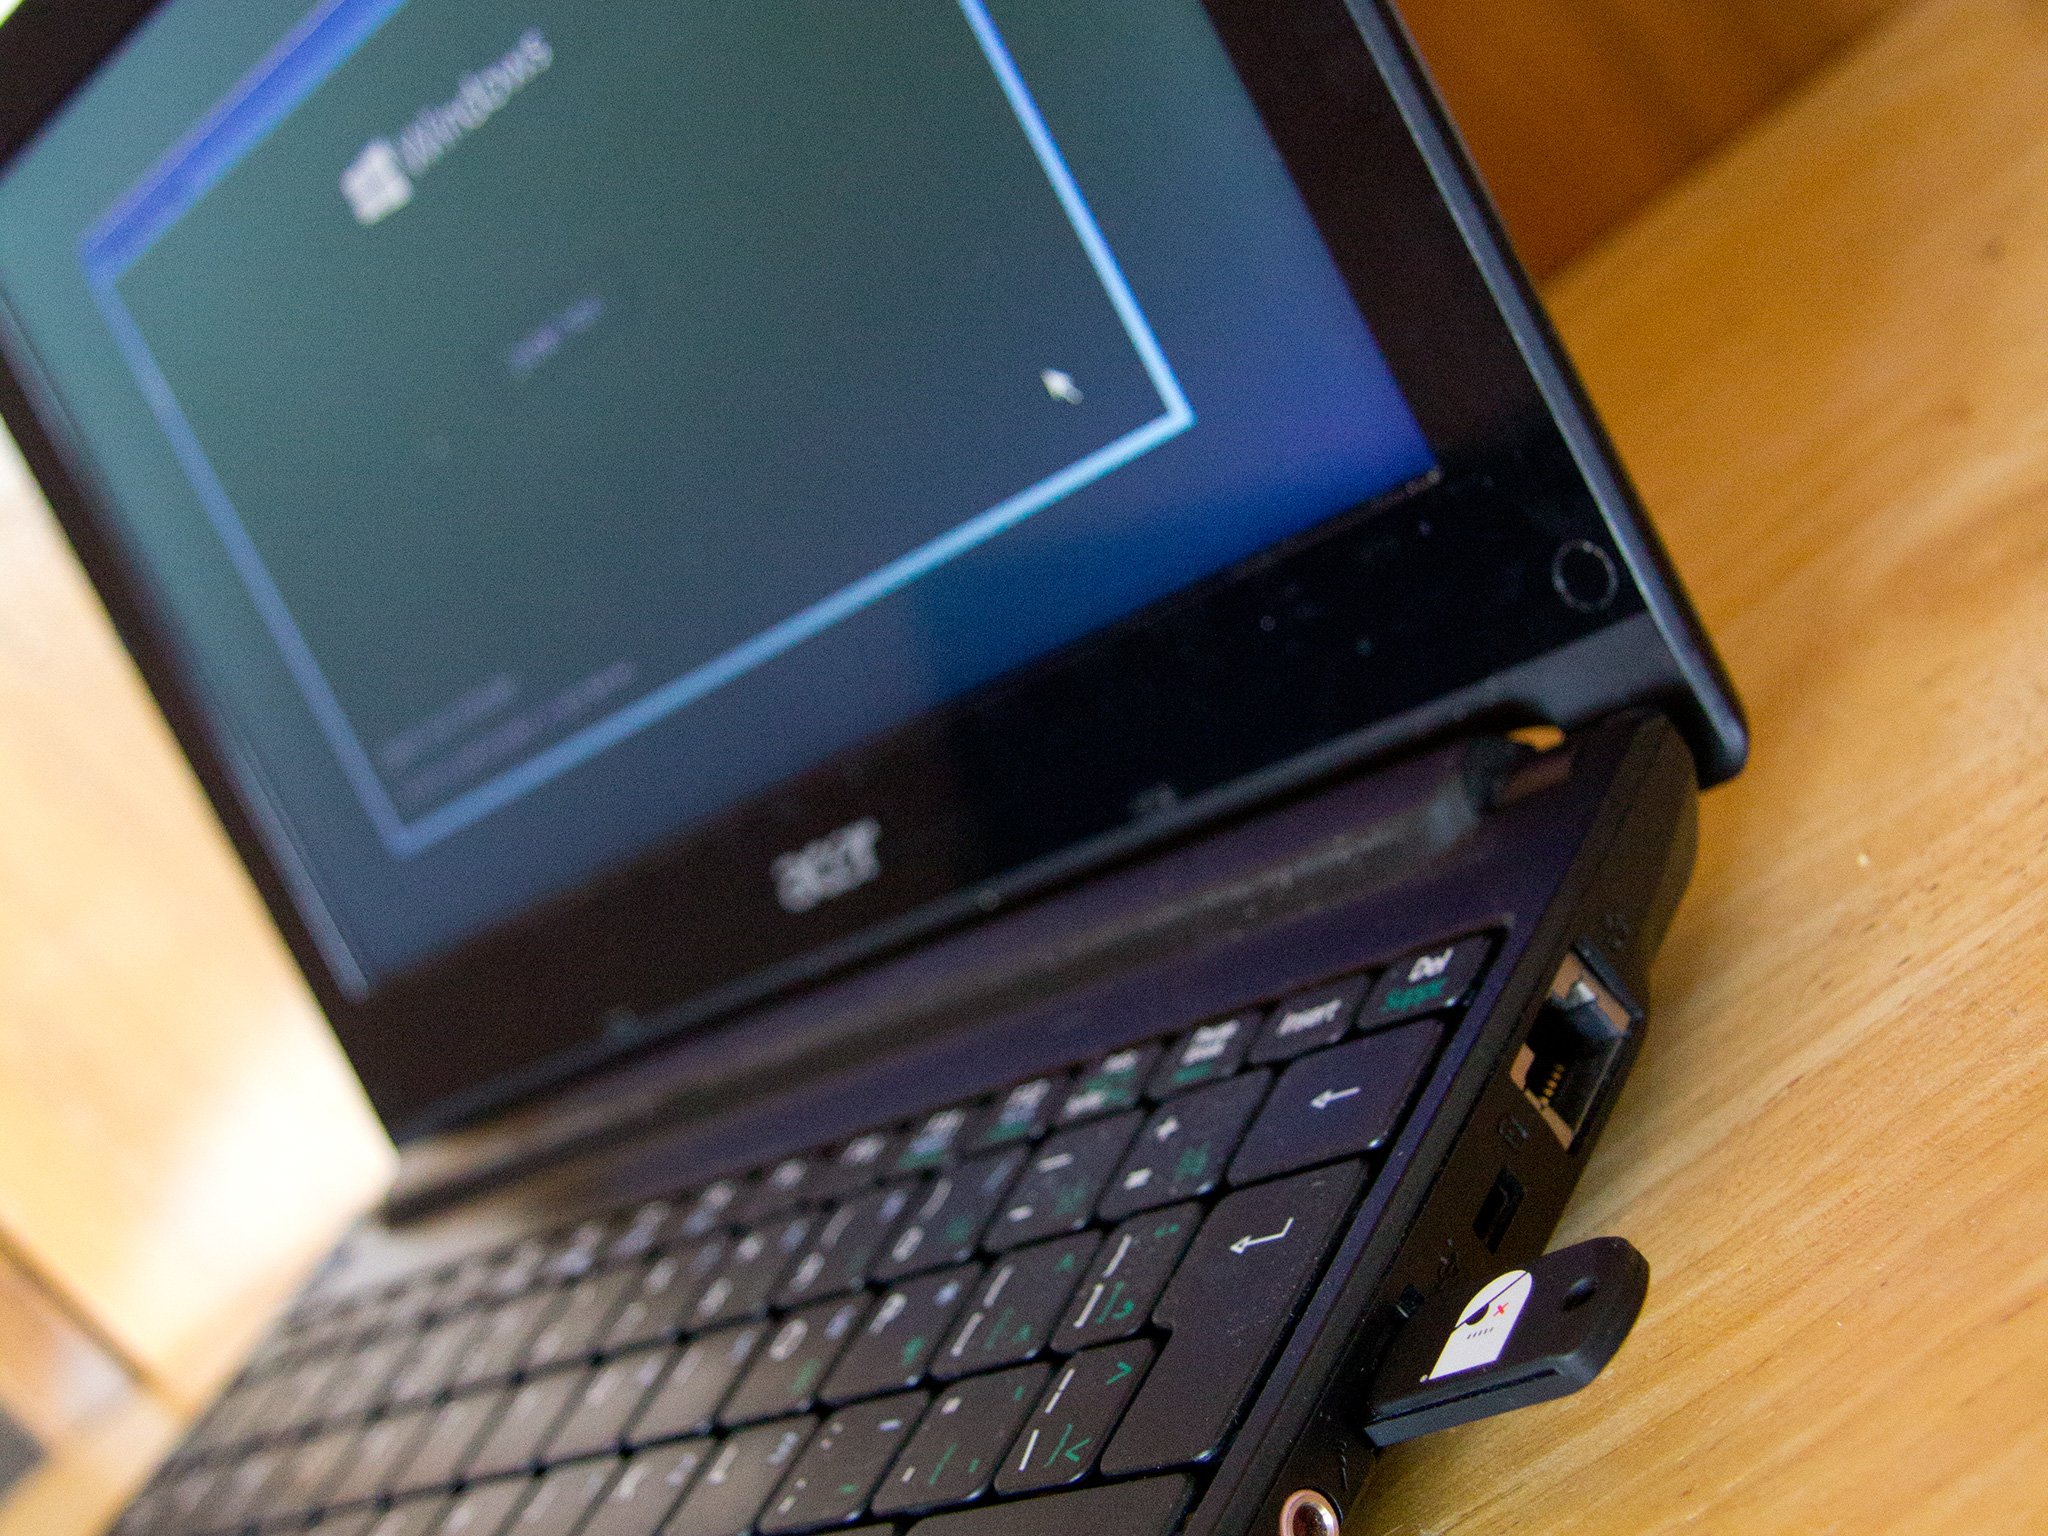
Next, you'll need to designate USB as a bootable drive. Shut down the computer you want to upgrade, and insert the USB stick. While your machine is powering back up, you'll need to hit an F-key to go into BIOS or otherwise interrupt the normal boot-up. F12 is usually the key, but sometimes it will be F2 or F8, depending on the manufacturer. Look for the prompts as your computer starts up.
Once you've designated to boot from the flash drive, the on-screen instructions that follow are pretty straightforward, even though the preparation and installation proper may take awhile. You may be prompted for a product key during this phase, which you can skip since your system should be able to activate Windows 10 automatically after it's installed. Pick Upgrade when choosing your installation type in order to save all of your existing files and folders.
That's it!
Now you should be ready to rock with Windows 10. You'll get an out-of-the-box experience once the install is complete, which should round out all of your various user settings and OS configuration. If you're having any issues with this upgrade process, let us know in the comments, or hit up our forums.
More Resources
Need more information or need some help? Here are some great links to get you started:
- The definitive Windows 10 Review
- Windows 10 Help, Tips, Tricks at Windows Central
- Windows 10 Forums at Windows Central

