


When buying pre-built Synology network-attached storage (NAS), you're also acquiring a license to the manufacturer's OS, DiskStation Manager. Much like a new installation of Windows 10, there are a number of steps you should take after setting everything up to ensure you're going to have a great NAS experience. Here are some handy tips to get you started with the best NAS for home in DiskStation Manager.
Buy some hard drives
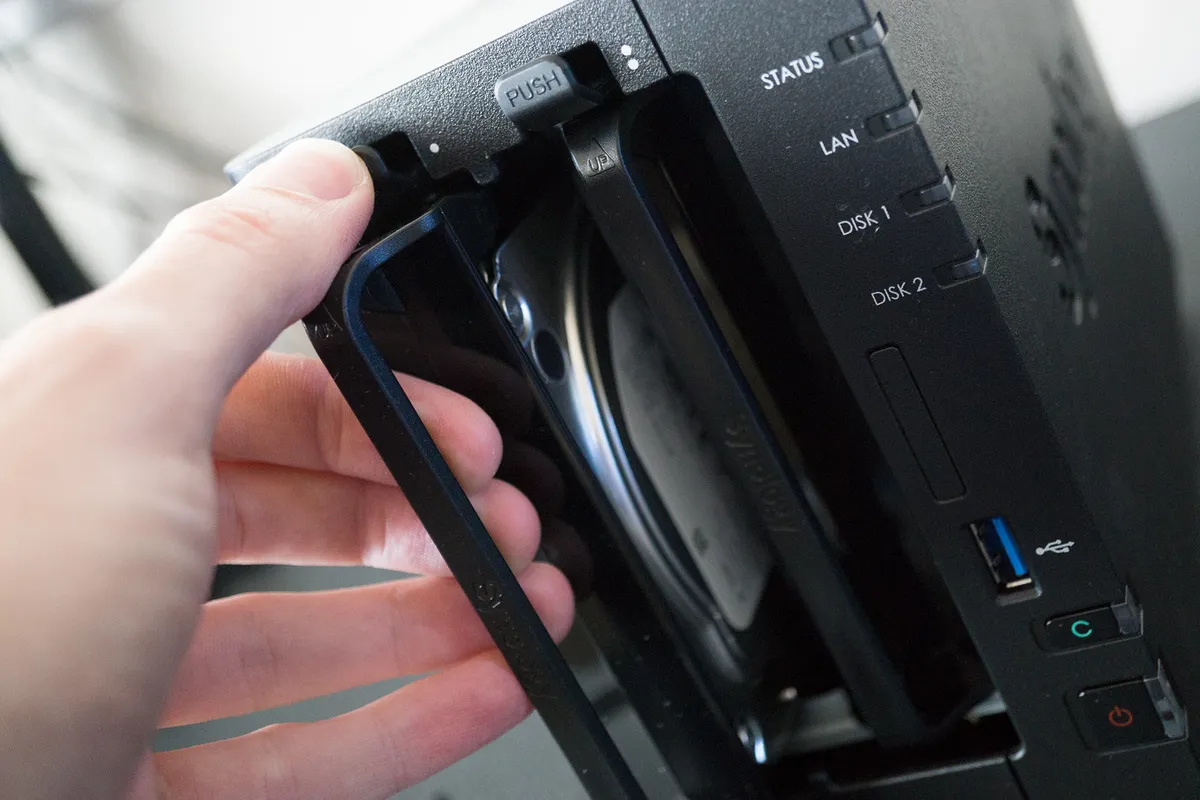
If you haven't already done so, you'll need some hard drives installed inside the NAS to be able to use the device. We've rounded up the best and most reliable hard drives for Synology NAS that will help you pick the right drives for your enclosure. Once you've installed some storage, you'll be able to install Synology Assistant on your PC and set up DSM OS.

Seagate has a substantial collection of drives that are specifically designed for use inside NAS. The higher-capacity drives even have faster motors.
Set up Synology QuickConnect

Synology has a feature called QuickConnect, which allows you to connect to the NAS at home without using any IP addresses. The servers at Synology will communicate with your NAS through a Synology account, allowing you to maintain a connection even if your ISP refreshes your external IP. It's also super easy to locate it on the local network if you need to connect a new device to the NAS.

Setting up QuickConnect is simple too. It's part of the initial Synology NAS installation process but is an optional step. If you failed to set it up during the installation of your NAS, simply open up the Control Panel and choose "QuickConnect." You'll then need to enable the service, create a Synology account and give the NAS a name. The handy wizard will walk you through a few steps.
Configure DSM OS

Like most electronic devices, a Synology NAS allows you to manage power settings, configuring when the NAS will wake up from hibernation, how bright LEDs are, and how aggressive the fan(s) spin to keep the internals cool. Everything can be manipulated on a single screen, which makes doing so an absolute breeze.
Fire up the Control Panel and select "Hardware & Power." Next, you'll be greeted by four tabs' worth of settings.
General
General contains the following:
- Power Recovery — Set whether the NAS should auto-start on power failure or LAN activity.
- Beep Control — Decide when the NAS will perform a system audio sound.
- Fan Speed — Configure how quiet you wish the fan(s) to operate.
- LED Brightness — Set just how bright (or dim) the LEDs are for status indicators.
Power schedule
Power schedules allow you to set just when the NAS will start up or shut down. This is handy if you use the NAS in an office or at home and only require access at certain parts of the day. For example, you could set power schedules so the NAS would boot up at 7 a.m. and then shut down at 6 p.m. This not only saves on wear and tear but also power.
HDD hibernation
Hibernating your drives is a great decision if you don't require drive access all the time, but don't fancy having the entire system shut down to save power. Not only can you configure internal drives to go to sleep after a certain time of inactivity, but also external HDDs too.
Note that some apps and services you run on the NAS will override these settings and not allow your HDDs to hibernate. Plex is one such service.
UPS
Should you have an uninterruptable power supply (UPS), Synology allows you to hook up the NAS to a UPS via USB to have it continue operation or perform a safe shutdown should a power loss occur.
Download Synology's mobile apps

Synology has a collection of mobile apps available for Android and iOS. Depending on what you wish to do, you can access files, photos, stream music, check surveillance cameras, and more. One great ability with the NAS and a smartphone is the automatic upload of all your photos — just like you can on OneDrive and Google Drive.
Don't fret as it's easy to back up your mobile photos on a Synology NAS.
Back up Windows 10
Backing up your Windows 10 installation regularly is a good practice. In fact, it's such a great idea that we highly recommend everyone does it. Even we have those odd times when Windows corrupts itself and requires a fresh install. You'll run the risk of losing everything if you don't have a backup at hand.
Synology NAS allows you to configure Windows 10 PCs to send backups to the central device. If you have multiple computers at home or in the office, you can safely store all backups on a single NAS. Sure, you can use discs or external HDDs, but having the process automated with a NAS is much more convenient.
We've got an in-depth guide on how to back up Windows 10 to Synology NAS if you want to get started quickly.

