


Setting up the DS218+ is an absolute breeze, which is why it fared well in our in-depth review and was awarded our Choice Award. Synology has done wonders to improve on the excellent DS216 series to create a Network Attached Storage (NAS) solution that is ideal for not only advanced users but also those who may be new to the network storage field.
Installing hardware
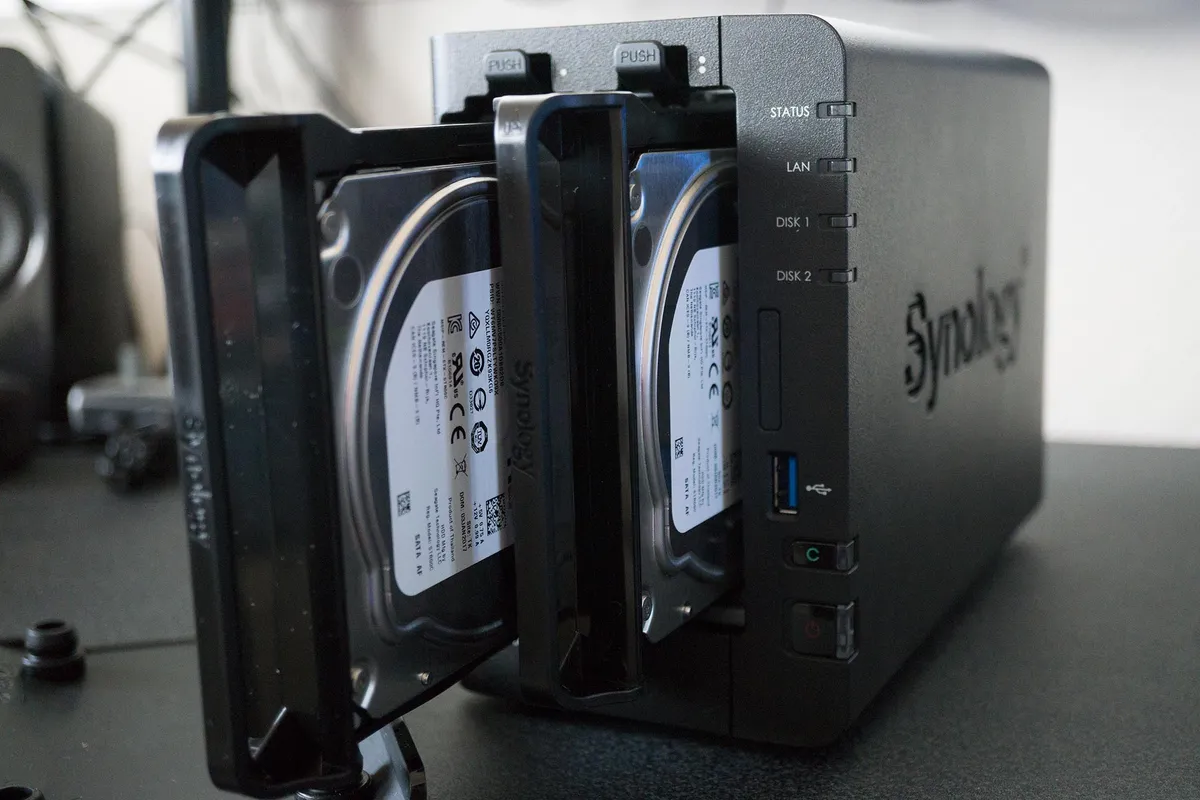
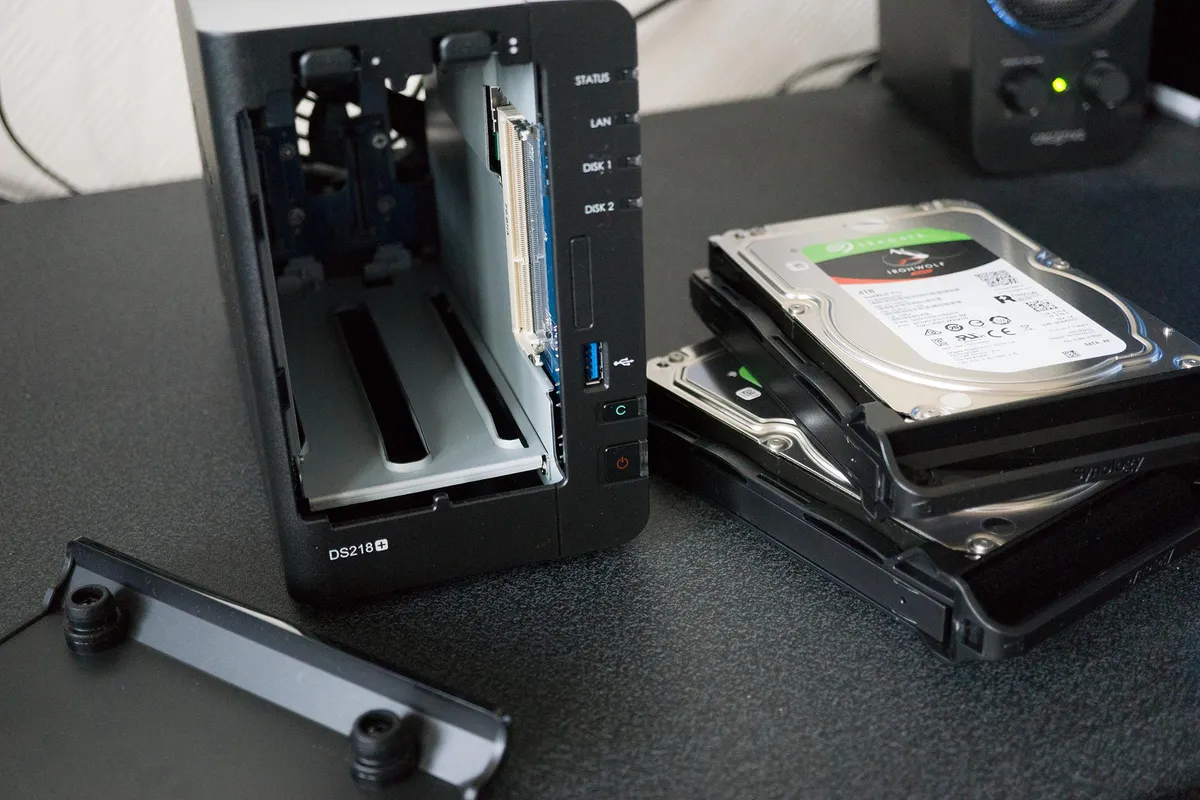
Depending on how you configured the DS218+, you may not have to do anything aside from plugging the unit into an available outlet and hooking it up to a router. If you've received a diskless configuration, which means there aren't any pre-installed hard drives, you'll need to remove the two trays and install drives. Luckily, this is a simple process that requires no tools at all.

- Remove the front panel.
- Take the tray out of the unit by pressing down on the lever and pulling.

- Remove the two side panels.
- Insert the hard drive into the tray.

- Re-attach the two side panels to secure the drive.
- Slide the tray back into the unit.
- Re-attach the front panel.
The process of installing 2.5-inch SSDs and laptop drives is the same, except you'll need to screw them to the base of the tray.
And you're done. That's all that is required to install the hard drive. Simply repeat the process for a second drive, should you have one at hand. The beauty of this NAS is you can always add a second drive at a later date, should you run low on storage and wish to run the system in RAID to create an immediate backup copy of everything.
After you have the DS218+ plugged into the outlet and router, with hard drives installed, it's time to get started with the software.
Setting up software

After turning on the DiskStation and allowing the OS to boot up and check everything over (you should hear a beep once it's done), it's time to connect to the NAS and set everything up. This can be achieved by entering one of the following into your favorite web browser: find.synology.com or diskstation:5000
If neither works, you can download the Synology Assistant, which should automatically detect and list the DS218+. You can then quickly access it through your browser from here, which will present you with the initial setup wizard. (If, for some reason, you quit the wizard before you complete all the steps, simply log into the DiskStation Manager (DSM) with the username admin, and a blank password.)
- Click Set up.

- Click Install Now. Wait for the installer to finish. The NAS will reboot; you must leave the page open through the whole process.

- Enter your setup details details:
- Server name: Whatever you wish for the server to be called.
- Username: Give yourself a username.
- Password: Self-explanatory.
- Hit Next twice.

- Select how DSM will install updates.
- Leave the S.M.A.R.T and bad sector warnings enabled.
- Hit Next.

- Configure QuickConnect, which allows you to create a Synology account and connect to your NAS without messing with router settings (and when away from home).
- Copy down your new QuickConnect URL (and activate your Synology account if creating one).
- Hit Next.
- Hit Go to complete the wizard.
You'll now be on the main DSM OS view. This is where you can easily configure the NAS and install updates, packages, manage files, how everything is set up, and more. The DSM help manager will run you through a few tips to get you started. Should you require further assistance, simply open up the help manager and do some searching. Spend a good hour playing around with various options to get accustomed to the DSM interface.
Mapping for Windows

In Windows, you can map the NAS location to a specific drive letter so it appears in Windows Explorer as an internal hard drive. Here's how:
- Open Explorer.
- Right-click on This PC.
- Click on Map network drive....
- Choose a drive letter.
- Hit Browse.
- Browse to the network location.
- Click Ok.
- Click Finish.
Now a virtual drive will appear in Explorer, allowing for more convenient access. This can also be achieved using Synology Assistant, which makes the whole process a little easier.
Helpful tips
- The copy button can be pressed to quickly transfer files from an inserted USB drive to the NAS.
- The eSATA port can be used to connect an external drive to the NAS.
- It's easy to install an extra RAM module, should you need one using the spare slot to the right of the drives.
- The QuickConnect will let you quickly access the NAS without needing to mess with your router.
Updated March 14, 2018: We rolled out some minor changes to this guide to offer a more complete walkthrough of getting started with Synology.

