


Microsoft continues to expand the customization options available to Xbox One users, currently offering the most flexible dashboard to date. With options for custom colors, layouts, and shortcuts, it's easy to make your console feel homelier than ever. And with more options soon on the way, we've wrapped up every Home customization option so far – and how to access them.
- Changing your Xbox One background
- Setting your Xbox One system color
- Using Xbox One light and dark themes
- Customizing Xbox One Home with content blocks
- Using Xbox One Pins shortcuts
Changing your Xbox One background

Like any phone or PC, setting a custom background is one of the best ways to add a personal touch to Xbox One. Microsoft allows custom backgrounds on the Home menu, sitting behind the main user interface (UI). And following the "Fluent Design" overhaul of the Xbox Fall 2017 Update, additional transparency leaves the background heavily influencing the console's feel.
The easiest way to set any background is by using a saved image, transferred through an external USB device. These are the steps to choosing and using your own custom background image on Xbox One.


- Find a custom image to use as a background using a PC. We recommend an image with a 16:9 aspect ratio, sporting a minimum resolution of 1920 x 1080. This image should be saved as a JPG or PNG file.
- Transfer this image to a USB storage device.
- Connect the USB storage device to your Xbox One.
- Navigate to Settings app on your Xbox One.
- Select the Personalization tab.

- Select My color & background.
- Choose Custom image.
- Select your USB device from the listed drives.
- Select your chosen image.
- Press Menu while the image is displayed fullscreen.
- Choose Set as background.
Several other sources are available for custom Xbox One backgrounds, including Xbox Achievement art, captured screenshots or dedicated apps. For a deeper breakdown of these options, check out our standalone Xbox One custom background guide.
Read more: How to set a custom Xbox One background
Setting your Xbox One system color

Expanding on your dashboard's mood, Xbox One also allows custom accent colors for use across the console. Reflected system-wide between menus, your chosen color adds an additional flair to the standard UI. On the Home menu, these custom colors dictate the styling of certain tiles and elements. Here's how to change your custom accent color on Xbox One.
- Navigate to Settings app on your Xbox One.
- Select the Personalization tab.
- Select My color & background.
- Select the My color tile.
- Choose a color from the available options.

After setting a custom color, the transparency of Home menu elements can also be changed. Tweaking this value affects the acrylic effect of select elements and how the background shows through.
- Navigate to Settings app on your Xbox One.
- Select the Personalization tab.
- Select My color & background.
- Tweak the Home panel slider. This adjusts the bottom panel covering the lower half of Home, housing recent games and apps.
- Tweak the Tile slider. This adjusts the transparency of tiles inheriting the accent color.
Using Xbox One light and dark themes
Changing your theme has a large effect on the feel of your Xbox One, beyond your system color. Reworking the entire Xbox One OS, the light theme favors whites and lighter colors, which makes for improved visibility in brighter environments. Alternatively, the dark theme still utilizes blacks and dark grays, which can be easier on the eyes once the sun sets. Here's how to switch between light and dark themes on Xbox One.
- Navigate to Settings app on your Xbox One.
- Select the Personalization tab.
- Select the Theme & motion tile.
- Select System theme.
- Choose Dark or Light.
For added flexibility, Microsoft also offers the ability to change your system's theme based on time of day. Check out our guide on utilizing scheduled themes on Xbox One for a deeper look at this feature.
Customizing Xbox One Home with content blocks
Content blocks are a big part of the current Xbox One dashboard, adding functional customization beyond a new look. Providing fast access to information from the Home menu, these modular sections condense timely updates on your games, friends, and services.
Adding content blocks on Xbox One

Various content block sources are available, spanning all corners of Xbox Live. Chosen games can be pinned to your Home menu, collecting progress details, game updates and community activity. Friend blocks provide status updates on friend activity and their gaming sessions. Microsoft also offers content blocks for Xbox One X, Xbox Live Gold, Xbox Game Pass, among other in-house services. Adding new content blocks to your home screen is simple, once you know where to look.
- Open the Home menu on your Xbox One console.
- Scroll to the Add more section at the bottom of the page.
- Select See all suggestions.
- Use RB to select from available tabs.
- Select an item to add it to your Home menu.
How to use Xbox One Home content blocks
Organizing content blocks on Xbox One

After adding content blocks to your Home menu, their order can be rearranged to refine accessibility. This ensures your important blocks are at the top while less frequently accessed blocks are at the bottom.
- Select the content block to move.
- Press View to begin editing the block.
- Use the left thumbstick to move its position.
- Press View to fix the block's position.
Deleting content blocks on Xbox One

No longer need a content block? Not a problem. Individual content blocks can be removed with just a few button presses. And if you need these blocks again, just repeat the steps above.
- Select the content block to delete.
- Press View to begin editing the block.
- Press X to delete the block.
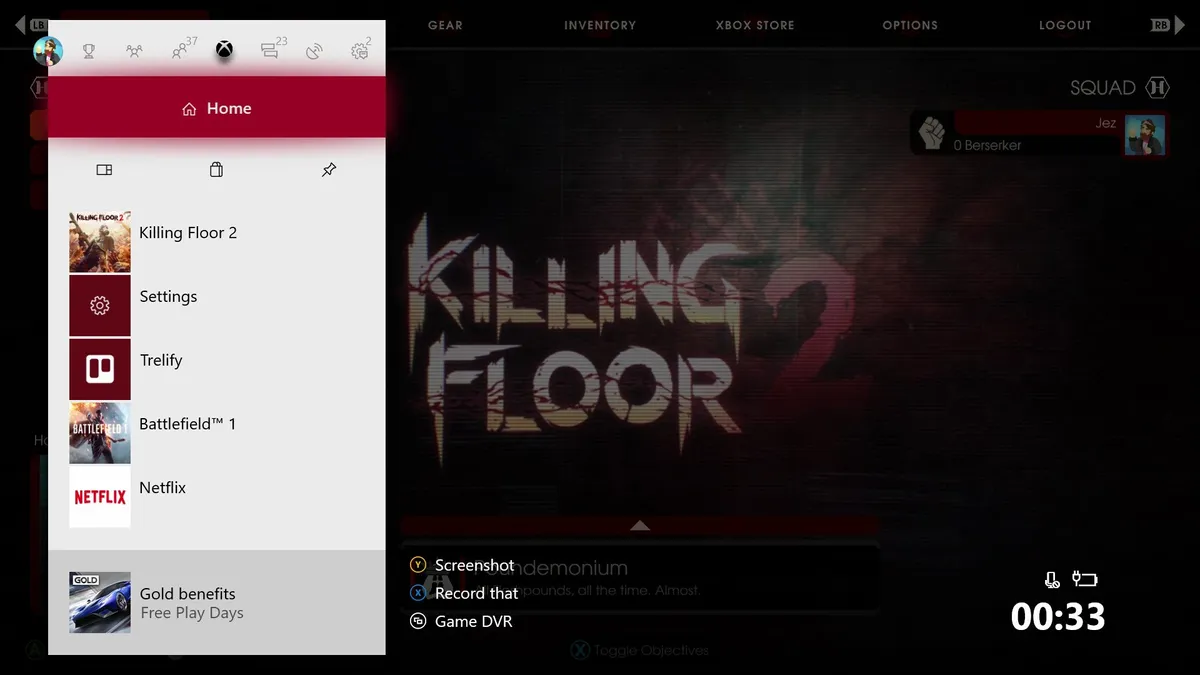
Using Xbox One Pins shortcuts

Like shortcuts on a PC, Pins provide quick access to up to 40 items across the Home and Guide menu. If you have a library filled with hundreds of games, using Pins can often be the easiest way to filter them. Before using Pins, you'll need to choose which items you use most.
- Open My games & apps on your Xbox One.
- Place your cursor over a game or application to pin.
- Press Menu to access more options.
- Select Add to pins.
Repeat these steps for all games and apps you plan to add.
Editing Pins on Xbox One

After assigning content to your Pins section, individual games and apps can be rearranged. This makes it even easier to access specific software, especially for those close to the 40 pin limit.
- Press the Xbox button on your Xbox One controller.
- Select the Pins tile.
- Navigate to the pinned item to move.
- Press the View button.
- Use the left stick to change the pin item's position.
- Press the View button again to place the item.
Adding Pins as an Xbox One content block

Pins can be made even more convenient when paired with content blocks, granting access to chosen titles directly from the Home menu. When pinned directly below the main Home landing page, this allows "My games & apps" to be bypassed for certain titles.
- Press the Xbox button on your Xbox One controller.
- Select the Pins tile.
- Select Add pins to home. Pins will be added to the Home menu.
Over to you
Have any further customization tips for Xbox One users? Drop into the comments section below and let us know.

