How to set an Ethernet connection as metered on the Windows 10 Creators Update
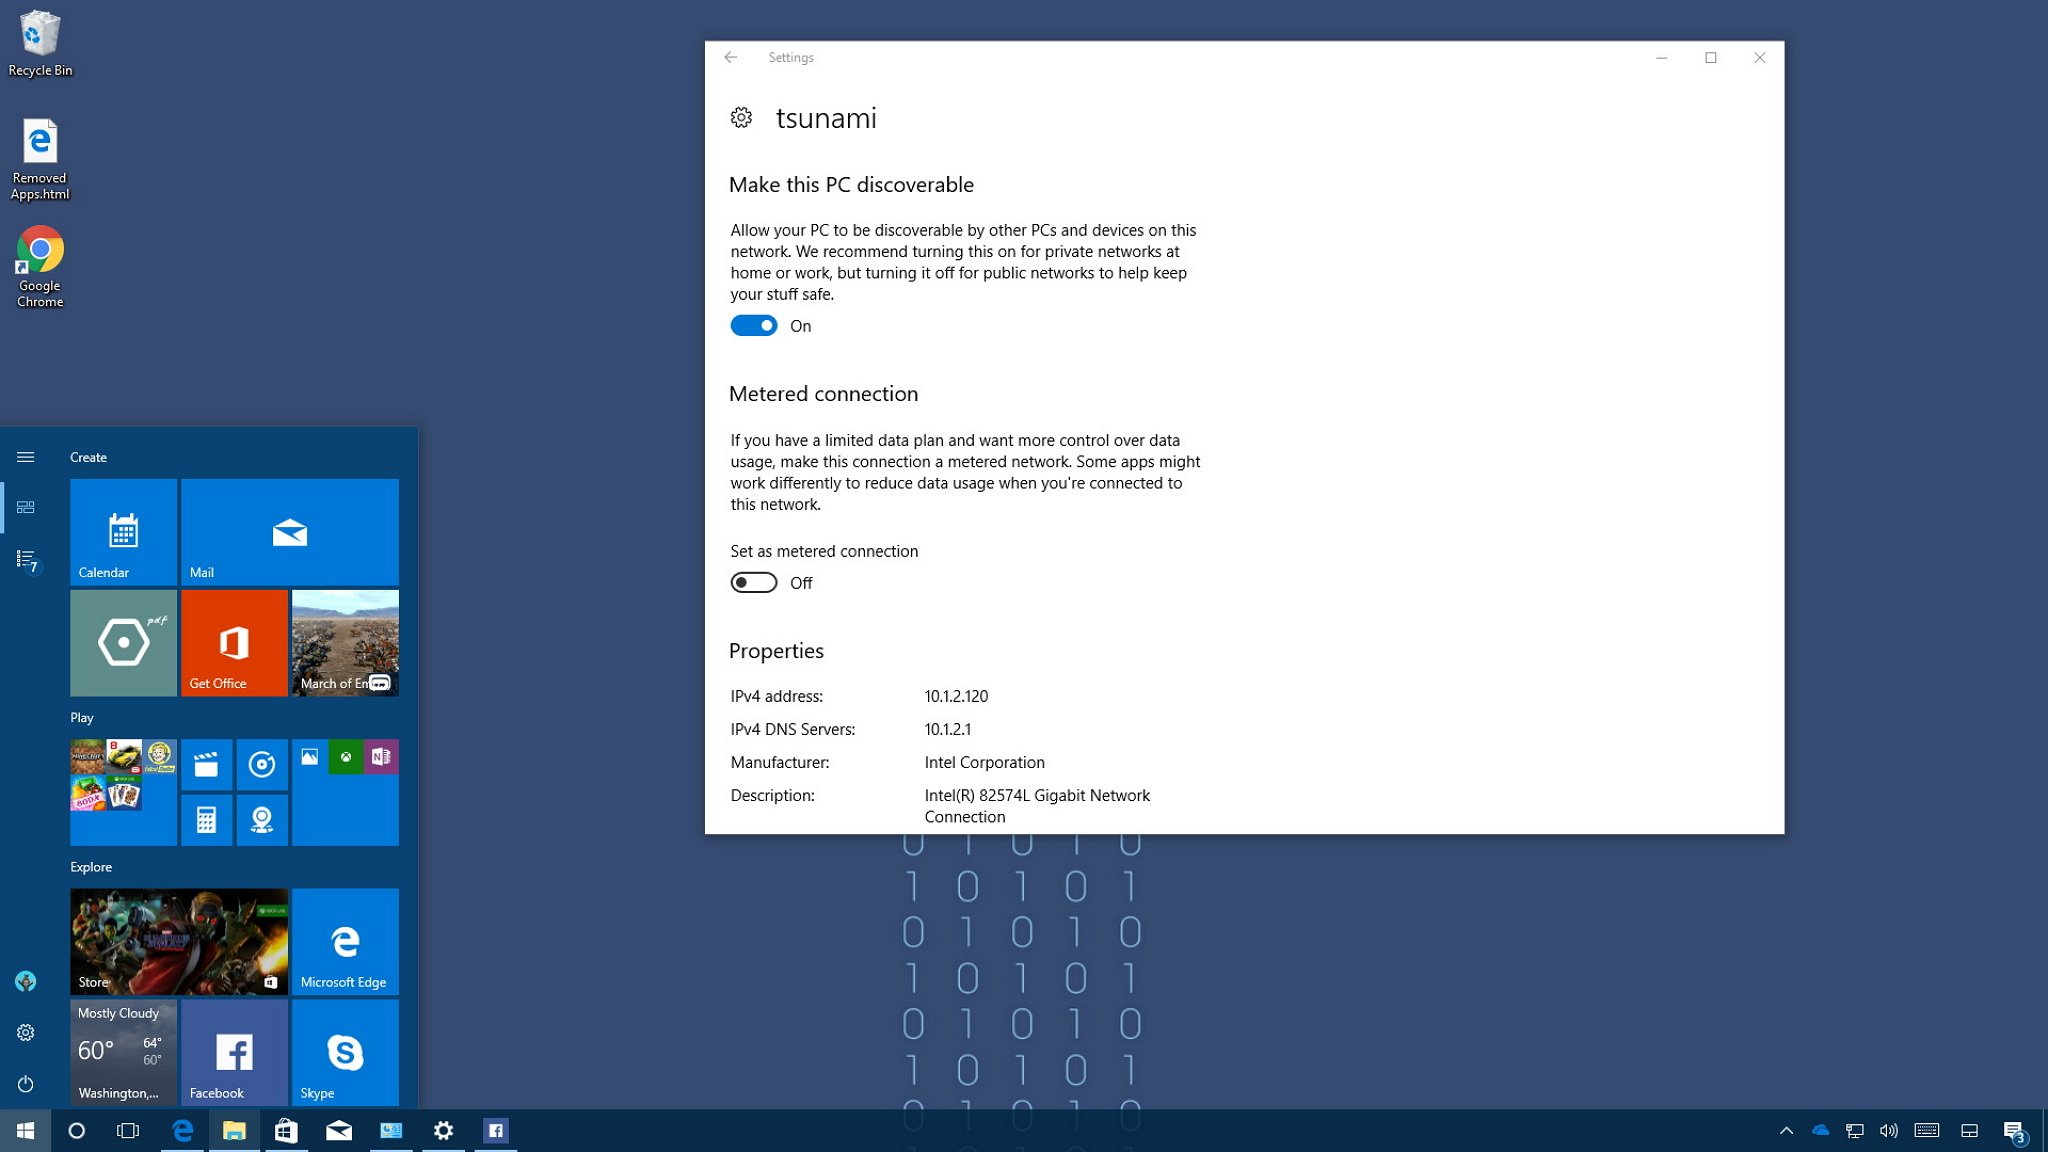
You can now configure a wired network connection as metered to control data usage on your PC, and in this guide, we'll show you how to do it on the Windows 10 Creators Update.

All the latest news, reviews, and guides for Windows and Xbox diehards.
You are now subscribed
Your newsletter sign-up was successful
Windows 10 by default has unrestricted access to the internet to download updates, sync settings, connect to cloud services, and of course, to connect you online.
The only caveat is that Windows 10 can use an excessive amount of data, and not everyone has an unlimited data plan to access the internet. A vast number of users connect online using a capped plan that restricts the amount of data they can send and receive over a period of time.
One way to overcome this problem is to set a network connection as metered to reduce data usage and prevent extra charges. On Windows 10, it's been possible to set a connection metered for a long time, but the option was only available for Wi-Fi connections. If you needed to configure a wired network connection as metered, it required you to edit the Registry, which is not a convenient solution. However, on the Creators Update, Windows 10 introduces a new option to set an Ethernet connection as metered with a single toggle switch.
In this Windows 10 guide, we'll walk you through the steps to set an Ethernet connection as metered to control data usage on your device.
How to set an Ethernet connection as metered
If you have a limited data plan to access the internet, you can configure your wired network connection as metered using these steps:
- Open Settings.
- Click on Network & Internet.
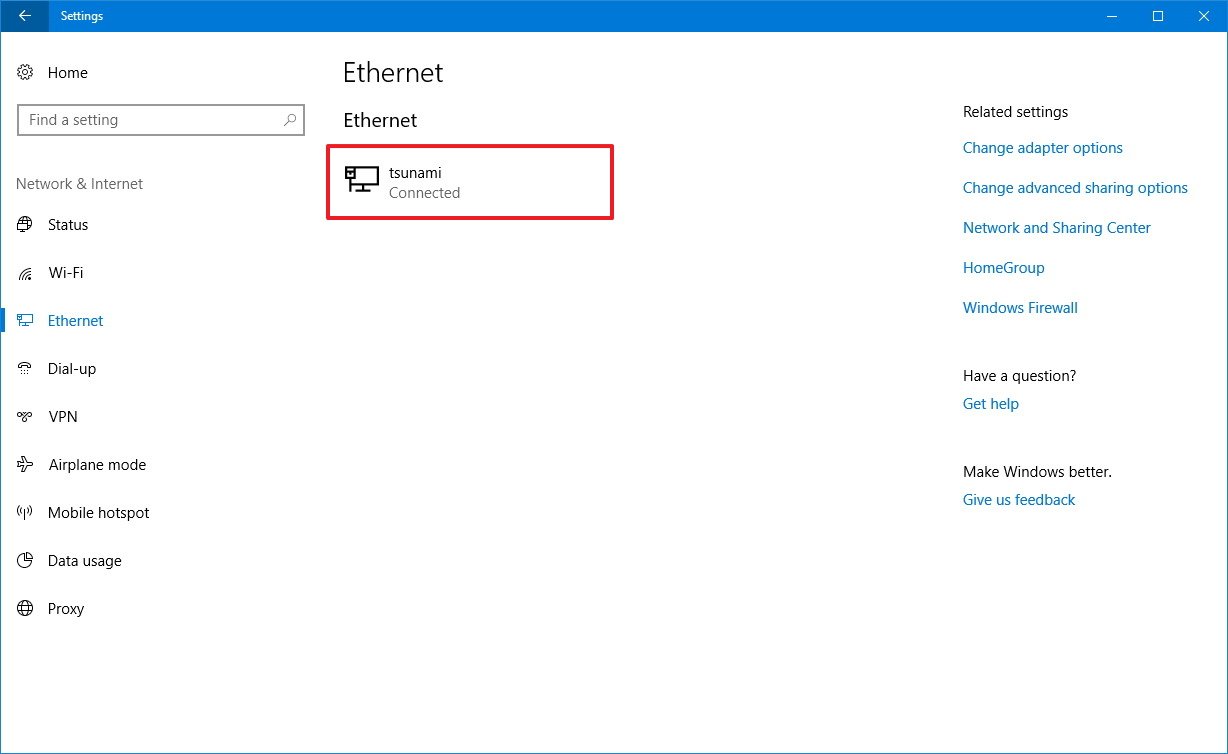
- Click on Ethernet.
- Under "Ethernet," click the network connection.
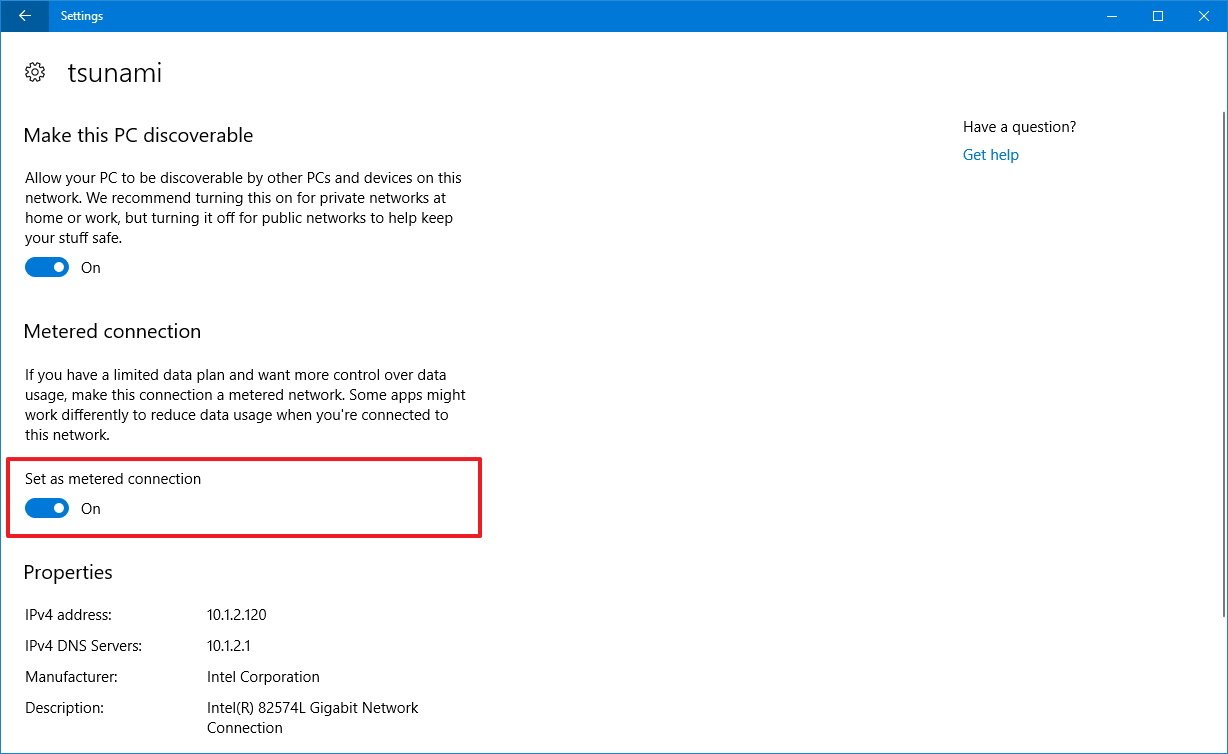
- Turn on the Set as metered connection toggle switch.
Once you completed the steps, Windows 10 will no longer use your internet connection to download updates automatically. However, your computer may continue to download certain updates if required to keep the OS protected and running smoothly.
Using a metered connection will also prevent Live Tiles on the Start menu from getting updates. Additionally, traditional desktop applications, and those from the Windows Store, will no longer receive new updates automatically.
All the latest news, reviews, and guides for Windows and Xbox diehards.
Services like OneDrive will continue to sync content over a metered connection. If you want to reduce data usage, you'll need to right-click the cloud icon in the taskbar to manually pause syncing. Alternatively, you can open OneDrive settings, and on the "Accounts" tab, either unlink your PC until you're ready to start syncing files again.
You can always revert the changes by using the same steps mentioned above, but on step No. 5 make sure to turn off the Set as metered connection option.
More Windows 10 resources
For more help articles, coverage, and answers to common questions about Windows 10, visit the following resources:
- Windows 10 on Windows Central – All you need to know
- Windows 10 help, tips, and tricks
- Windows 10 forums on Windows Central

Mauro Huculak has been a Windows How-To Expert contributor for WindowsCentral.com for nearly a decade and has over 22 years of combined experience in IT and technical writing. He holds various professional certifications from Microsoft, Cisco, VMware, and CompTIA and has been recognized as a Microsoft MVP for many years.


