
Music streaming is arguably the future of how we get most of our digital tunes. There's a bunch of choices for the Windows 10 user, one of which is Microsoft's own, built in, Groove Music service.
Whether you're into streaming your own music or tunes provided by Microsoft, here's everything you need to know.
1. Sign up for a Groove Music Pass

If you're intending to take advantage of Microsoft's music offering you'll need a Groove Music Pass first. This was formerly known as an Xbox Music Pass, and if you have one of those then you can jump past this step.
If you do need to sign up for one, check out the link below for the full run down on what it is, what it gets you and how you go about getting one.
2. Find new music to stream directly in the Groove Music app

Since the Groove Music app is where you'll be playing all your hot tunes the chances are that you're going to use it the most to find things to stream. There are two main ways you can find new music in the app. The first is the search box and the second is the Explore tab. Both of which are highlighted in the image above.
Search is as broad as you'd want it to be in a music app. Type in an artist, album or song and if it's in the database you'll get results.
Explore is designed to help you discover new music. Top songs, albums, artists and new releases are offered up to help you see what's hot this week.
With artists you can choose to start a radio station based on them or pin them to your Start Menu, while albums and songs you can add to your collection.

To add music to your collection look for the "+" sign in the album listing or next to the song name. This opens up a menu where you can just add it to your main collection or choose a specific playlist. From there you can select any of your albums, songs or playlists from the relevant tabs in the app at any time. So long as you have a data connection, of course.
3. How to take your streaming music offline

Streaming is great but it doesn't work on a plane, or any other place you don't have access to a data connection. Even though you're paying for a streaming service you can still take the music offline.
- Open up the album you want to take offline.
- Click on the "More" option towards the top.
- In the resulting menu, click "Download."
The album will now be downloaded to your PC or tablet and you can take it anywhere you go. You're only allowed to do this on five devices at once, so be sure to keep an eye on that. To check how many you're using go into "Settings" then click on "Manage my devices."
4. Stream albums in Groove from the Windows 10 Store

Groove may be Microsoft's streaming service but it also sells albums and individual songs through the Windows 10 Store. You'll find it all under the Music tab at the top and you can browse and then preview tracks right here in the Store.
If you find something you like, hit the "Play" button highlighted in the image above to be taken into the Groove app to carry on listening. If you want to add it to your collection and/or playlists, follow the steps listed in point two.
5. Stream your own music using Groove
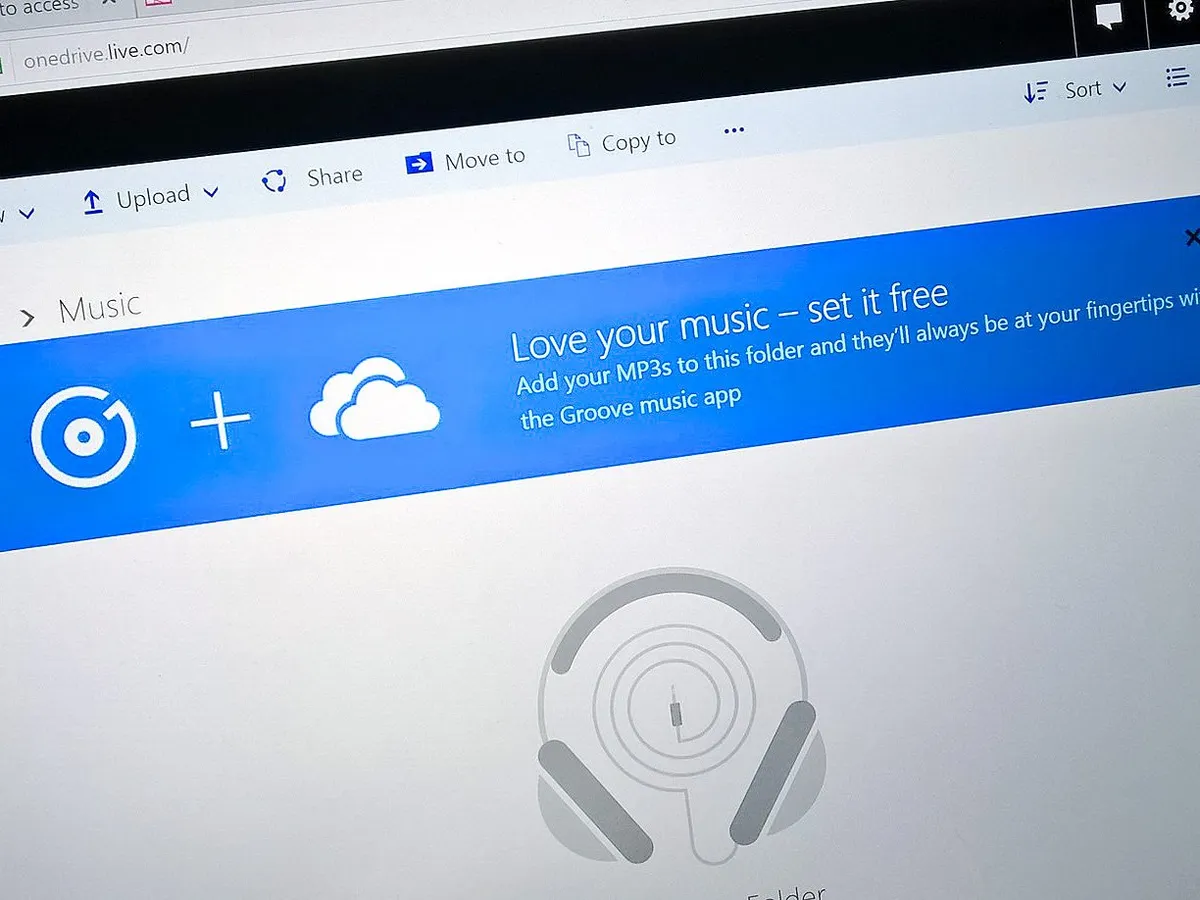
Groove Music and OneDrive can be best pals and the latter will let you stream your own music from the cloud using the former. It's really easy to do, all you need is enough OneDrive storage to hold your personal collection. Importantly you don't need a Groove Music Pass to do this. After all, it's your own music. But once it's in OneDrive you can stream it using the Windows 10 app (as well as other apps on other platforms.)
For everything you need to know check out the link below.
That's about all there is to it. If you want to know more about the Groove Music app for Windows 10, check out our guide at the link below.
For more Windows 10 tips be sure to drop by our dedicated page here

