How to create your own tracks with the Beat Saber Level Editor
All the latest news, reviews, and guides for Windows and Xbox diehards.
You are now subscribed
Your newsletter sign-up was successful
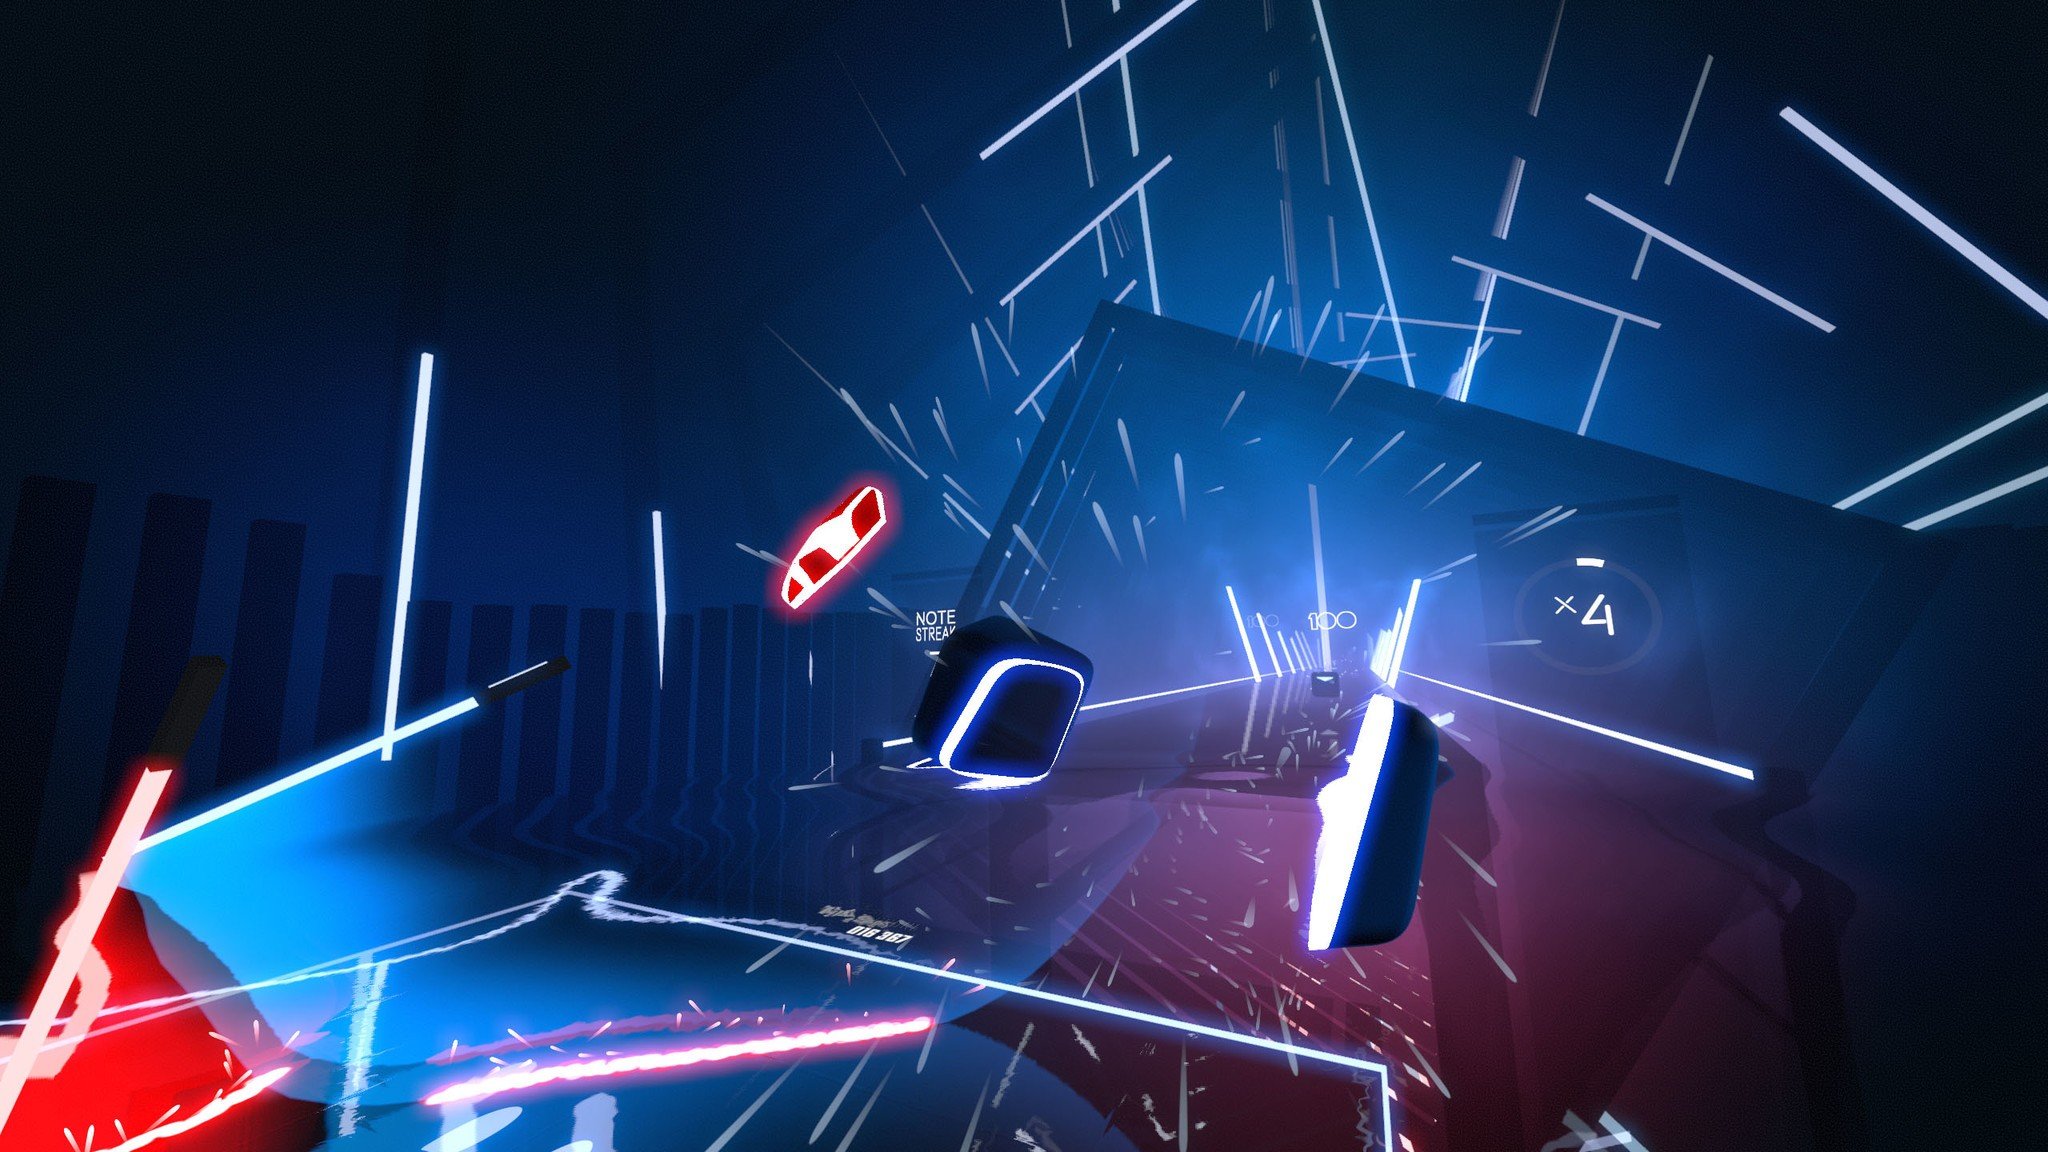
As far as VR rhythm games go, Beat Saber might just be everyone's favorite, and it's only just moved from its position as a PC Early Access title on Steam and Oculus to a full release. The combined effect of having original tunes pumping in your ears while you're slicing timed blocks with lightsabers is truly a thrill, and now that an official Level Editor has been released, many people are headed back to see if they can line up their own favorite songs with the red and blue blocks. We jumped in to see what it's all about, and have put together this guide to help you use the Beat Saber Level Editor.
Products used in this guide
- For Rift, Rift S: Beat Saber ($30 at Oculus)
- For Rift, Vive, WMR: Beat Saber ($30 at Steam)
How to use the Beat Saber Level Editor
We're still experimenting with the Beat Saber Level Editor and it will no doubt take quite some time to master it (if ever at all), but we can offer some insight into the 2D interface and what it takes to get your project off the ground. First you need to know how to access the Level Editor.
- How to access the Beat Saber Level Editor
- How to import songs
- How to change the Beatmap type and difficulty
- How to add content to your Beat Saber level
- How to test your Beat Saber project
- How to save your project
- How to load existing levels
How to access the Beat Saber Level Editor
Whether you purchased Beat Saber through the Oculus app or the Steam app, the Level Editor is accessed the same way.
- Launch Beat Saber.
- Put on your VR headset.
- Select Level Editor from the main Beat Saber menu using a motion controller.
- Remove your VR headset. The Level Editor works on a regular 2D monitor and will not work while wearing a VR headset.
You're now free to use a keyboard and mouse with the Beat Saber Level Editor.
How to import songs into the Beat Saber Level Editor
If you're making your own project from scratch, the first thing you want to do is import a song into the Level Editor. While MP3 might be a common audio file type, the Level Editor works only with OGG or WAV audio files.
Once you have a compatible OGG or WAV file — we used an online MP3 to OGG converter to get the job done quickly — you can import the song into the Level Editor that is already running on your PC.
- Click the Folder button in the top-right corner of the Editor.
- Click Import Audio.
- Click a compatible audio file.
- Click Open.
How to change the Beatmap type and difficulty
You can classify your Beat Saber level by selecting type and difficulty before adding content. This will have it show up in certain in-game menus so that you can, for example, be sure your audience is not fooled into playing an exceptionally hard level you created thinking it's a beginner track, or vice-versa.
All the latest news, reviews, and guides for Windows and Xbox diehards.
- Click the Beatmap Type dropdown menu near the bottom-right corner of the Editor. It should always be visible.
- Click a Type option. If it's a regular level, choose Standard, if you don't plan on adding any arrows, choose No Arrows, and if you want to only use one controller, choose One Saber.
- Click the Beatmap Difficulty dropdown menu.
- Click a difficulty you think corresponds with what you intend to create.
How to add content to your Beat Saber level
When you're in the middle of a Beat Saber level hacking and slashing your way through, you might only be focused on red and blue blocks, bombs, and obstacles. However, there is a lot more going on than you might first imagine.
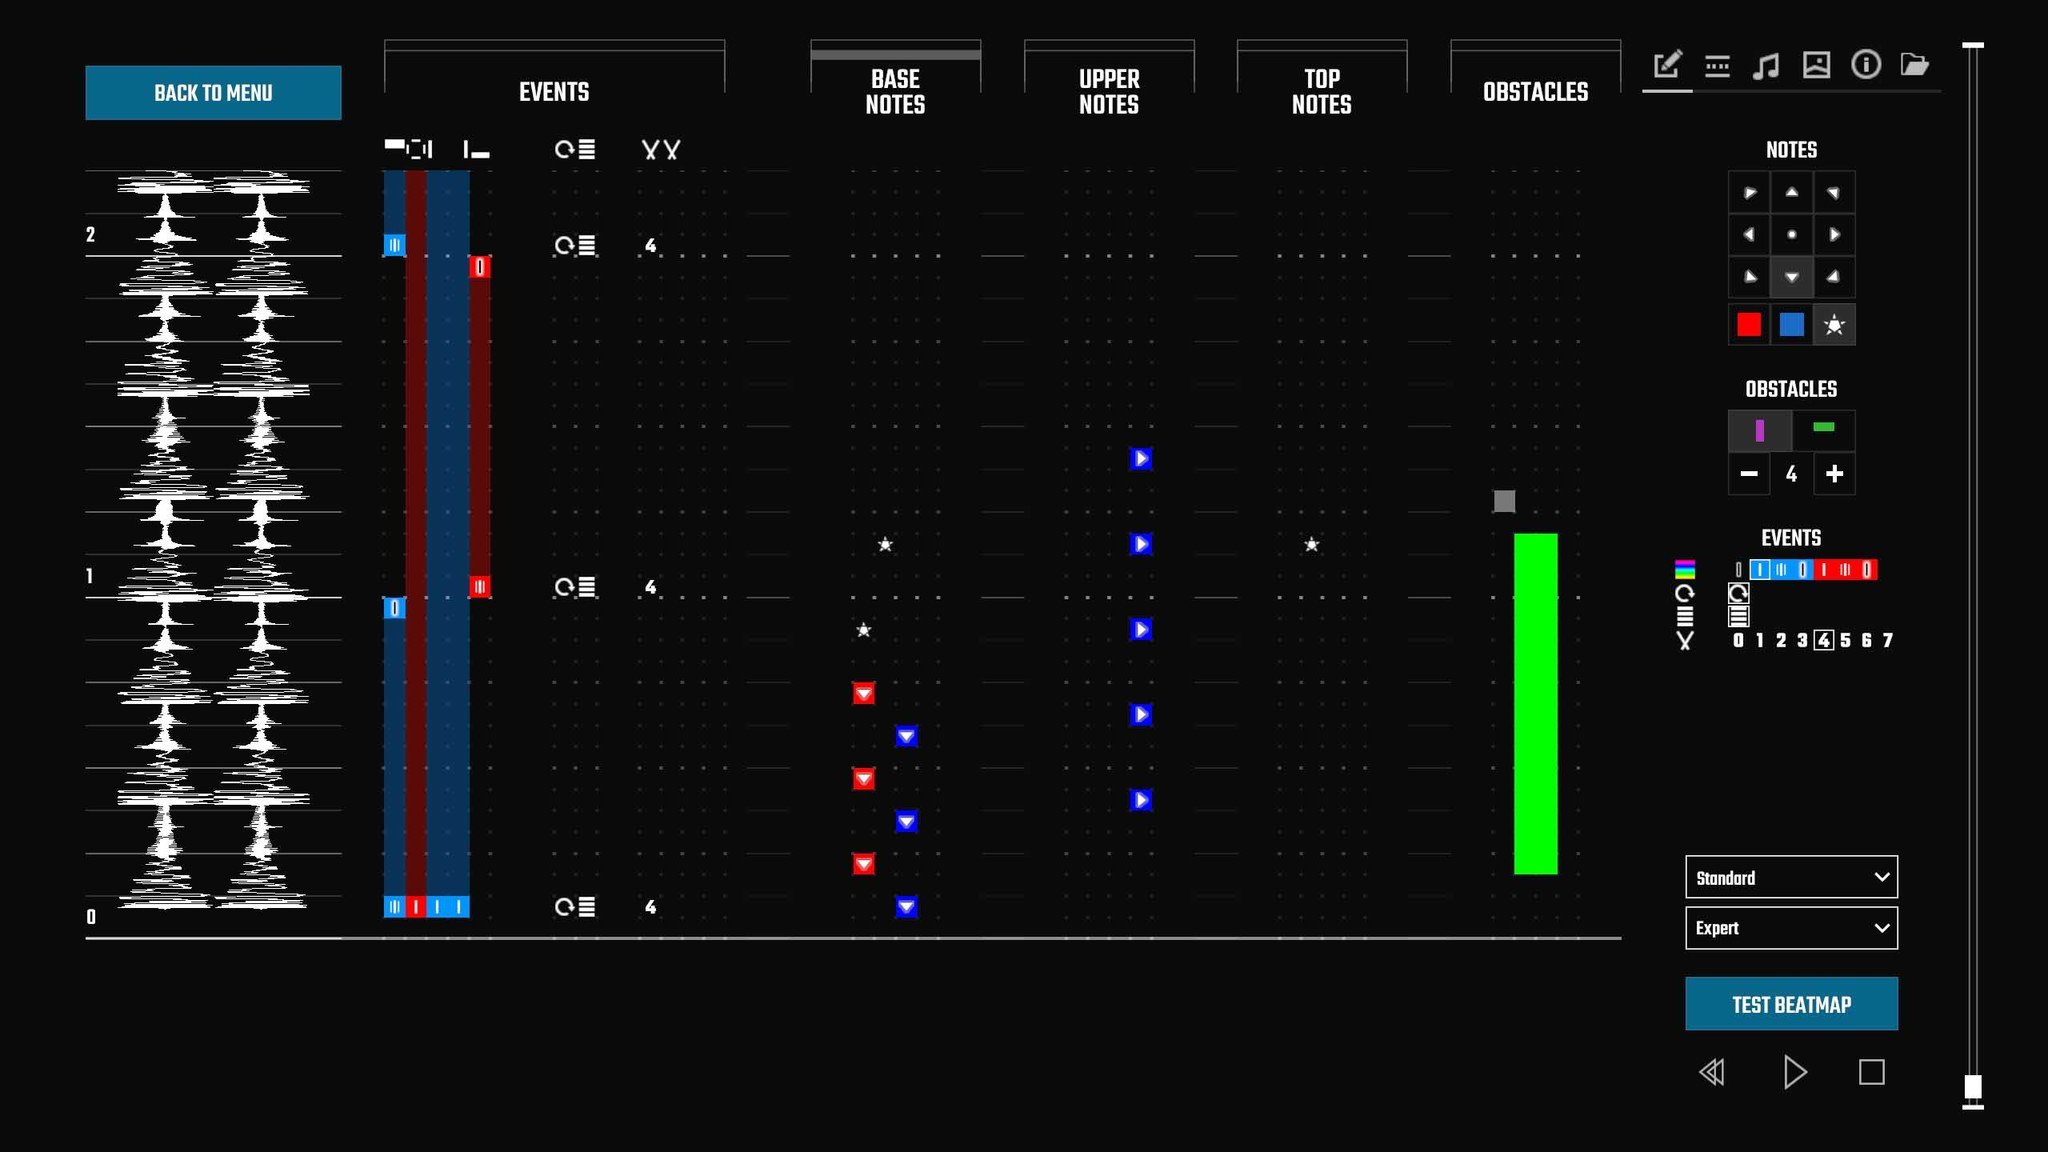
Once you have a song imported, you can start by adding events — lights around the course can rotate and move in time with the song — then move on to adding base notes, upper notes, top notes, and obstacles. We will start by adding Events.
- Click the Edit button near the top-right corner of the Editor. It looks like a pencil.
- Click an Event. You can choose from colored lights, ring rotation, light compression or expansion, and light rotation speed.
- Left-click an open space in the Events column located next to the audio track column. Notice that each event has a specific sub-column to which it can be added. The icons on the right that you can choose from match up with the Event column next to the audio track.
- Right-click an event to remove it from its column.
Now that you've added events to their appropriate sub-columns, you can start adding notes, which appear as the iconic red and blue blocks in game.
- Click an arrow in the Notes section. This corresponds with the direction you must slice the block.
- Click a color in the Notes section. The in-game block will appear as this color.
- Left-click an empty space in the Base Notes, Upper Notes, or Top Notes column. You ideally want these blocks to line up with the beat, so pay close attention to the audio column on the far left side. Knowing the song well will also help with rhythm. Where you place the note within the column is where the note will show up in game.
- Click the bomb in the Notes section.
- Left-click an empty space in the Base Notes, Upper Notes, or Top Notes column to place a bomb.
- Right-click any note or bomb in the columns to remove it.
You now have a song, custom lighting, note blocks, and bombs to contend with, but you can further complicate things by adding block obstacles to your level.
- Click a vertical or horizontal obstacle from the Obstacles section near the right side of the Level Editor.
- Click the + or - button to lengthen or shorten the obstacle.
- Left-click an empty space in the Obstacles column to place the obstacle.
- Right-click an obstacle placed in the column to remove it.
Don't be discouraged if your first attempt comes out as a garbled mess (like mine) of blocks, obstacles, flashing lights, and bombs. It will take time to become accustomed to how much content a level should have, and where content fits in best with the song you've selected.
How to test your Beat Saber project
Once you've added music, events, blocks, and even some obstacles to your Beat Saber level, you can test it out to see how it looks in game.
- Click Test Beatmap in the bottom-right corner of the Editor.
- Put on your VR headset. The level will start playing on its own.
- Click the Menu button on your motion controller.
- Select Level Editor to return to the Editor.
- Remove your VR headset. You can again turn your attention to your PC screen.
Yes, it would definitely be nice to be able to see what the level looks like without having to put on the VR headset, but at least you get a real idea of how your project is coming along.
How to save your project in Beat Saber Level Editor
After working on your project, you'll no doubt want to keep it around no matter how it turned out.
- Click the Folder button in the top-right corner of the Level Editor.
- Click Save As.
- Type a name for your project.
- Click Save.
How to load existing Beat Saber levels
You can load existing Beat Saber levels to check out a completed project to get an idea of how it looks or load a project you've been working on.
- Click the Folder button in the top-right corner of the Level Editor.
- Click Open.
- Click a project.
You should now see the complete project within the Level Editor. Don't forget to save any project you were working on before loading something new.
Our top hardware and software picks
If you're looking at picking up Beat Saber to get in on the rhythm VR action, it's now available as a full release after moving from Early Access. You can grab it for the Oculus Rift and Rift S straight from Oculus for about $30, or you can grab it from Steam and have it work across platforms, including Rift, Vive, and Windows Mixed Reality (WMR) headsets.
The full game, now with Level Editor included
If you're not averse to using your VR headset for some thrilling exercise, Beat Saber should be in your library. It has a bunch of great original tracks to play with, and the new Level Editor lets you create levels with your own songs.
Additional Equipment
If you're not already a VR owner, you can get in on the PCVR action with one of these great headsets.
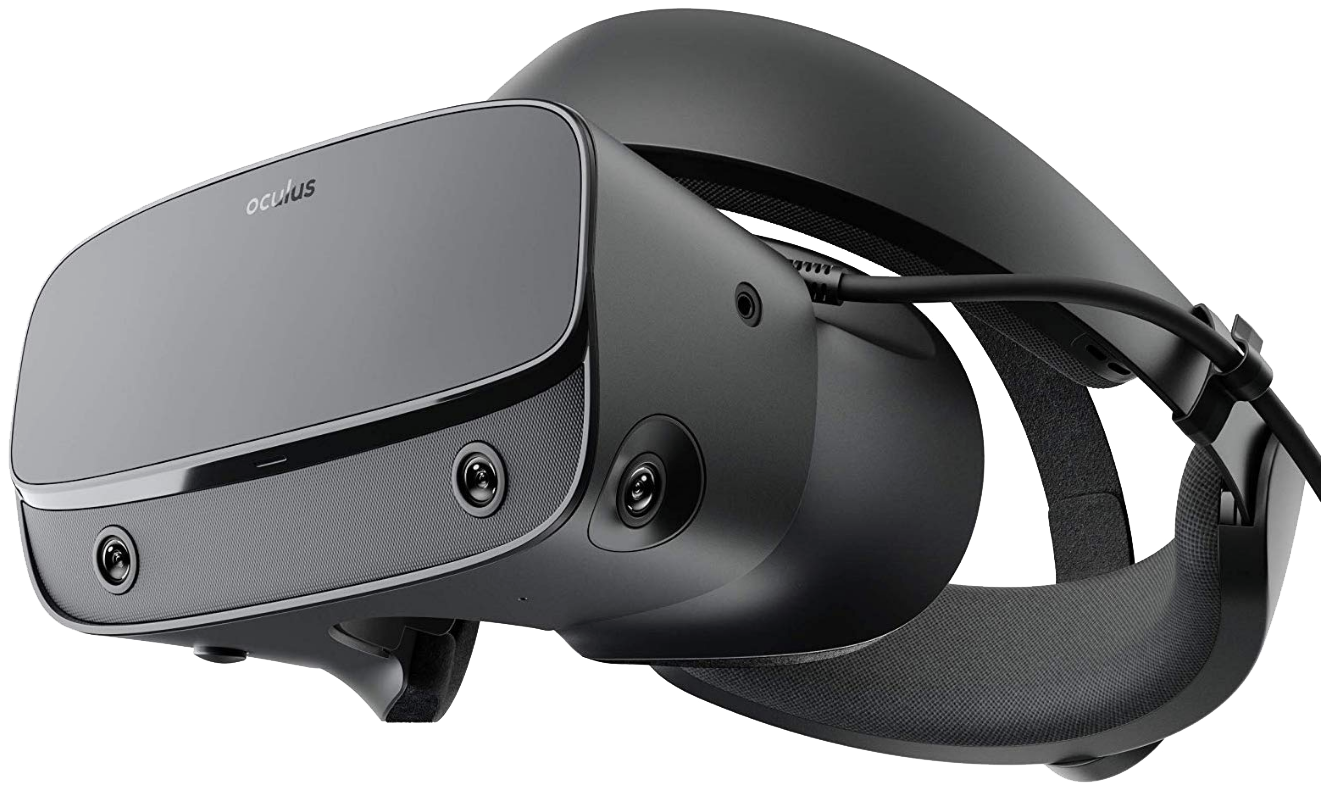
Oculus Rift S ($399 at Amazon)
The updated Oculus Rift S now needs no external sensors thanks to inside-out tracking, and it comes with updated Touch controllers to match. You still get the same stellar Oculus experience, including all the awesome games and apps you loved from the start.
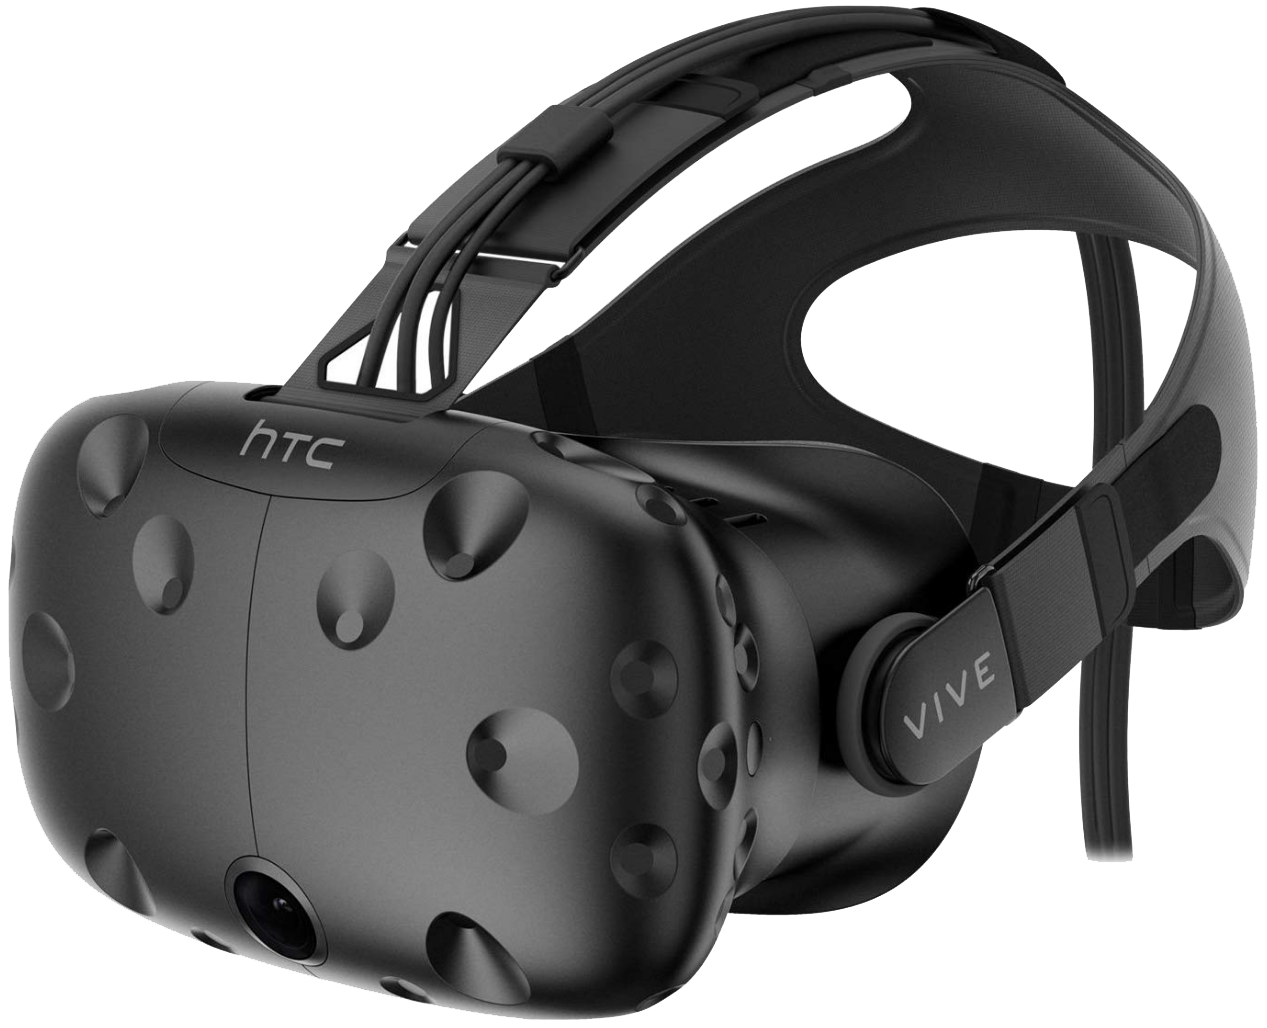
HTC Vive ($499 at Amazon)
HTC's Vive has proven itself over the last couple of years, and it's still one of the best room-scale PCVR systems you can buy. The package includes lighthouse sensors, motion controllers, headset, and a 6-month subscription to Viveport Infinity.
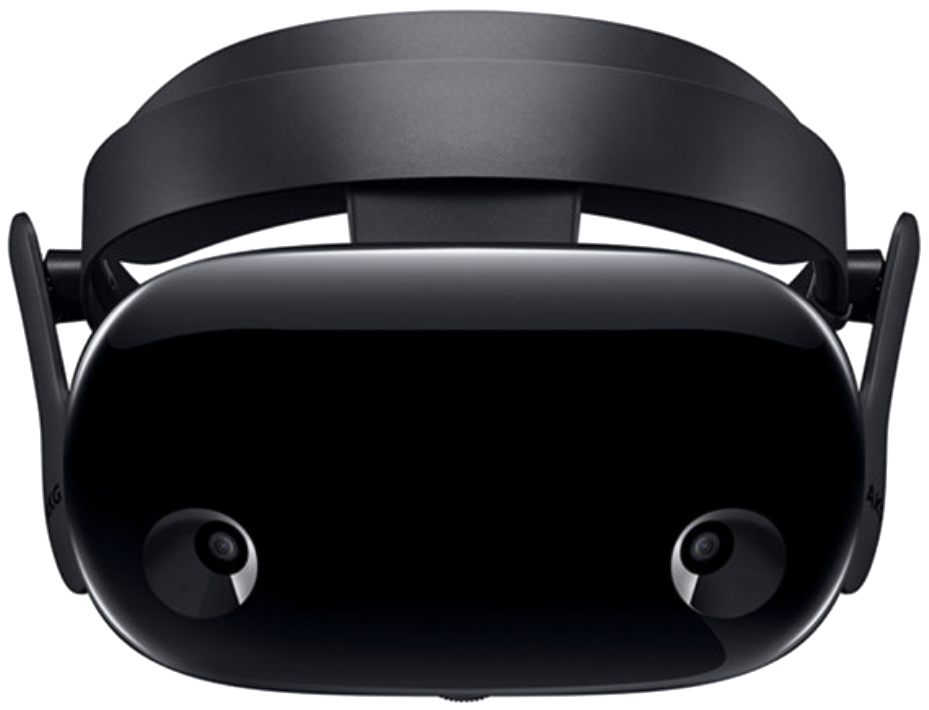
Samsung HMD Odyssey+ ($385 at Amazon)
Samsung's Odyssey+ brings a premium headset with inside-out tracking and motion controllers. It has a high-res AMOLED display, built-in headphones with spatial sound, and a comfortable headband. If you want in on WMR, this is the way to go.

Cale Hunt brings to Windows Central more than nine years of experience writing about laptops, PCs, accessories, games, and beyond. If it runs Windows or in some way complements the hardware, there’s a good chance he knows about it, has written about it, or is already busy testing it.
