


Games consoles are more feature-packed than ever, with systems like the Xbox One boasting offerings rivaling PCs and phones. And like the aforementioned systems, payments and personal information are handled onboard, meaning you'll want to acknowledge your console's security.
For Xbox One owners, Microsoft offers several methods for signing into your console that offer a balance of security and convenience. While some users may opt for ease of use in the name of accessibility, others may prefer to fully lock down their console.
Instant sign-in
Starting with the less secure options is "Instant sign-in," which as the name suggests, logs the user once the console is turned on. After configuring the primary account for the console, this profile will be immediately signed into Xbox Live without prompt for any identification.

This is the quickest solution for signing into your console, though simultaneously poses the biggest risk to security. When an Xbox One is used only by a single user, this is a valid sign-in option with little fuss. However, your console should be stored in a safe location without access from other individuals. In the case that your console is accessed, it also poses a big risk, allowing for unrestricted access to its contents.
Bottom line: Best on Xbox One consoles accessed by one user, making for the fastest-possible sign-in experience, at the cost of security.
Here's how to configure instant sign-in on your Xbox One:
- Sign into your Xbox One with the account you plan to change settings for.
- Open the Settings app.
- Navigate to the Account tab.
- Select Sign-in, security & passkey.
- Select Change my sign-in and security preferences.
- Choose the No barriers tab. This will return you to the main sign-in page.
- Select Instant sign-in.
- Select Use instant sign-in. This will automatically set your current account as the default for instant sign-in going forward.
After completing the steps, when your Xbox One console is turned on, your chosen account will automatically sign in.
Controller sign-in

For those who prefer a seamless sign-in experience, but share the console among multiple users, the Xbox One's "controller mapping" feature comes into play. Once enabled, accounts can be mapped to specific controllers, causing it to automatically sign-in when this connected. For example, when two gamers use a single console, two controllers can be used, each mapped to an individual account.
While you're mapping an account to a specific controller, all account information is still solely tied to the console. Once configured, connecting a controller simply acts as a trigger for signing into a specific account. This feature can also stack with existing sign-in security measures, such as a passkey or password.
Bottom line: For those sharing a console between multiple users, controller mapping is fast and reliable.
Here's how to set up controller mapping on Xbox One controllers.
- Sign into your Xbox One with the account you plan to change settings for.
- Open the Settings app.
- Navigate to the Account tab.
- Select Sign-in, security & passkey.
- Select Change my sign-in and security preferences.
- Choose the No barriers tab. This will return you to the main sign-in page.
- Select This controller signs in.
- Select Link controller.
If signed out of the console, turning on the mapped controller will sign into your account. Keep in mind that accounts can only be mapped to one controller at this point in time.
Passkey sign-in

If you're looking for additional security, the Xbox One's passkey sign-in feature is most likely for you. Like any modern smartphone, a passkey is a user-defined six-digit sequence of button presses. After being enabled, this combination will be required every time when signing into the account.
While not as fast as instant sign-in, using a passkey adds a small barrier of protection without heavily delaying the time you spend gaming. This is an ideal solution for those trying to prevent people from accessing their console, whether between family members or roommates. Just make sure you don't forget those six important digits.
Bottom line: For those who want a little more security with an easy method, passkeys are the most recommended.
Here's how to create and use a passcode on your Xbox One console.
- Sign into your Xbox One with the account you plan to change settings for.
- Open the Settings app.
- Navigate to the Account tab.
- Select Sign-in, security & passkey.
- Select Change my sign-in and security preferences.
- Choose the Ask for my passkey tab.
- Enter a sequence of button presses when prompted. As shown on screen, these button presses translate to a six-digit PIN number.
- Enter the button sequence a second time to confirm your entry.
Password sign-in

For the peace of mind that your console is locked down, the password sign-in option provides top-tier security at the cost of speed. When enabled, the password for your Microsoft account must be entered every time you sign into the console. Provided the password for your Microsoft account is secure, you won't have to worry about unauthorized access to your console.
While you won't be sacrificing security, this makes signing in a significantly longer process for those with complex passwords. Furthermore, two-factor authentication not supported when using this sign-in method. Some may prefer a full-length password, though, for many, this isn't a recommended option.
Bottom line: Use this to get the most secure sign-in option for your console, though don't expect it to be fast.
- Sign into your Xbox One with the account you plan to change settings for.
- Open the Settings app.
- Navigate to the Account tab.
- Select Sign-in, security & passkey.
- Select Change my sign-in and security preferences.
- Choose the Lock it down tab.
Kinect sign-in
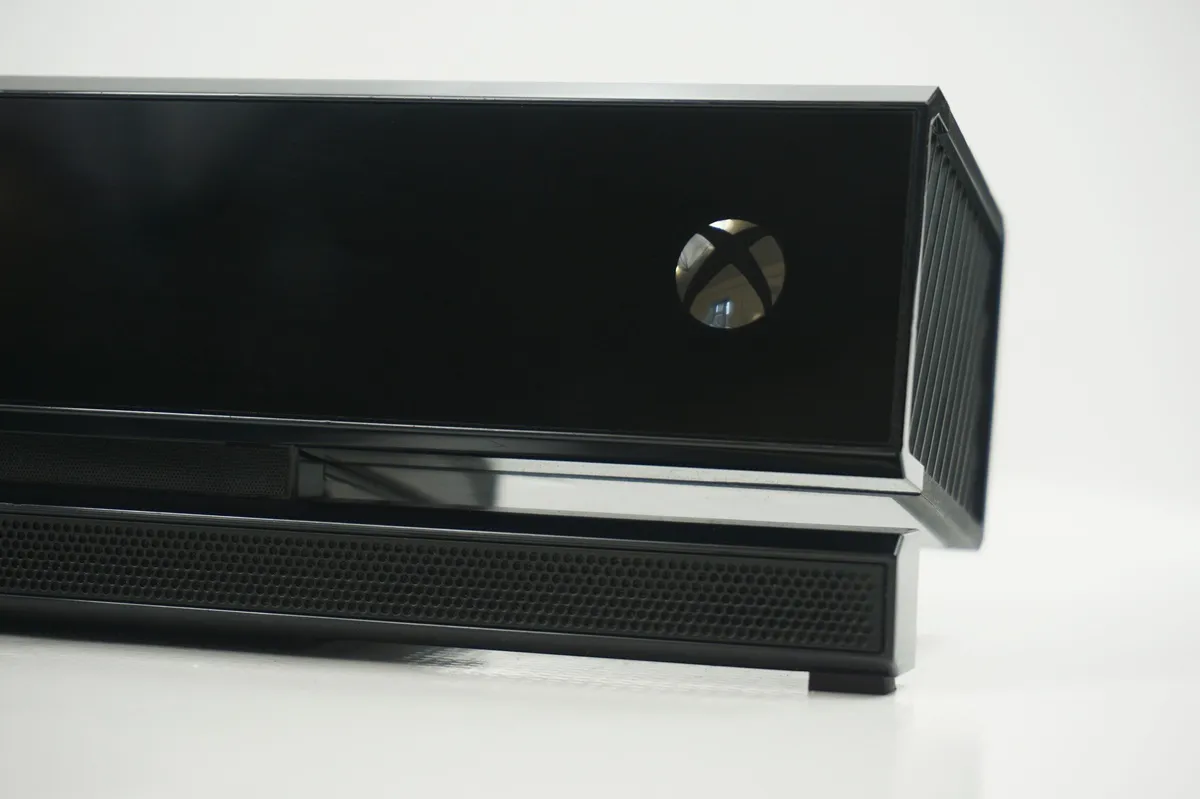
Microsoft has essentially killed its Kinect sensor, yet the device still works on Xbox One. Furthermore, when connected, its advanced tracking technology can enable facial recognition for signing in on the console. While fast and secure when it works, you'll need to keep a clear line of sight between you can the device's camera.
Bottom line: It's quick and easy, though you'll need to keep a Kinect sensor in sight to use it.
- Sign into your Xbox One with the account you plan to change settings for.
- Open the Settings app.
- Navigate to the Account tab.
- Select Sign-in, security & passkey.
- Select Change my sign-in and security preferences.
- Choose the Make it fast, make it magic tab.
Which sign-in option do you use on your Xbox One? Make sure to drop into the comments section and share your thoughts.

