How to delay the Windows 10 May 2020 Update without losing quality updates
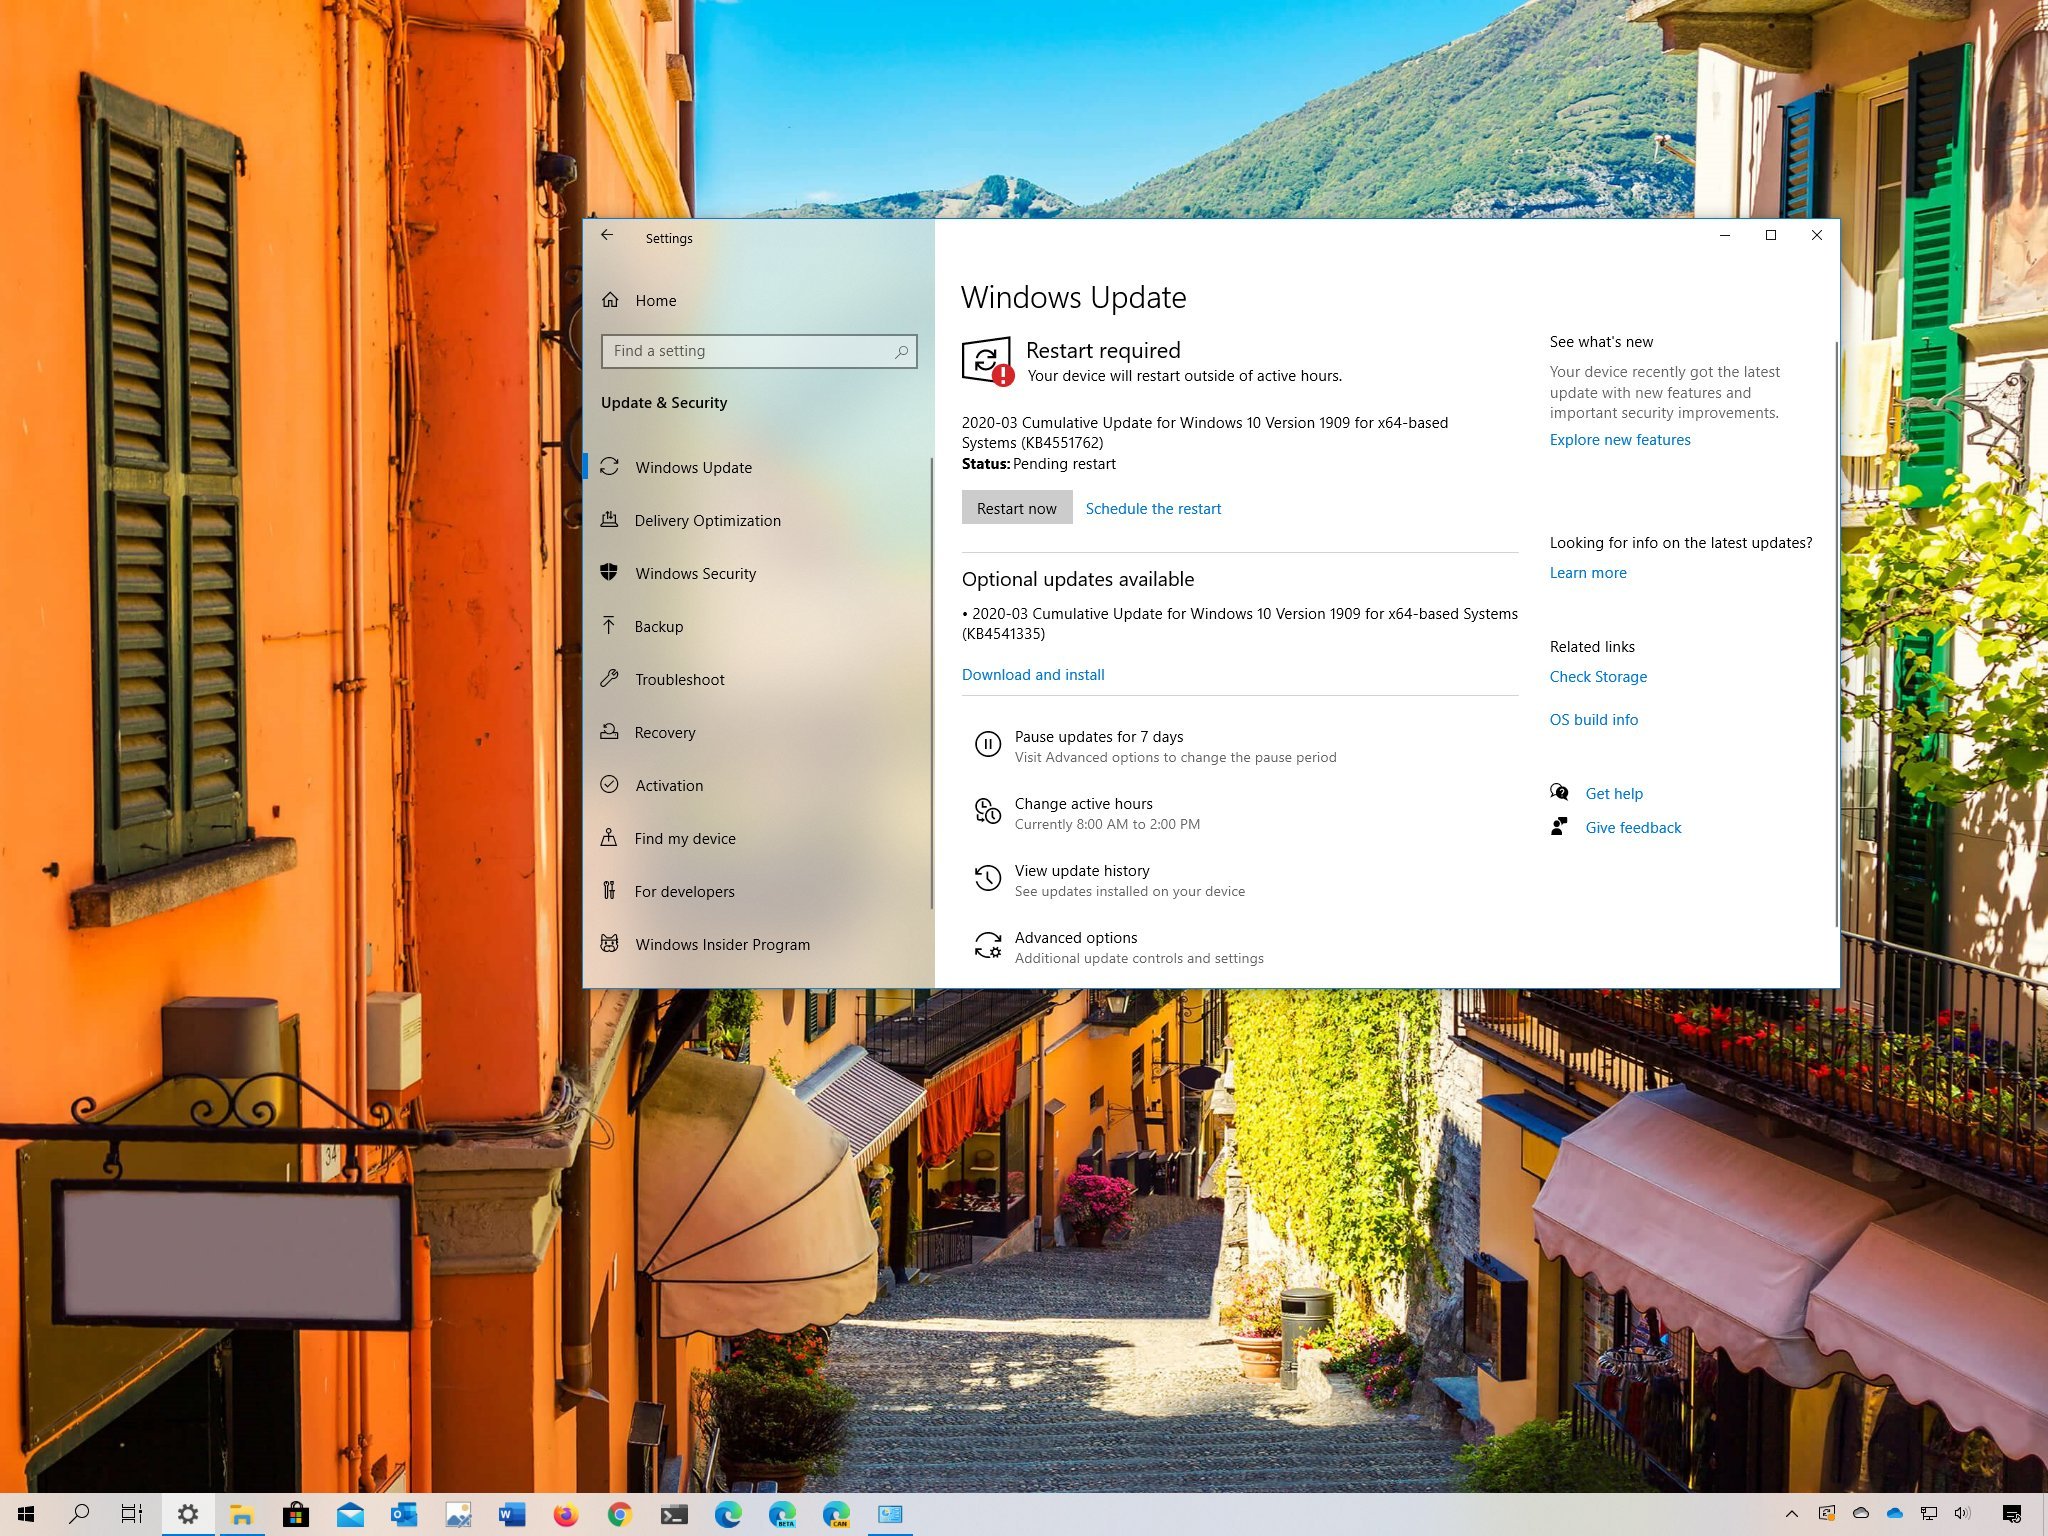
Windows 10 is getting the May 2020 Update to add new features and improvements, but if you're not ready, you can use these steps to block the installation for as long as possible.
All the latest news, reviews, and guides for Windows and Xbox diehards.
You are now subscribed
Your newsletter sign-up was successful
Microsoft is expected to start the gradual rollout of the Windows 10 May 2020 Update (version 2004) in the coming days, and this means that soon devices will be able to upgrade to get the new set of features and tons of improvements.
Since feature updates are no longer mandatory, the May 2020 Update will be available as an optional update, which you'll need to download and install manually using the Windows Update settings. However, accidents could always happen, and if you're running an older version on Windows 10 nearing the end of service, sometime after the release, the update will eventually install automatically to keep the device supported.
If you want to make sure that you're in control of the upgrade process, or you're comfortable using the current installation, even if it's reaching the end of service, you can delay version 2004 in at least three ways using the Settings app.
In this Windows 10 guide, we'll walk you through the steps to delay the May 2020 Update on your device without missing cumulative and security updates.
- How to delay the Windows 10 May 2020 Update
- How to defer the Windows 10 May 2020 Update
- How to block the Windows 10 May 2020 Update
How to delay the Windows 10 May 2020 Update
In the event that you triggered the installation of the new version through the Windows Update settings, but you're not ready to upgrade because you're using the computer, you can postpone the installation to a different time.
Postponing installation
To postpone the installation of version 2004 for a few days, use these steps:
- Open Settings.
- Click on Update & Security.
- Click on Windows Update.
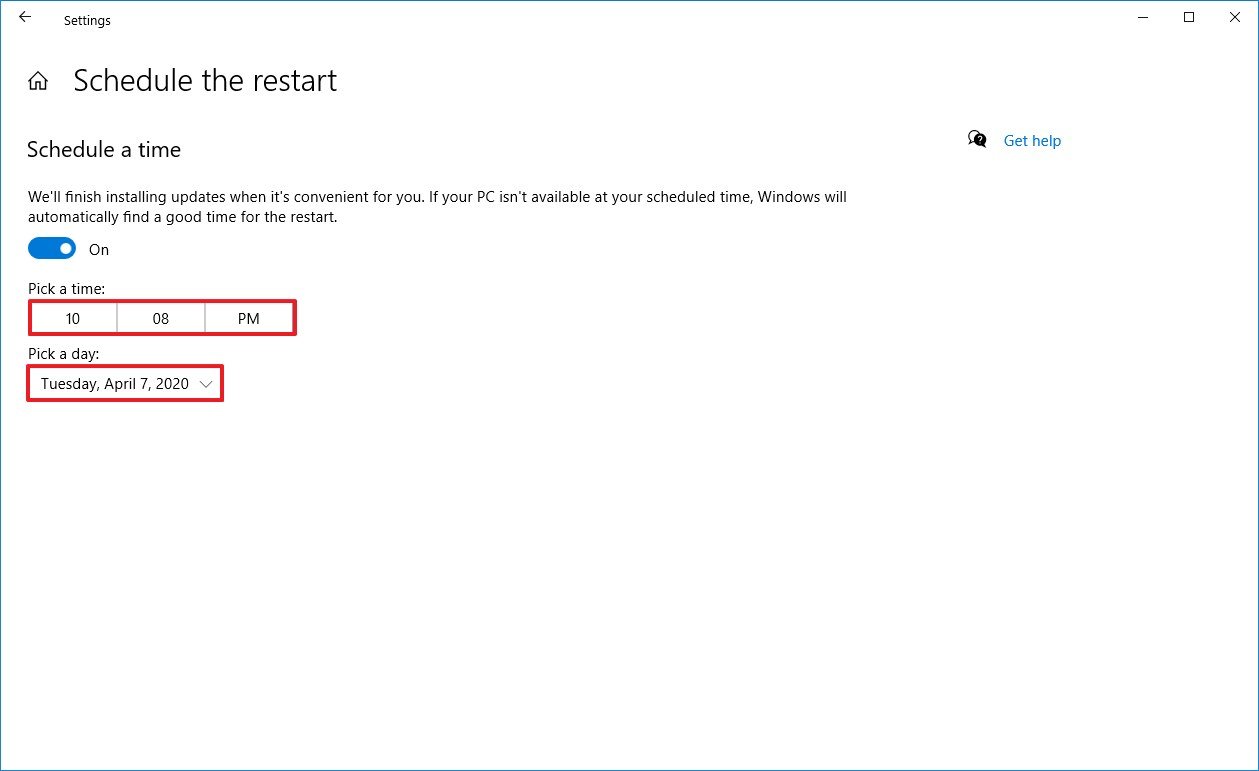
- Click the Schedule the restart option.
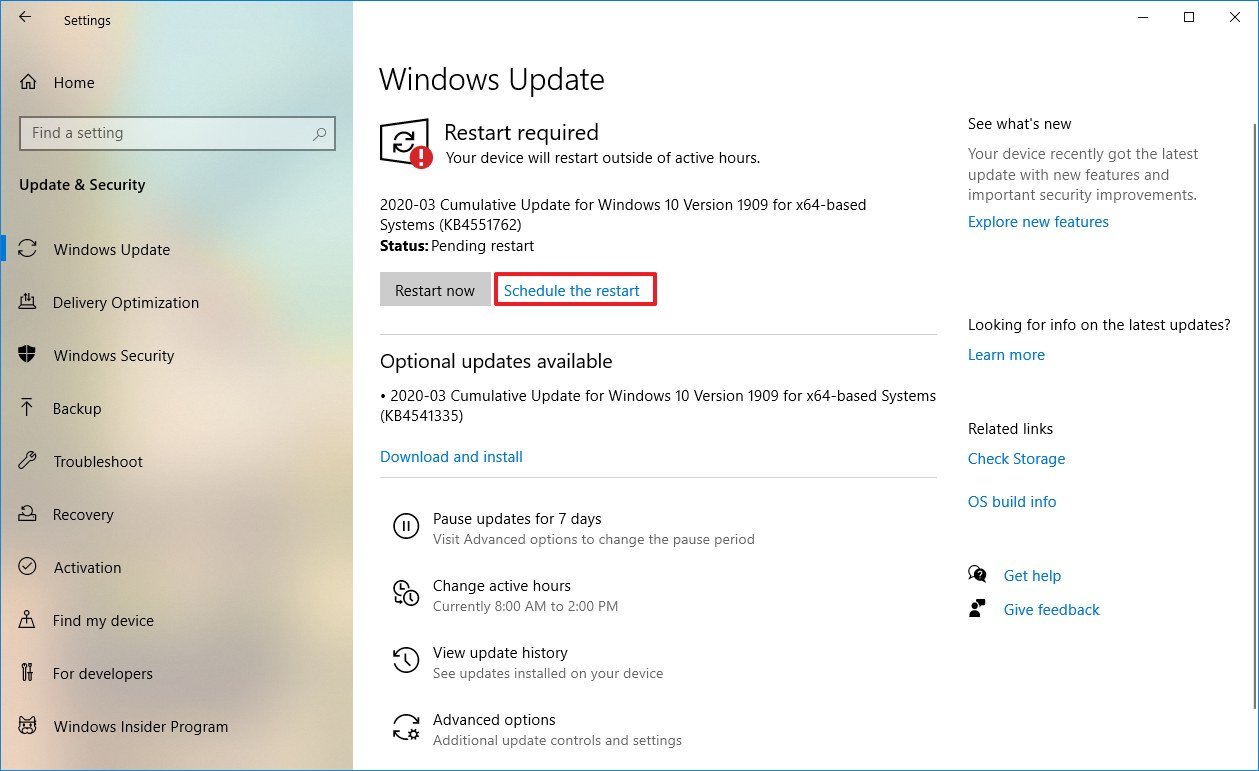
- Under the "Schedule a time" section, turn on the toggle switch.
- Select the schedule to restart automatically to finish the installation (up to seven days).
Once you complete the steps, the computer won't restart automatically to install the new feature update until the schedule you specified in the Settings app.
All the latest news, reviews, and guides for Windows and Xbox diehards.
If you want to apply the new version the same day, but you're using the computer, then you can adjust the active hours settings to upgrade on a later time.
Pausing downloads
To delay the download of the Windows 10 May 2020 Update, use these steps:
- Open Settings.
- Click on Update & Security.
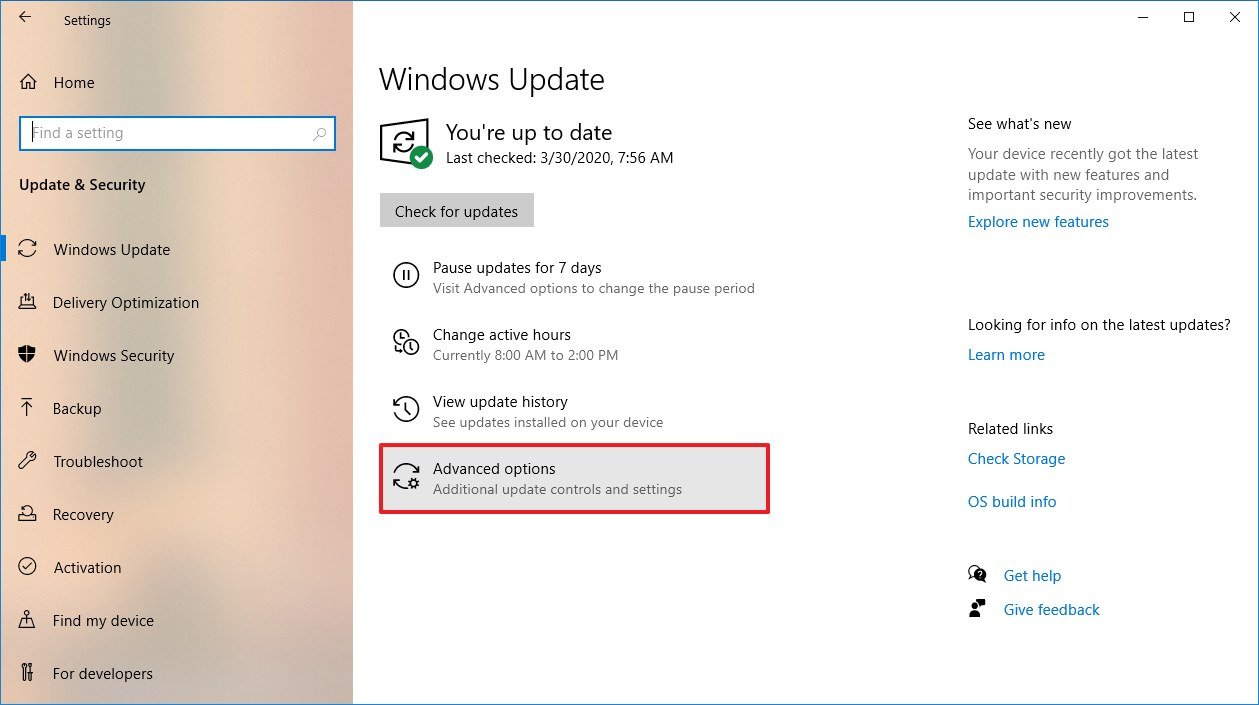
- Click on Windows Update.
- Click the Advanced options button.
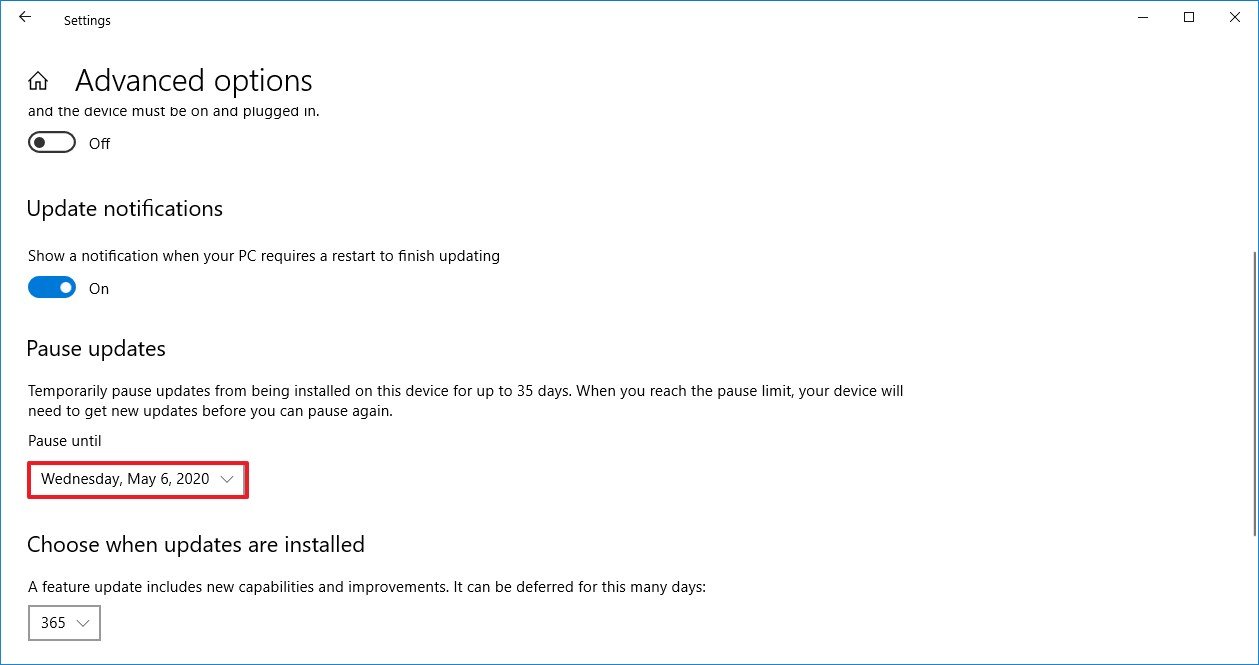
- Under the "Pause Updates" section, use the drop-down menu to select how long to delay updates.
After you complete the steps, the feature update or quality updates will no longer download through Windows Update for up to 35 days, depending on your configuration.
How to defer the Windows 10 May 2020 Update
If you're not planning to upgrade for several months, you can defer the feature update for up to 12 months.
To defer the May 2020 Update for up to a year, use these steps:
- Open Settings.
- Click on Update & Security.
- Click on Windows Update.
- Click the Advanced options button.
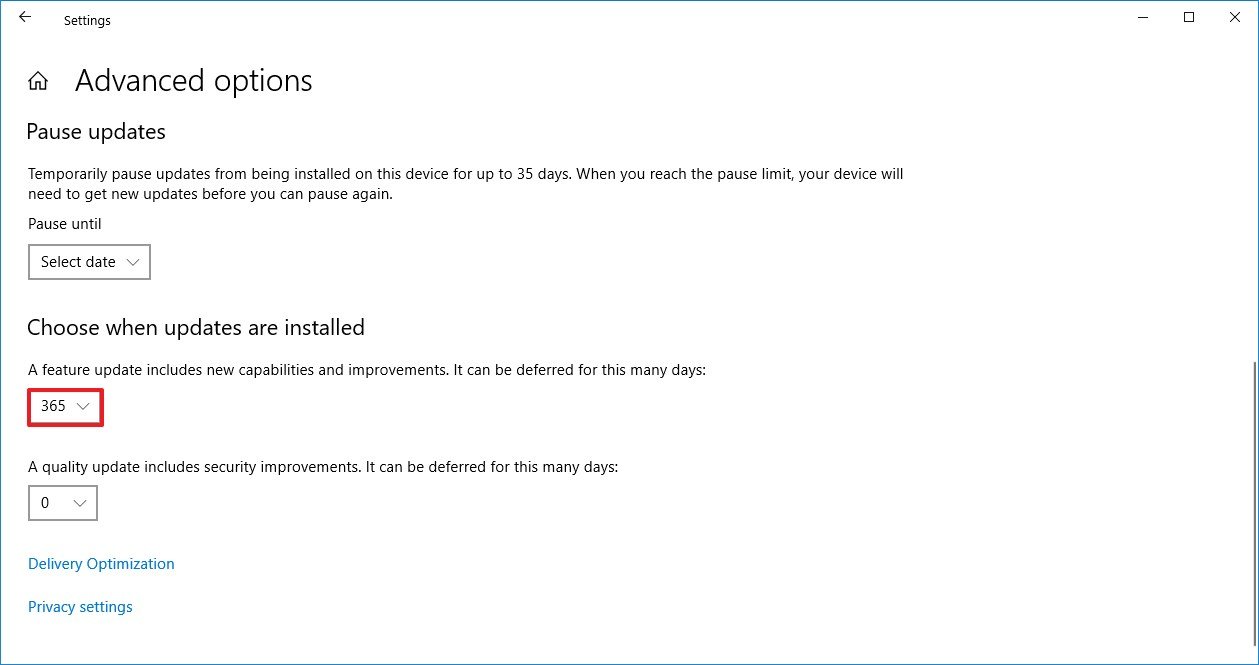
- Under the "Choose when updates are installed" section, select how long you want to defer the May 2020 Update (up to 365 days).
Once you complete the steps, Windows 10 version 2004 won't install for the time you specified. However, the device will continue to receive maintenance updates until the version you're running is no longer supported.
How to block the Windows 10 May 2020 Update
If you're using the Home edition of Windows 10, then you won't find the same settings to block the May 2020 Update like in the Pro edition. However, in the case that your computer is using a release nearing the end of service, then you can set a network connection as metered to defer the update.
To set a network connection as metered to block a feature update, use these steps:
- Open Settings.
- Click on Network & Internet.
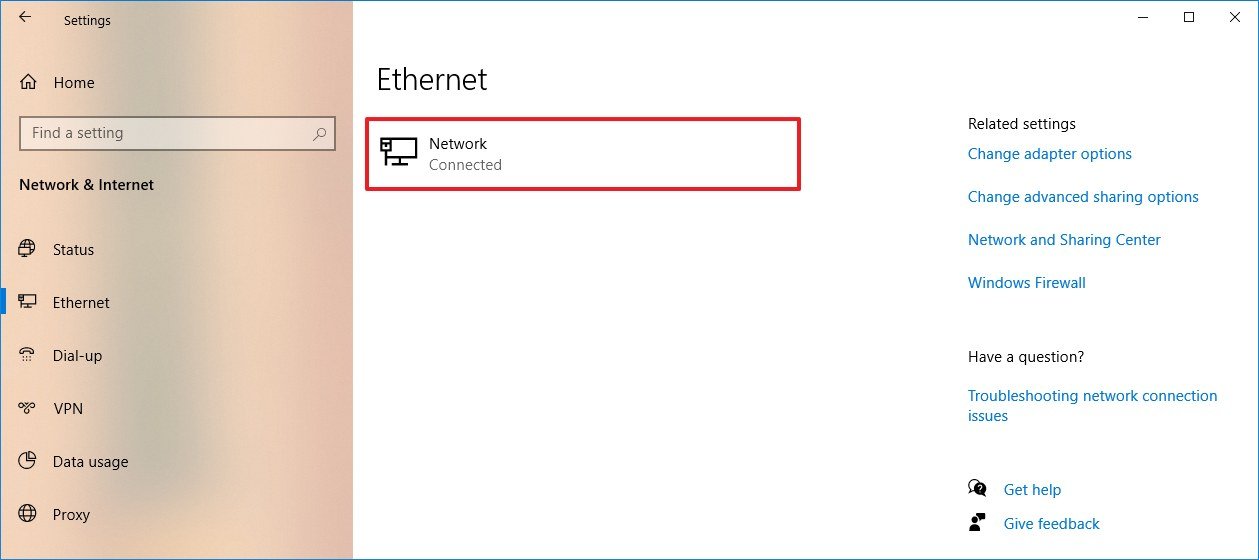
- Click on Wi-Fi or Ethernet.
- Select the network connection connected to the internet.
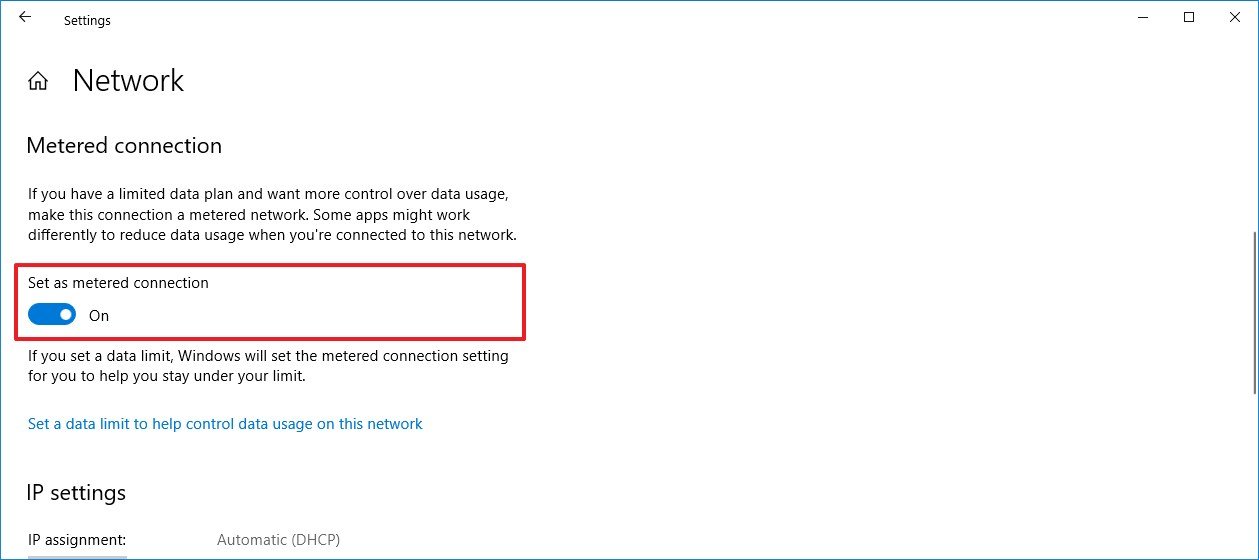
- Turn on the Set as metered connection toggle switch.
- Click the Home button.
- Click on Update & Security.
- Click on Windows Update.
- Click the Advanced options button.
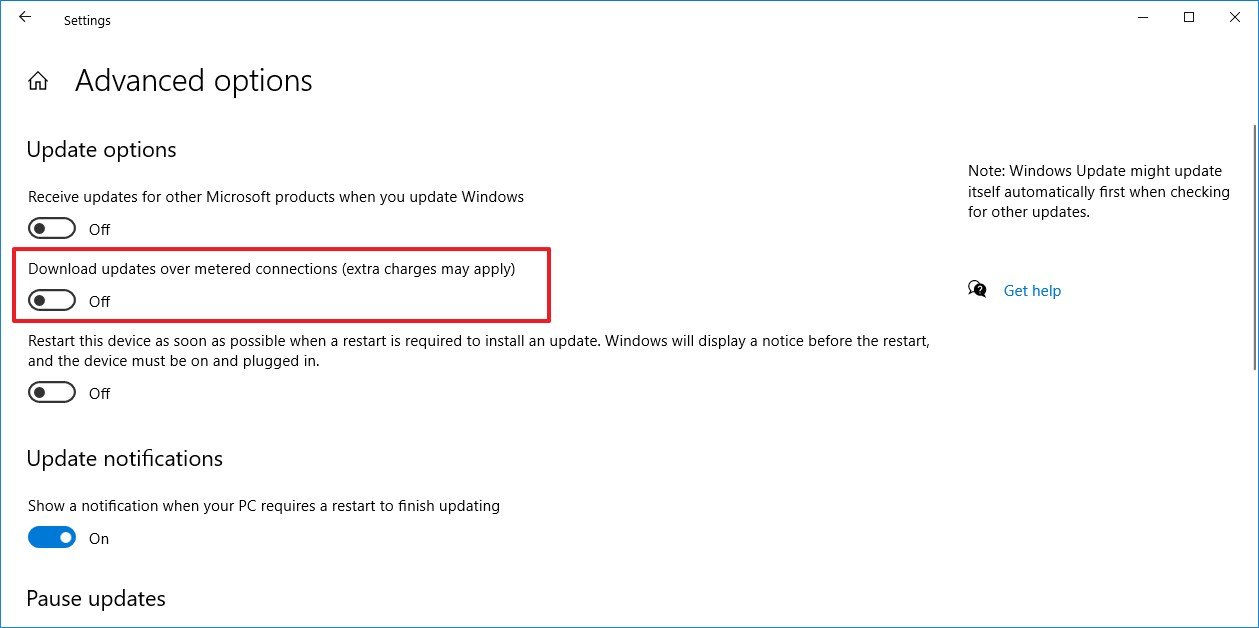
- Under the "Update options" section, turn off the Download updates over metered connections toggle switch.
After you complete the steps, the May 2020 Update, as well as quality updates, will stop downloading and installing on your device until you remove the setting.
If you're concerned about missing quality updates while using this configuration, you should know that it's not a significant security risk to use a device without updates for a few days.
Alternatively, you can always download and install cumulative updates manually using this guide. Also, if the company releases a critical update, your device will get it regardless of the system configuration.
If you're using a laptop that you move around to different networks, then remember to set those connections as metered as well as the feature works per network, not per adapter. Also, consider that using this feature will also prevent Microsoft Store apps from getting updates, and other services, such as OneDrive, will stop syncing your files automatically.
Since new feature updates of Windows 10 are optional, you should only use the above steps if you're running a release nearing the end of service, and you want to delay the May 2020 Update a little longer.
When you're ready to upgrade, you can remove the block using the same steps, but on step No. 5, make sure to disable the option.

Mauro Huculak has been a Windows How-To Expert contributor for WindowsCentral.com for nearly a decade and has over 22 years of combined experience in IT and technical writing. He holds various professional certifications from Microsoft, Cisco, VMware, and CompTIA and has been recognized as a Microsoft MVP for many years.
