How to upgrade the storage and RAM on the ASUS G752
Add even more to your goliath gaming notebook with ease.
All the latest news, reviews, and guides for Windows and Xbox diehards.
You are now subscribed
Your newsletter sign-up was successful
The ASUS ROG G752 gaming laptop is very well equipped, but it doesn't mean you're limited to what it has out of the box. While the processor and graphics are out of bounds, you can do a fair bit of good with upgraded RAM and internal storage.
You can simply increase to 32GB or 64GB of RAM (32GB in the case of this article) as well as expanded hard drive or SSD storage. Here's what you need to know.
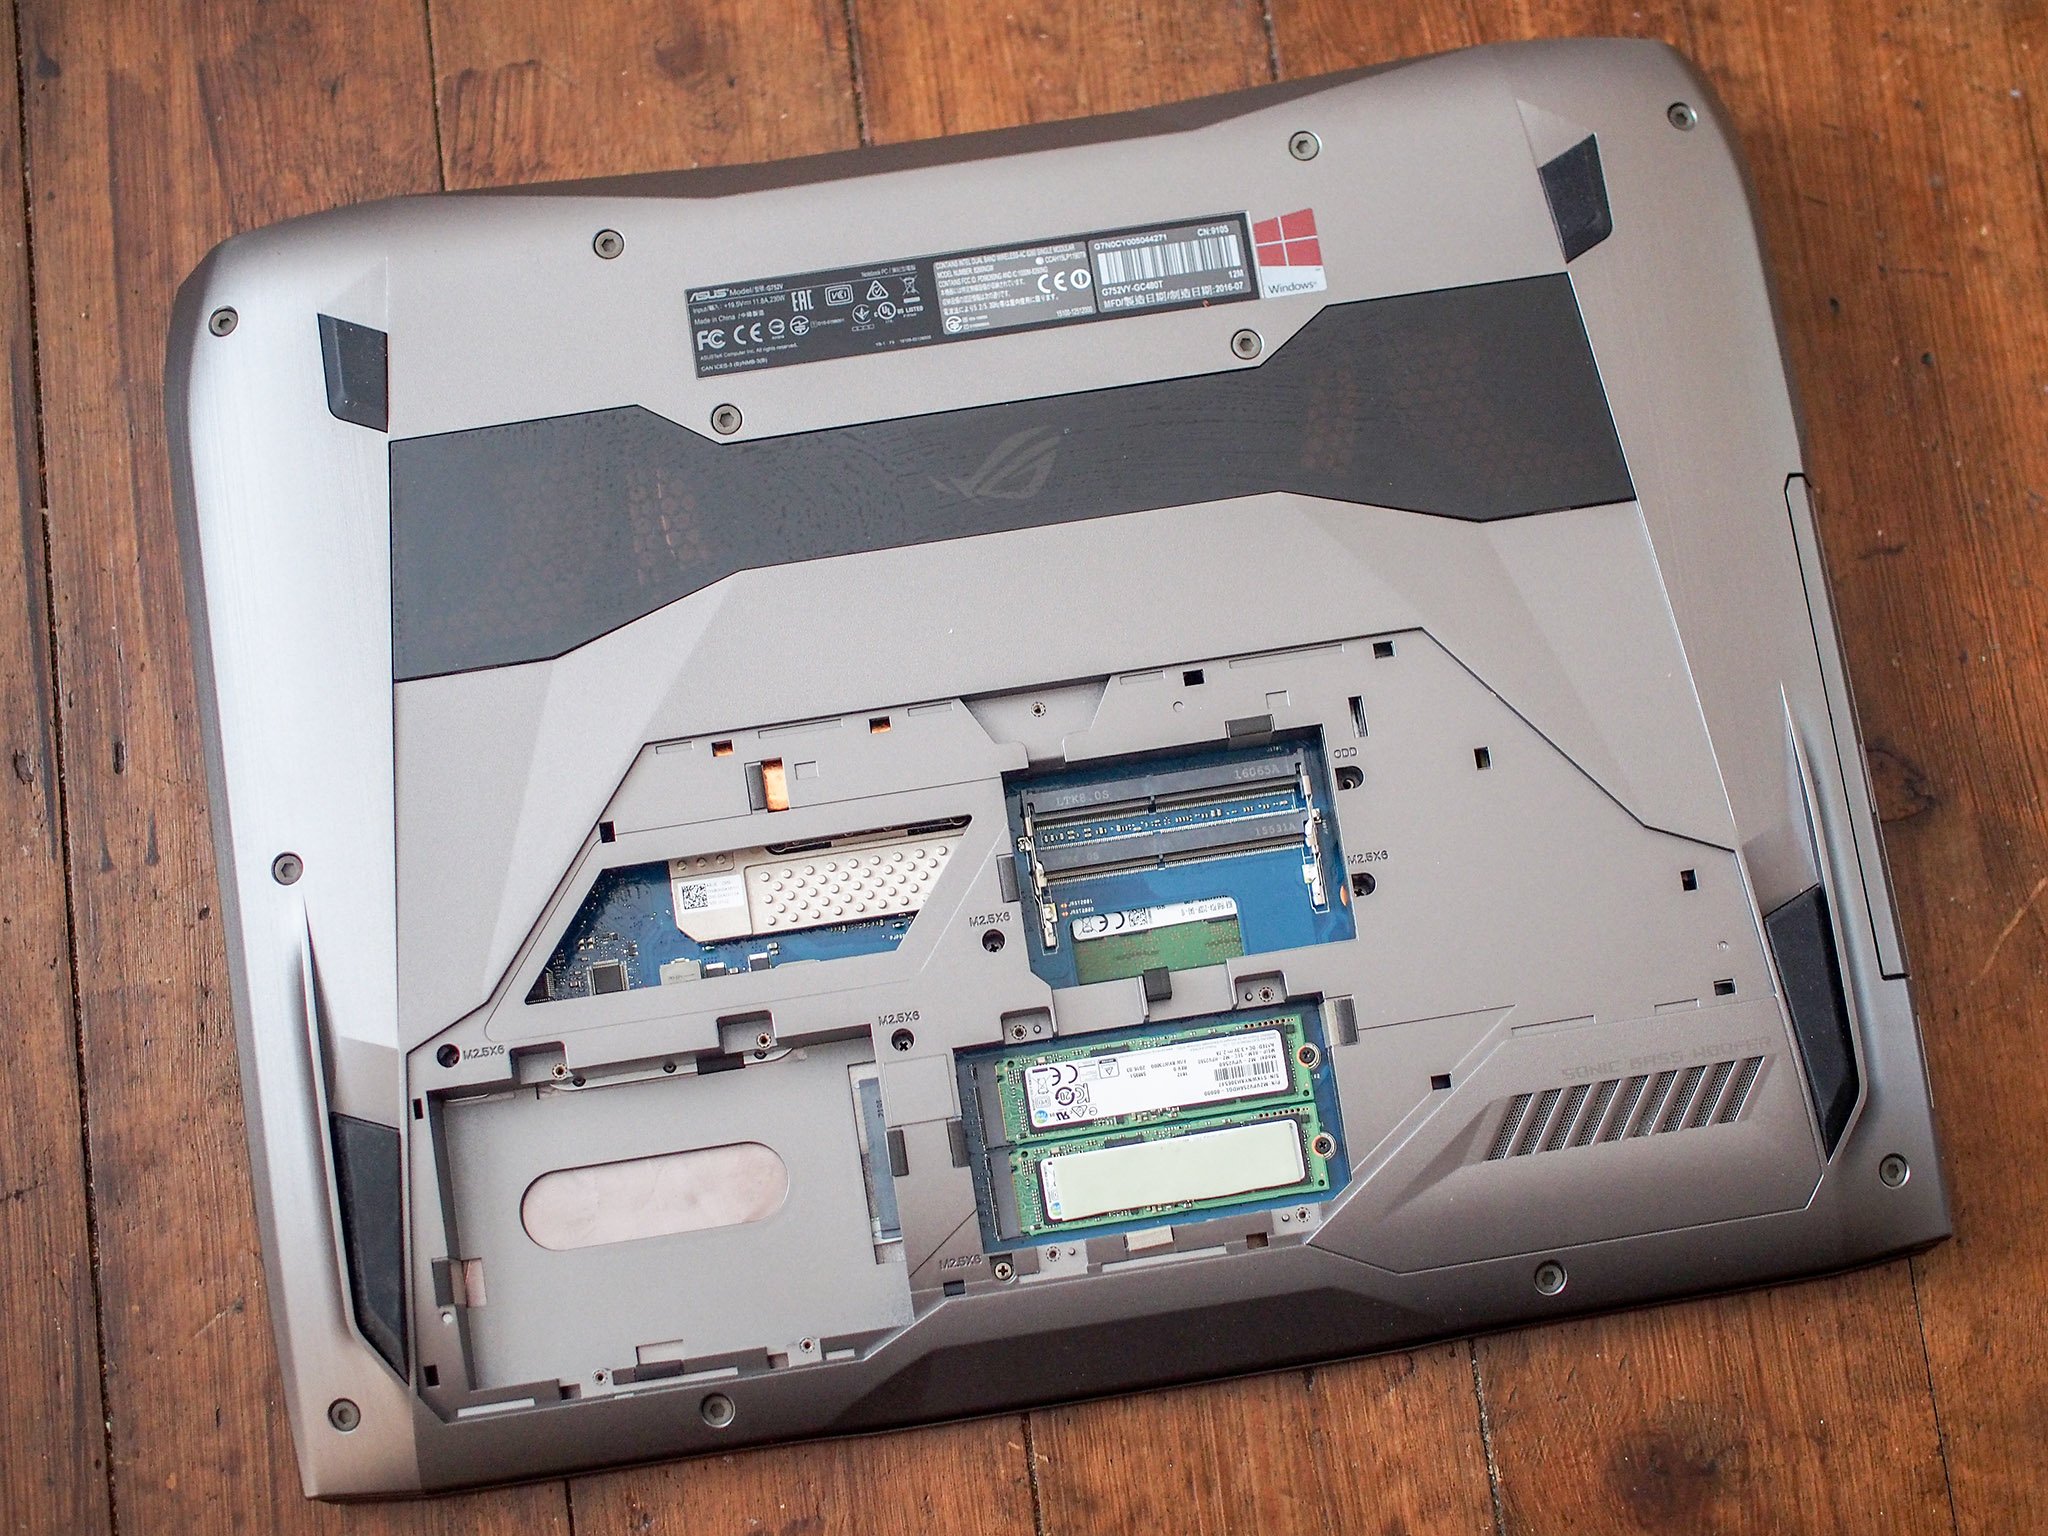
Opening up the ASUS G752
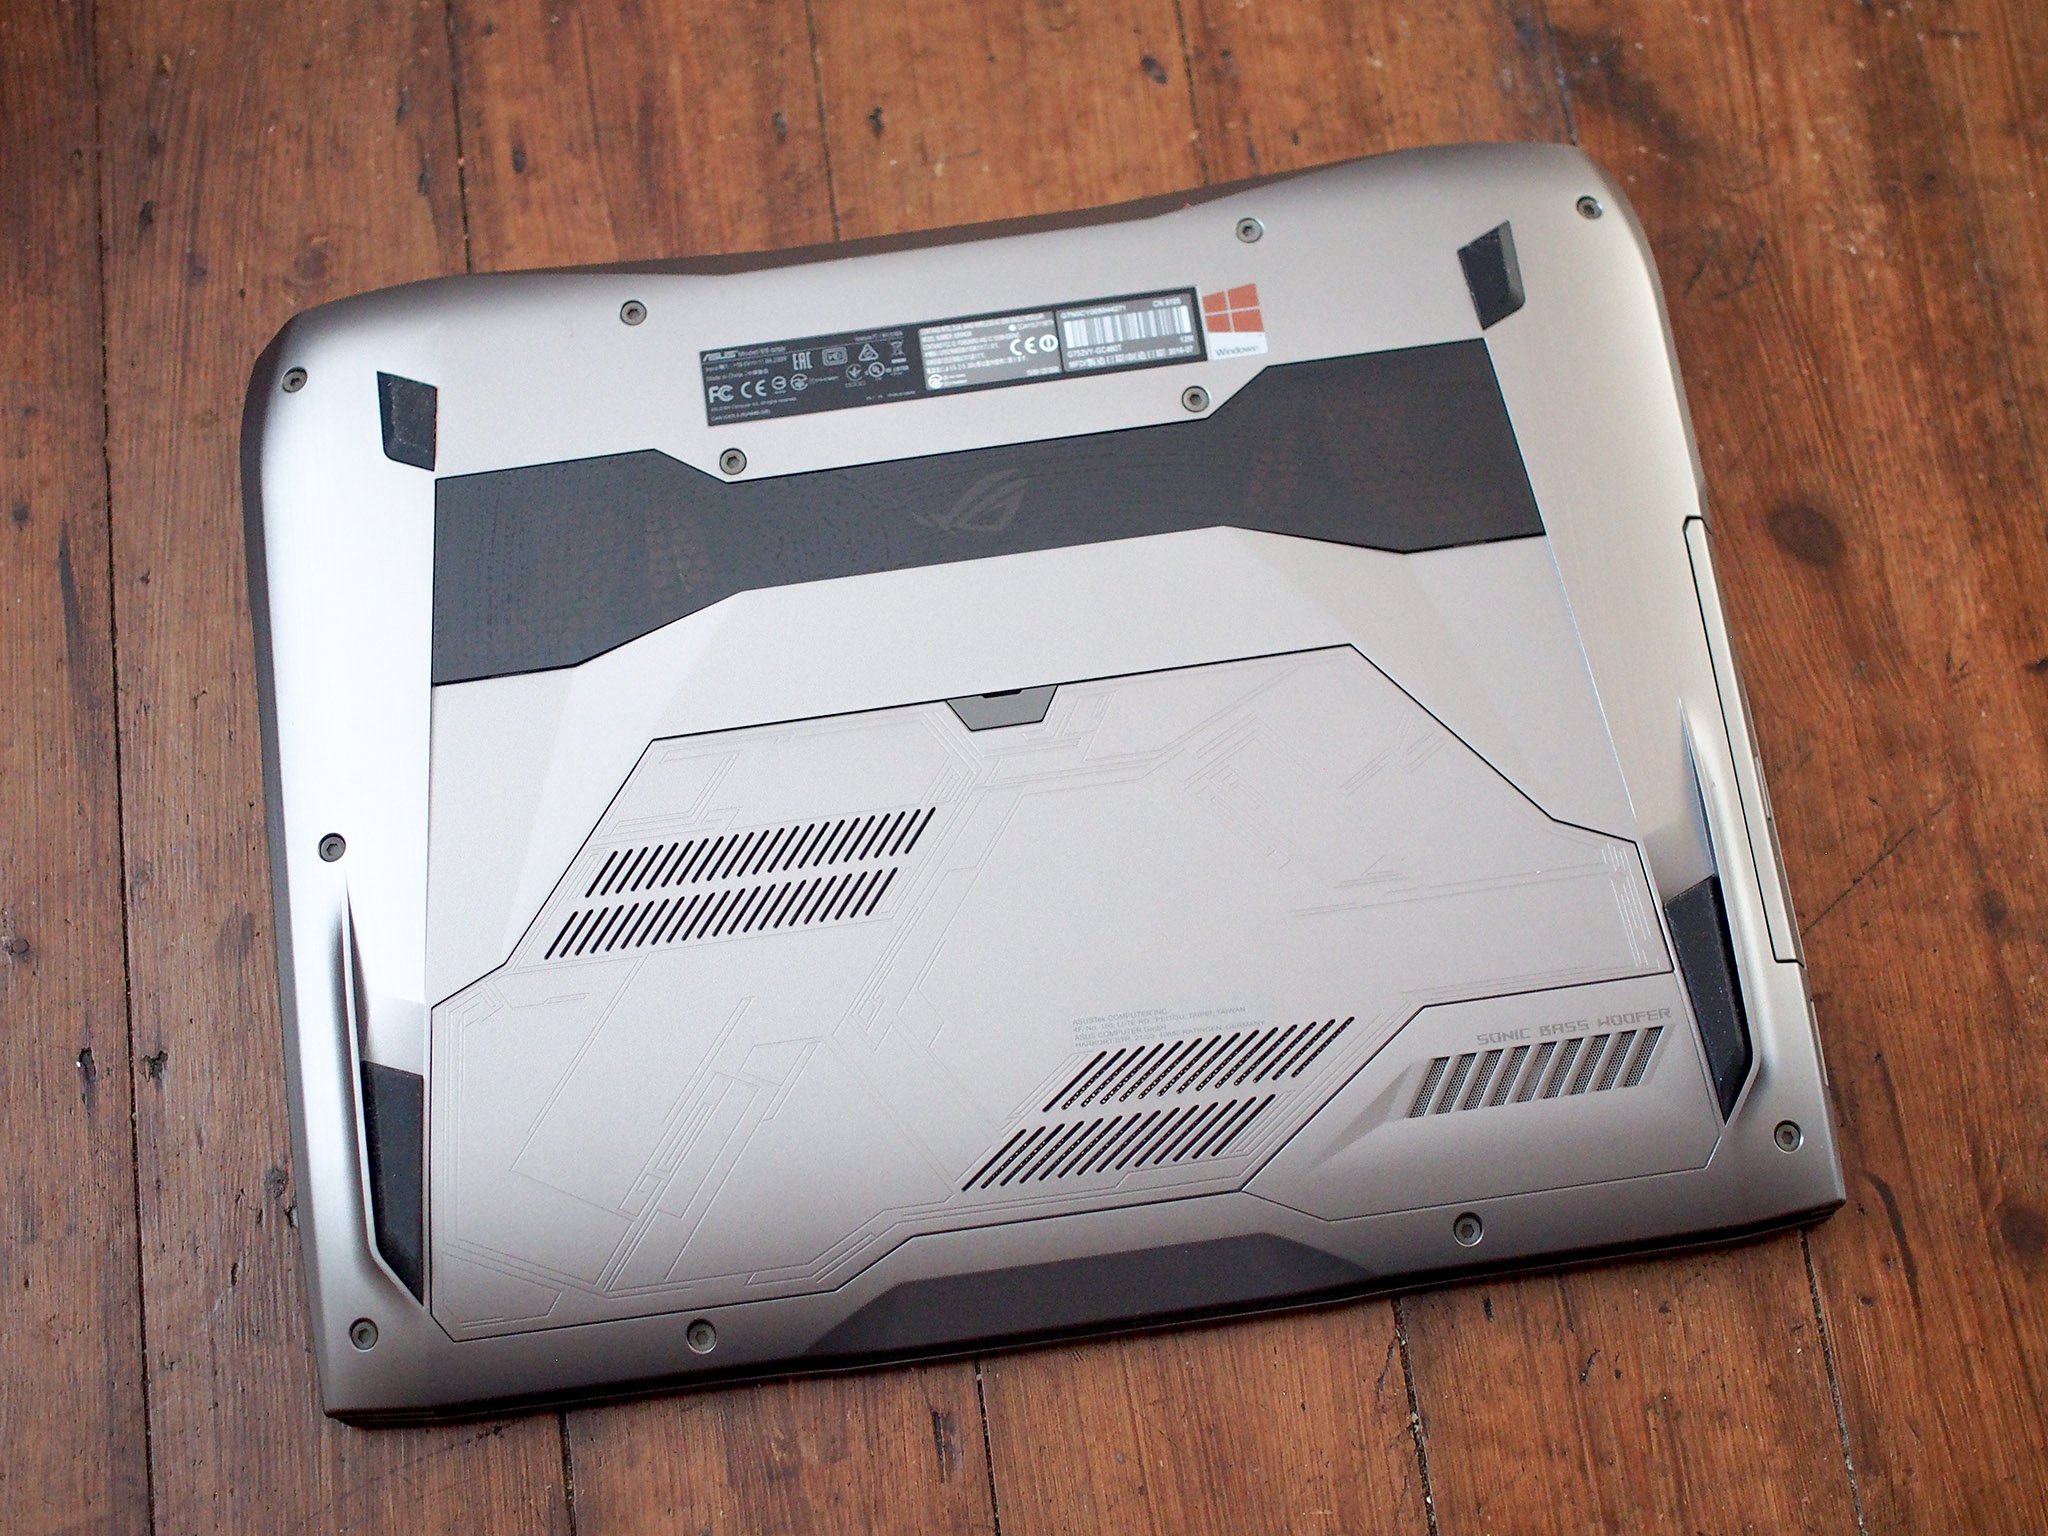
- Flip over the laptop.
- Pull back the rubber cover in the center of the laptop. It will exposing a screw.
- Unscrew the screw.
- Lift on the rubber cover to remove the upgrade panel.
In terms of upgrades, there are many to choose from but we'd recommend SSDs from Samsung, HDD storage from Western Digital and a 16GB DDR4 RAM kit from Crucial.
How to upgrade the RAM in the ASUS ROG G752
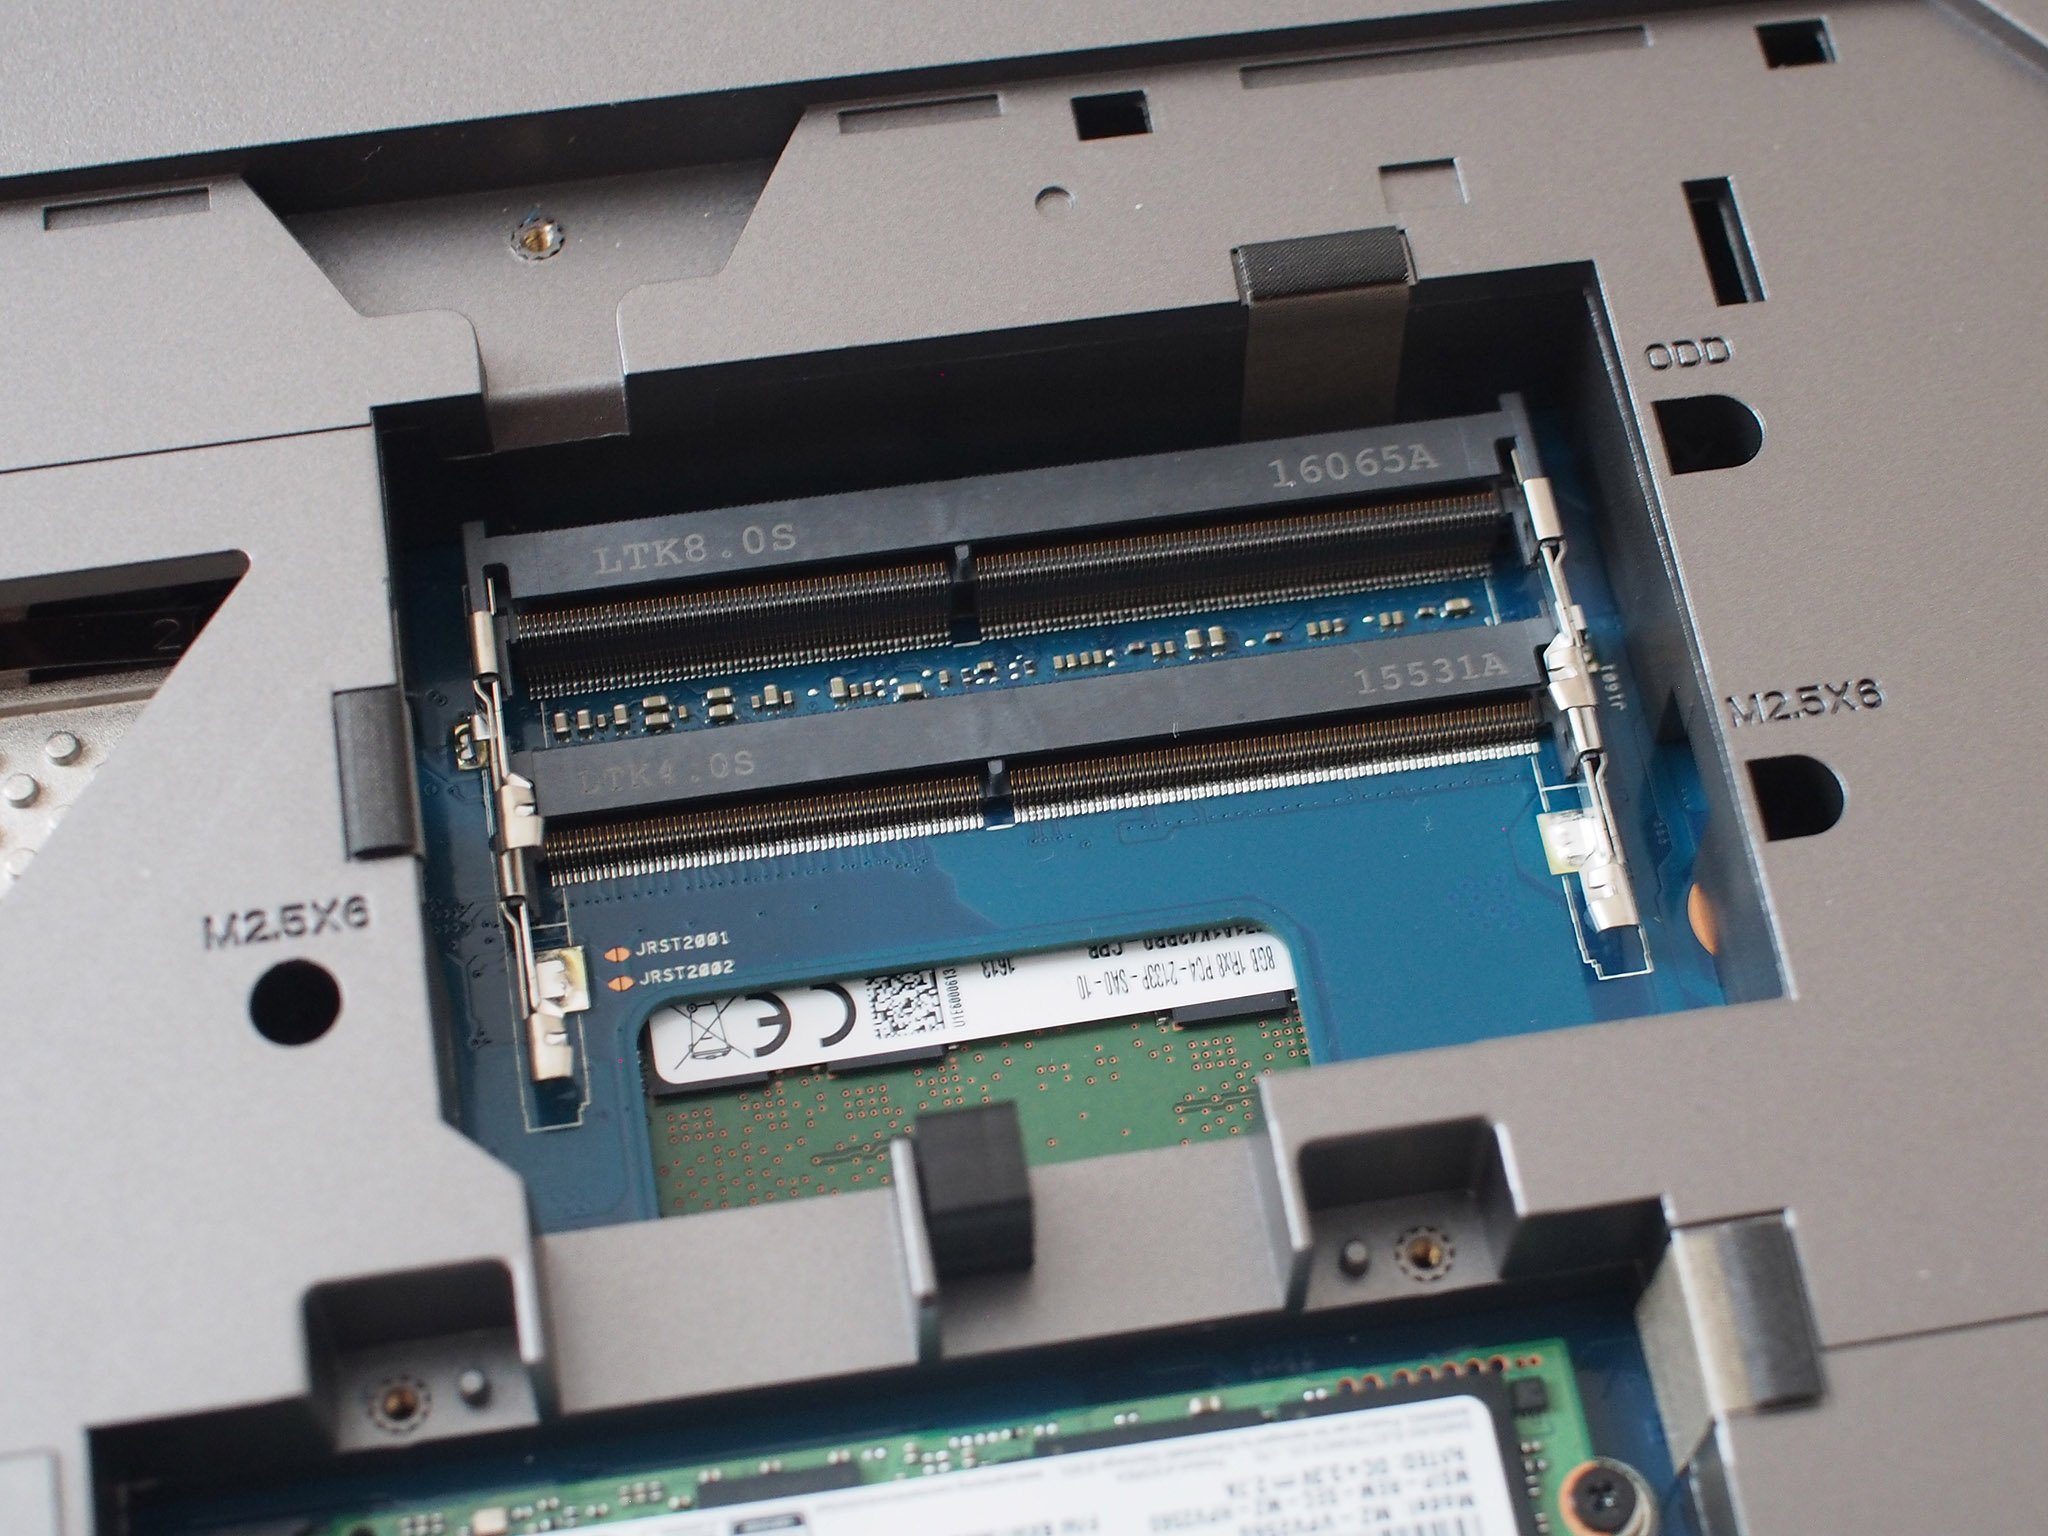
- Locate the RAM slots. These are in the center of the laptop, just above the small m.2 SSD drives.The G752 has two empty slots, these are what you will use.
- Line up the notch on each RAM stick with the notch on each of the slots.
- Insert the RAM at a slight angle until the pins disappear.
- Press down gently. You should feel a slight slick as the RAM locks into place.
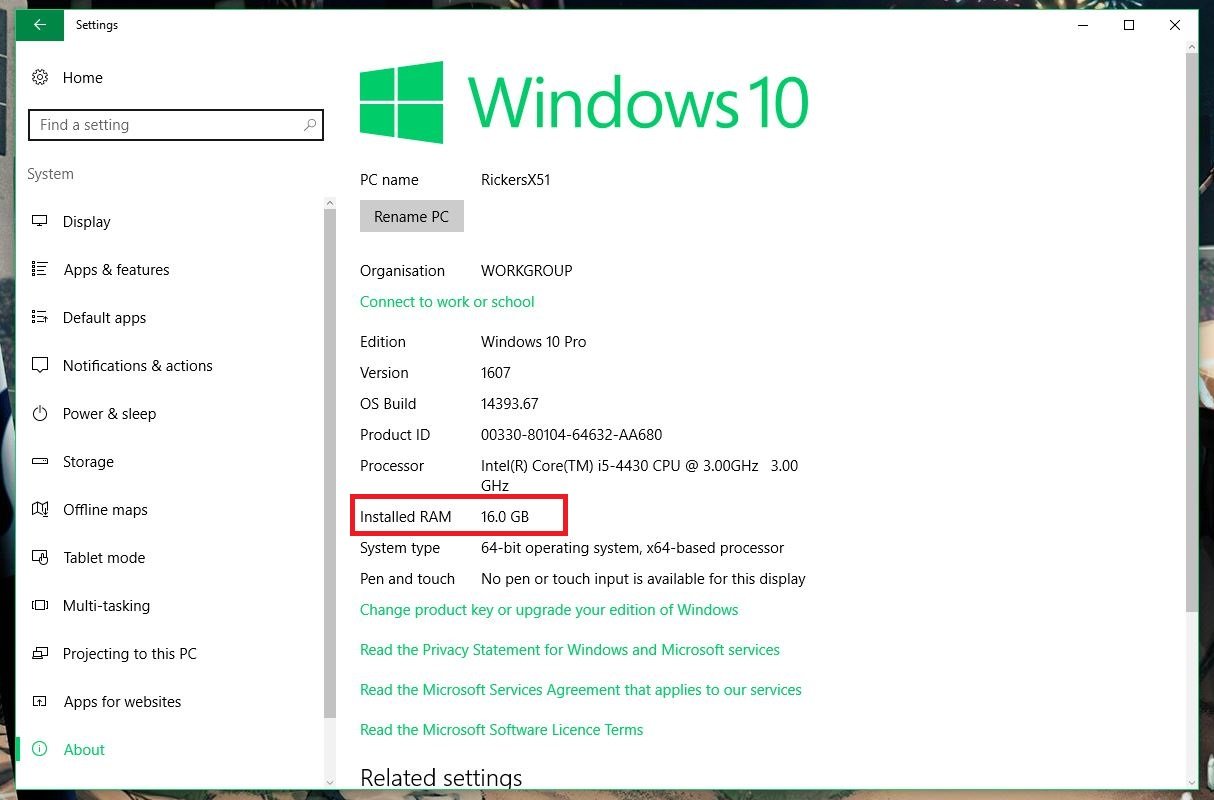
- Turn on your computer to verify that the RAM was successfully installed and recognized:
- Open Settings.
- Click on System.
- Click on About. You should then see something like the screen above detailing your RAM. If it says 32GB everything is good!
How to add a mass storage hard drive to the ASUS ROG G752
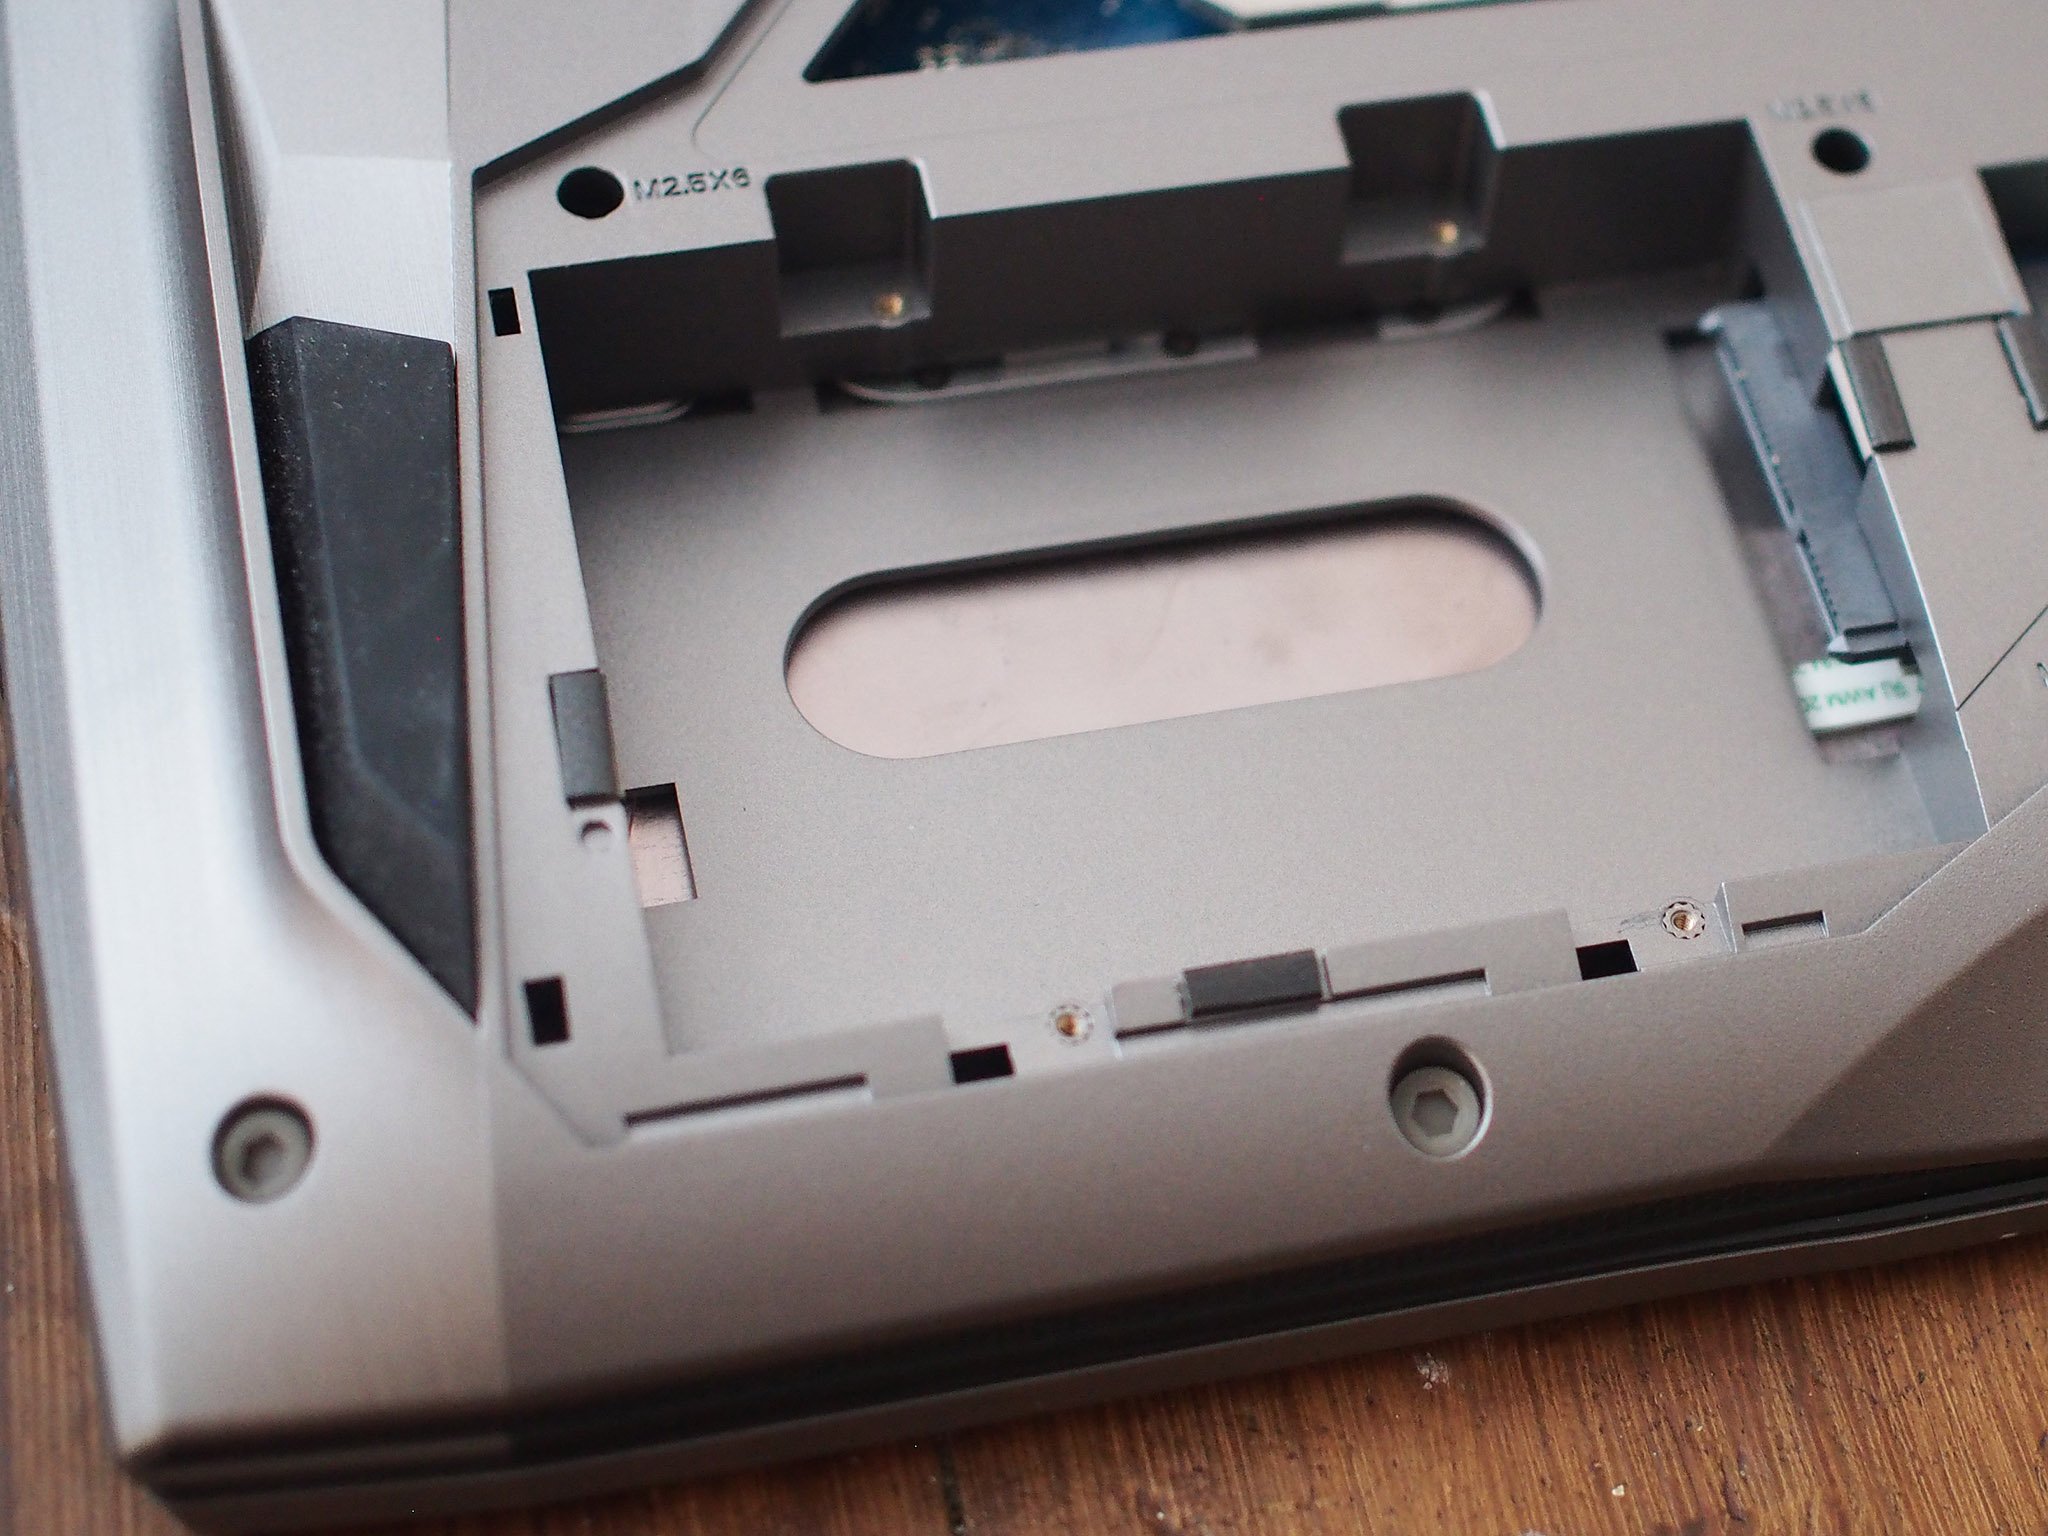
If the two SSDs already in the G752 aren't enough, ASUS also leaves space for a 2.5-inch HDD for mass storage. On some configurations there may already be a drive in here, in which case you're probably not looking to upgrade further. But if you're on an SSD only spec, here's what you need to do:
- Unscrew the four screws that hold in the drive bay cover.
- Carefully remove the cover.
- Line up the connectors of the new drive with the slot of the laptop.
- Push the new drive into place.
- Screw the four screws back in to secure the cover over the drive.
- Turn on your computer to verify the drive was successfully installed and recognized:
- Open Settings.
- Click on System.
- Click on Storage. You'll see the drives currently connected and if all was successful your new HDD will display here.
How to upgrade the SSD storage in the ASUS ROG G752
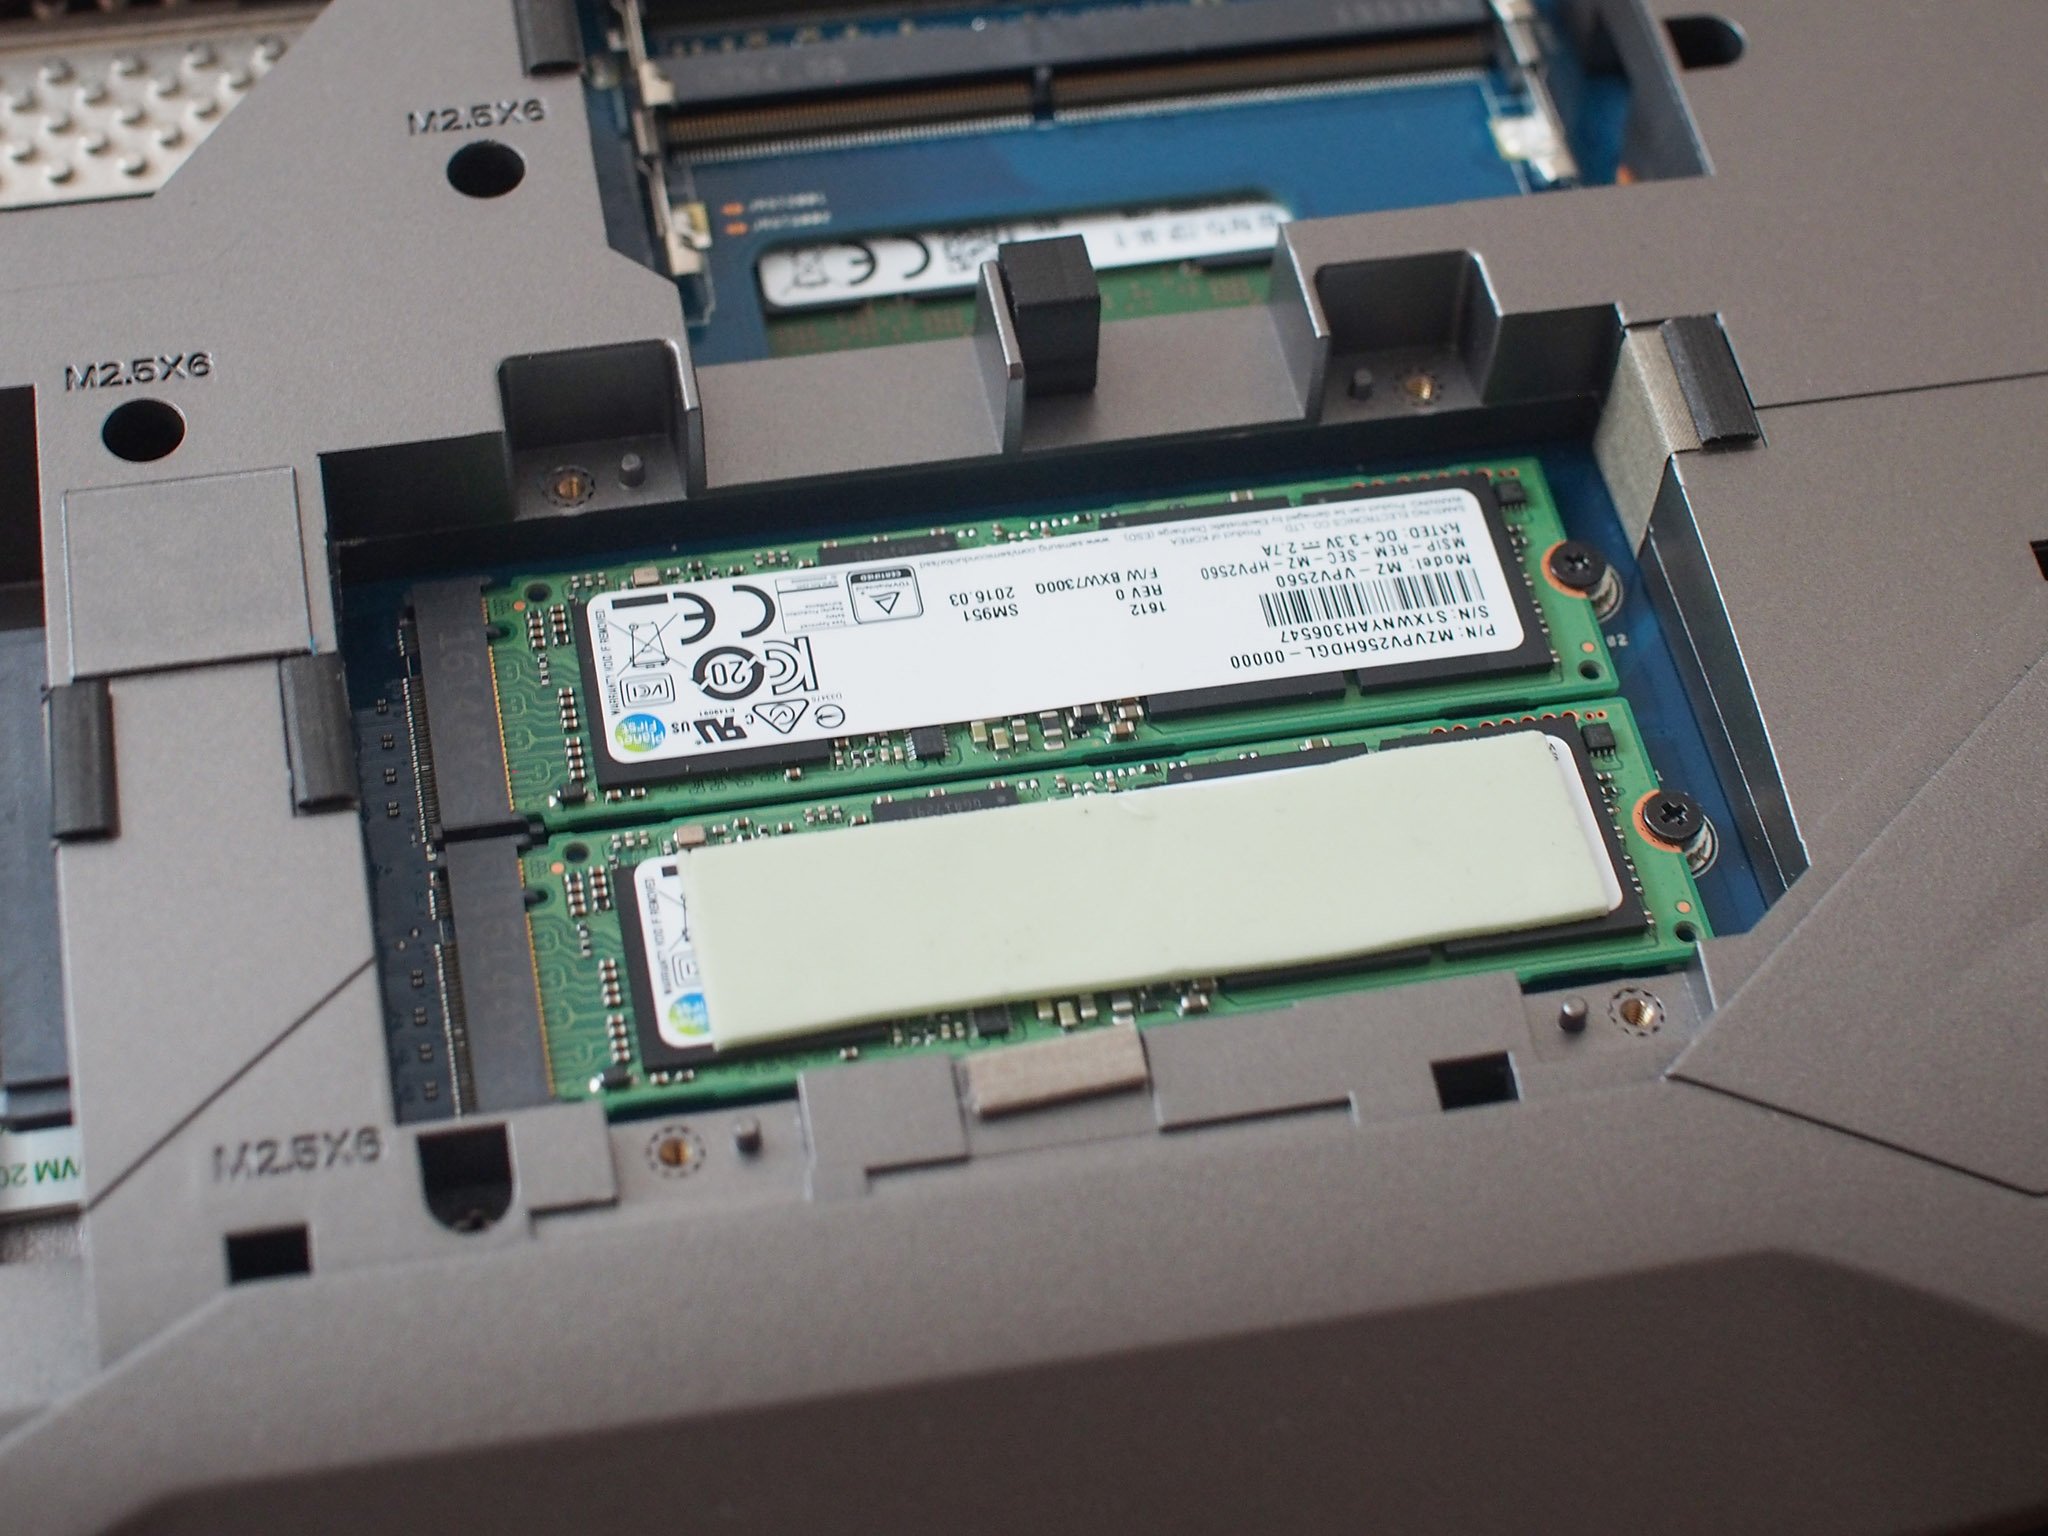
With 500GB of combined SSD storage in the G572, there's little reason to mess with the m.2 drives — especially the one with Windows installed on it. But if you want to amp up your flash storage, the process is straightforward enough. If you need to copy data off the drive to put back on, any form of USB connected hard drive would suffice, or even the mass storage drive installed above if you completed that. Once you've backed up anything you need, swapping the drive is easy:
- Remove the tiny screw from the left edge of the m.2 SSD. It should pop up slightly for you to pull away from the contacts.
- Line up the new SSD at a similar angle.
- Gently push the new SSD in until the pins disappear.
- Push down on the new SSD until it slots into place.
- Screw in the screw to secure the SSD.
- Turn on your computer to verify the drive was successfully installed and recognized:
- Open Settings.
- Click on System.
- Click on Storage. You'll see the drives currently connected and if all was successful your new HDD will display here.
And that about covers it! Many laptops can't upgrade their internals, but ASUS has given plenty of flexibility with the G752 to get what you need from it.
All the latest news, reviews, and guides for Windows and Xbox diehards.

Richard Devine is the Managing Editor at Windows Central with over a decade of experience. A former Project Manager and long-term tech addict, he joined Mobile Nations in 2011 and has been found in the past on Android Central as well as Windows Central. Currently, you'll find him steering the site's coverage of all manner of PC hardware and reviews. Find him on Mastodon at mstdn.social/@richdevine
