How to remove Windows 10 Technical Preview from your Surface Pro 3

All the latest news, reviews, and guides for Windows and Xbox diehards.
You are now subscribed
Your newsletter sign-up was successful
Advanced Tip Series!
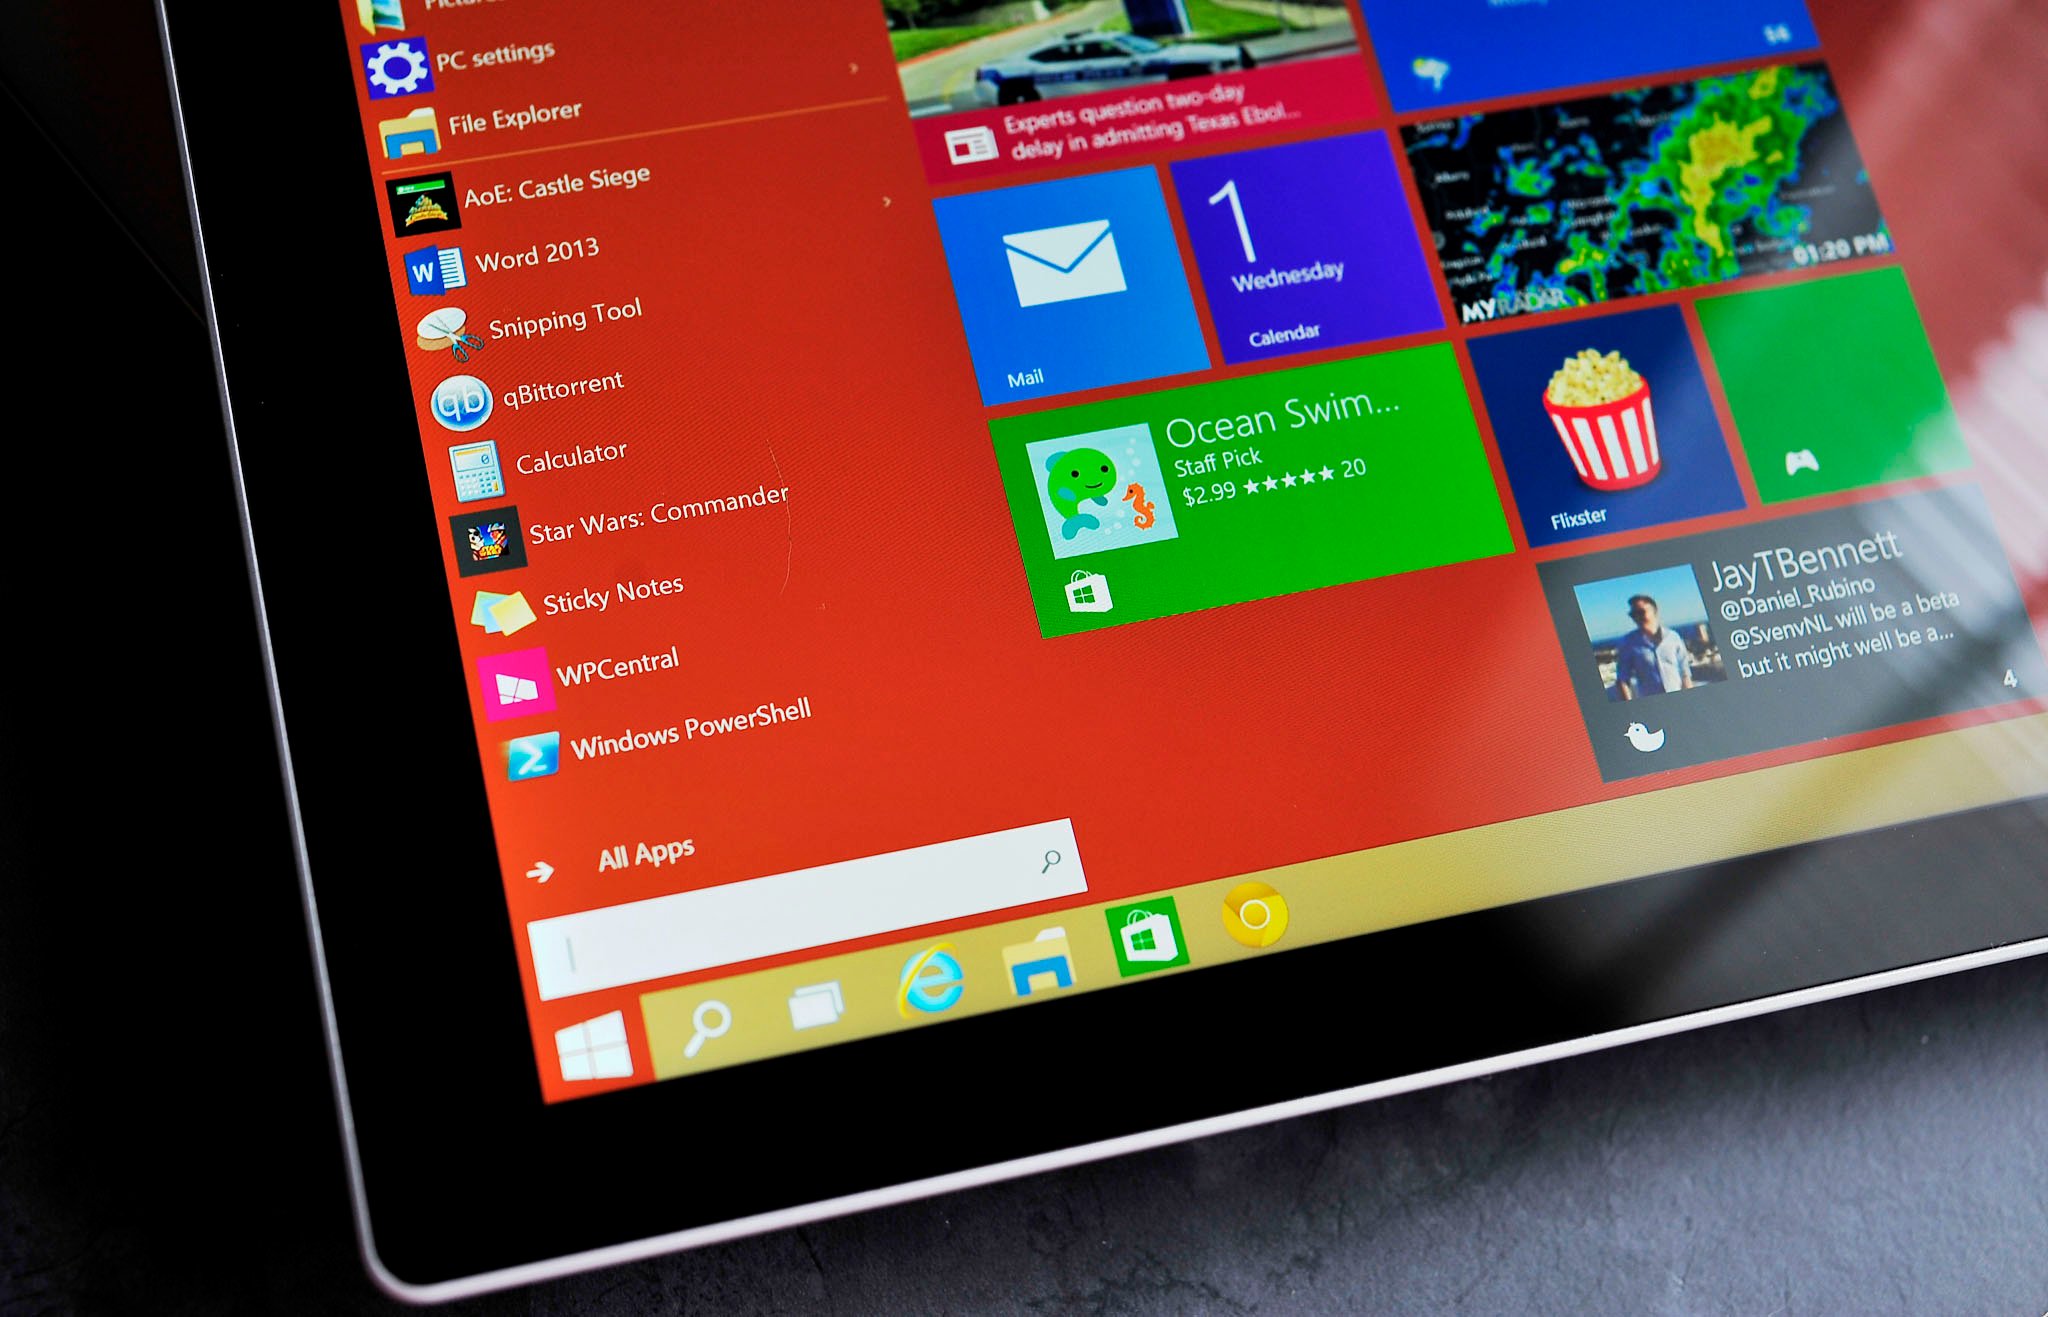
There has been a tremendous outpouring of comments on Windows 10 Technical Preview, both positive and negative. Some people have had a lot of luck running it while others have run into problem after problem. When you're dealing with a software preview, that's just the nature of the beast.
You may be one of the technical daredevils that boldly loaded Windows 10 on your Surface Pro 3. You may also be one of those sad souls who now regret that decision. If you fell into the second category and neglected to heed all the warnings about creating recovery media for your device, Windows 10 install has almost certainly wiped out the recovery partition on your Surface. This missing recovery partition makes an easy return to Windows 8 impossible.
Not all is lost though. You can still bring Windows 8.1 back to your Surface Pro 3 using a USB recovery drive. A lot of people have been hitting a stumbling block when trying to recover their Surface because it recognizes that Windows 10 Technical Preview is installed and thinks you are using the wrong version of the recovery disk.
BE WARNED! This action will wipe out your Surface Pro 3 and all of the data on its hard drive. Was I clear enough?
Let me start by saying that if you are attempting this, the assumption here is that you have some level of technical know-how. For that reason, I am not going to spell out certain processes, like how to format a USB drive.
You backed up all of your data, right? Okay, let's do this.
- First, download the Surface Pro 3 recovery media from Microsoft
- Next, extract the contents of the downloaded ZIP file onto a USB drive that has been formatted with the FAT32 filesystem. You will need at least 16GB of on the drive.
- With your Surface powered off, insert the USB drive.
- Press and hold the Volume Down button, and then press and release the Power button. When the Surface logo appears, release the Volume Down button.
- Choose your language and country, and then go to Troubleshoot > Advanced Options > Command Prompt.
- Type "diskpart" then press Enter
- Type "select disk system" then press Enter. This action will select the drive that the operating system is loaded on. There's no turning back after this next step…
- Type "clean" then press Enter. Your hard drive is now erased.
- Type "exit" then press Enter
- Turn off your Surface and power it on using the method in Step 4
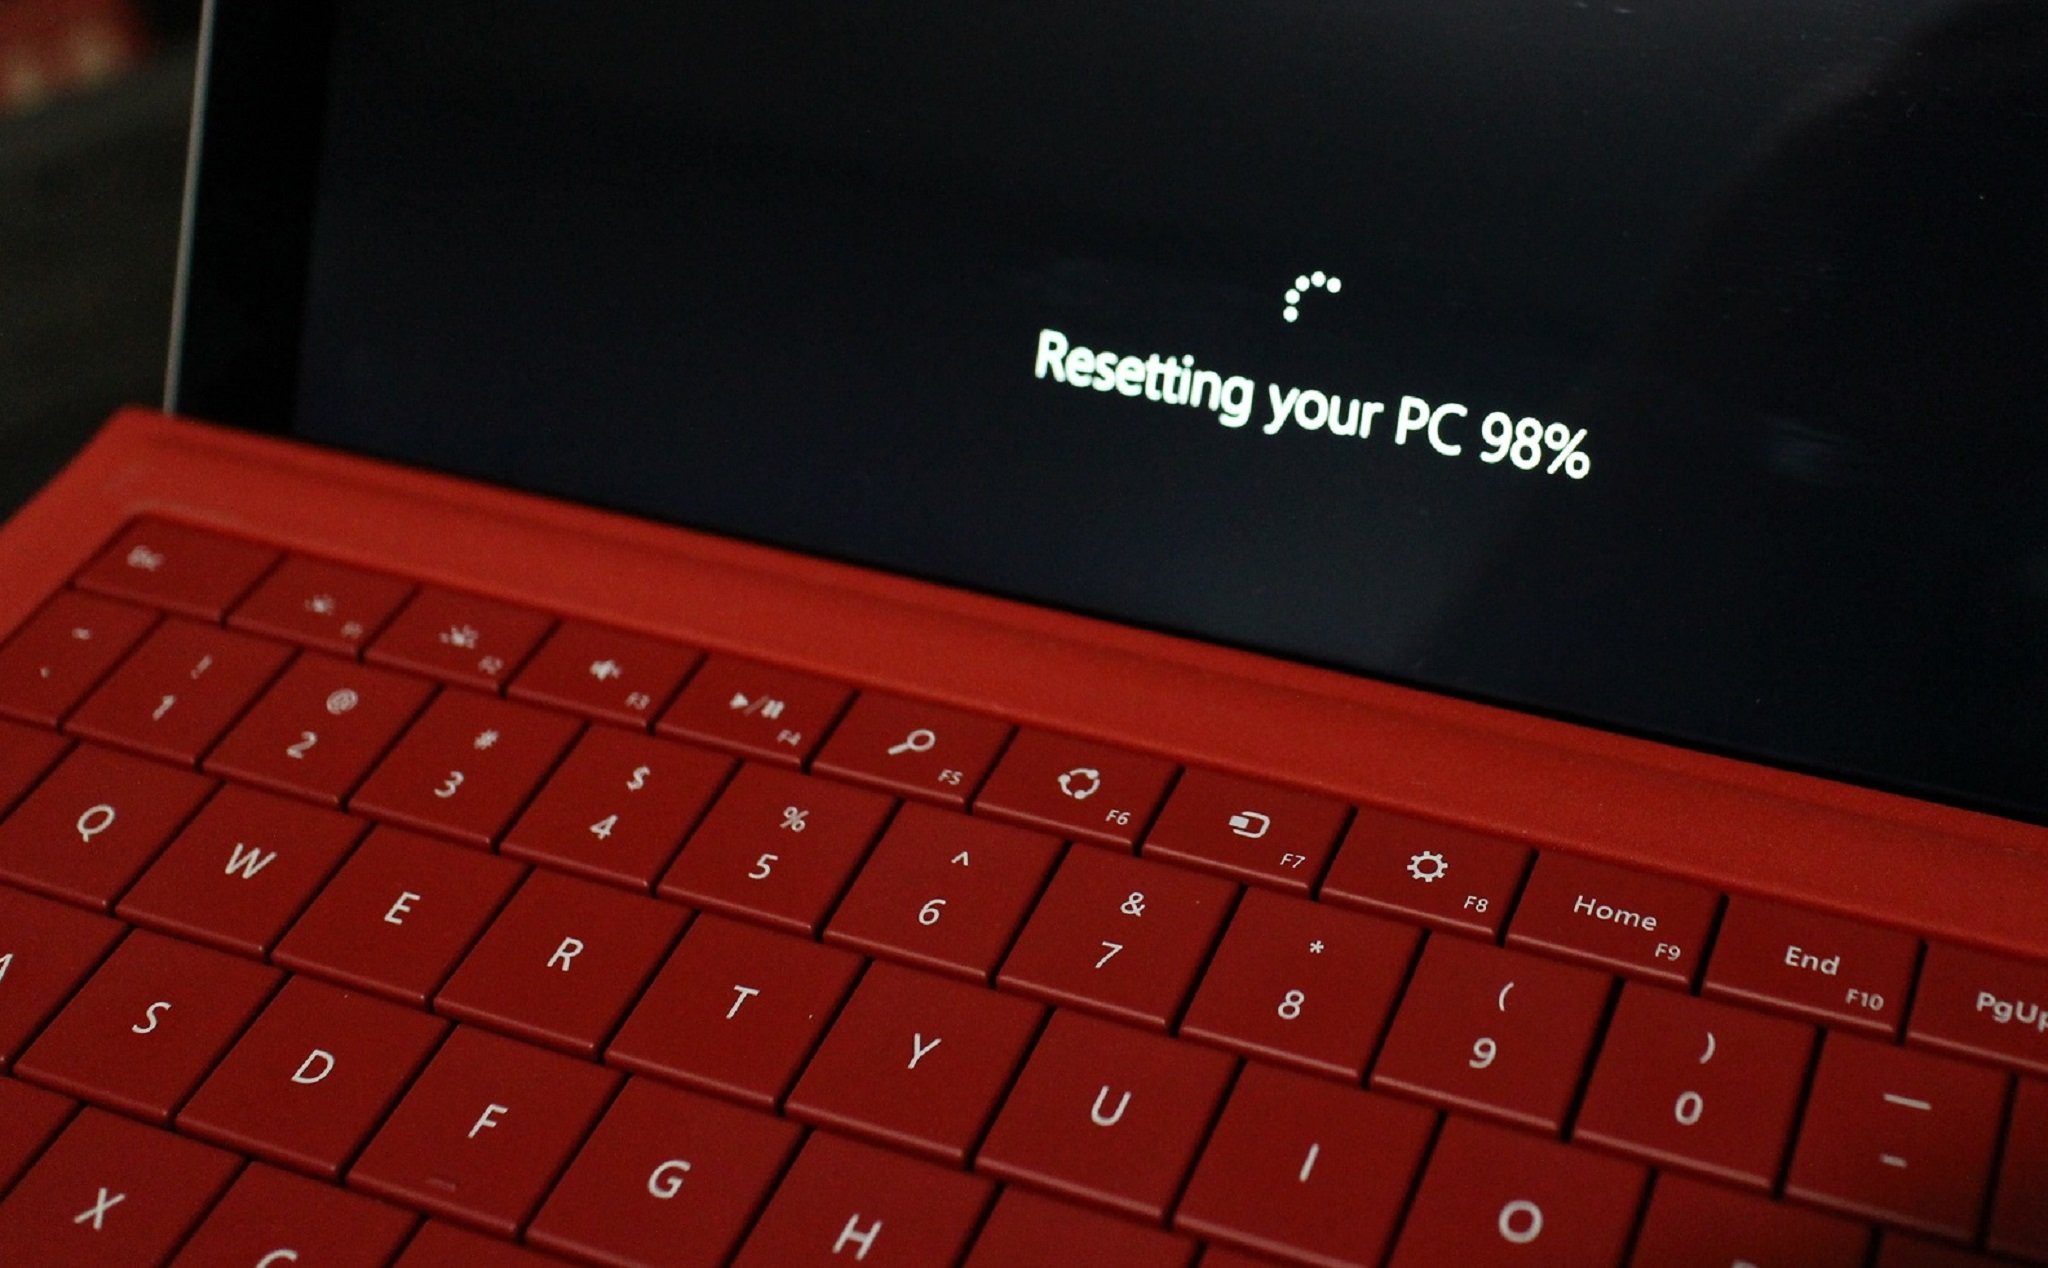
- Choose your language and country, and then go to Troubleshoot > Reset your PC
- Click Next
- Click "Yes, repartition the drives."
- Follow the prompts to begin the recovery process
- If prompted, confirm that you want to clear the TPM (trusted Platform Module) by pressing F12
Your Surface will now boot up and finish the installation. You then will be directed to the initial device setup, starting with Region and Language settings.
All the latest news, reviews, and guides for Windows and Xbox diehards.

Hopefully, everything is back to normal now. You can sign in, download all of your apps and move your backed-up data to your newly-restored Surface Pro 3.
Want to see what Windows 10 is like on the Surface Pro 3? Make sure you watch our hands-on video and in-depth article about our experience with it.
Related Reading:
Have any of you gone through this process? Tell us about your experience in the comments!

Seth Brodeur is a former contributor for Windows Central, covering Windows 10, Windows Phone, and more.
