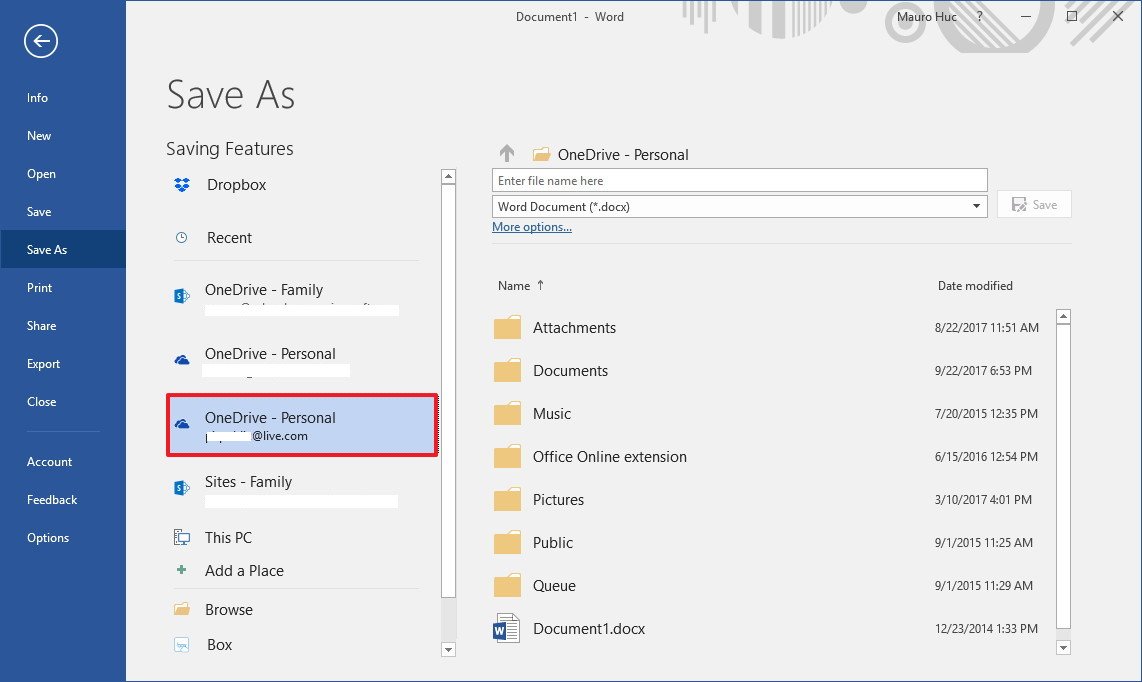
How to add cloud storage services as save locations in Office 2016
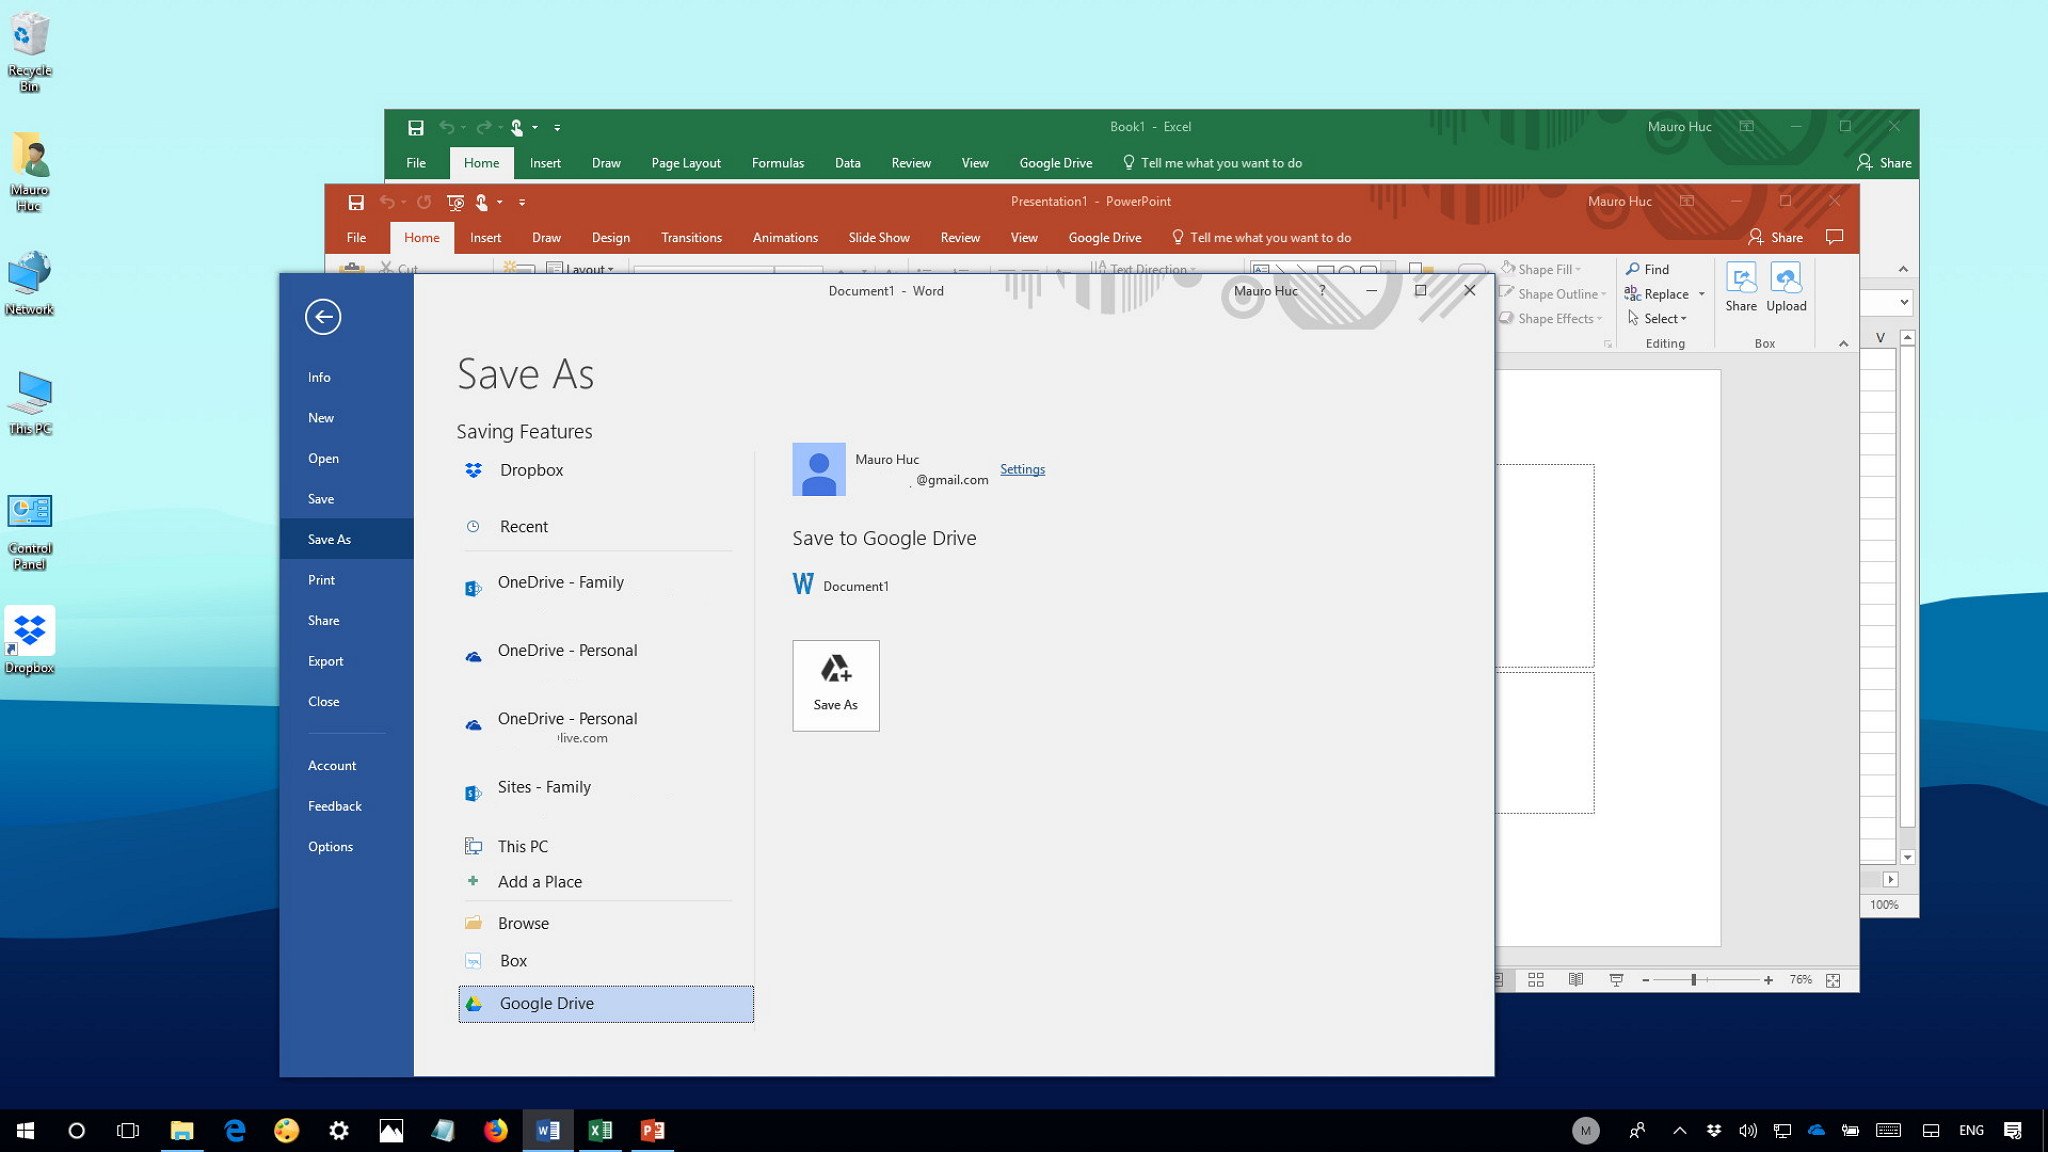
Here are the steps to show Google Drive, Dropbox, Box, and multiple OneDrive accounts as save locations in Office 2016.
All the latest news, reviews, and guides for Windows and Xbox diehards.
You are now subscribed
Your newsletter sign-up was successful
Office 2016 is very peculiar when it comes to saving documents. It remembers your recently used locations (which can be pinned within the list) and shows OneDrive automatically as an option if you've previously configured the service, but it doesn't let you add new save locations manually.
If you use the same OneDrive account associated with your Windows 10 profile, it's not an issue, but not everyone uses this service. A lot of people because of work or personal choice prefer other services, such as Google Drive, Dropbox, Box, or even OneDrive for Business. However, it's not entirely impossible to add new save locations to Word, Excel, PowerPoint, and other Office apps, you just need to know the process.
In this Windows 10 guide, we'll walk you through the steps to connect Google Drive, Dropbox, Box, and even multiple OneDrive accounts to save files more quickly in Office 2016.
- How to add Google Drive as a save location in Office
- How to add Dropbox as a save location in Office
- How to add Box as a save location in Office
- How to add another OneDrive accounts as a save location in Office
How to add Google Drive as a save location in Office
If you want to add Google Drive as a location to save your documents, you must download and set up the dedicated plug-in for Microsoft Office by Google.
- Close any Office app running on Windows 10 (if applicable).
- Download the Google Drive plug-in for Microsoft Office.
- Double-click the driveforoffice.exe file to install the plug-in.
- Open Word (or any Office app you like).
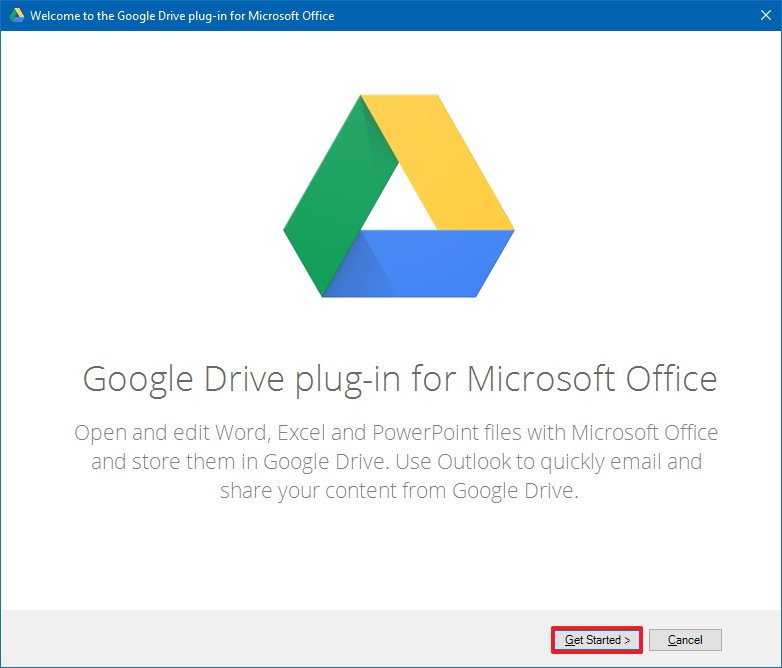
- The plug-in wizard will open, click the Get Started button.
- Sign-in with your Google Drive account.
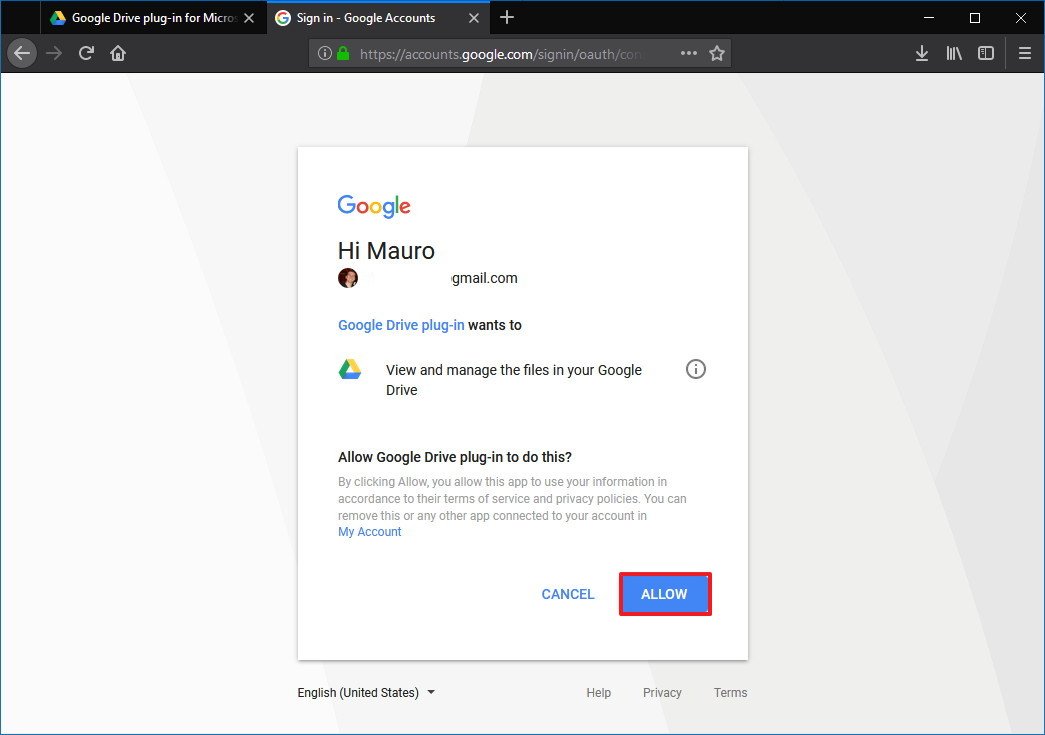
- Click the Allow button to give the plug-in permission to connect your account.
- In the wizard, click the Done button.
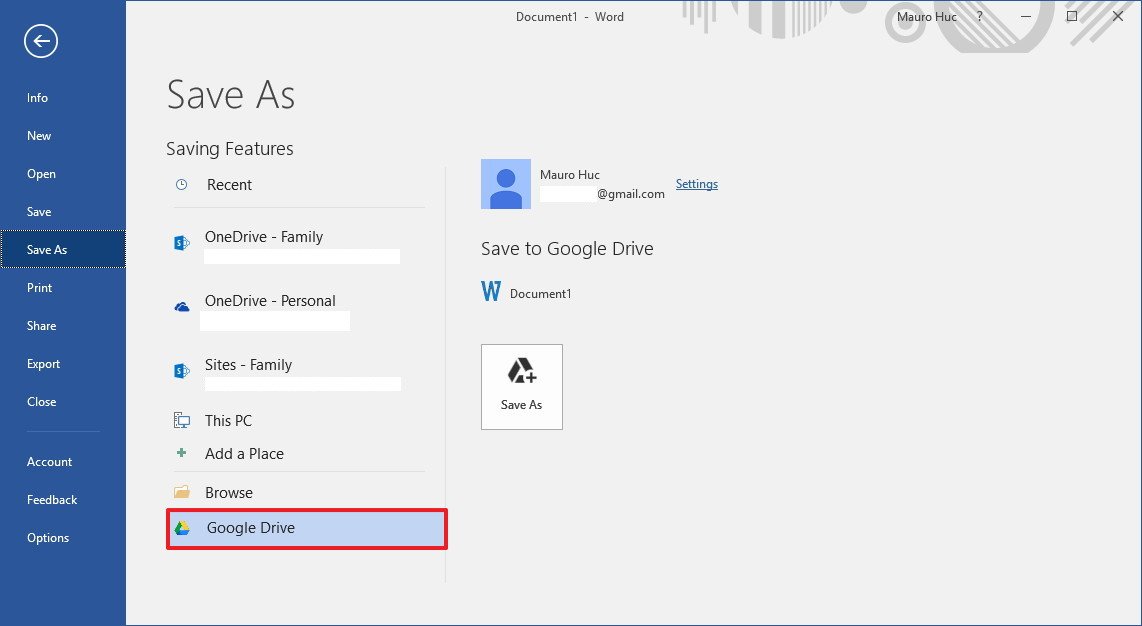
Once you've completed the steps, whether you're opening or saving a Word, Excel, or PowerPoint document, you'll be able to use your Google Drive account, and the best part is that you don't even need to install the full sync client on your device.
How to add Dropbox as a save location in Office
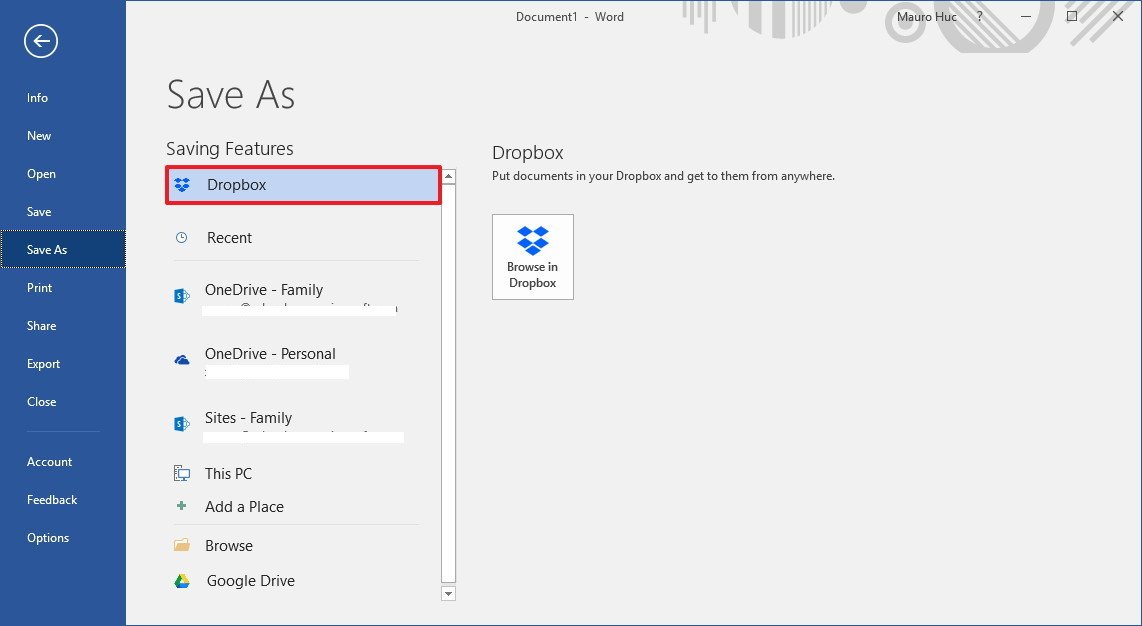
Dropbox doesn't have a plug-in to integrate with Office, but you can turn on an option within the sync client to show this cloud service as a save location.
- Close any Office app running on Windows 10 (if applicable).
- Download the Dropbox sync client (if you don't have it already installed).
- Double-click the DropboxInstaller.exe file to install the client.
- Sign in with your Dropbox account to complete the setup.

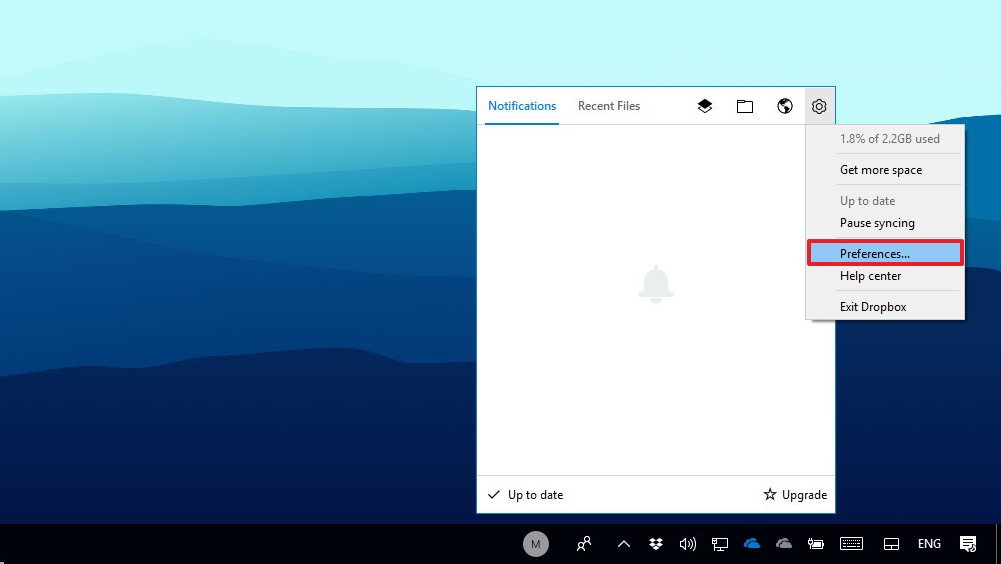
- Click the Dropbox icon in the notification area.
- Click the settings (gear) button on the top-right corner.
- Select Preferences.
- Under "Microsoft Office add-in," check the Show Dropbox as a save location in Microsoft Office option.
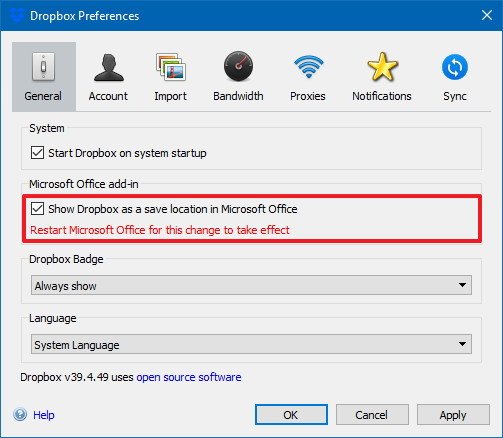
- Click Apply.
- Click OK.
- Restart your computer to apply the settings.
After completing the steps, whenever you try to save as or open an Office document you'll be offered the option to use Dropbox.
All the latest news, reviews, and guides for Windows and Xbox diehards.
How to add Box as a save location in Office
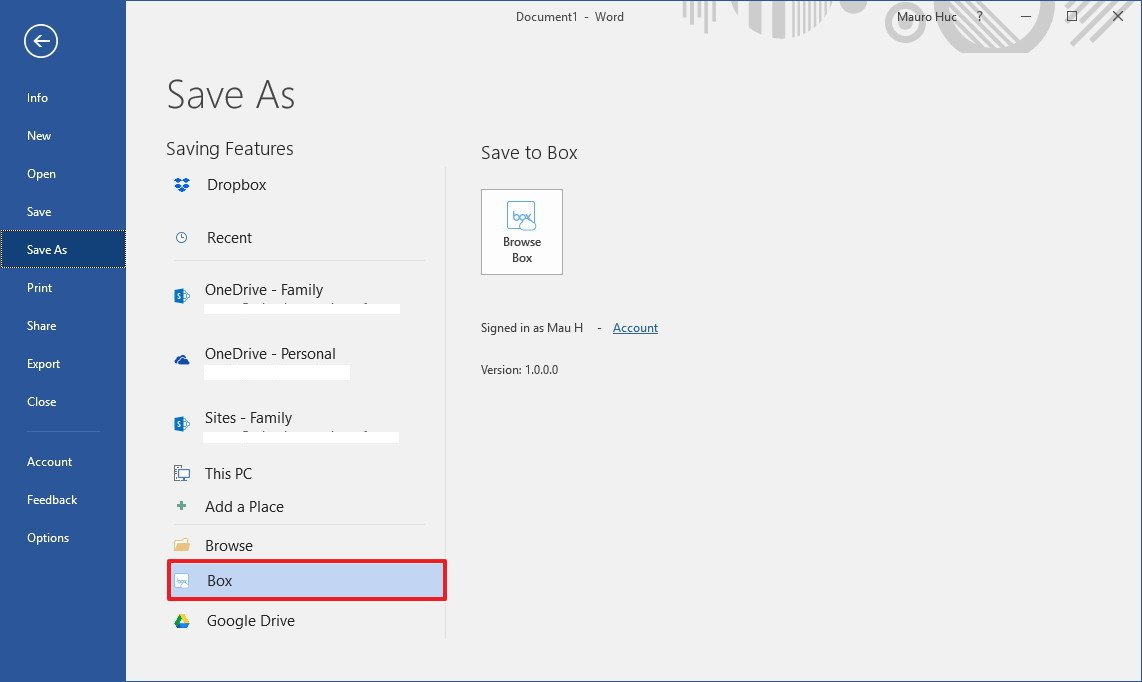
In the case you're a Box user, similar to Google Drive, you need to install a plug-in to integrate Box as a save location in Office 2016.
- Close any Office app running on Windows 10 (if applicable).
- Download the Box for Office plug-in.
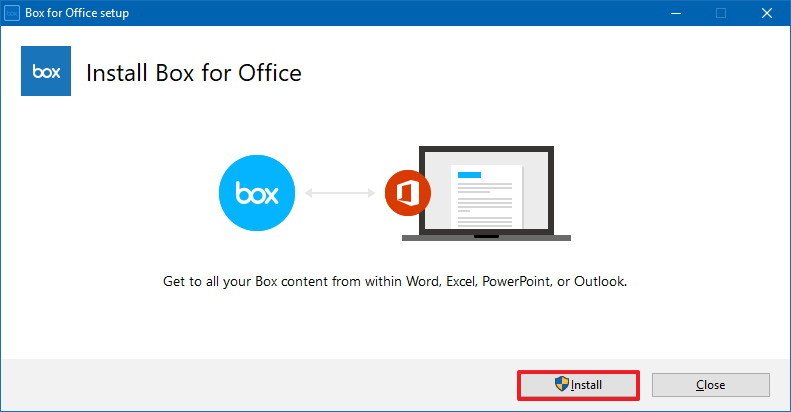
- Double-click the BoxForOffice.exe file.
- Click Install.
- Click Finish.
- Open Word (or any Office app you like).
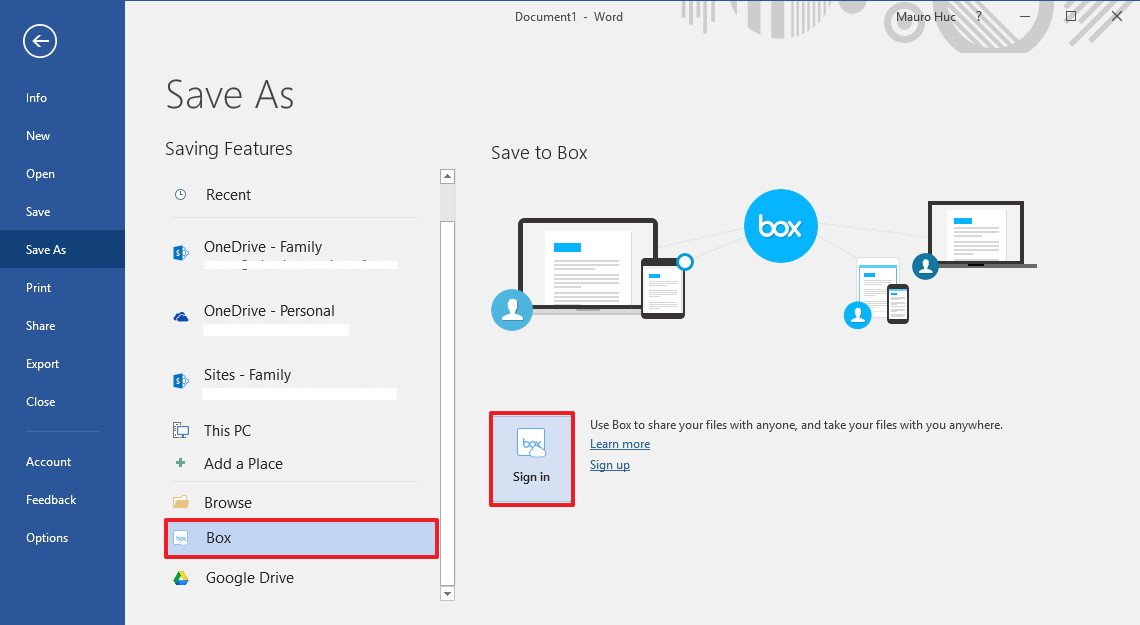
- Click on File.
- Click on Save as.
- Select Box.
- Click the Sign in button.
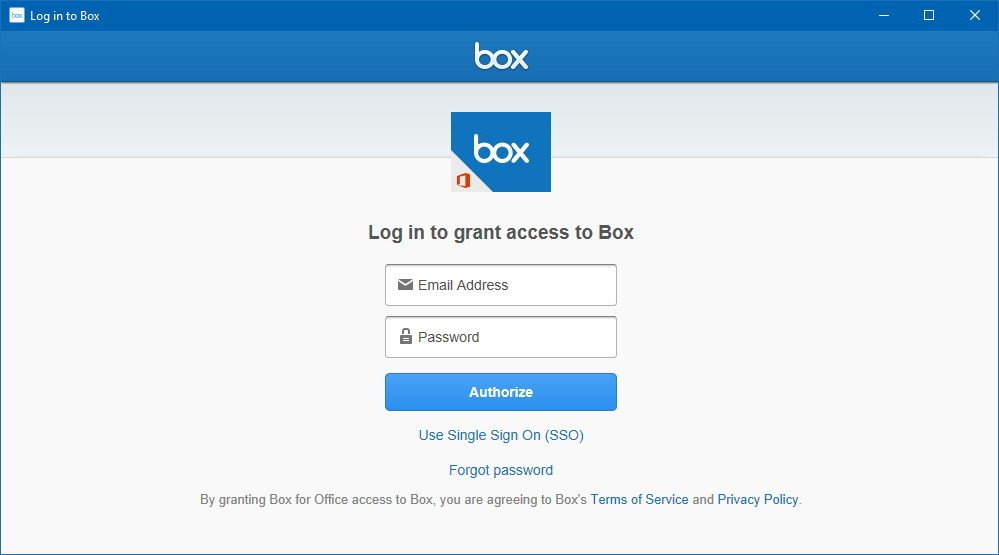
- Enter your email and password associated with your Box account.
- Click the Authorize button to start using Box for Office.
Once you've completed the steps, open Word, Excel, or PowerPoint, and you'll be able to access Box through Open, Save, Save as, and Share options. Additionally, the Box plug-in adds two new options to the Home ribbon for quicker access to share and upload files.
How to add another OneDrive account as a save location in Office
Although after setting up OneDrive on Windows 10, the cloud service automatically integrates with Office, it's also possible to add multiple accounts in those cases when you want to save Office documents to your OneDrive for Business or a secondary OneDrive account.
- Open Word (or any Office app you like).
- Click on File.
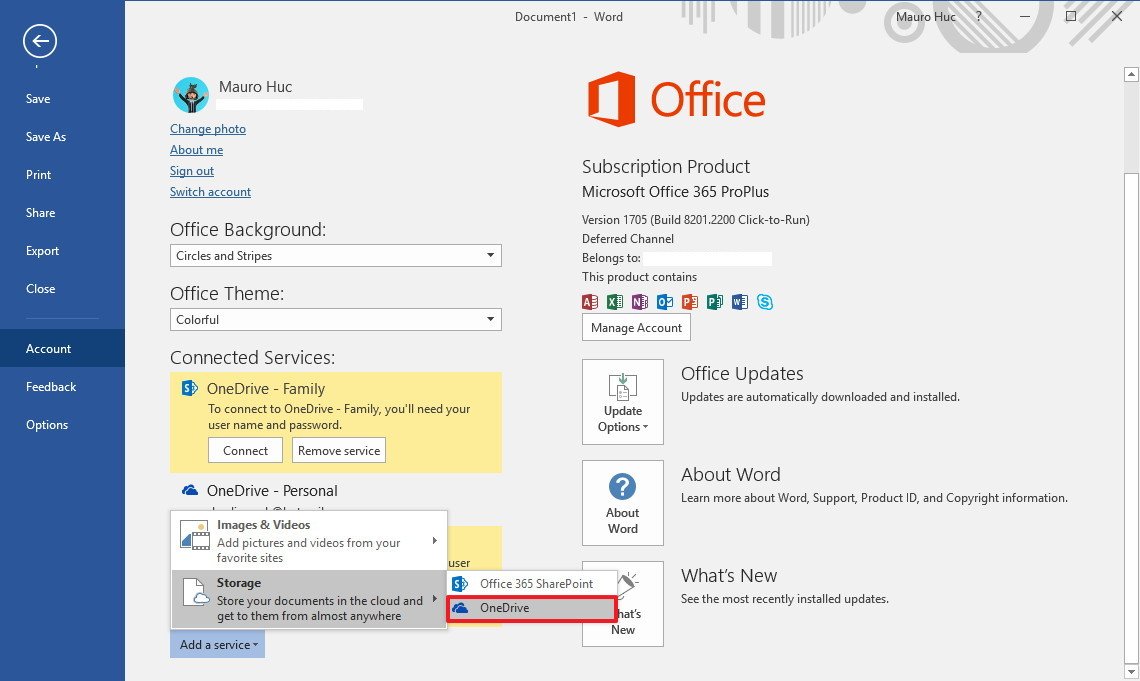
- Select Account.
- Click the Add a service drop-down menu.
- Select OneDrive.
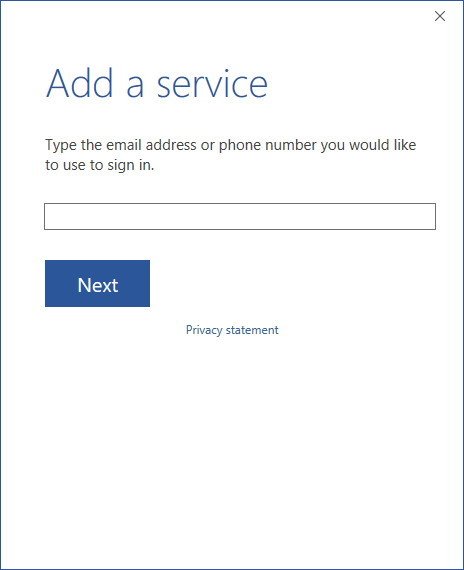
- Enter your email address associated with the OneDrive account you want to use.
- Click the Next button.
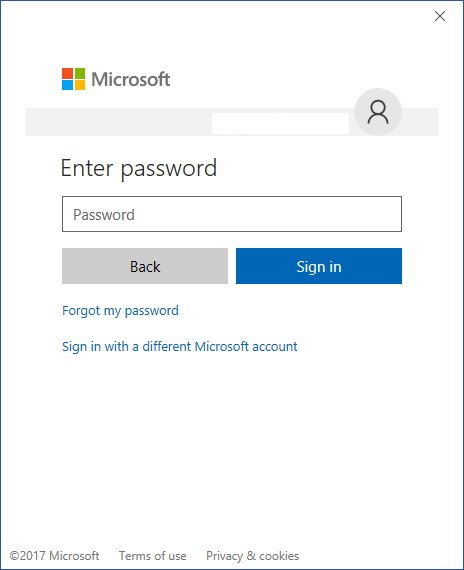
- Enter your email password.
- Click the Sign in button to add the new location.
After completing the steps, open Word, Excel, or PowerPoint, and you'll be able to use your OneDrive account within the Open, Save, and Save as options.
More Windows 10 resources
For more helpful articles, coverage, and answers to common questions about Windows 10, visit the following resources:
- Windows 10 on Windows Central – All you need to know
- Windows 10 help, tips, and tricks
- Windows 10 forums on Windows Central

Mauro Huculak has been a Windows How-To Expert contributor for WindowsCentral.com for nearly a decade and has over 22 years of combined experience in IT and technical writing. He holds various professional certifications from Microsoft, Cisco, VMware, and CompTIA and has been recognized as a Microsoft MVP for many years.
